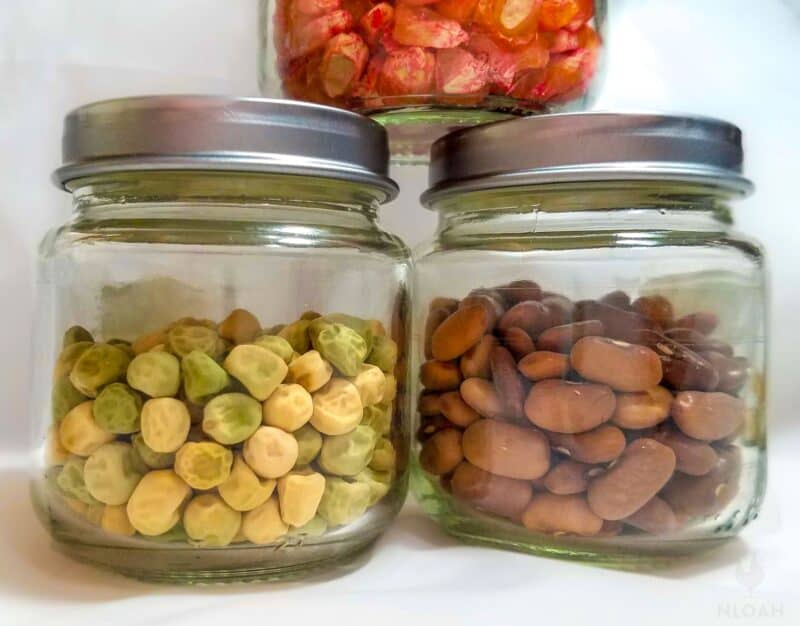
Saving seeds so you can start a new crop the following season only makes good economic sense. Preserving the seeds from a tasty and bountiful vegetable, fruit, or herb harvest also helps you increase the odds of replicating the same flavor and yield the following year.
Typically, seeds will last between 1 and 5 years if stored properly, with certain heirloom seeds lasting up to 10 years. To prolong shelf life, store them in a cool, dry, dark place, in an envelope placed inside a plastic or metal storage tub.
Flower seeds are designed in basically the same way as non-ornamental and traditional gardening peers, and can last roughly the same amount of time.
Both how you save the seeds and the varieties that you are preserving significantly impact how long they will last.
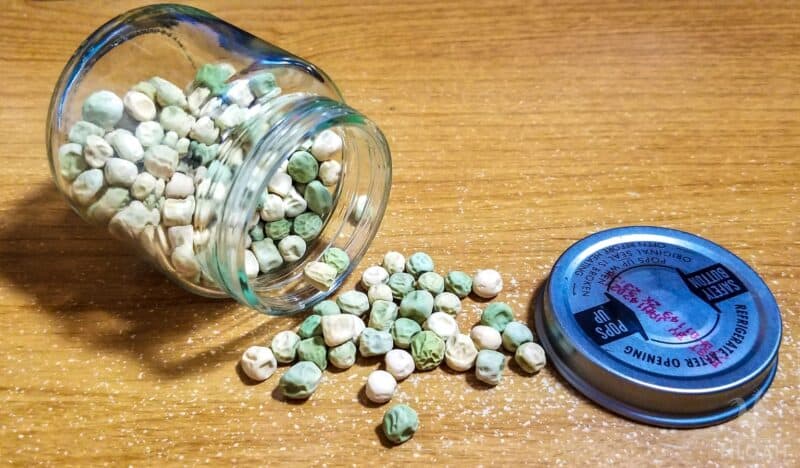
While seeds may look like tiny and brittle hard pebbles, when you open up a packet, there is actually a lot of living going on inside each dry shell.
Every seed contains an embryo that, when preserved and tended to properly, can create a healthy plant that will produce delicious food or natural healing remedies.
Do Heirloom Seeds Last Longer Than Hybrid Seeds?
The quality of the seed producing company or plant plays a massive role in how long any type of seeds will last, be it heirloom, a hybrid, or GMO. In my personal experience, heirloom seeds tend to last far longer than any other type.
A Gardening Channel report indicates heirloom seeds could be capable of lasting 10 years, when stored properly. Heirloom seeds also tend to maintain flavor and nutritional value longer than other types of seeds.
If you are growing a massive garden to feed an enormous homesteading family or group, hybrid seeds may be a good type to plant because of what many people believe is an ability for them to produce a vastly more robust yield.
Personally, the yield we get from the 5-acres of space planted on our homestead with heirloom seeds is significantly robust… and quite tasty.
Some folks firmly believe (I am in this camp) that heirloom seeds are far more hardy, pest resistant, and disease resistant than hybrid seeds because they stem from plant varieties that are at least 50 years old, and have had time to adapt to the weather, insects, and plant diseases.
The vigor and vitality of heirloom seeds should make up for any difference in yield time and weight you could garner with hybrid seeds.
There is nothing wrong with growing and keeping either type of seeds, or a little bit of both.
GMO seeds in a purchased and sealed pack should keep as long as hybrid seeds when stored properly.
Having never grown a genetically modified plant, I have no personal experience with the flavor or nutritional retention of GMO seeds when not used immediately after purchase.
Seed Shelf Life Reference Table
When saving seeds you must not only remember to write a date on the container, but also know the approximate longevity of the variety to ensure you rotate them out of the container and into the soil to prevent wasted opportunity.
The seed keeping chart below provides the average storage years for seeds. But, the ripeness and preservation method will impact, either positively or negatively, the longevity.
Always check the date on the package of commercially packaged seeds to determine their age when sealed. The longevity clock starts ticking when the seeds are preserved and made ready for sale – not when you buy or open them.
Depending on where you purchased the seeds, they may have been sitting on a shelf for six months or a year. Ideally, seeds should be used within two years to ensure the highest possible vigor once they are planted.
| Seed | # Of Storage Years | Seed | # Of Storage Years | |
|---|---|---|---|---|
| Bean | 3 |
| Lettuce | 5 |
| Brussels Sprouts | 4 |
| Leek | 2 |
| Cabbage | 4 |
| Onion | 1 |
| Muskmelon | 5 |
| Beets | 4 |
| Broccoli | 3 |
| Mustard | 4 |
| Arugula | 4 |
| Okran | 2 |
| Peas | 3 |
| Strawberry | 1 |
| Cauliflower | 4 |
| Parsnip | 1 |
| Apple | 3 |
| Carrots | 3 |
| Celery | 3 |
| Sweet Corn | 2 |
| Radish | 4 |
| Chicory | 4 |
| Pumpkin | 4 |
| Swiss Chard | 4 |
| Chinese Cabbage | 3 |
| Rutabaga | 4 |
| Collards | 5 |
| Onions | 1 |
| Cherry Pits | 1 |
| Peach Pits | 2 |
| Peppers | 2 |
| Tomatoes | 4 |
| Watercress | 5 |
| Spinach | 2 |
| Dill | 4 |
| Turnips | 4 |
| Endive | 5 |
| Sorrel | 4 |
| Kale | 4 |
| Squash | 4 |
| Watermelon | 4 |
| Cucumber | 5 |
| Eggplant | 4 |
| Oregano | 4 |
| Kohlrabi | 3 |
| Fennel | 4 |
| Basil | 5 |
| Cilantro | 2 |
| Okra | 2 |
| Salsify | 1 |
| Sage | 4 |
| Thyme | 3 |
| Rosemary | 2 |
| Chamomile | 3 |
| Asparagus | 3 |
| Beets | 3 |
| Annual Flowers | 1 to 3 |
| Perennial Flowers | 2 to 4 |
Seed Storage for Increased Longevity
The best thing you can do to ensure the seeds you are keeping will be ready to germinate and flourish when you need them,is to store them properly in the first place.
- Check the seeds for dryness before storing them away. They should be so dry that they are brittle to the touch. Harvested seeds must be air dry for several days, or be dehydrated typically for at least 8 hours at 135 degrees F (57 C) to reach this stage.
- Seeds should be stored in a dark envelope or container to prevent sun from hitting them, and to absorb any moisture that the envelope might be exposed to during storage.
- Placing the envelope in a plastic or metal storage tub to offer further moisture and sunlight protection is highly recommended.
- Seeds should always be stored in a cool (but not below freezing temperature), dry place.
- For best results, store the seeds in airtight containers in temperatures around 40 degrees F (4 C) and only 10% humidity inside of the container.
How to Do a Germination Viability Test
Before using stored seeds, do a germination rate test on 5 to 10 of the seeds. This sampling will allow you to get a good idea of exactly how viable the seeds are before simply tossing them into the ground and crossing your fingers to hope that they grow.
Supplies
- Paper Towels
- 10 Seeds
- Ziploc Bag
- Water
- Permanent Marker
Directions
- Use the water to dampen the paper towel just slightly and uniformly. The paper towel should be moist, but not dripping wet with water.
- Lay all 10 seeds in a row on the dampened paper towel.
- Fold the paper towel over the seeds so that they are completely covered.
- Carefully place the paper towel filled with the 10 seeds inside of the Ziploc bag, and seal it firmly shut.
- Write the date on the plastic bag with the permanent marker. If you are testing more than one variety of seed in the same paper towel, write the names of all the seeds being tested on the outside of the bag, as well. If you are worried about the marker rubbing off, you can write the necessary information on a piece of duct tape or masking tape, and adhere that to the Ziploc bag instead.
- Put the Ziploc bag in a warm area – somewhere at a minimum of 70 degrees F (21 C). Taped to a windowsill or laid flat on top of the refrigerator will work well. You can also place the bag on a seed mat or beneath a grow light to achieve the desired heat range.
- Check the activity inside of the bag on a daily basis. It is vital that the paper towel remains wet. If the paper towel dries out, open the bag and lightly dampen it again using a squirt bottle. Spray lightly over the paper towel – do not use a direct hard spray onto it or the seeds inside. Do your level best to avoid jostling the seeds as much as humanly possible.
- In roughly five days, the seeds in the bag should begin to germinate. Carefully open the bag and unroll the paper towel. You should be able to see initial signs of sprouting from the outside of the paper towel. If you can see such signs, there is no reason to unroll the paper towel.
- At the 10 day mark, unroll the paper towel both completely and gently and count the number of seeds that have sprouted. This figure will help determine the anticipated germination percentage you can expect from the rest of the seeds that came from the same commercially manufactured or the same container of seeds that were preserved residentially. For example, if six seeds sprouted, you should expect about a 60% germination rate.
Typically, all seeds should germinate between 7 to 10 days. The packet the seeds came in or a gardening guide can help you determine the average germination time if you are unsure.
If fewer than 70% of the seeds involved on the test germinated, you now know that supplementing the packets or containers of seeds from the same variety that you have, may be necessary to produce a robust harvest.
Ideally, you want a minimum of 70% to, hopefully, as much as 90% of the stored seeds to germinate during the test.
The seeds used in the germination test do not need to be wasted, they can still be planted as long as you do not allow the sprouts to break or dry out during the time they are removed from the bag and placed into the soil.
As long as the paper towel you use does not have any colored ink in the pattern, it is often less risky to just cut around the sprouting seeds while they are still inside of the paper towel, and plant the entire thing.
Sometimes, the root of the seeds actually grows through the towel. If this happens, it will be essential to plant the paper towel wrapped around the seed instead of attempting to separate it.
What a Germination Test Cannot Tell You
While a germination test is quite helpful and can save you time, effort, and space in your garden, there are several important factors the simple process will not be able to reveal.
The vigor of a seed is just as important as its longevity during storage or ability to germinate.
Vigor relates to the overall strength and health of the seed, the durability of its root system, and how fast and uniformly it will grow, as well as the seed’s capacity to produce flowers and produce.
A seedling that is strong and healthy enough to germinate may still only grow into a stunted or gangly plant. Seeds that lack vigor can develop a deformed look, and may be more prone to dampening off.

Tara lives on a 56 acres farm in the Appalachian Mountains, where she faces homesteading and farming challenges every single day, raising chickens, goats, horses, and tons of vegetables. She’s an expert in all sorts of homesteading skills such as hide tanning, doll making, tree tapping, and many more.