Needle felting is a completely no-tech and super low cost crafting “habit.” I opted against using the word hobby to describe needle felting, because once you pick up a piece of wool and the proper needle, it is almost impossible not to get hooked.
I discovered needle felting accidentally when browsing Pinterest and ETSY for Waldorf toy ideas and inspiration. Almost immediately I fell in love with so many of the lifelike and whimsical needle felted dolls and animals – especially this set of elephants.
But, being a frugal homesteader, I was not about to spend $185 on a child’s little felted toy, or even a shelf display piece. You can make bowls, scarves, baskets, flowers, wall hangings, and bookmarks to name a few.
When my homesteading friend, Sarah Rodriguez, asked if I wanted the wool from her sheep she was about to sheer, I jumped at the generous offer. I cleaned and dried it, then naturally dyed it in excited preparation for embarking on my needle felting journey.
What Is Needle Felting, Anyway?
Natural wool fiber is surrounded by overlapping little scaled edges that are flat, and point in various directions. When the wool fiber is worked with a needle or agitated during wet felting, the scales come into constant contact with each other and begin to form together tightly.
The more the wool being felted is poked or stabbed with the needle, the harder it becomes. This happens because you are not merely locking a couple of fibers together, but hundreds.
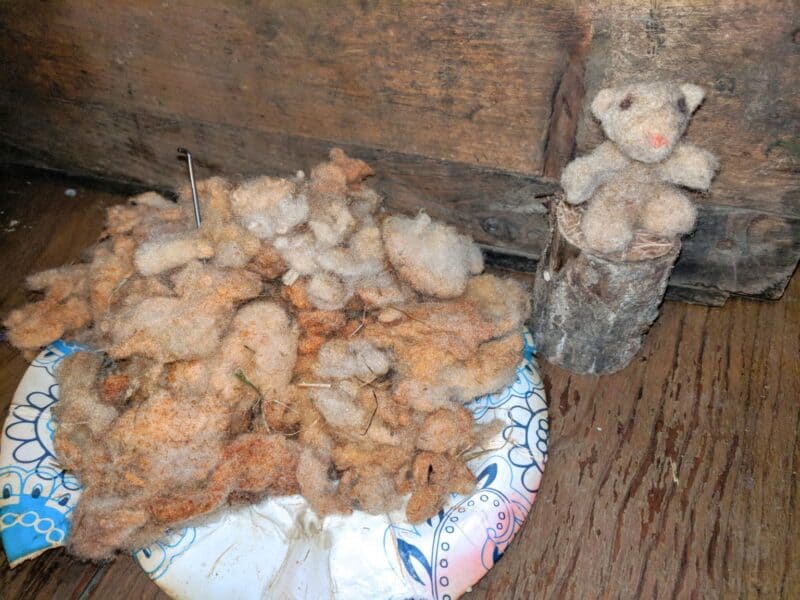
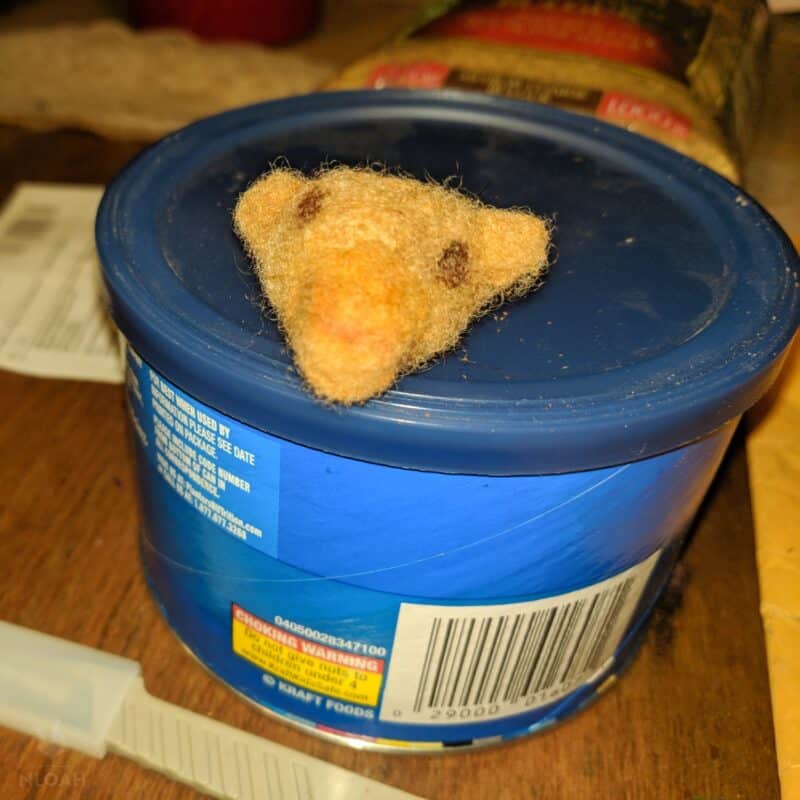
You begin any needle felting project by rolling just a small amount of wool fleece or roving into a ball type shape, and puncturing it over and over again with the needle.
To create sculptured body parts or project pattern pieces, the poking of the wool in a direction to turn the basic shape into a more detailed form continues until you get the desired look and harden the felt so it locks into place.
You will likely need to add more little tufts of wool to the shape to give it both dimension and contour. Sometimes, needle felters use armature wire or the cheaper version, pipe cleaner, as a frame for a shape or to create bendable parts.
It is possible to make a rock hard object if you have enough spare time, and your hands do not start aching terribly from all the repetitive stabbing.
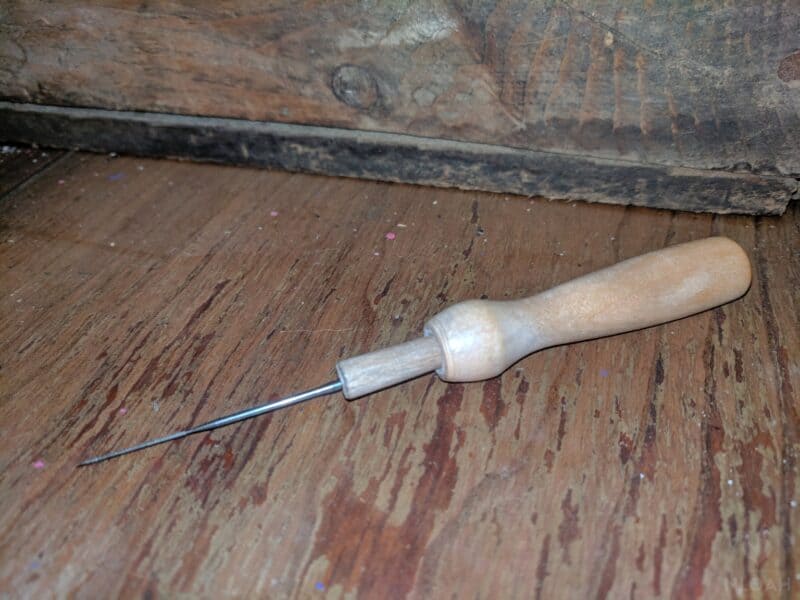
Felting needles are distinctly different from sewing or embroidery needles. The little barbs on the end push the wool in one direction, but do not pull the fibers back out again when they are being stabbed into the project over and over again.

No store in my area sells felting needles, so I ordered online a large set that came with a wood handle holder you could slide multiple needles into so big projects could be completed more quickly.
Wool or foam needle felting mats can also be purchased at craft stores or online, but I saw no sense in spending $10 to $20 for one – I simply used a clean dry sponge for a mat to rest my project upon and it worked just fine.
What Are Some Needle Felt Animals You Can Make?
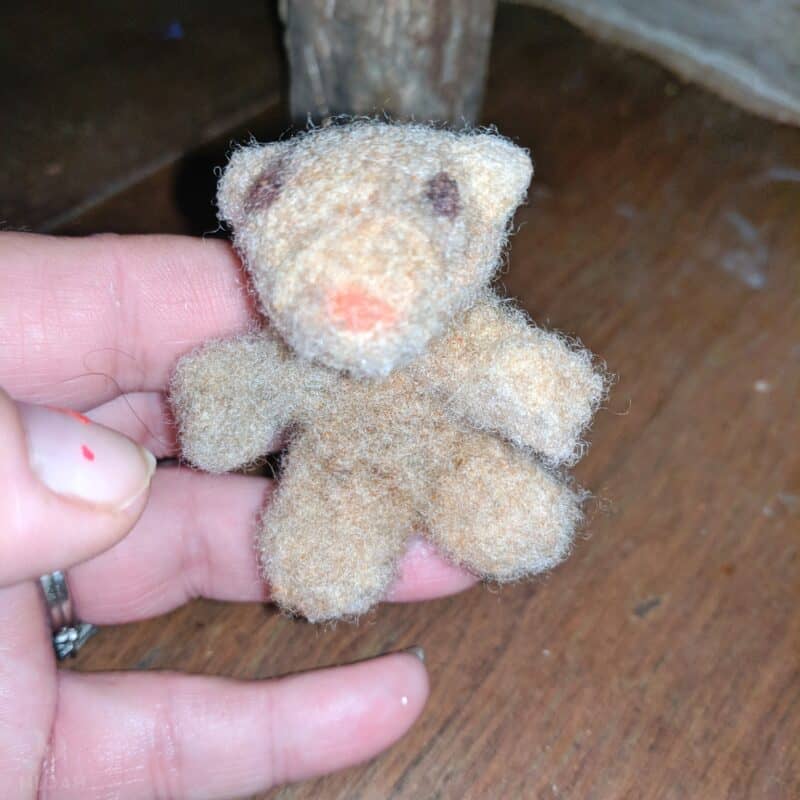
Needle felting is a fabulous craft that can turn wool into a wide variety of animals – from cats to cows and all creatures in between! With some basic supplies, special needles, and time, you can make your own needle felted animals.
From sweet little bunnies to life-sized horses (if you have the patience for it!), a range of four and two-legged friends can be created.
Some of my favorite needle felt animals I’ve made for my kids include:
- Squirrels
- Rabbits
- Curious cats
- Palm-size pups
- Deer
Let your imagination run wild! You can make an entire menagerie of miniature animals once you get into it.
General Tips for Needle Felting Animals for Beginners
For those just starting out, one of the best tips is to begin with small projects and larger pieces once you’ve learned the basics. Start by using desired colors of wool for your creature, then use felting needles with different barbs in order to create shapes and details.
Once each layer is added with very gentle strokes, use pictures as a guideline or take reference from existing animals to shape them into the form you are aiming to create.
Above all else, patience is key – it may take several tries before your animals look like armadillos or baby chicks or whatever you’re trying to make instead of an oversized lump!
While your first needle felt animals might look a little strange, with practice, you’ll get better at creating all those fine details like limbs, paws, and even a snout!
Step by Step Instructions for Making Needle Felt Animals
1. Grab a bit of wool that is about one and a half times the dimensions of the object you are making, and approximately one inch thicker than you want in the final project.
2. Place the wool on the cushy mat you chose to use – a little pillow or a sponge will work just fine. I often felt just holding the wool in my hand, or on my kitchen table. You have to remember to be more careful with the needle when not using some type of mat or risk poking yourself or marring the table.
3. Poke the felting needle randomly into the wool you have formed loosely into your shape. Always poke in an up and down and not a sideways motion.
4. To make indentations in the shape you are making to give it dimensions, compress the middle of the shape. You can then use the felting needle to flatten all or a portion of the compressed area. This is a great way to make wings on birds, or to give added texture to the interior of animal ears.
5. If you have excess wool, you can cut it away with sharp scissors, or fold it onto the project and feel it down so you do not lose the added fluff and weight of the piece. You can fold the excess or add a bit more wool and then fold it onto the object to build a more rounded, cleaner, and finished edge.
6. Use straight pins to secure your shape down for an easier time. This will also relieve your fingers of getting stabbed.
7. After you have the basic form, you can then use needles to attach eyes, paw pads, or other features. You can also embroider any features you’d like to add.
How Long Does it Take to Make a Felt Animal?
The answer depends on the type of animal you are working on, as well as your skill level with a needle felting tool.
Generally speaking, however, most novice crafters can expect to take anywhere from a few hours to several days to complete a single animal figure.
The more experience you have, the faster it becomes – but no matter what, taking the time to craft something special will always seem worthwhile in the end!
Where to Get Wool for Your DIY Projects
If you do not keep sheep or have a sweet homesteading friend who does, both white and dyed wool roving can be purchased at most craft stores and online.
Needle felting kits are another great option for garnering both the basic supplies you need to enjoy the craft along with a detailed tutorial for making the project(s) that come in the box.
You can find free needle felting patterns on Pinterest, or downloadable tutorials for sale on Etsy. A needle felting pattern is basically a guide to the different shaped pieces you will need to make to assemble a project and instructions on the order of attachment.

Tara lives on a 56 acres farm in the Appalachian Mountains, where she faces homesteading and farming challenges every single day, raising chickens, goats, horses, and tons of vegetables. She’s an expert in all sorts of homesteading skills such as hide tanning, doll making, tree tapping, and many more.