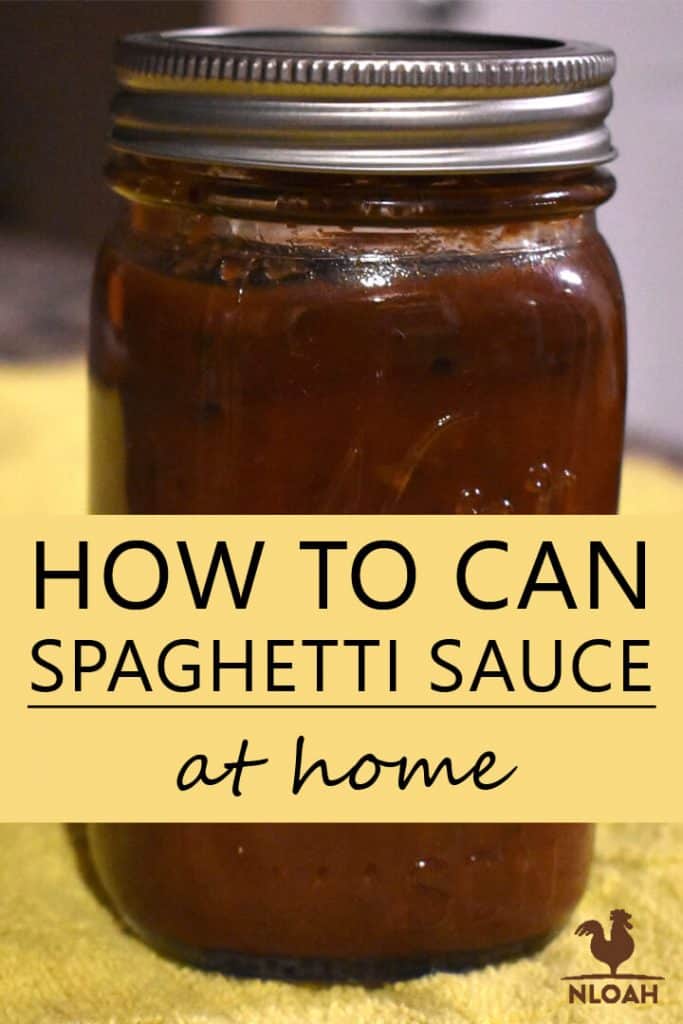
There is nothing better than homemade spaghetti sauce! Whether you’re keeping an eye on your health – homemade spaghetti sauce has far less sugar and sodium than the storebought varieties – or you simply prefer the taste of fresh sauce, making and canning your own sauce is a great way to make the most of that summer harvest.
However, it’s important to make sure you follow a clear, proven recipe when you are canning sauce in a canner. Failing to follow a tried-and-true recipe can result in some pretty serious foodborne illnesses.
Luckily, we have everything you need to know about canning your own homemade spaghetti sauce in this article. Grab your equipment – and your juicy, ripe tomatoes! – and let’s get started.
What Kinds of Tomatoes Work Best for Homemade Spaghetti Sauce?
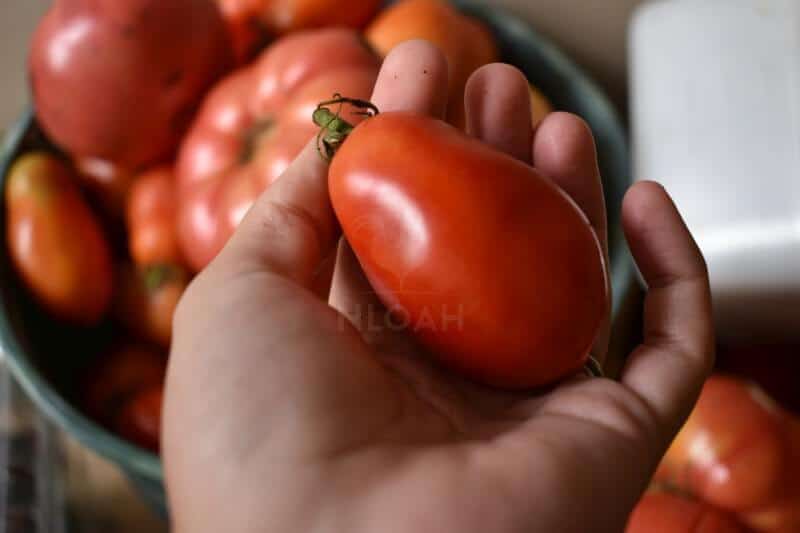
Truthfully, you can use just about any kind of tomato for homemade spaghetti sauce. Tomatoes may sometimes differ in origin, shape, size, and even color, but all tomato plants will make delicious sauce.
Some are better than others, too. If you are using a paste tomato, it will have fewer seeds and a firmer texture. These plants also produce their tomatoes all at once, making it easier if you need to process fruits into sauce.
The most popular paste tomatoes are:
- San Marzano
- Amish Paste
- Roma (or any other standard plum variety)
- Viva Italian
- San Marzano Redorta (an heirloom variety)
- Opalka
- Mama Leone
- Russian Big Roma (a disease-resistant Roma that is a unique indeterminate variety, producing fruit throughout the growing season)
- Jersey Devil
- Polish Linguisa
You can also use cherry tomatoes or even large beefsteaks to make your spaghetti sauce. The choice is up to you! If you don’t mind more seeds in your sauce, any kind of tomato will do. However, paste tomatoes are easier to blanch and peel, and they’ll also require less prep work when it comes to making your sauce.
Truth be told, I often use whatever kinds of tomatoes I have lying around to make my sauce. Often, that means I use a combination of mostly Romas along with a few Beefsteaks and my new favorite variety of tomato, the Mortgage Lifter.
Because the Beefsteaks and Mortgage Lifters have significantly more seeds and a meatier, juicier texture, they make the a bit runny – as a result, I just add more Romas to thicken them back up.
Adding cornstarch or other thickeners can also help thicken your sauce up if it’s too watery, but I recommend doing this after canning.
Thickeners in your sauce can make it unsafe to be canned in a water bath canner, and they can sometimes clump together if you don’t first blend them into a roux. Add thickeners after you have canned your sauce, right before you use it, for best results.
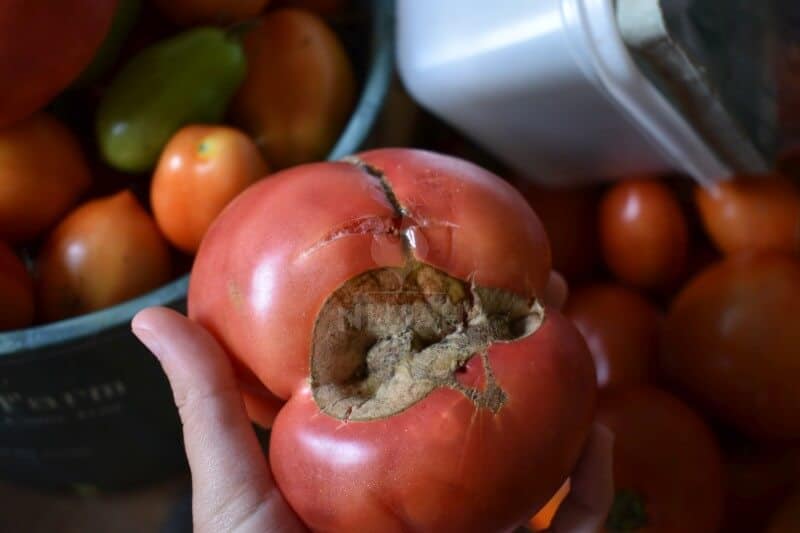
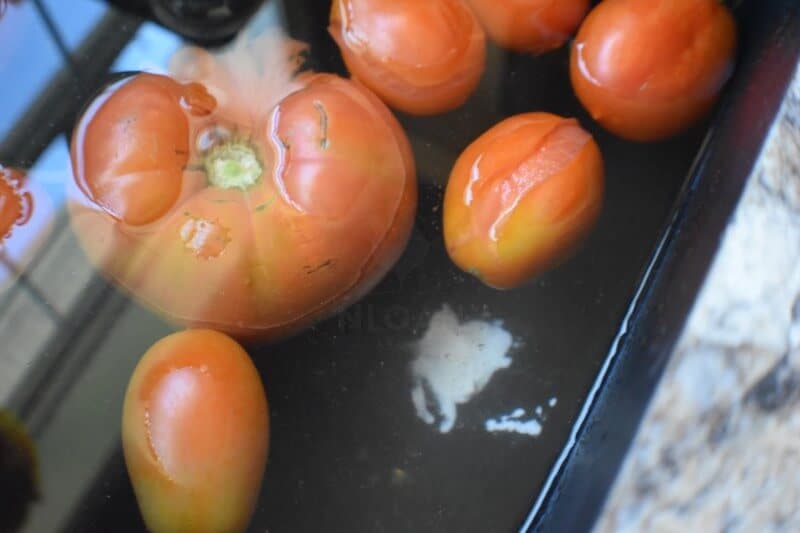
When you are selecting tomatoes for your sauce, only choose those that are fully ripe. If your tomatoes aren’t ripe, will taste more bitter and will also be more difficult to blanch and peel. Only use unblemished fruits that still have their skin intact to avoid any contamination, too.
Adding Other Ingredients To Your Sauce
The recipe that we will give you includes certain ratios of tomatoes, herbs, and other ingredients. You are welcome to stray slightly from the recipe if you wish, but the most important thing to remember is that when you add other ingredients, you may alter the chemistry of your sauce slightly.
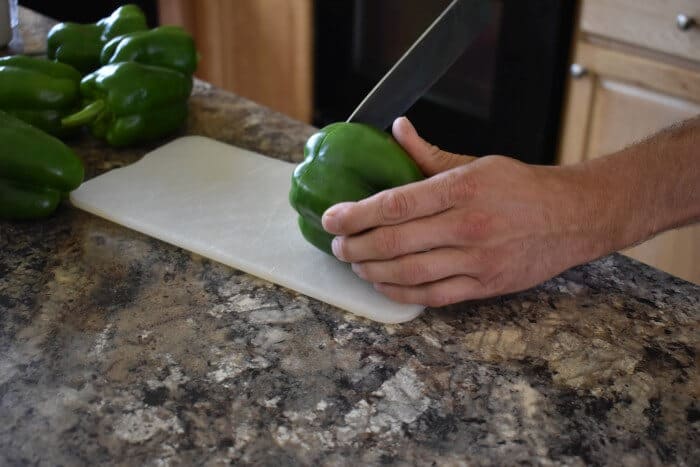
Most of the time, this is fine – but if you add too many other vegetables, like peppers or onions, in particular, your sauce can become too basic (lose acidity) and this can affect the safety of your canning. To combat this, either increase the amounts of other ingredients or add additional citric acid (lemon juice).
Another way to make sure your jars are safe no matter what is to process tomato sauce in a pressure canner. If you are making a basic marinara with no peppers or onions, this is not necessary.
However, if you use any kind of non-water bath safe ingredients (including vegetables or thickening agents), you might want to process the jars in a pressure canner to avoid illness.
This article will discuss how to process tomato sauce in a water bath canner, which is preferred by most people because it is so quick. Since we aren’t adding peppers or onions, it’s safe for this type of canning. However, >if you choose to add other ingredients, make sure you use a pressure canner.
Ingredients
- 25 pounds of tomatoes – if you are using Romas, it will be about 80 fruits
- 4 tsp oregano
- 2 tsp parsley
- 2 tsp basil
- 2 cans tomato paste (optional – if your sauce is thick enough, you can add more tomatoes to make up for the volume instead)
- ¼ cup olive oil
- ⅔ cup sugar
- 2 bay leaves
- 2 tsp Worcestshire sauce
- 1 cup lemon juice plus 2 Tbsp for canning
- 8 cloves of minced garlic
- ¼ cup salt
Instructions
1. Preparing Your Sauce: 2 Options
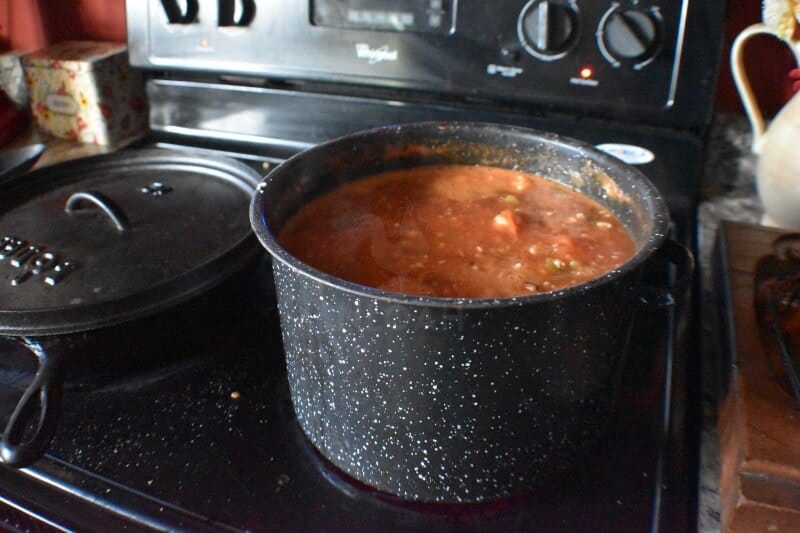
When you are getting your sauce ready to go into the canner, you will have two options as to how you cook your materials down. You can either process your sauce in a sauce pot on the stove, allowing it to simmer for several hours. If you don’t want to sit around watching the pot, you can also cook your sauce in a slow cooker.
No matter what you choose, the steps to prepare your ingredients will be the same. However, you will need to make sure you adjust the cooking time depending on which method you use.
To start, bring two quarts of water to a boil on your stovetop. While you are waiting for the water to boil, rinse your tomatoes off and remove the stems.
Once the water is boiling, use a slotted spoon or a pair of tongs to insert each of your tomatoes into the boiling water. Leave them there for about one minute. Once the skin of the tomatoes appears to be pulling back, you should remove them and place them into an ice bath.
Let the tomatoes cool for a moment so that you don’t burn your fingers. Peel and quarter the tomatoes, placing each into a stockpot. If you’re using Roma tomatoes, you can place the entire tomato, but if you use a larger tomato, like a Beefsteak, you should cut out the core. This won’t make you sick, but it does not taste pleasant in a sauce.
If you plan on making your sauce in a pressure canner, you can add peppers and onions if you so choose. Do not add peppers or onions if you are processing in a water bath. However, if you choose to process in a pressure canner, put your green peppers and onions into a food processor or blender.
You can alternatively chop them by hand before transferring them to the stockpot. Put the rest of your ingredients into the pot with your tomatoes, peppers, and onions.
If you are cooking in a stock pot on the stove, you should let the mixture simmer, uncovered, for at least four hours, stirring every now and then. After the four hours has elapsed, remove the bay leaves.
Step 2. Prepare Your Jars and Canner
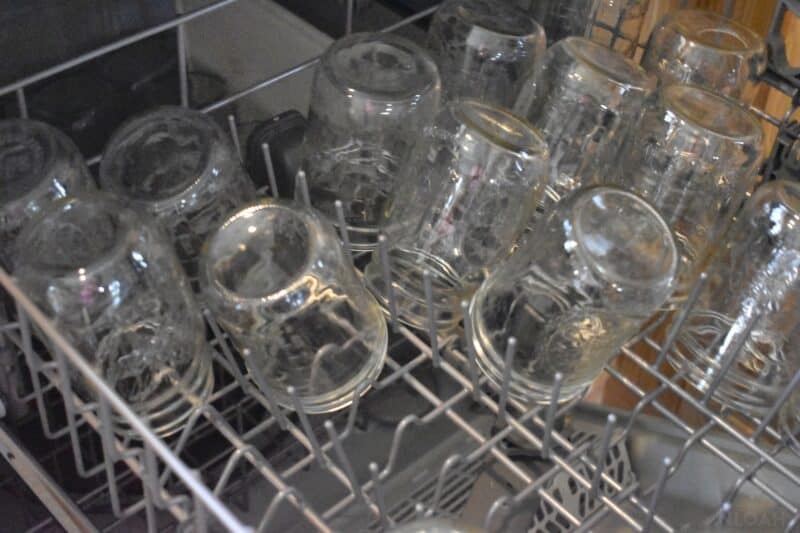
I like to prepare my jars while the sauce is still cooking to make the most of my time. Heat your jars by warming them in a hot water bath or put them through the dishwasher on a hot cycle. Make sure your bands are sanitized, too.
While you are getting your jars ready, you can also prepare your canner. A water bath canner is safe to use for this job. You should make sure there is enough simmering water in the canner to completely cover the jars.
The instructions that this article will give you are for canning in a water bath canner. If you choose to use a pressure canner, you will not need to prefill and heat your water – but you will need to adjust your processing times, as canning in a pressure canner is a bit different than canning in a water bath canner. Look up another recipe for best results because you will also be able to fit more jars inside a pressure canner, too.
Step 3. Fill Your Jars
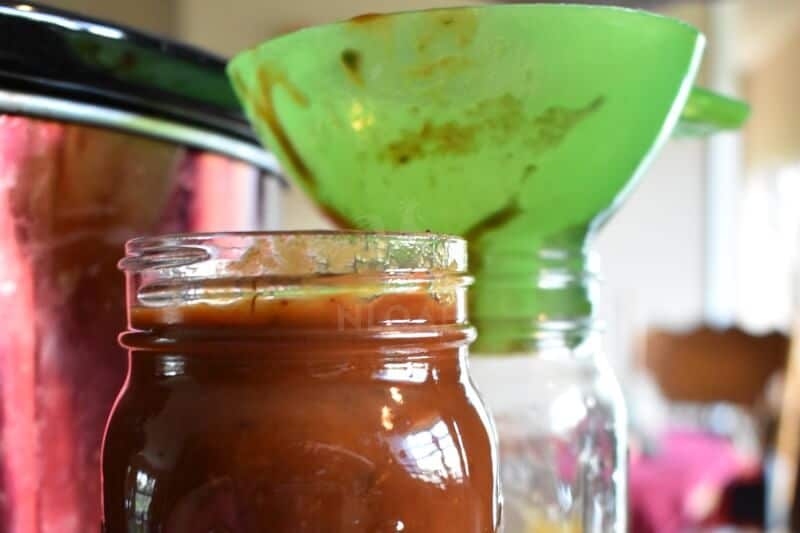
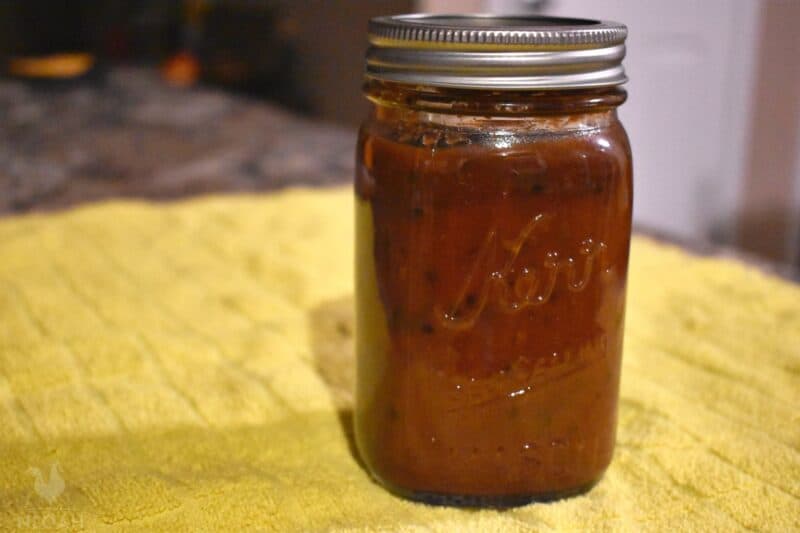
Once your jars are ready and your sauce is ready to go, you can put two tablespoons of lemon juice in each of your nine jars. Make sure the jars are nice and hot! Ladle the hot sauce into the jars, leaving about a half an inch of headspace.
Remove any air bubbles you might find with a plastic remover and adjust for headspace by adding or removing more sauce. Wipe down the rims to make sure there is no sauce remaining, as this can affect the canning process. Center the lids on your jars and screw them on until they are tight, but not too tight.
Step 4. Place the Jars in the Canner
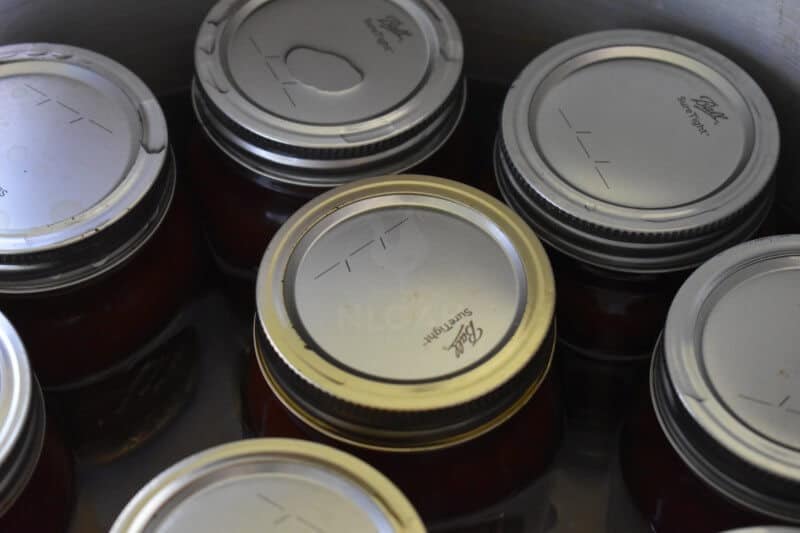
Time to go! Carefully place each jar inside your canner. Make sure the water is covering the jars and if it’s not, be sure to add some more.
Step 5. Process Your Jars
Bring your water back up to a boil. Once the water is boiling, you should process for 40 minutes.
Step 6. Remove the Jars
You can allow the jars to cool in the canner if you’d like, but it’s better to remove them as soon as you are done.
Place the hot jars on a towel (make sure you cover your countertop to avoid damaging it!). Ideally, the location in which you allow your jars to cool should be draft-free and out of any direct walking paths.
Step 7. Store Your Jars
Once the jars have cooled (I like to give them about twelve hours or so) you can go ahead and store them. Check them for any signs of canning failure – make sure your lids have sealed (often evidenced by popping noises as the jars cool) and that there is no residue on the outside of the jars.
If you have hard water, you might notice white stains on the outside of the jars. That’s nothing to worry about – just wipe them down.
You can store your jars in a cool, dark location like a basement or your pantry. They should last for several years.
Some Final Tips
- This recipe calls for Worcestershire sauce. You don’t need to use it if you don’t like the taste, but give it a shot. It makes it taste better, even after having sat for several months in a canning jar.
- You can use either freshly squeezed lemon juice or bottled lemon juice, but for optimal safety, I recommend using bottled lemon juice.
- If you’re canning at an altitude of 1,000 feet or less, you can follow this recipe directly. However, if you are at an altitude up to 3,000 feet, you will need to add five minutes. At 6,000 feet, add 10 minutes, and at 8,000 feet add 15 minutes. At 10,000 feet you will need to add a whopping 20 minutes.
- This sauce is incredibly good for you. It contains fewer than 120 calories for three-quarters of a cup and just 17 grams of carbohydrates. It even has three grams of protein!
So what do you think – do you have what it takes to make this tasty concoction? This sauce tastes fabulous when layered over pasta or even pizza!
You can add ground beef, lamb, chicken, or turkey to make it a complete meal, too – we just recommend doing that after canning and right before cooking to ensure that your jars are safe and that the quality of the meat is preserved.
And if you’re feeling up to it, we’ve written about a whole bunch of other things to can, such as:
- Canning Tomatoes
- Canning Salsa
- Canning Blackberry Jelly
- and a whole lot more!
Oh, don’t forget to pin this article for later on your favorite Pinterest board!

Rebekah is a high-school English teacher n New York, where she lives on a 22 acre homestead. She raises and grows chickens, bees, and veggies such as zucchini (among other things).