Learning how to can seems daunting at first, but water bath canning is easy! Once you get the hang of the steps, you will be able to can so many different things to store in your pantry.
Jams, jellies, sauces, and salsas are at your fingertips. Before you get started, you have to learn how to use a water bath canner. Don’t worry, it’s pretty easy.
Water bath canning is often the first method that people try when they start learning how to preserve their harvest. Using a pressure canner seems far too intimidating, but it’s not.
Everyone has heard of horror stories about pressure canners exploding in kitchens, so newbies tend to stick to water bath canning because it seems safer.
Truth be told, both canning methods ARE safe, but using a water bath canner doesn’t require you to stay in the kitchen and monitor the pressure. In most cases, it is the faster method. You can have a batch of homemade jam finished in an hour, start to finish.
Foods That Are Safe for a Water Bath
The key to safe water bath canning is picking the right foods. Acidity deters bacterial growth, and those are the foods you want to pick. Foods with low acid levels, such as vegetables or meat, require pressure canning to kill of bacterial spores. High-acid foods are safe in a water bath, but sometimes, you do need to add more acid. Additional acid sources include lemon juice, citric acid, vinegar, or sugar.
Juices are very high in sugar, and canned fruit recipes in 100% fruit juices are safe. You want to use foods that have a pH level of 4.6 or below. These are the safest choices.
So, what can you make with water bathing? The most common ones include:
- jams
- jellies
- marmalades
- pickled foods
- acidified tomatoes
- whole fruits
These foods are safe because their pH levels prevent scary bacteria and toxins from forming. Essentially, botulism will not form in properly canned high acid foods because it is unable to grow.
Botulism spores are unable to grow in high acid environments, so you don’t have to be concerned with achieving super high processing temperatures. You just have to worry about killing mold, yeast, and bacteria because those can cause your food to spoil. Who wants to lose all of their hard work to spoilage? Not you!
Yeast, mold, and bacteria are killed at lower temperatures simply in a boiling water canner, typically called a water bath canner. In these canners, the water boils around 212 degrees F (100 Celsius), killing off mold and bacteria, and vacuum sealing the jars as they cool. Then, the pH level of the food ensures nothing grows in it.
Safety Tips for Water Bath Canning
You want to get it right the first time, and you want your finished product to be safe for consumption. Here are some safety tips to remember when water bath canning.
- Follow the Recipe. It is important to follow the recipe you found. Canning books are great picks because they use tested recipes. Changing ingredients may not seem like a huge deal, but it could change the acidity levels and allow bacteria to grow.
- Don’t decrease the amount of sugar, vinegar, citric acid, or lemon juice recommended. If you decide that you want to use a low-sugar recipe, find a different recipe that uses low-sugar pectin. Reduced sugar canning requires pectin designed for less sugar. You can find it in any store that sells pectin!
- The type of pepper used in recipes is interchangeable, so long as you use the same amount. If it calls for two cups of jalapenos and you prefer to use habaneros for an exact kick, that’s fine. Just make sure you still use two cups!
- Make sure you use 5% vinegar in your recipes. Some store brands or generics are only 4%, or even lower. You also should never use homemade vinegar in canning recipes because you cannot be sure of the acidity level. Acid is crucial for a SAFE water bath canning recipe.
- Be aware of your altitude and adjust for processing time. Most recipes are based on where its created and tested. To can your foods safely, you need to know your altitude and adjust accordingly.
- 1,001 to 3,000 FT — Add 5 Minutes
- 3,001 to 6,000 FT — Add 10 Minutes
- 6,001 to 8,000 FT — Add 15 Minutes
- 8,001 to 10,000 FT — Add 20 Minutes
Tools Needed for Water Bath Canning
To water bath can, you only need a few things. Most of the time, you can purchase these all in one kit together.
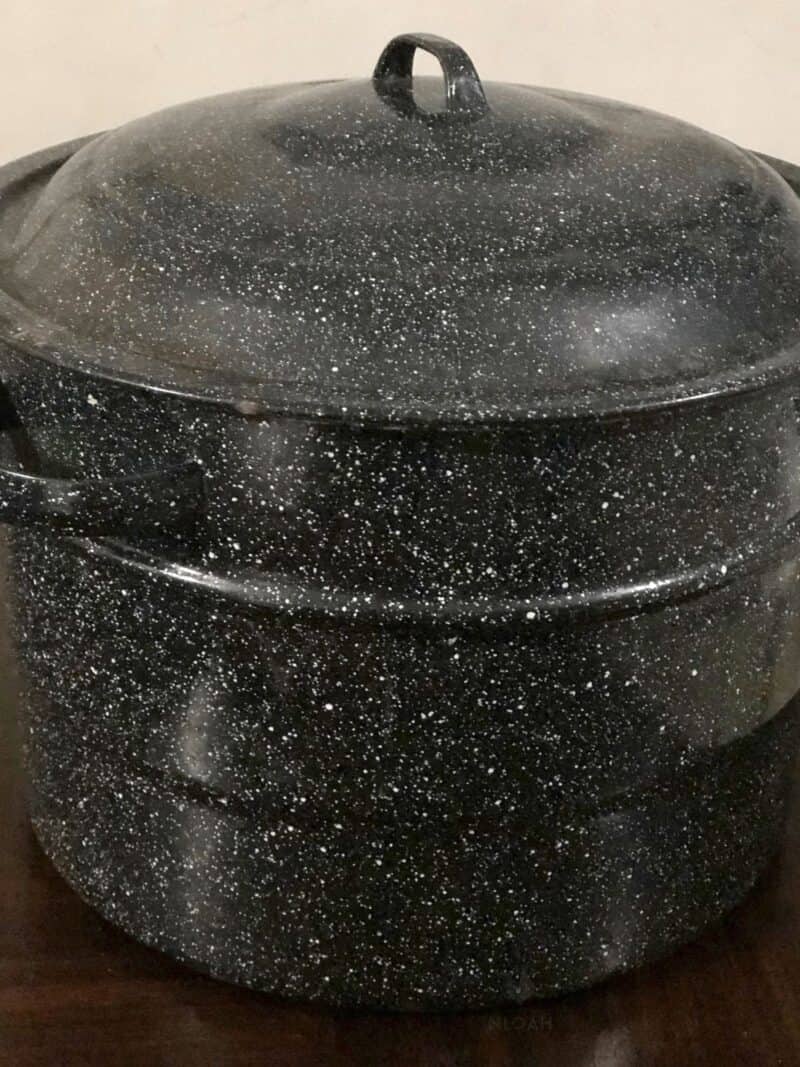
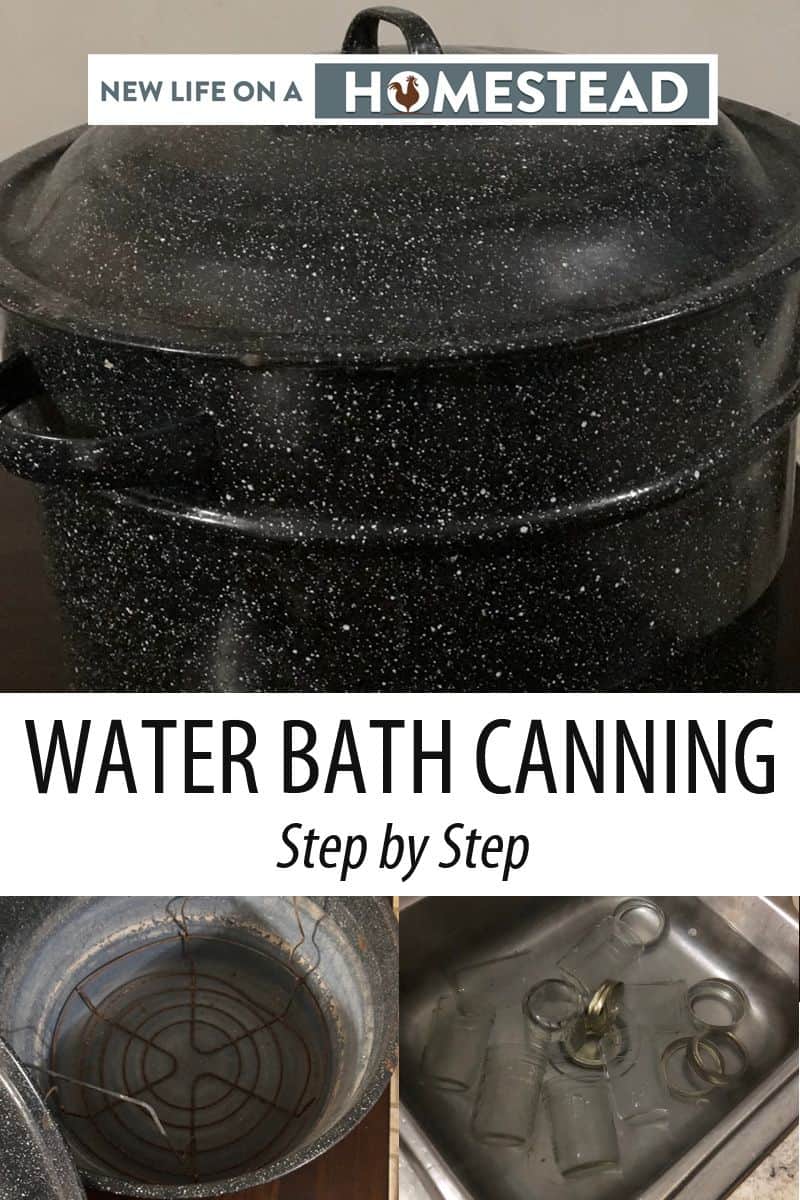
- Enamel water bath canner
- Metal wire rack
- Jars, Metal Rims, and Lids
- Jar lifter
- Canning funnel
- Magnetic lid lifting wand
- Hot pads
- Towels
The two most important items are the canner itself and the wire rack. You don’t want to place your jars directly on the bottom of the canner. You also will need whatever is necessary to cook the recipe such as pots, spoons, and food!
Water Bath Canning Steps
Don’t let the amount of information frighten you. Water bath canning doesn’t have to be complicated and scary. To show you, let me walk you through the necessary steps as I make a batch of jam. You’ll see that nothing is difficult and most of the steps you repeat no matter the recipe.
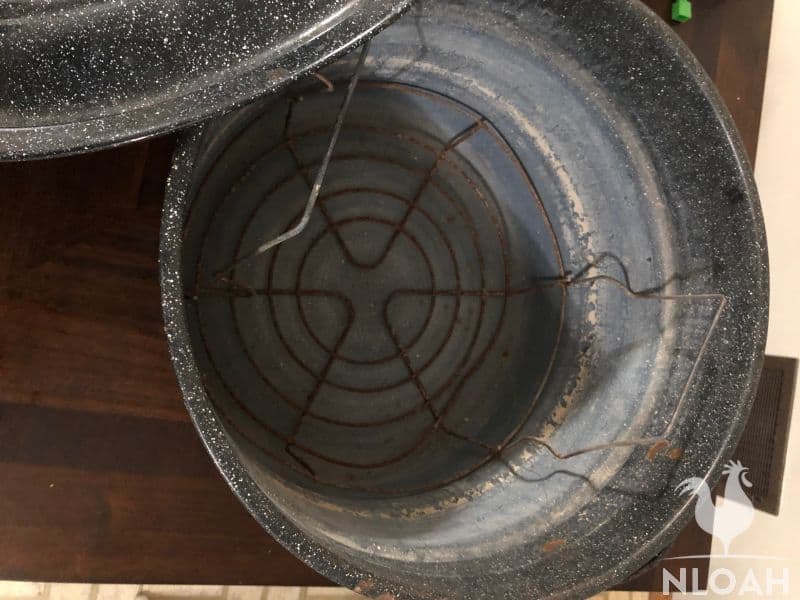
Step 1: Fill Your Water Bath Canner
The first thing you want to do is fill up your water bath canner and put it on the stove to boil. It’s a large amount of water, so it takes time to boil. You want to give it plenty of time!
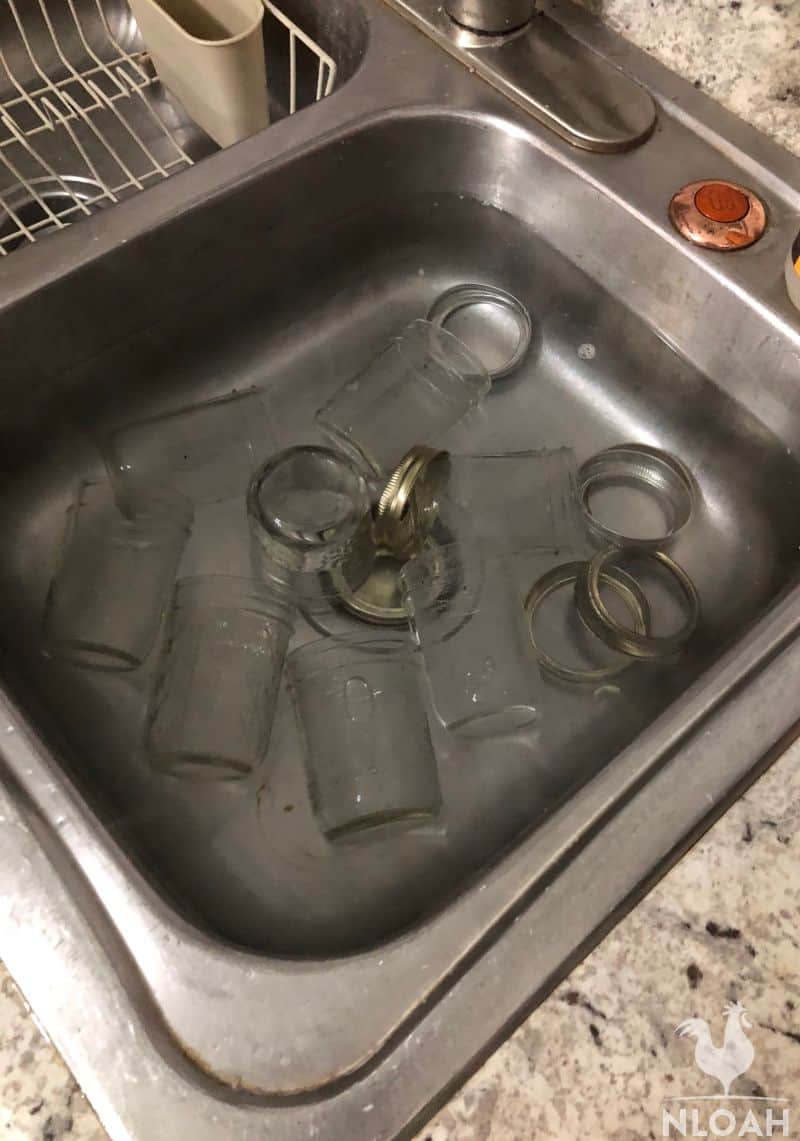
Make sure the metal wire rack is on the bottom before you start filling. As you can see in the picture, my rack is getting old from a lot of usages. Racks aren’t expensive to replace if you lose it!You want to fill the canner up 1 to 2 inches deeper than your jars. The water needs to cover the tops of the jar lids. If you aren’t sure how much water that will be, put in a jar before you start filling it up to give you an idea.
Step 2: Inspect the Jars
Next, gather the jars you want to use. I always get out one or two more jars than I think I will need just in case the recipe makes more than I anticipated. No one likes having to wash and heat a jar up in the middle of the filling step.
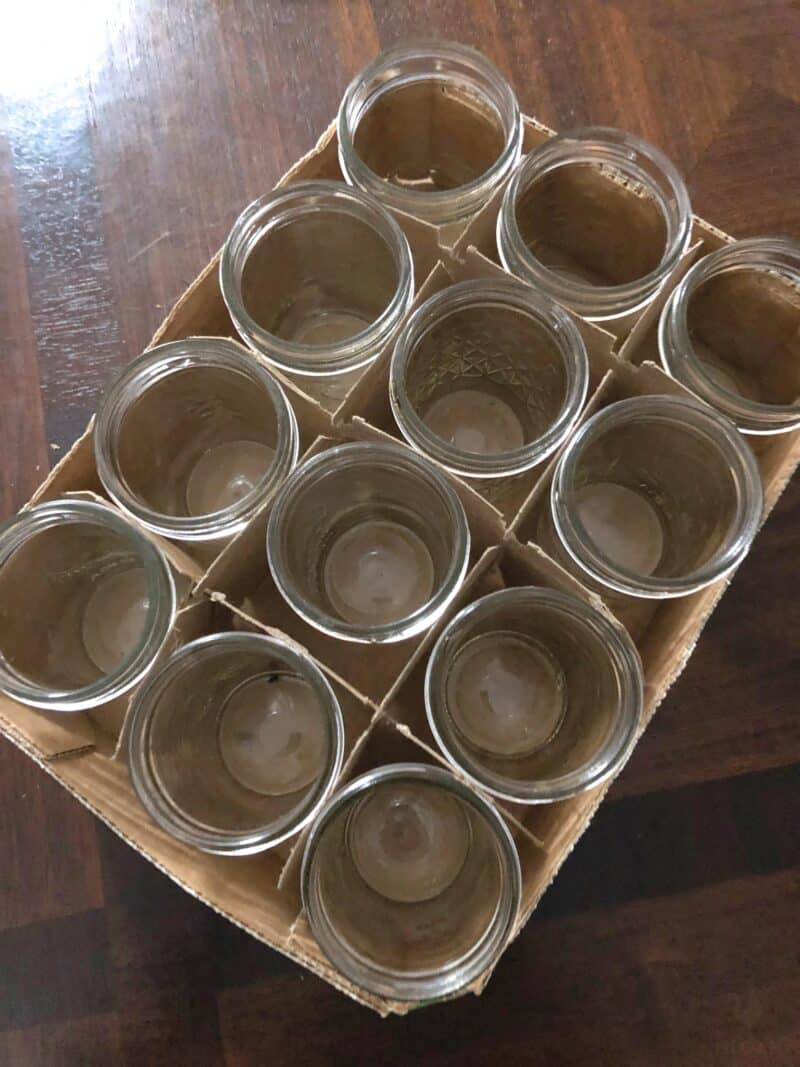
It’s important to first inspect your jars for cracks or flaws. They can happen when you are washing or moving them around. Any damage can cause your jars to break due to the high temperature in the canner.
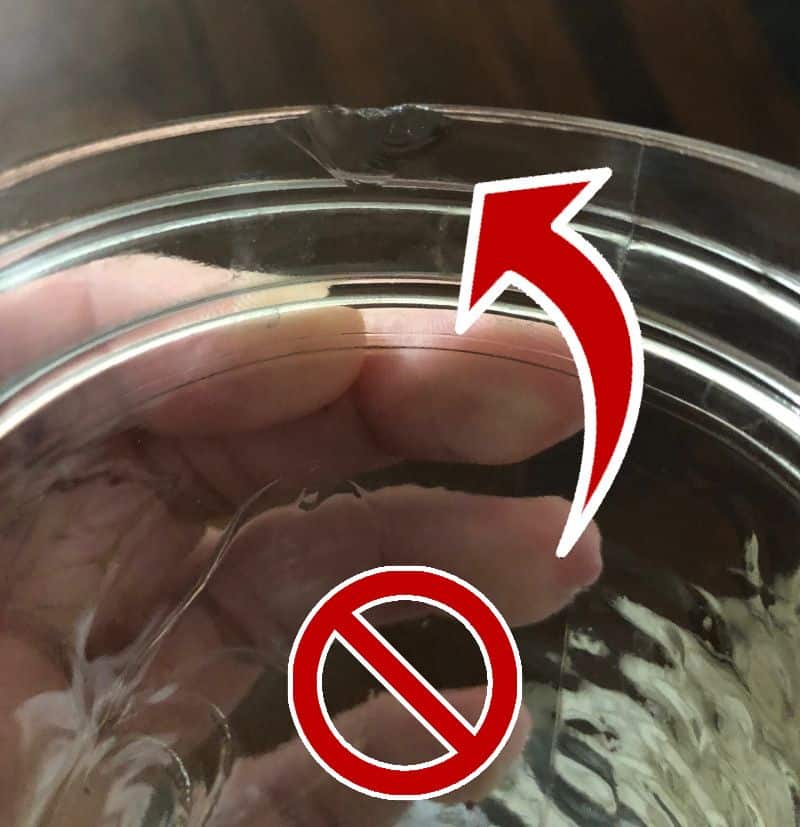
You can see in this picture an example of a flaw I found in one of my jars. This jar now becomes a drinking glass only. I learned the hard way that canning a jar with a crack or flaw can cause it to break while processing, and that’s a huge mess plus a loss of whatever you are canning!
Step 3: Wash The Jars and Rims Then Soak
Now that you have your jars selected, you want to wash them up really good, along with the rims. There is no need to sterilize the jars if you are using a recipe that requires processing the jars for 10 minutes or longer. Hot water and soap are sufficient for getting all of the jars and rims clean.
If the processing time is less than 10 minutes, you need to sterilize the jars. This can be done by placing the jars, rims, and lids in the canner for 10 minutes before removing and filling them. The jars should be hot when you fill them to prevent them from shattering.
It was once recommended to boil the lids to ensure a proper seal. Ball did extensive testing and determined that hot water and soap is sufficient enough.
I leave my jars to set in a sink of hot water while I wait to can them as long as they don’t need to be sterilized. Keeping the jars hot, whether it’s in the canner or the sink, prevents shattering. Putting extremely hot food in cold jars don’t always work well!
Step 4: Make Your Food
Now that your water is on the stove to boil and your jars are prepared, it’s time to start your recipe. This step is different depending on what you are making! Follow your recipe closely, no matter if you are making jam, jelly, or tomato sauce. The recipe is your best friend.
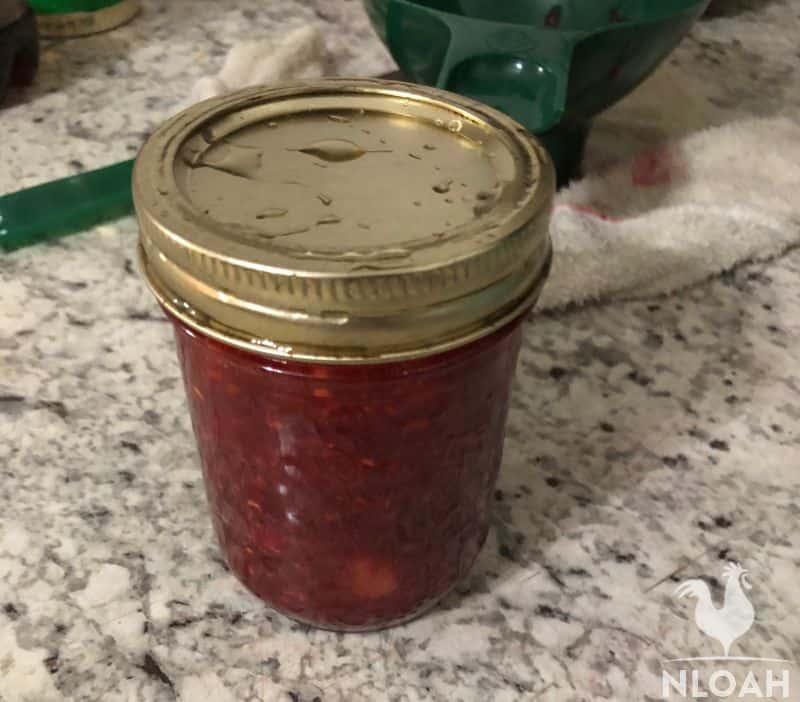
Most recipes take 30 minutes or less. Making jam takes around 10 to 15 minutes; it’s pretty simple! In this picture, I’m cooking cranberries and strawberry together for my “Holiday Jam.”

Remember to follow a recommended and tested recipe, especially as a beginner. You want to make sure you are using a recipe that has the correct amount of acid.
Step 5: Is The Water Boiling?
Before you start to fill your jars, you want to make sure the water in the canner is boiling. Don’t start filling the jars until the water is boiling. The food needs to stay hot!
Step 6: Fill The Hot Jars
Now it’s time to fill your hot jars. You will want to use a funnel for this step. A funnel sets in the top of the jar and helps reduce the amount of mess you make. It makes it much easier to get that hot jam inside of the jar.
Step 7: Check the Headspace
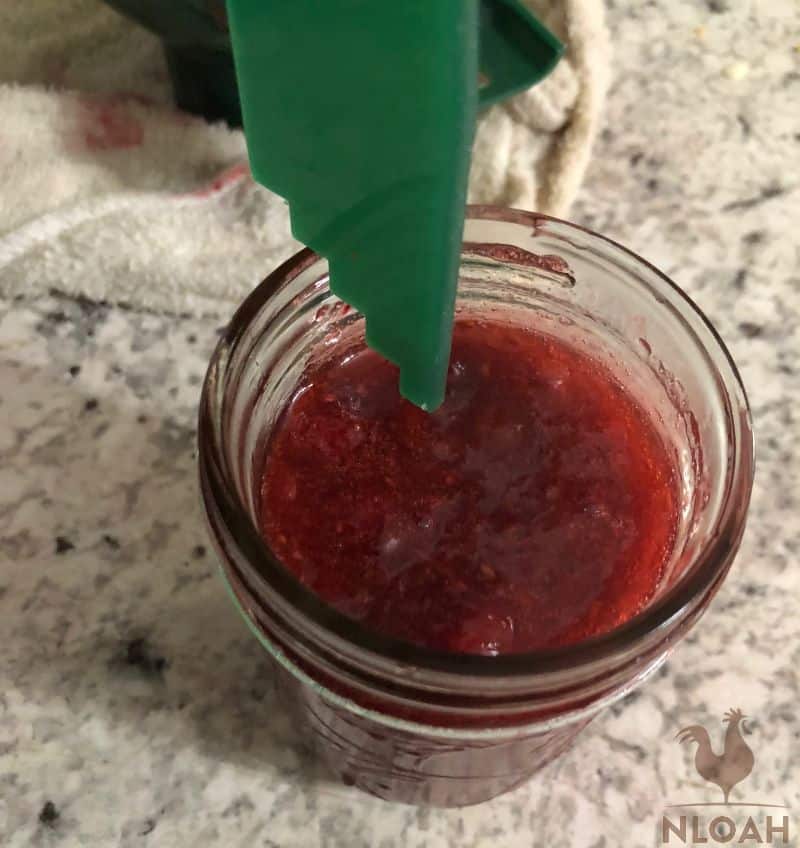
Some tools, like a jar lifter, you could do without, but you do want a headspace measuring tool. Each recipe that you make should have an indicated headspace, which is the space left between the food in the jar and the lid itself.
When you fill your jars, you don’t want to overfill. The food should never touch the lid. There must be some empty space under the lid, and this space is called the headspace. Headspace is one of the key factors to achieve a good vacuum seal.
You have to have the right amount of headspace in the processing stage. Sometimes, you will end up with too much headspace after you process because of loss of liquid or trapped air in the food. That’s ok! Just start with the recommended headspace. The recommendations are:
- Jellies, jams, soft spreads, and fruit juice: ¼ inch (½ cm)
- Fruits, tomatoes, pickles, relishes, chutneys, condiments: ½ inch (1 cm)
- Low acid foods: 1 to 1 ¼ inches (2 to 3 cm)
- Freezing: ½ inch (1 cm)
Step 8: Remove Air Bubbles
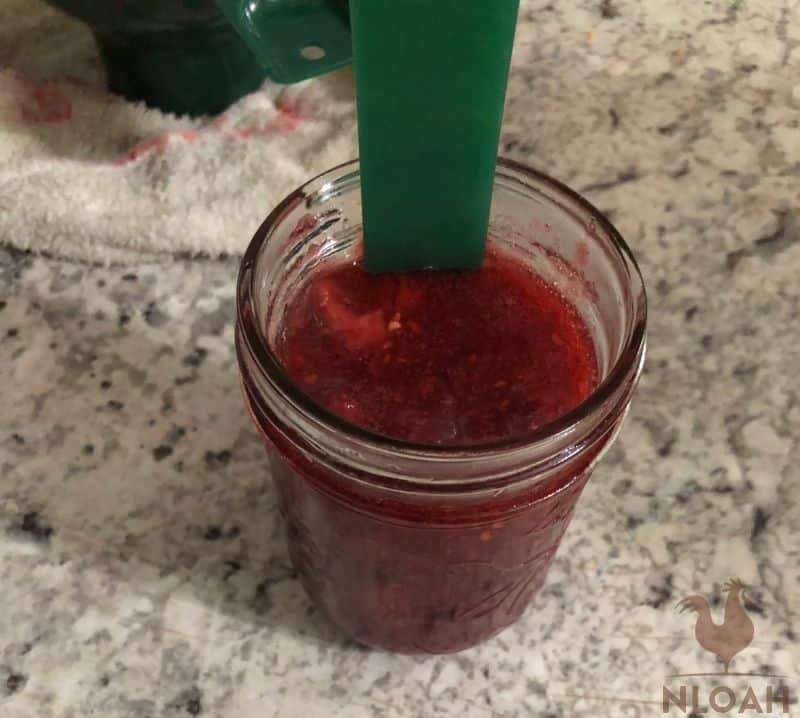
Now, turn that headspace measuring tool upside down and use the flat end to go down the side of the jar. Move the tool to the center of the jar. Doing so removes any air bubbles that could have formed. Do so two or three times around the inside of each jar.
We remove air bubbles from jars for a few reasons. First, if there is too much air in your jars, it might interfere with the jar’s ability to push out the air in the top and develop a good seal. Too much air also can cause some of the canned product to stick out of the canning liquid or it could cause discoloration.
Step 9: Wipe the Rims
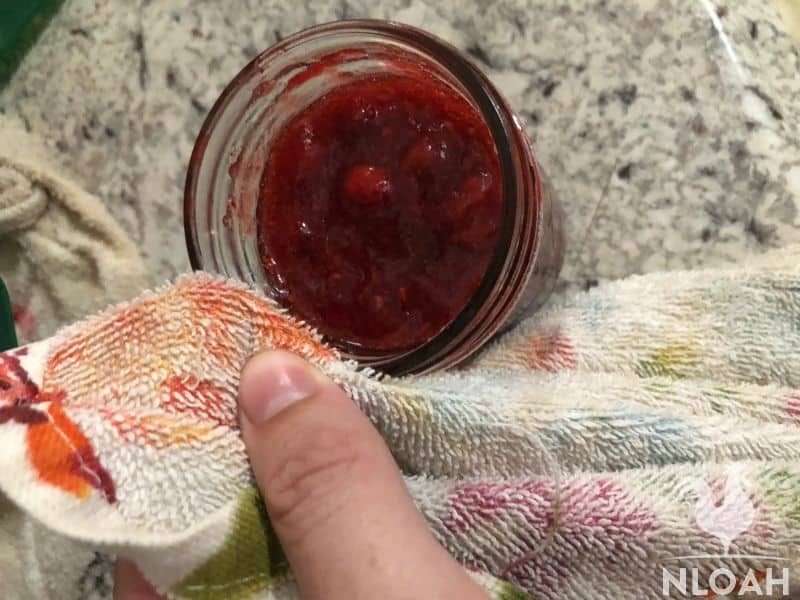
Once the jars are filled, take a damp cloth or paper towel to clean off the jar rims. Anything left on the rims, such as bits of jam, could stop the lids from sealing properly. You definitely want the lids to seal properly!
Step 10: Put on Lids and Rims
Now, place the clean, warm lids on top of the jars. Screw on the metal bands and tighten them until you first feel resistance. This is called fingertip tight. You don’t want to overtighten your jar bands!
Step 11: Process
Transfer your filled jars into the water bath canner. I set them onto the wire rack, which you can hook onto the sides of the canner and then lower the filled rack once all of the jars are in place.
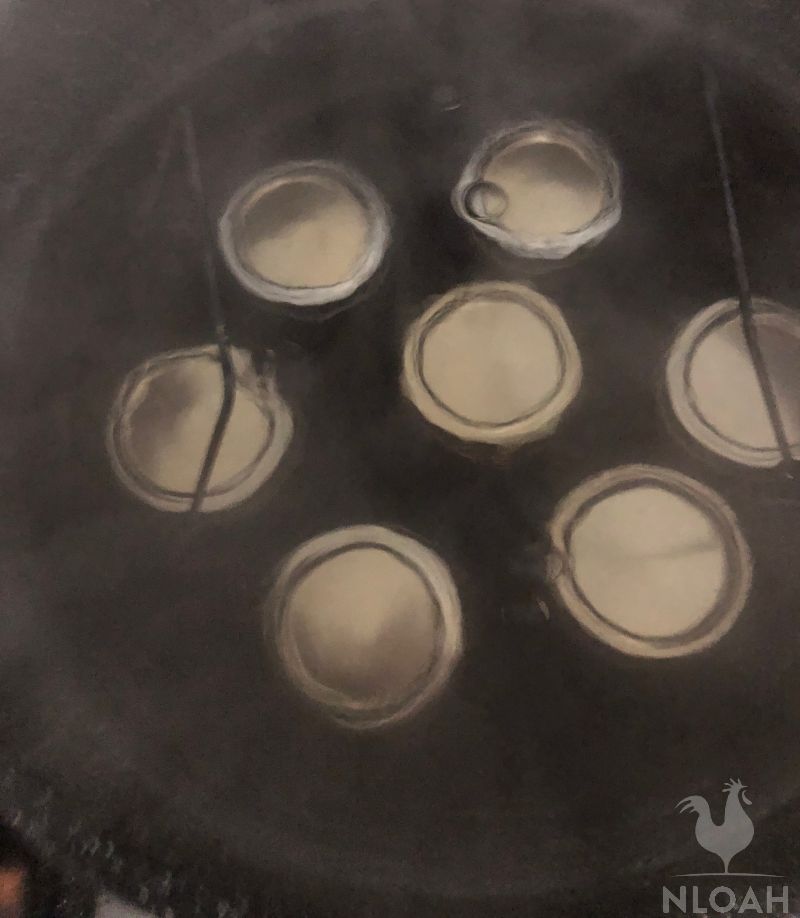
Now it’s time to process the jars. Take a look at the recipe and it will tell you how long you have to leave it in the canner. Make sure the water is boiling! If it isn’t boiling, wait until the water comes back up to a boil before starting the timer.
Step 12: Remove Hot Jars and Let Cool
After the processing time finishes, take off the lid and pull up the rack, hooking it onto the side of the canner. Leave the jars in the canner for 5 minutes. Use a jar lifter or hot pads to remove the jars one at a time. Place them on a towel laid on your kitchen counter.
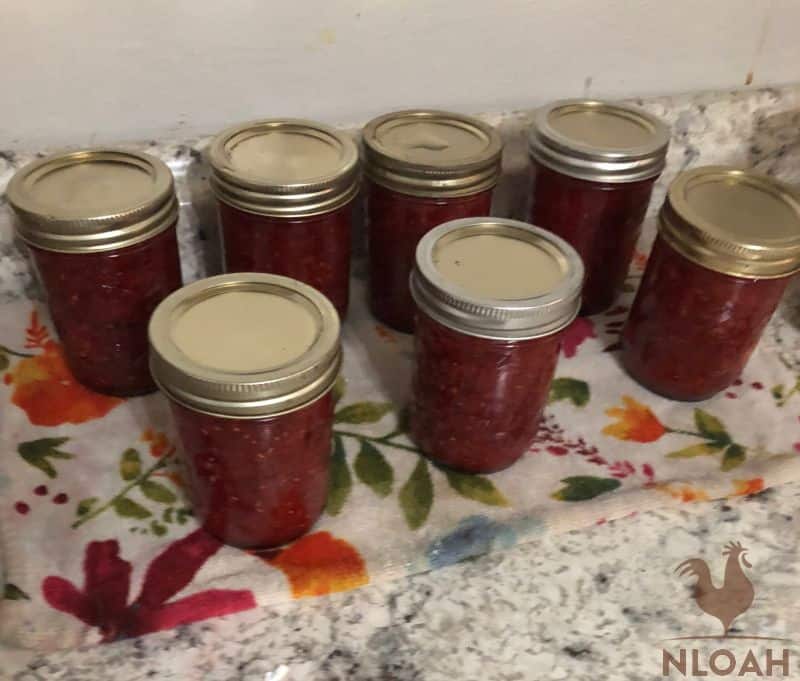
The jars need to set here and cool for several hours, up to 24 hours. Don’t mess with them! They need time to seal. After they’ve cooled, test the seal by removing the rims and seeing if the lids lift off easily. If not, the jars are sealed, and they can be stored on your pantry shelves. If the lids pop off, you can reprocess or store in your refrigerator to consume first!
Learning how to use a water bath canner is far from difficult. The only things that you will do differently each time is make a different recipe and process for a different length of time.
For example, today, you might make strawberry jam and process for 10 minutes per half-pint. Tomorrow, you might make tomato sauce and process your quarts for 40 minutes. The rest of the steps are always the same!
Do you water bath can often? We would love to hear your favorite thing to can! Let us know in the comments. And do pin this article on your favorite Pinterest boards so you can go back to it and follow these incredibly important rules.

Bethany is a mom of three living on a suburban homestead in Eastern Ohio. She’s an avid gardener and advocates living a frugal lifestyle.
Any thoughts on a Steam Canner?
I have a waterbath canner and the rack was getting rusty. I took a wire brush to it then got some heat resistant spray paint and painted it and the inside of my canner. I let it bake in the hot sun all day and it is good as new.