One of the most exciting times in any gardener’s endeavors is that first sign of new green poking up through the soil. When a seed germinates and starts to grow, it is full of promise and anticipation of what’s to come.
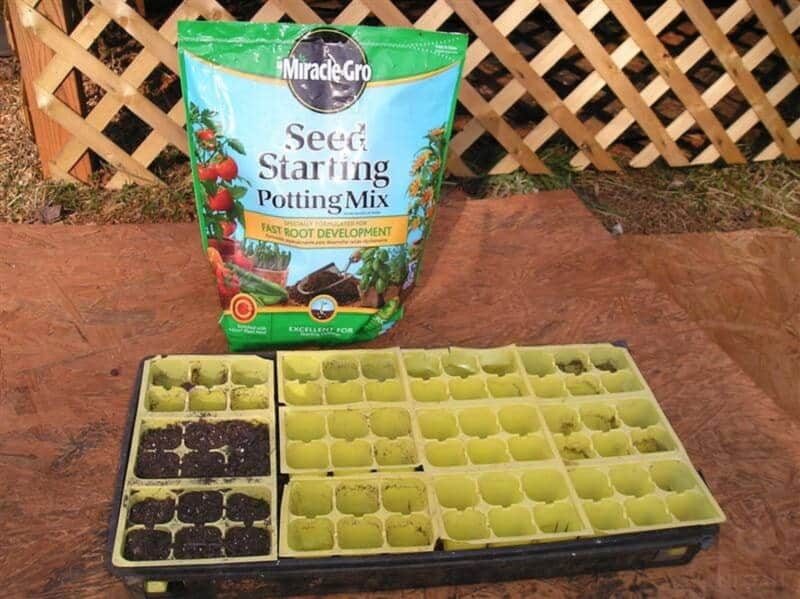
Yes, it’s also the beginning of a lot of hard work, but it’s always worth it… But that’s the issue: sometimes no matter how hard we try and how careful and how diligent we are, our seeds just don’t germinate.
Whether you’re starting your seeds inside your home on trays, out in a greenhouse, or putting them directly in the soil or in a container, sometimes nature doesn’t take its course.
This is disappointing and, if you can’t figure it out, immensely frustrating, but with just a little bit of know-how, it’s always possible to figure out why and then start again. Keep reading and I’ll tell you about the most common reasons why your seeds aren’t starting.
Seed Planted Too Deeply
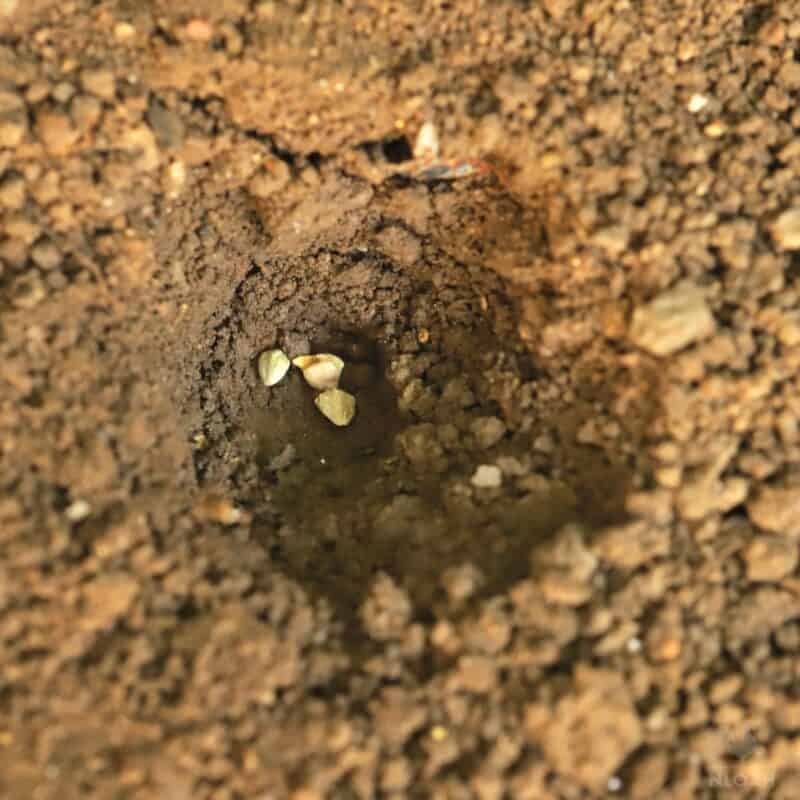
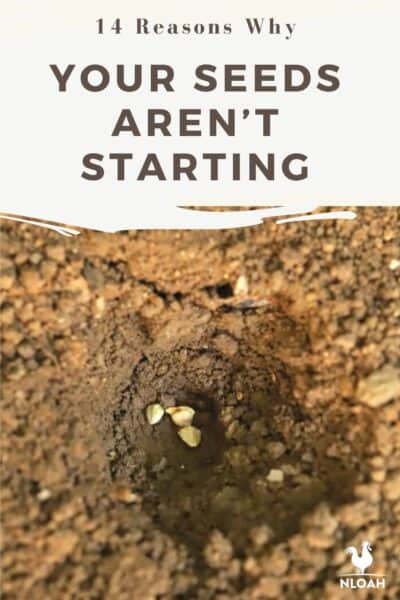
Far and away in my experience, the most common reason why a seed fails to germinate is because it was planted too deeply. It’s a mistake lots of gardeners make, and believe me, I still do it to this very day unless I’m paying close attention.
If a seed is planted too deeply, the young sprout won’t have enough energy to make it to the surface. Too shallow, and it will be vulnerable to UV or predation.
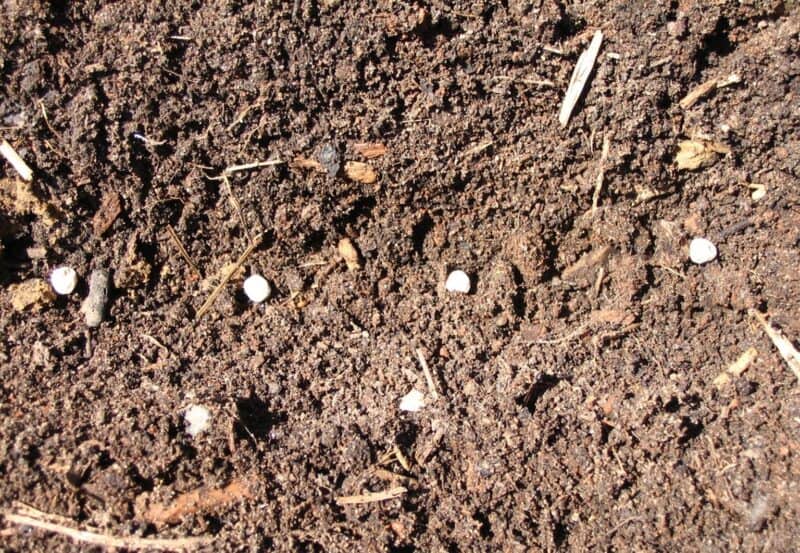
A good guideline is that any seed should only be planted at twice the depth of the diameter of the seed itself. That’s it, and that is not very deep at all!
It’s really easy to pack a seed too deep if you’re planting them by hand, and if you are using a cedar incorrectly or don’t have it set to the right depth, you’ll get the same result.
If you have them, consult the instructions that came with your seeds and look for the prescribed depth, because some are deeper or shallower. Make sure you got the seed at the right depth and you’re halfway to successful germination.
Some Seeds Take More Time to Germinate
I know more than a few gardeners who simply get impatient and jump the gun on their “struggling” seeds. This is especially prevalent if you are working with seeds that you’ve never grown before.
Although many kinds of plants “pop” and germinate in just a couple of days, many other kinds are sluggish sprouters by comparison. Some might take weeks to show signs of growth even in ideal conditions!
For instance, lima beans, celery, parsley, watermelon, rosemary, lavender, petunias, wisteria, aloe, and many kinds of cacti are notoriously sluggish germinators. You can make things worse or even cause an actual failure by overreacting if you don’t see signs of life from these seeds and try to “fix” a problem that doesn’t exist.
Once more, and I know you’re going to get tired of hearing it, consult a guidebook or the instructions that came with your seeds if you have them so you know what to expect.
Knowing is half the battle when dealing with slowpoke seeds!
Poor Germination Chances
By the same token, some kinds of plants simply suffer from a very low germination rate. Not all of the seeds are going to germinate, again, even if they’re grown in ideal, controlled conditions.
Some notable perpetrators in this category include impatiens, canna, various soybean varieties, and even some types of corn.
This is something you just have to plan and prepare for by understanding the germination rate of what you are planting and then starting enough seeds to hit your target numbers.
Also, in these cases, it pays to seek out seeds of a higher quality from reputable sellers that perform testing in batches so you know exactly what to expect.
Insufficient or Too Much Light
Another common culprit of failed starting is too much or too little light. Again, this is entirely dependent on the type of seeds you are planting.
Another rule of thumb is that seeds will either require sustained light to successfully germinate or they’ll need darkness to do the same.
For the former, those seeds will need to be on or just beneath the surface of the soil. For the latter, they’ll need to be buried at the prescribed depth to germinate, or in some cases covered with a top covering or vermiculite.
But your work doesn’t stop there once they have sprouted. The sprouts will then need a corresponding amount of light, either more or less depending on the species.
Improper light levels during the first, critical phases of growth will lead to plants that are stunted, leggy, or otherwise afflicted.
Soil or Seed Too Dry
All seeds, of every kind, need too a certain amount of moisture to sprout and grow quickly. If seeds are allowed to dry out, or if the soil around them is too dry, they will often fail.
This issue is especially problematic with pelleted seeds that have a coating on them. If they are allowed to dry out after being planted, the coating turns into an unbreakable shell that the seedling will not be able to overcome.
Depending on the type of seed, you might want to pre-check soil moisture levels and water accordingly, and many seeds do well with a prolonged, pre-planting soak.
Additional options to help maintain correct moisture levels are domes and covers that can be used inside or out to prevent evaporation. Also, never hesitate to spritz your seeds gently with mist from a bottle or misting attachment if it looks like they’re getting too dry.
Soil or Seed Too Wet
By the same token, it is entirely possible to give seeds way too much water! Drowning them isn’t going to help, but it will certainly make things worse!
Even if you’re being cautious and using a mister to keep seeds hydrated, it’s still possible for them to get a little bit too much water. In this case, you should back off to let moisture levels normalize, and be sure to remove covers that might hold in excess moisture.
Beyond the moisture level acting on the seed directly, if the soil gets too wet and water starts to accumulate it could remove the cover over a seed and expose it to harmful light levels or predation. Excess moisture can lead to other problems, too, that we’ll talk about next.
Hostile Fungi
Fungi and molds play a necessary and important role in soil and sometimes even directly for plants, but much of the time, it’s harmful to our purposes. Regrettably, many kinds tend to be destructive to seeds…
Certain types (Rhizoctonia spp., Fusarium spp., Pythium spp.) are prone to infesting soil that is excessively moist, often caused by overwatering, and this can result in the rotting of young and delicate seedling roots, killing them entirely or halting germination.
Sometimes it’s possible to get rid of these fungal or mold spores by letting the soil dry out completely, but in other cases, you’ll need to use treatments or replace the soil to be sure.
Soil Too Cold
Seeds, like the mature plants they will become, also have certain temperature requirements for germination to take place.
Specifically, we’re talking about soil temperature, not air temperature, and soil whether it is kept indoors in a container or outdoors in a greenhouse, container, or on the surface itself is cooler than the air temperature by several degrees.
Plan accordingly to compensate, and if you are starting seeds in a greenhouse or inside trays, you can use heat mats or soil heaters to obtain the ideal temperature.
To be sure, use a soil thermometer to find out, a tool that can also help you if you want to start seeds outside in the ground
Soil Too Hot
All seeds need a certain amount of warmth to develop, but there’s always the possibility that they get too much of a good thing! The vast majority of seeds out there don’t want to be in soil that’s any warmer than 75° F (23° C), for any reason.
Temperatures that approach or exceed 80° F will begin to cook the seeds. As another general rule, leafy vegetables tend not to tolerate high soil temperatures whereas many fruits, other veggies and nightshade family plants of all kinds do better with warmer soil.
Once again, consult the packet or instructions that came with your seeds, if available, or look up guidelines for the variety and go from there. As before when dealing with cool soil temperatures, use a soil thermometer to verify. Don’t assume!
Not Enough Oxygen
Adequate oxygen is another requirement for germination, and though this isn’t a common problem for most kinds of plants and most kinds of soil. The heaviest and most compacted soils out there can be dense enough to actually inhibit O2 from getting to the seeds…
All plants, even in the germination phase, need oxygen to absorb other nutrients and complete vital processes for growth. If your soil is of a heavy type or just severely compacted, a common symptom of much walking or many passes with machinery, all of your seeds might fail to germinate.
Tilling the soil heavily prior to planting, and sometimes planting smart companion or cover crops can help to break up heavy or compacted soils and give your seeds a chance to thrive.
Seed Wasn’t Viable to Begin with, or Too Old
If you’re anything like me, you probably keep a seed bank of all kinds of different plant species just in case you have a special need for them or the mood takes you.
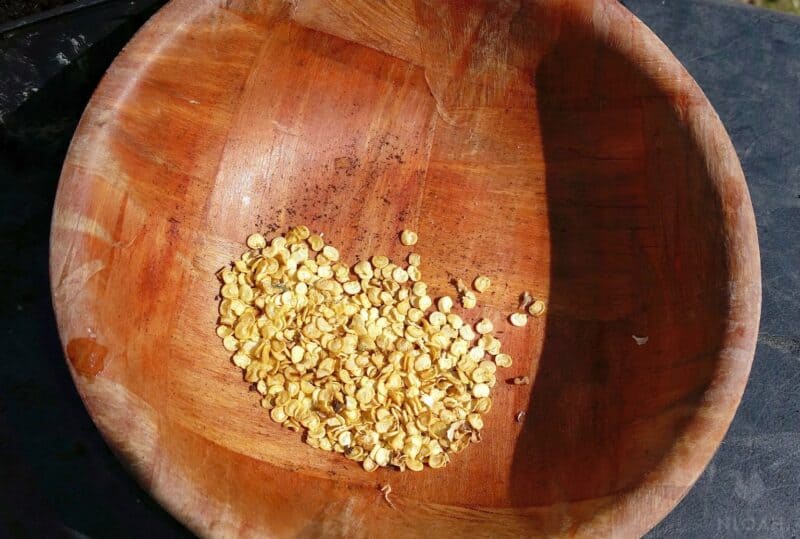
This is always a good thing, and can be a fulfilling hobby in and of itself, but you must keep in mind that seeds don’t last forever even if they are stored correctly. Complicating matters, lots of folks don’t store seeds properly.
Seeds should always be stored in a totally dry, cool location and protected from changes in both humidity and temperature to maximize lifespan. But even doing that, the older that a seed gets the lower the germination rate will be.
Stored in ideal conditions, this reduction in germination chance will be a trickle, but stored carelessly you might have only a year or two or maybe even a few months to get that seed in the ground before it’s too far gone.
Seed Eaten by Pest
All sorts of animals eat seeds, with rodents and birds being public enemy number one in that regard, but know that there are also insects and many other mammals, including raccoons, possums, groundhogs, and more.
Some of these critters can smell out seeds that are on the surface or just beneath the surface, whereas others hunt by sight.
Obviously, if a critter scarfs up your seeds there will be no plant to grow! Whatever the case, you must do whatever you can to protect your seedlings from these pests.
Covers, mesh, greenhouses, and more are all effective, and a close-in perimeter defense can be accomplished using various types of traps, especially in the case of insects and rodents.
The very best thing you can do to protect your seeds from pests that might eat them before their time is to start your seeds indoors. I’ll assume that your own home isn’t overrun with critters, so getting your seeds going this way might solve the problem entirely if it is an option for you.
Inadequate Nutrients
Plants need the right mix of nutrients as soon as they start to germinate, and they will need them continually throughout the growing season.
Simply throwing a seed in the ground and hoping for the best is not a strategy for success when soil tests and every kind of fertilizer and soil amendment are so readily available.
Unless you’re starting with fresh potting or starting soil, and maybe even then, it’s a good idea to perform a test and add the things your plants will need before the seed ever goes into the ground.
Compost is certainly of great benefit here, but only if it is composted correctly and seasoned enough so that it won’t harm your plants, especially extremely delicate seeds and sprouts.
And when adding compost or other fertilizers, always remember to follow the manufacturer’s instructions, if applicable, and then retest after a time to get the results of your intervention.
Keep adjusting until you hit those target numbers, and remember that you can always add more but you can’t take it away!
Seed Required Scarification
For larger seed varieties, or any seed with an especially hard covering, you’ll need to give it a little help if you want it to germinate properly.
This is usually referred to as scarification, nicking, or abrading of the outer covering. This is especially effective if you give it a good soak beforehand, as described above in the section on maintaining adequate moisture levels.
Although it’s not always required, and sometimes it is a laborious and annoying process, it can really make a big difference for some seeds, particularly nasturtiums, tomatoes, morning glory, many kinds of beans, and okra.
You can also use this technique on all other kinds of seeds, and it can be a good way to boost the chances that varieties with low germination rates naturally will indeed germinate.
But, be very careful if you’re using this technique on small seeds because it’s easy to cut through the actual hull of the seed and damage or compromise the embryo inside.
Tom has lived and worked on farms and homesteads from the Carolinas to Kentucky and beyond. He is passionate about helping people prepare for tough times by embracing lifestyles of self-sufficiency.
