
There are so many benefits to starting your plants from seed. If you’re debating whether or not it’s worth starting your garden from seed this year, check out my article on Starting Seeds vs. Buying Plants for the pros and cons of each.
Can I just say… starting from seed takes practice! If you’ve never done it there’s definitely a learning curve, even if you’ve been gardening all your life. If you’ve always planted from nursery stock, consider learning how to start seeds indoors.
For me, it was important to learn how to start my garden from seed so that I wouldn’t be dependent upon nurseries to supply me with my plants each year. A day might come when we have to start a garden without the help of outside sources. It would be good to know how to survive without them.
I’ve made a lot of mistakes and tried a lot of different methods, and have finally come up with the easiest way to start plants from seed indoors.
Here’s what you need to know to successfully start seeds indoors for strong, healthy plants!
Is it time? Determine when to start seeds indoors.
Certain plants need to be put in the ground at certain times. Broccoli and cabbage will go in much earlier than tomatoes and peppers because they’re cold hardy, whereas tomatoes and peppers need long, hot days to thrive.
Cold hardy plants can be put in before the last frost, but warmer weather crops should either be planted after the last frost, or they should be started indoors and transplanted outdoors when the time comes. Also keep in mind other variables matter, such as temperature fluctuations, soil temperature, and more.
When you start your seeds depends on where you live in the world. Colder regions have a shorter growing season and seeds will be started at different times than warmer areas.
You’ll need to know your plant hardiness zone. Here in growing zone 7b, I start cold weather crops (broccoli, cabbage, cauliflower, celery, onions) in late January.
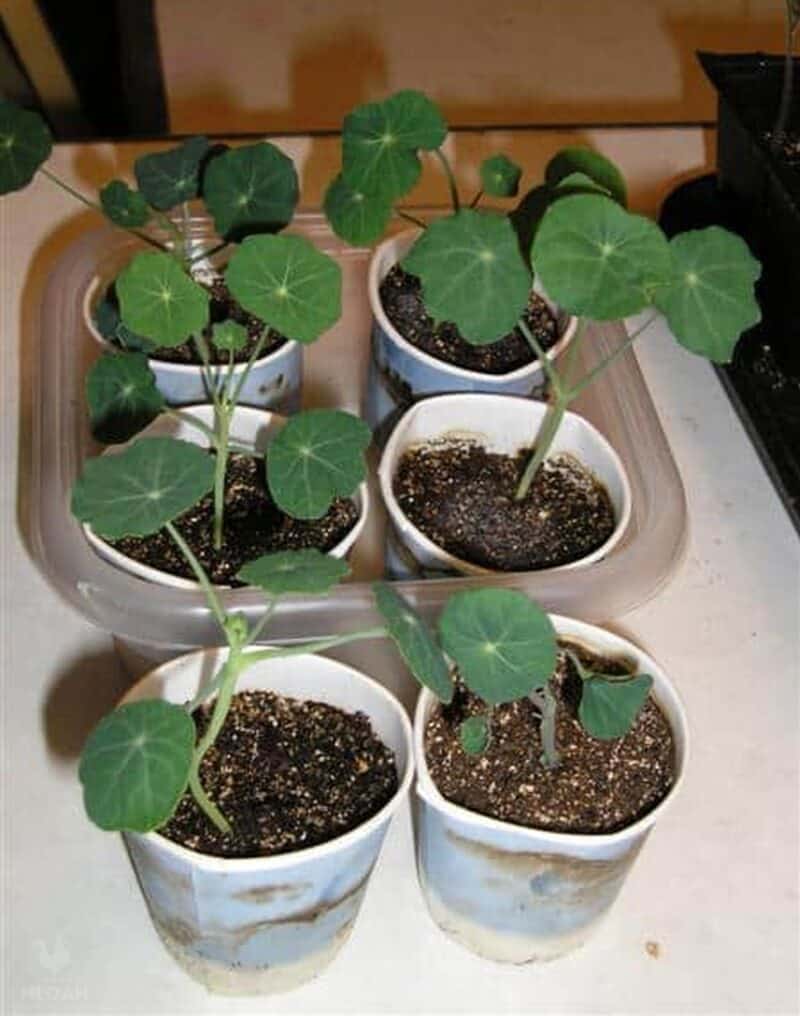
Our last frost date is generally expected around mid-April every year, but I can get these guys into the ground before then once they have several sets of “true” leaves. If a snow is expected I’ll cover the plants with a row cover or plastic pots so they don’t get crushed.
When you start your seeds also depends upon what you’re planting, whether it should be planted before or after your first or last frost date (depending on whether you’re doing spring or fall planting), and how many days it takes to get several sets of true leaves.
Usually, the pack of seeds will tell you when to start the seeds according to your hardiness zone, and whether you should start them indoors or direct sow. You can also do an online search for the seeds you want to plant to find this information.
Know the best plants to start indoors.
Not all plants can be started from seed indoors. Some must be direct sowed, meaning the seeds need to go straight into the garden where they’ll grow.
Some plants cannot tolerate being transplanted (such as carrots) and some are best direct sowed because it’s the easiest way to plant them (such as peas).
Peas can be transplanted, but it’s a lot of work when you can simply stick the seed straight in the ground and it will grow just as well.
I’ve experimented with starting pea seeds indoors several weeks before direct sowing, and was surprised to discover that there wasn’t a difference in growth when started indoors.
The direct sowed seeds quickly caught up with the transplanted seedlings, and both ended up producing at the same time. So there was no advantage to starting peas early indoors.
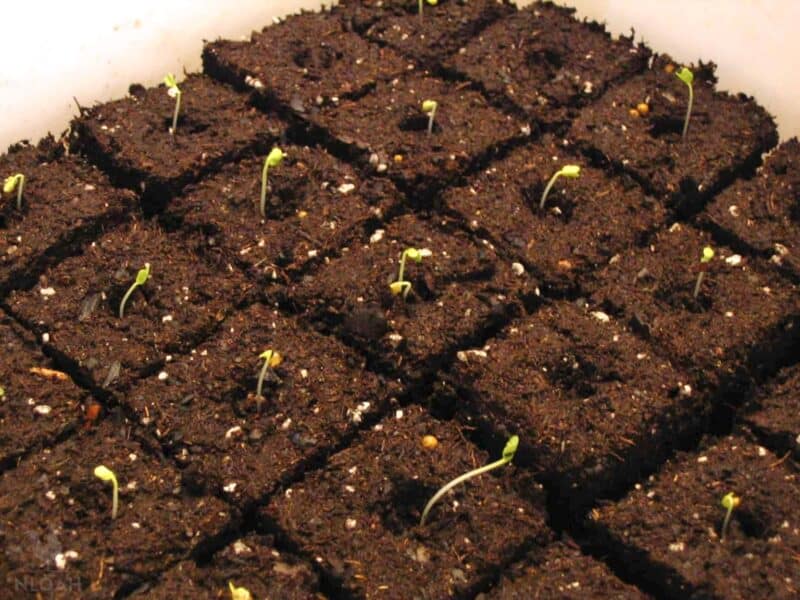
Seeds that can be started indoors include: broccoli, cabbage, cauliflower, onions, tomatoes, pepper, eggplant, some flowers, artichokes, asparagus, herbs.
Plants that are best direct sowed include: all root crops (carrots, radishes, turnips, etc.), peas, squash, pumpkins, corn, beans, garlic bulbs, potatoes. Again, some of these can be started indoors, but it’s easiest to direct sow them if possible.
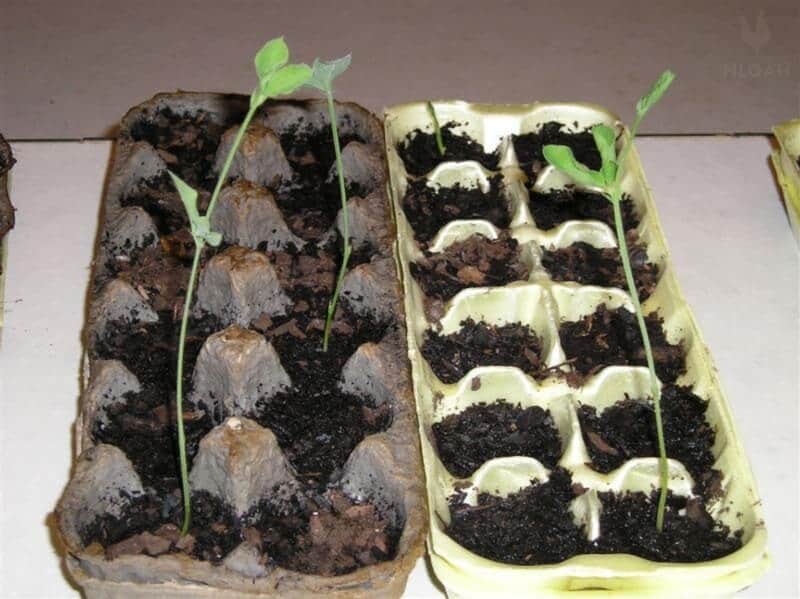
Pro tip: Don’t start seeds of different types in an egg carton. If they have different germination times you’ll have some coming up before the others.
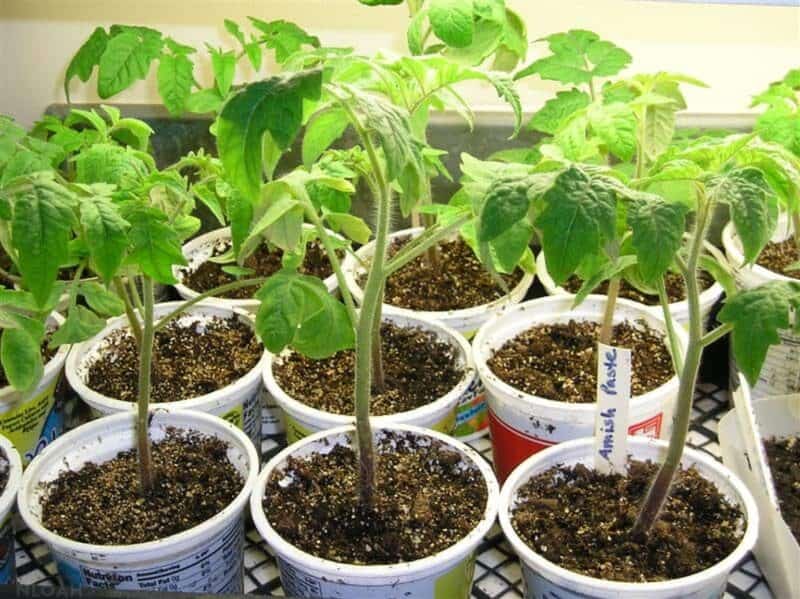
Find the right containers to start seeds in.
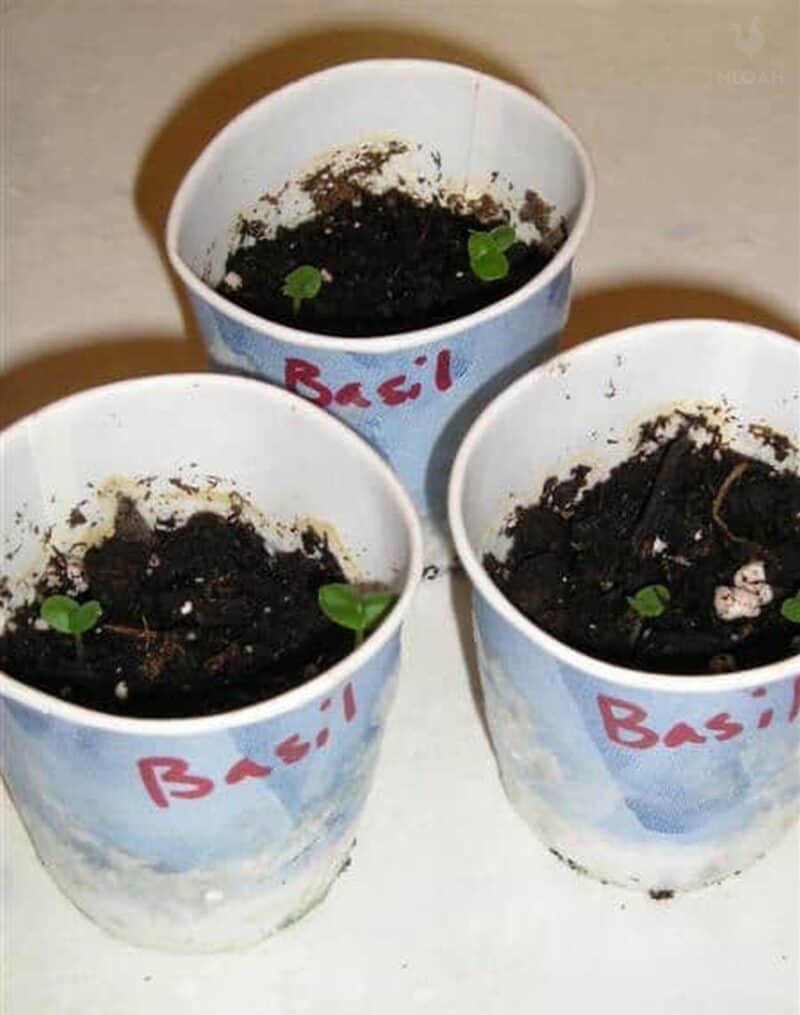
I’ve tried starting seeds in everything from eggshells to paper pots and soil blocks. For a long time I even washed and reused nursery flat trays. My go-to right now are 3oz plastic dixie bath cups, because they’re just the right size, they can be washed and reused, and they’re cheap.
I also like the plastic cups over the paper ones because I use a sharpie to write what I’ve planted on each cup and when paper cups get wet it makes the ink run. Yogurt single cups also work well.
You don’t want anything much larger than 3″ deep and 3-4″ wide because you’ll be transplanting your seedlings before they get big enough for a large container like that (and it would be a waste of soil).
Whatever you use you need to be able to poke holes in the bottom for drainage so that your plants don’t get waterlogged.
You’ll also need shallow, watertight trays to hold the planting containers. Remember, they’ll be draining water and you don’t want a mess on your countertops.
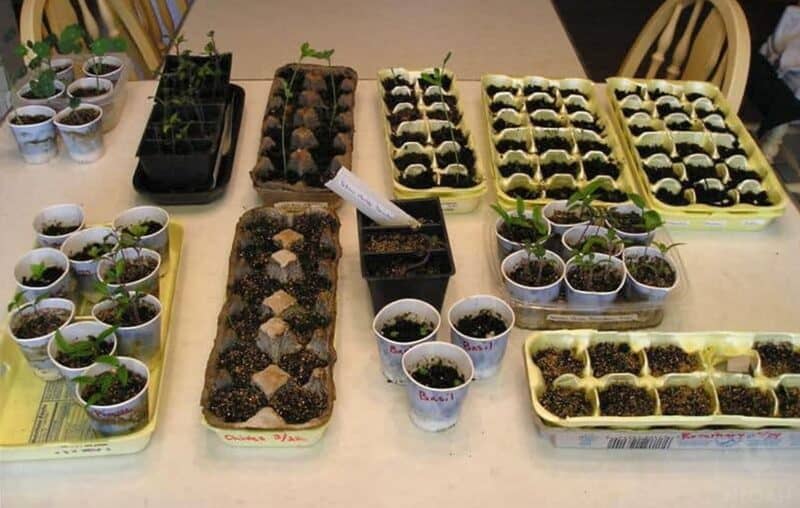
I like using individual cups best, like dixie cups or washed out yogurt containers. But, as you can see, I’m using egg cartons as well. Poke a couple of holes in the bottom of each cup for drainage. Fill your container with seed starting mix.
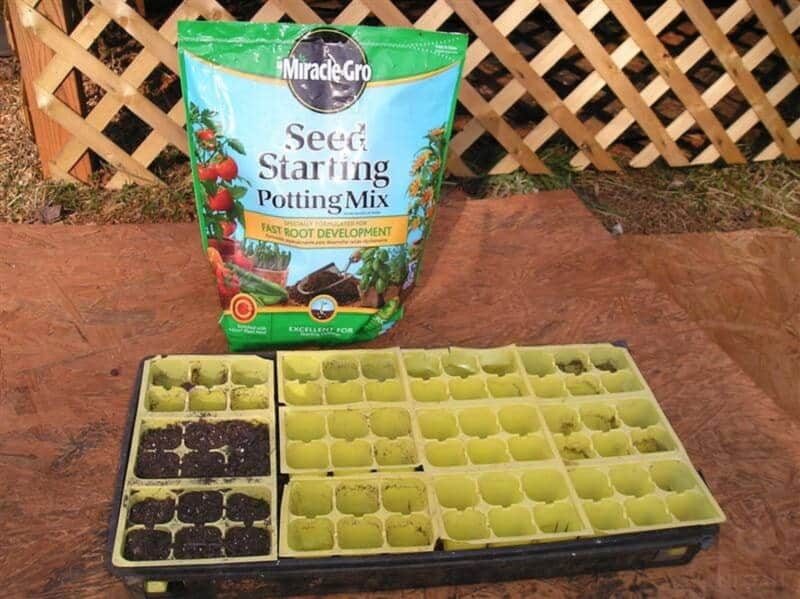
Use the right kind of soil
I made a huge mistake the first year I started seeds indoors. I started them in potting soil. I couldn’t understand why the seedlings were dying left and right! Finally I figured it out. You need seed starting mix to start your seeds indoors.
Definitely avoid potting mixes if you can. These are formulated for plants at a different growing stage: don’t waste your time. This may sound counter-intuitive but most seed starting mixes are actually lower in nutrients. This is because the seedlings don’t need as many nutrients to start developing – not yet at least.
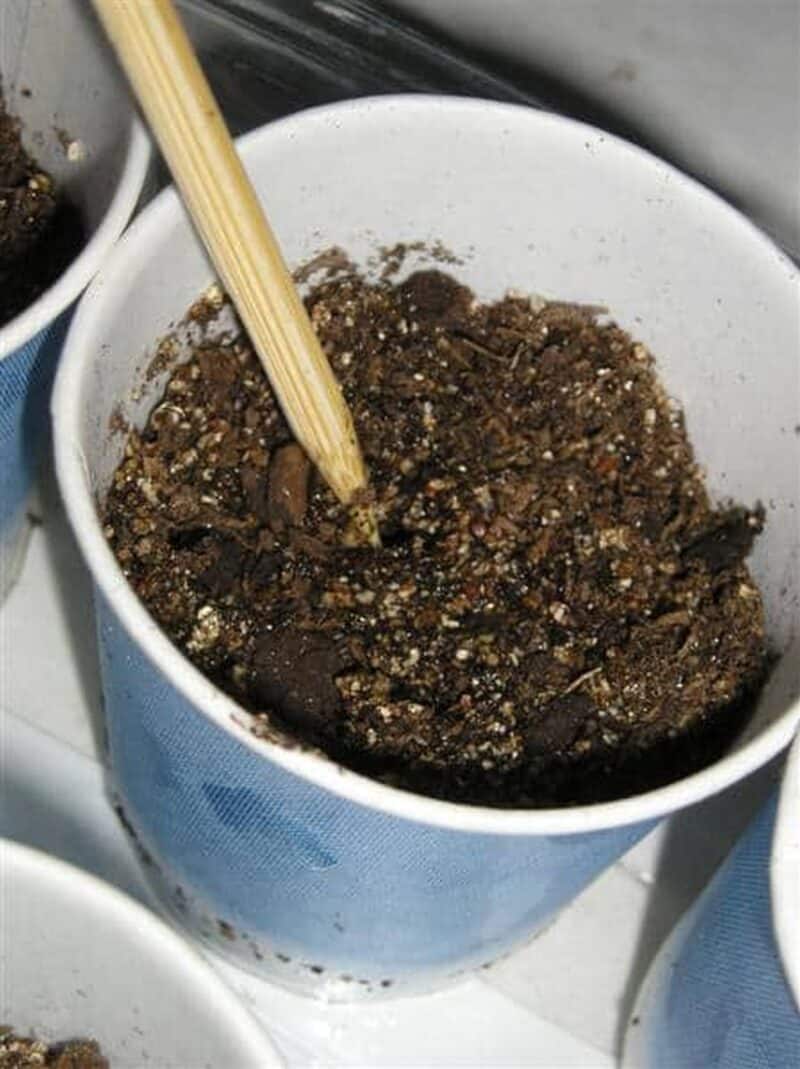
Plant Seeds at the Correct Depth
How deep you plant the seed will have a huge impact on how well it grows. Plant the seed too deeply and it’ll germinate beneath the soil and run out of energy before it reaches light, causing it to die before it even emerges. Plant the seed too shallow and the roots will be weak
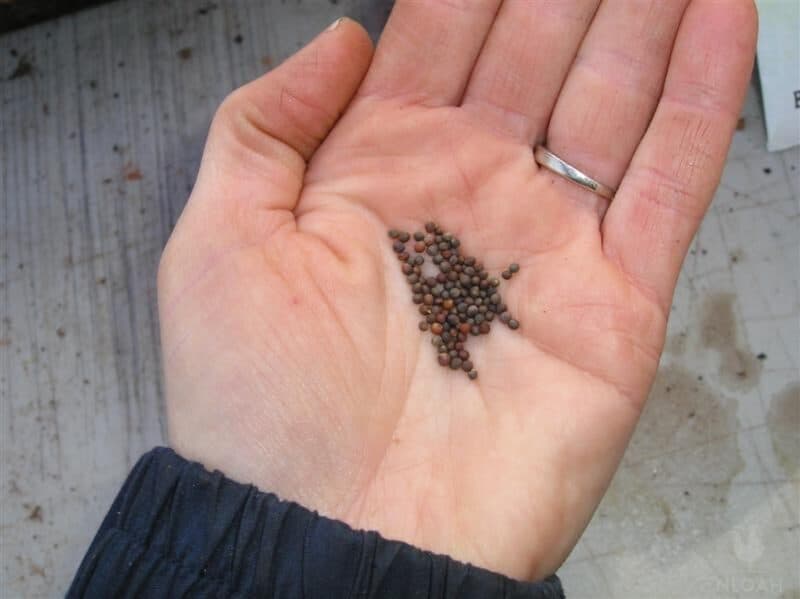
Usually, the pack of seeds will tell you how deep to plant a seed, but the general rule of thumb is to plant at a depth of twice the seed’s diameter. Some seeds will need to be planted closer to surface, though. Larger seeds are planted more deeply than very small seeds. Tiny seeds are generally surface sowed and lightly scratched in and watered.
Label. Label. Label.
After you’ve planted your seeds you’ll need to label the containers so you know what’s growing in them.
Use a sharpie to write directly on the container, or use a popsicle stick or plastic plant marker to stick in each container. I’ve had better luck writing directly on the cups vs. sticking a marker in them.
It’s too easy for popsicle sticks or plastic plant markers to fall out of the containers, and then it can get really confusing come planting time. What kind of tomato was this again?
Oh, and I wouldn’t recommend using sticky labels on the containers either ’cause when they get wet from watering they’ll come off.
Caring for Your Seedlings
Watering just right.
I’ve found it works best to dampen seed starting mix with water and mix it thoroughly before filling the containers to be planted. This way there aren’t any dry pockets of soil in the pots.
Give them enough light.
Once the seeds have been planted, to help retain moisture, you can cover the containers with a plastic bag (left slightly open for ventilation) and keep them covered until the seedlings emerge. When you see the seedlings pop out, you can go ahead and remove the cover.
You should also check what it says on the seeds package: some (petunias, lettuce, etc. etc.) need more light than others to germinate, so a plastic bag may block most of it if you use it.
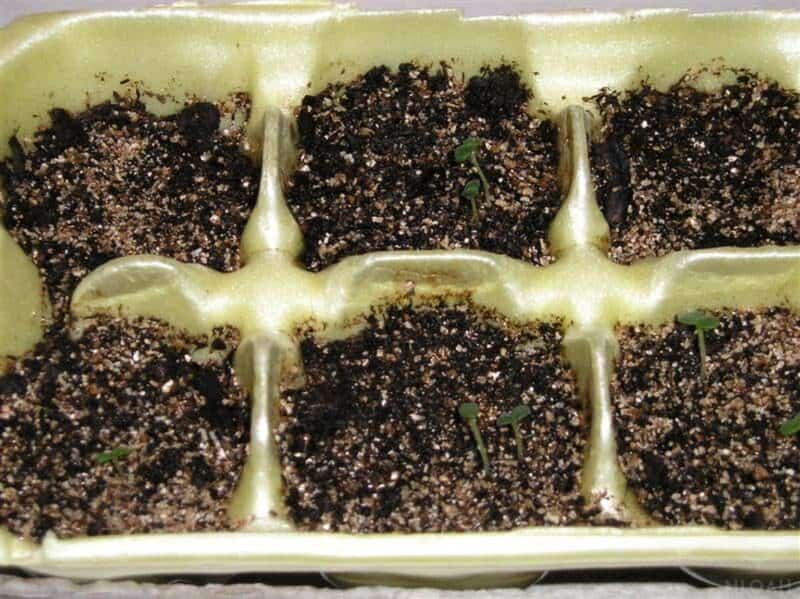
Keeping the soil moist without saturating it is key. You don’t want too much water, either, because seedlings typically don’t need that much water in the early stages, anyway (unless we’re talking about large plants) Pour enough water into the waterproof trays so that the soil can wick it up to the roots of the plants.
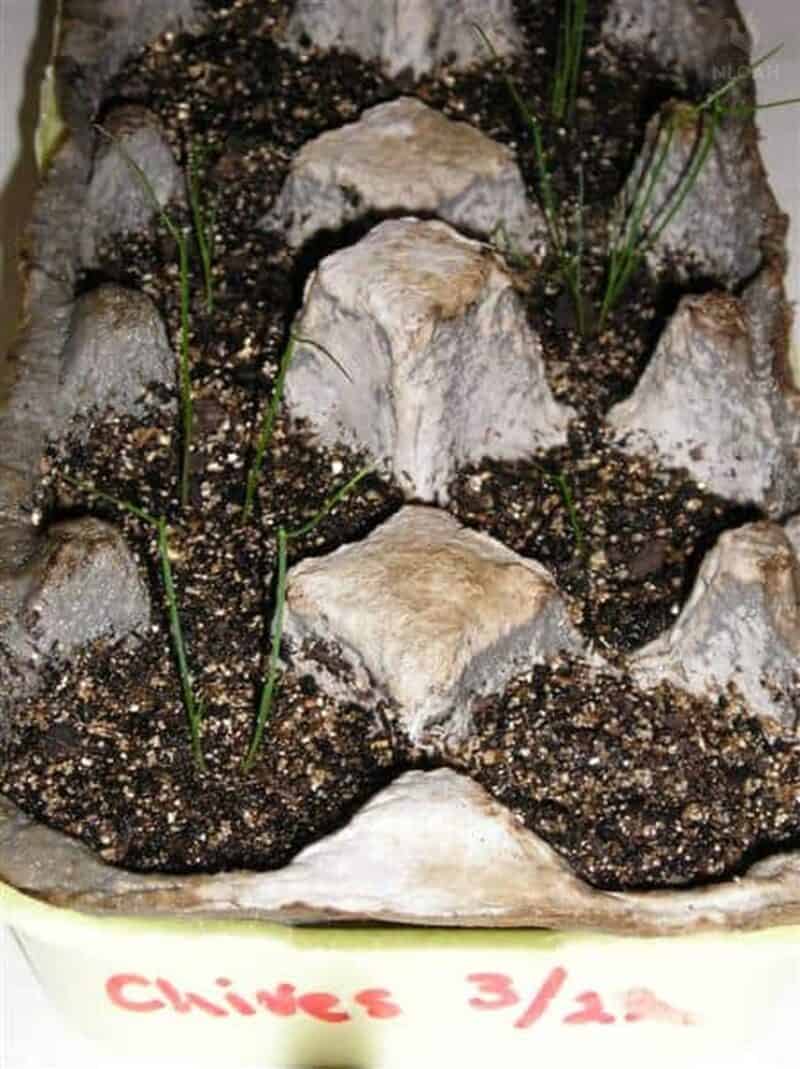
The soil needs to stay slightly moist, but not soggy. Over watering will lead to the development of damping off fungus, which will easily kill the plants. When you see the surface of the soil getting dry, give it a little spray and a little drink from the roots.
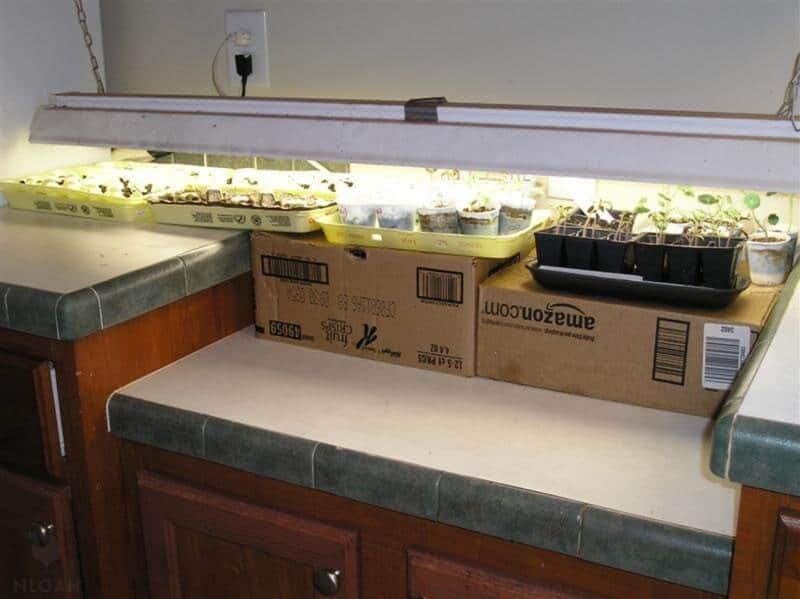
Here’s everything back under the lights. After I took these photos I worked on transplanting the tomatoes and peppers into larger pots. I’ve started hardening off a few things in the cold frame outside over the weekend. Hopefully I’ll be putting more stuff into the garden by the end of the week!
If you have a sunny window that gets at least 6 hours of full sunlight, this would be a good place to set the seedlings to grow… It may not be enough for all seedlings, but that’s easily solved with some grow lights.
If you notice the plants are getting very long and scraggly (“leggy”), it means they are stretching to find the light because it isn’t strong enough. Leggy plants will be weak, so good light is very important.
If you’re like me and you don’t have a good window to put seedlings in, use a regular shop light with fluorescent bulbs – or a grow light.
I always pull the shop lights out of my husband’s workshop when I’m ready to start seeds and it has worked great for us. depending on how much natural sunlight they are getting.
As a general rule of thumb (though again, check the seed packets), you should aim for a total of at least 14 hours of light per day in total. So if your seedlings are getting natural sunlight from 9 AM to 3 PM, consider turning on the lights between 6 AM an 9 AM, and back again between 3 PM and 8 PM – for a total of 14 hours a day.
When using artificial lighting to grow plants, keep your seedlings at a reasonable distance away from the bulb. If the bulbs are too high the seedling will get leggy as they stretch to find the light. If the bulbs are too close they can burn your plants. Make sure to raise the light as the plants grow so that the foliage doesn’t touch the bulbs.
Thinning is important
It’s a good idea to plant at least several seeds per container in case one doesn’t sprout. This depends not only of the type of veggie you’re planting, but also about the age of the seeds, and on the size of the container.
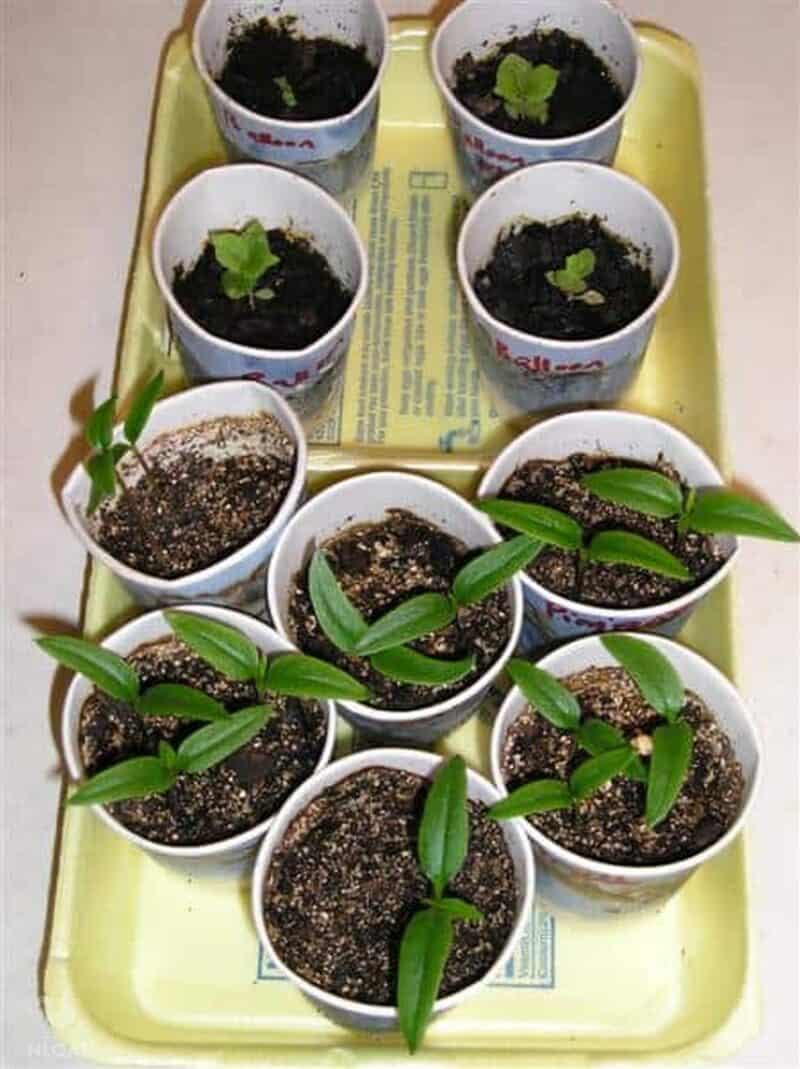
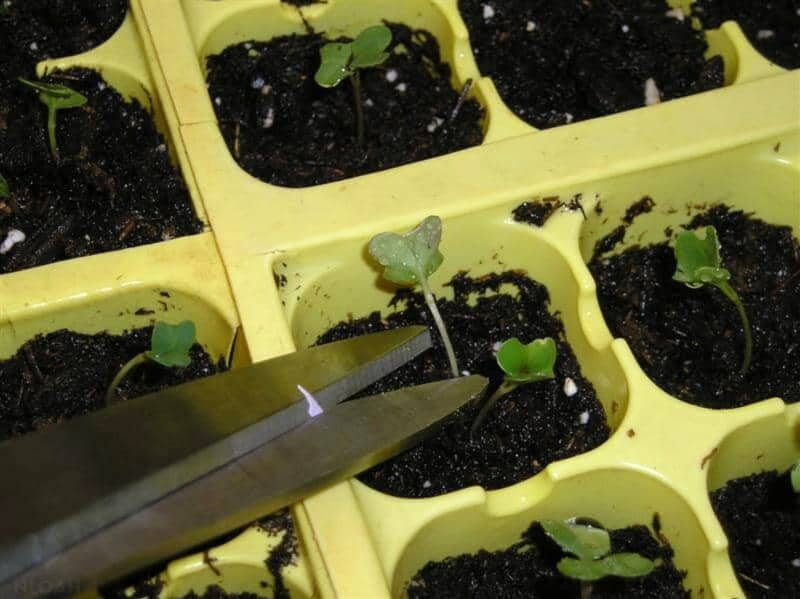
If the seeds are a few years old, I even plant three at a time, but this works for me and for the seeds I typically use. Don’t take this as a universal rule. If more than one seed germinates and two are growing together in the same container, you’ll want to thin them to the strongest plant.
Use a pair of sharp scissors to cut the weakest looking plants. Don’t try to pull them out, or you might uproot both plants.
It might seem like a waste to plant more seeds than you’ll use, but if you have a poor germination rate you’ll have to replant more seeds which will set you behind the planting schedule. Really, really, really hoping the artichokes do well. We LOVE artichokes!
Monitoring
Water the mix well, and let it drain until it is no longer dripping from the bottom holes. Then plant your seeds at the recommended depth (should say on package). Put your container in an open ziploc bag, or something similar, and put it in an out-of-direct-light place that’s fairly warm.
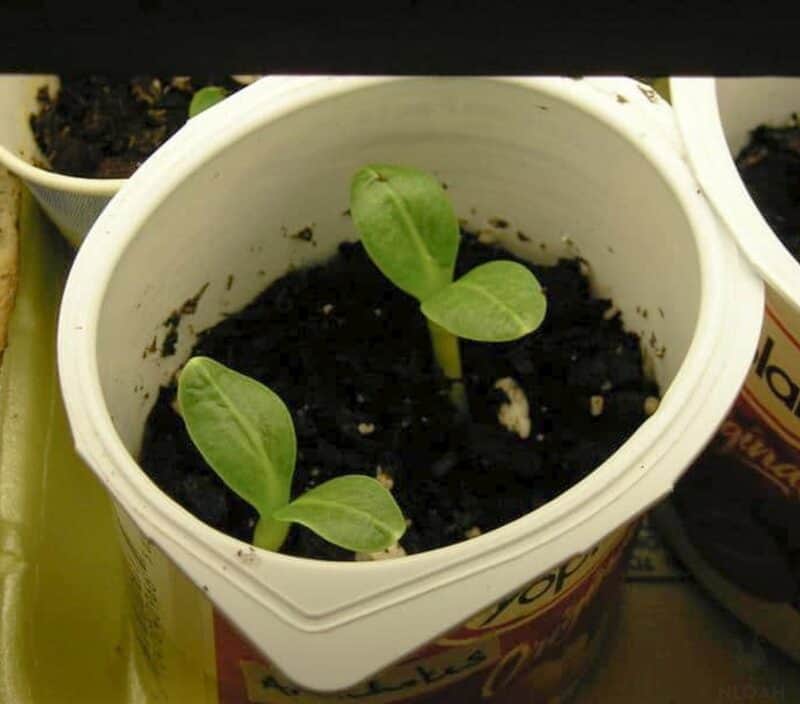
Keep an eye on your trays! Check your seedlings every day to see if any have emerged. As soon as you see your seedlings popping up, put them under a light, an inch or so from the bulb (making sure they’re not too far yet not too close from it).
Quick Recap, and Step-By-Step Instructions
- Determine which seeds you’d like to start according to planting times in your area.
- Mix seed starting mix with enough water to thoroughly moisten. It should be an oatmeal-like consistency.
- Choose the containers you’d like to use to start your seeds and make sure there are several holes in the bottom large enough to allow excess water to drain out.
- Fill your containers with damp seed starting mix and plant your seeds at the recommended depth (no more than 2x the diameter of the seed). I like to use a toothpick to make a hole in the soil for dropping the seed into. Make sure to label your containers so you know what’s planted in them.
- Place the filled containers in a shallow, watertight tray and slip into a plastic bag, leaving one end open for ventilation. Place the containers in a place where they can get the recommended amount of light.
- Check the seeds daily and remove the plastic cover at the first sign of germination (when the plants pop through the soil).
- Immediately place the newly emerged seedlings underneath a grow light, not too close to the bulb, and in a south-facing window with at least 6 hours of full sun.
- Water the plants as needed with a spray bottle and by adding some water to the tray to bottom water the plants. Keep the soil slightly moist, but not soggy.
- As the plants sprout and grow, thin them to one strong seedling per container.
- Acclimatize them. You can’t just transplant your plants outside directly, they need to get used to the outdoor temperatures, wind conditions etc. So over a period of about one to two weeks later, take the plants pots outside and let them stay for longer and longer periods of time.
- Once they got used to the elements, assuming the conditions allow it, they are ready to be transplanted outdoors, pending frost dates.
There you have it! Once you’ve started seeds indoors and your plants are up and growing you’ll be ready to move them to their new home in the ground.

Get your gift and learn things like:
- how to make this really quick pest spray
- how to prevent egg waste
- two cheap automation devices that will make your life easier

A city girl learning to homestead on an acre of land in the country. Wife and homeschooling mother of four. Enjoying life, and everything that has to do with self sufficient living.
Thanks so much Kendra for all you’ve shared. I read your other pos about Homsteading when you’re flat broke and how to homestead wherever you are. My husband and I are in Fl looking to relocate to TX and build a life with some culture outside of the city life we met in. You’re information and experience has been so helpful!
Hello!
I really love these tips on starting seeds. I am just about ready to start mine. Nothing hints of spring more than seeds growing in my home.
I am still reusing my garden flats. I am on my 6th year and they are a little worn but still work well. A tip I have found to work great if your flat trays leak a bit simply line them with foil. One sheet is usually enough to keep things dry underneath and cost efficient as well. Especially if you reuse your tin foil like I do. 🙂 Hey, every penny counts, right?
This is my first time to your site and I am so excited to explore and learn some new and helpful tips.
Tracy Lynn
PS Your family is beautiful 🙂
Great tips, Tracy! Thanks for stopping by. 🙂 Happy planting!