Gardening is one of the most common hobbies out there. In fact, around 50% of all Americans are said to be into some form of gardening, with food gardening being the top most pick.
As per reports, around 35% of all American households grow a portion of their food at home. It is also believed that younger households are quickly turning to gardening, which is why the rate is increasing at a rapid pace.
If you also want to grow your own garden then you have landed on the right page. In this article we are going to talk about soil and how to test it as soil is one of the most important parts of gardening. In fact, your garden will never be healthy if the soil is not healthy.
The growth of plants largely depends upon the type of soil you’re growing the plants in. If your plants do not grow as expected, then most likely, the soil is to blame. Also, soil acts a source of raw materials and helps to store water and other important matter that is required by plants.
When it comes to soil types, there are many, and not all of them may offer suitable conditions for plants to grow. The most important thing that plants need from any type of soil are nutrients.
Soil can be considered rich in nutrients if it has plenty of phosphorous, nitrogen and potassium to provide the plants with because these nutrients not only help in the growth of plants but also keep them healthy.
So, the first thing that you should do before planting trees or plants is to figure out the type of soil you have. Now, before we move to that, let’s have a look at different types of soils used in gardening:
Types of Soils
Commonly, there are six types of soils. All of these soils have different properties and behave differently with plants.
Some are amazing when it comes to absorbing water while some are ideal for providing a strong support to the plants. The right soil largely depends on the kind of plant that you wish to grow.
They are:
- Clay soil.
- Sandy soil.
- Silty soil.
- Peaty soil.
- Chalky soil.
- Loamy soil.
By NAYANA PB (Own work) [CC BY-SA 4.0], via Wikimedia Commons
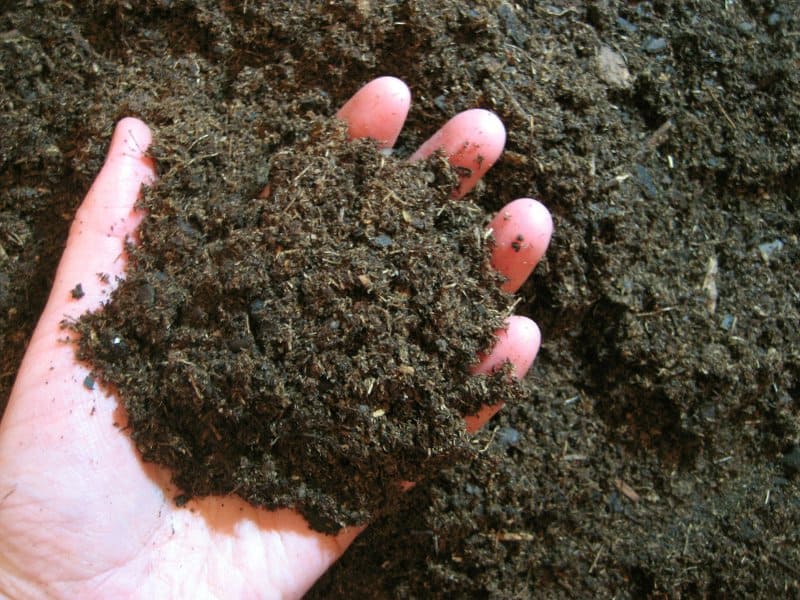
Clay Soil
Clay soil transforms into a sticky soil when you add water to it and becomes solid again when it dries.
It is dense in nature with minimal air space which is why it doesn’t have the best water draining capabilities and is also daunting to cultivate.
However, clay soil is rich when it comes to having nutrients. If you have the means to enhance the draining system for this type of soil then clay soil will prove to be the best among all soil types to grow plants well.
Suitable Plants You Can Grow In Clay Soil: Shrubs and perennials are ideal for this type of soil. This is because these plants need lots of nutrients to grow at a good length.
Here’s the full list:
- Bergamont
- Aster
- Flowering quince
- Helen’s flower
- Ornamental trees
- Fruit trees
- Shrubs
- Vegetable crops (in summer)
Since this soil doesn’t stay warm enough due to its high density, certain plants won’t grow well.
These include:
- Soft berry crops.
- Vegetable crops that are grown early.
Sandy Soil
This soil type is the opposite of clay soil. Unlike clay soil, this one has good drainage capabilities.
Cultivating it is easy and also, it stays warm enough in summers. However, due to its quick drainage system, the nutrients don’t tend to stay and are washed out.
This soil can aid in growing plants that grow well in a good drainage soil system, but, you will also have to enhance its nutrient holding power by using fertilizers.
Suitable Plants You Can Grow In Sandy Soil: You can grow a lot of plants in this soil type.
These include:
- Tulips
- Hibiscus
- Sun roses
- Tree mallow
- Vegetables (Carrots, parsnips, potatoes)
- Strawberries
- Collard greens
- Corn
- Squash
- Zucchini
- Tomatoes
- Peppers
- Lettuce
Silty Soil
Any soil that feels soapy and soft is silty soil. This is because there is a lot of moisture in it and it can also hold nutrients to a great extent.
You don’t have to apply a lot of effort to cultivate or compact it. Drainage system of this soil is not that good, however, it can be adjusted with the help of composted organic matter.Since it has a lot of moisture in it, most plants are suitable to grow in silty soil:
Suitable Plants You Can Grow In Silty Soil:
- Perennials
- Shrubs
- Grasses
- Climbers
- Trees (dogwood, cyprus love)
- Vegetable crops
- Fruit crops
By Ragesoss (Own work) [CC BY-SA 3.0 or GFDL], via Wikimedia Commons
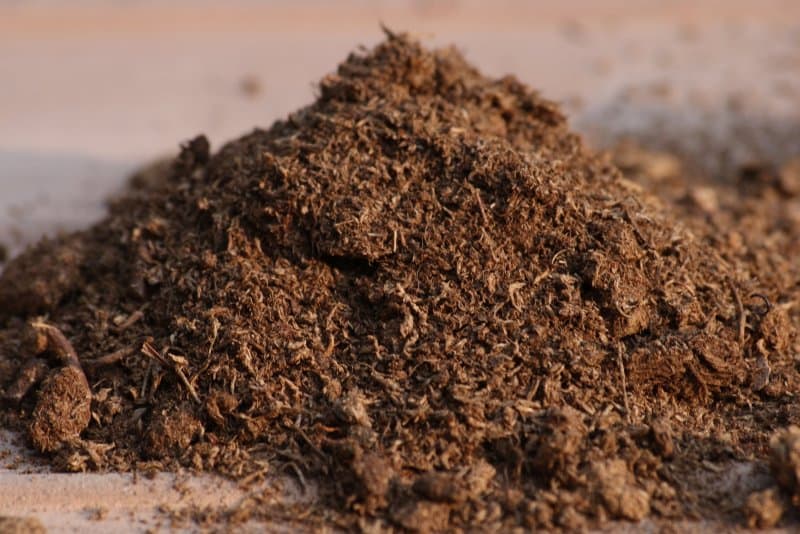
Peaty Soil
If the soil has a spongy and damp feeling then it is peaty soil.
This soil is poor when it comes to having nutrients because it is highly acidic and helps in the process of decomposition. However, it has the ability to retain water for a long time and also heats up quickly in summers and provide warmth to the roots.
This soil can be good to grow plants if its acidity is adjusted by adding lime or wood ash.
Suitable Plants You Can Grow In Peaty Soil: If the drainage system is good enough then you can grow these:
- Camelia
- Witch Hazel
- Rhododendron
- Heather
- Root crops
- Brassicas
- Legumes
- Salad crops
- Lantern Trees
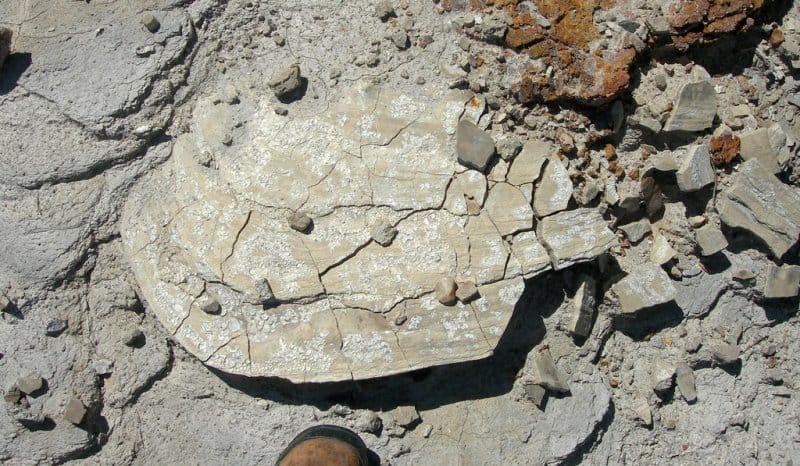
Photo courtesy of James St. John via Flickr under the CC 2.0 license
Chalky Soil
Chalky soil is said to have a stoney structure.
This type of soil is extremely rich in limestone which means that this soil is highly alkaline (Ph level: 7.1 – 8.0).
Adding organic matter should do the trick to lower its Ph level make it suitable to grow plants.
Suitable Plants You Can Grow In Chalky Soil:
- Madonna lilies
- Pink
- Weigla
- Lilac
- Sweet corn
- Beets
- Spinach
- Cabbage
Loamy Soil
The mixture of silt, sand and clay makes up a loamy soil. This soil is suitable for gardening purpose as it has a good structure.Loamy soil is rich in nutrients, hence very easily cultivable. Moreover, it easily gets warm in summers, but its acidic level can be a trouble for some plants.
Make sure you prevent the soil from drying out and keep adding organic matter regularly.
Suitable Plants You Can Grow In Loamy Soil:
- Bamboos
- Dog’s-tooth violets
- Black Bamboo
- Shrubs
- Perennials
- Climbers
- Rubus
- Wisteria
- Delphinium
- Vegetable crops
- Soft berry crops
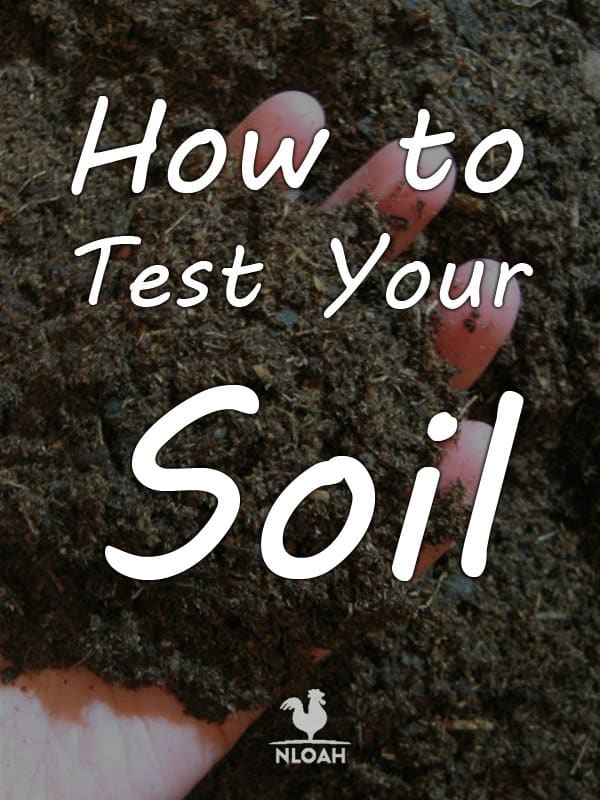
Testing Your Soil
Before you begin with planting, it is essential that you test your soil’s Ph level and the nutrients it contains. You do not need a professional to do the job for you as we have explained the process in simple words below.
To test your soil, you will be needing a soil test kit. These are cheap and can be purchased online pretty cheaply, but there are some expensive kits as well.
A soil test is a good investment as it can be used from now and then. The condition of your soil does not remain the same, it keeps on changing with time and weather conditions, hence a kit can come in handy.
It is recommended that you test your soil after every gardening season so that you can make adjustments, add organic matter and fertilizers to keep your soil in a good condition.
Things You’ll Need To Test The Soil
- Soil test kit.
- Trowel or spoon.
- 1 measuring cup.
- Empty container.
- Distilled water.
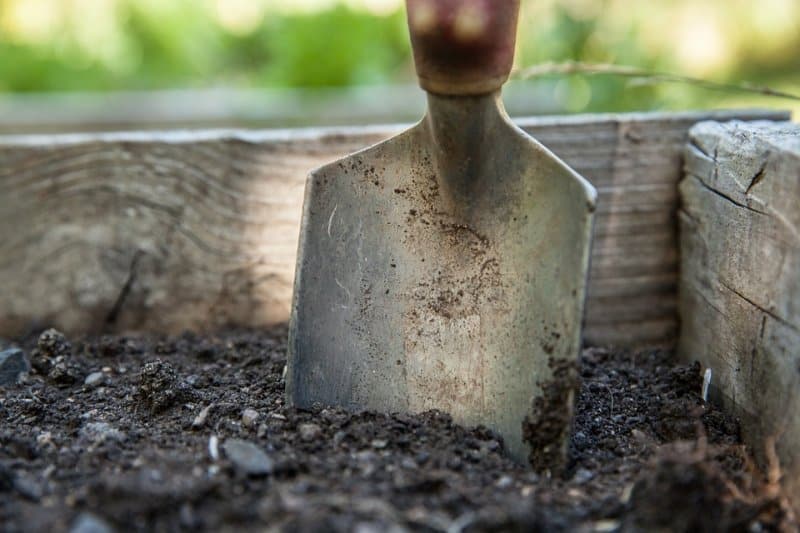
Collecting Soil Sample
Collecting soil is very easy. Here’s how you can do it:
Grab a clean trowel or a large spoon to remove and separate any mulch or debris that is sitting on top of the soil.
Don’t collect the sample from the top. Instead, dig down 3-6 inches deep and then collect a soil sample. Collect soil that measures slightly over the full capacity of the measuring cup so that you can conduct all 4 tests.
Testing For Nutrients (Nitrogen, Phosphorous And Potassium)
The soil test kit that you purchased will come with clear instructions to help you out with the process.
Normally, soil kits have colored containers on them that represent certain nutrients. You need to read the soil kit manual to figure out which color indicates which nutrient.
In case there is no manual, you will have to look online for details.
Common soil kits have 4 colors normally.
- Green indicates Ph level
- Pink indicates nitrogen
- Blue indicates phosphorous
- Orange is for potassium.
We need soil that is rich in nutrients as nutrients are a plant’s food. They need nutrients to stay healthy and grow flowers, fruits and vegetables.
So let’s see how to check if your soil has a good amount of nutrients or not:
Step#1: Add water to the container in which you gathered the soil. However, don’t use tap water because tap water usually contains chemicals and minerals that might alter the result.
Instead, use distilled water. The ratio of soil sample and water should be 1:5. That is, a cup of soil mixed with 5 cups of distilled water.
Step#2: Step 2 involves stirring the solution and letting it sit idle until everything dissolves.
This can take a lot of time, especially for clay soils because it is dense.
The smart thing to do here is to conduct this step overnight as some kind of soils can take up to 24 hours to get mixed.
When you leave the container idle, make sure you don’t move it.
Step#3: Fill the solution into the soil testing kit but make sure that you do not touch the container or move it because that would disturb the settled soil.
There’ll be a dropper in the soil kit.
Use it to fill the chamber on the right (Nitrogen – Phosphorous and Potassium). Also, fill the small chamber at the left with distilled water.
Make sure that you fill each compartment up to the line but don’t fill them to the top because then you won’t be able to shake.
Step#4: Your soil kit should also have colored capsules that are to test each nutrient. These capsules contain testing powder that will determine the amount of nutrient present in the soil.
You can easily tell which capsule belongs to which nutrient by reading the kit. While you’re adding the testing powder from the capsule, make sure to do it in a place where there’s no wind since wind can cause powder to fly away.
Empty the capsule’s content (powder) into the empty chamber of the kit.
Step#5:
Close the lid on the container tightly so that the content does not get mixed up. Stir the kit nicely in order to mix the powder and water properly.
Leave the kit for 15 minutes to show you the results.
Result: Grab the test kit and lift it in the direction of natural light (not direct sunlight).
Your soil kit has a chamber on the left where you added capsule powder, and a right chamber that has a chart indicating the level of the nutrient present.
- No Color: If there’s hardly any color on the left then it means that your soil is deficient in that particular nutrient.
- Darker Color: Soil is rich in that nutrient.
- Lighter Color: Low amount of nutrient.
Testing For PH level
- Take one spoon of dry soil and add it in the left chamber of the Ph soil testing kit.
- You will get a green capsule along with the kit that has powder in it. Empty the capsule’s content in the same chamber you put the soil (left chamber).
- Pour distilled water up to the arrow and fill the chamber.
- Close the light and shake vigorously to mix the contents.
- Wait for a minute and lift the kit in natural light to compare the colors of the left chamber to the right. The color comparison will let you know if the soil is alkaline or acidic. Ph level below 7 is acidic while above 7 is alkaline.
Here’s a video to help you out.
Other than this, you can also run a soil test without any tool or equipment. While this test is less reliable, remember that something is better than nothing.
This hand test will not give you exact details on what your soil contains or what it lacks, but it can help you determine the type of your soil. Check out this video for a detailed tutorial:
What Are Alkaline And Acidic Soils?
Different plants thrive in different conditions. Some prefer alkaline soil while some adore acidic soil.
Acidic soils: These promote diseases and weed problems. It is because of the acidity in the soil that plants don’t receive nutrients and minerals because they are washed away. Lime is said to reduce soil acidity, however, reducing soil acidity is a timely process.
As we know that Ph level below 7 is acidic soil and above 7 is alkaline. Here are some plants that can grow well in different Ph levels:
Ph level 6.1 – 7.0 = This level of Ph is suitable for many plants because it is slightly acidic. Many plants except lime-hating plants would grow well in this Ph range.
Ph Level 5.1 – 6.0 = Camellias, heathers and rhododendrons grow well in this type of soil.
Ph level 3.0 – 5.0 = It would be daunting to grow plants at this level because at this level, the amount of nutrients are very low and no plant could survive without nutrients.
Alkaline Soils: These soils restrict plants from absorbing nutrients. However, they also help prevent several diseases like club root disease.
To reduce alkalinity of the soil, sulphur and gypsum can be used.
Ph level 5.5 – 7.0 = Turnip, carrot and cucumber are ideal plants to grow in such soil.
Ph level 5.5 – 7.5 = Cauliflower, corn, garlic, and tomato can be grown.
Ph level 6.0 – 8.0 = Asparagus, leek, and marjoram grow well at this level.
How To Determine What Type Of Soil You Have?
You will fail to grow plants if you don’t know the type of soil you have. There are many ways to test what type of soil you have. They are as follows:
Squeeze Test
One of the easiest tests is the squeeze test. All you need to do is gather a handful of soil in your fist and let go.
- If the soil seems sticky and intact then it is clay soil.
- If it seems spongy, then it is peat soil.
- If it’s sandy soil, it will fall apart once you open the fist.
- If the soil maintains its shape for a few minutes once you let go, then it is loam or silt soil.
Here’s a video on how to conduct a squeeze test:
While it is an easy process, not everyone can gather information using the hand test. Worry not, we have another method for such budding gardeners.
Soil Settle Test
Collect soil in a clear and clean container and add water in it. Leave it for at last 12 hours so that the soil can settle in water.
- If the water is clear but there is a layer of particles at the base of the container then it is more like to be sandy soil.
- If the water gets cloudy at the foot of the container then it is silt or clay soil.
- If the water turns grey and white fragments are found at the bottom of the container then the soil is chalk soil.
- If the water is clear water but small layer of particles can be seen at the bottom and the base then it is loam soil.
- Cloudy water with floating particles refer to peat soil.
Buying Soil Online (Our Picks)
While there are ways to control the amount of nutrients in your soil and even manage Ph level, we recommend you to avoid this trouble by buying soil online.
This way you get soil that is ready to grow your plants without you having to do anything manually.
Verdict
It is of vital importance that you give priority to your soil before you start gardening. Ideal soil is one which is slightly acidic to neutral 6.0 – 7.0 because this Ph level provides the best conditions for plants to thrive.
Testing your soil isn’t difficult and you can easily do it at your home too and save money on getting it tested from a lab. Don’t forget to add lime if it’s too acidic and sulfur if it’s too alkaline.
Michael is in love with nature and loves to spend his weekends with his pet dog at his farm where he grows organic fruits and vegetables. He’s a single parent who loves the idea of simple living.
The University of Vermont offers a professional soil test for about $20 including postage. Most Land-Grant Universities offer similar services.
The information received is quite a bit more than the test featured here. It is really a better place to start. Extensive information on the mineral diversity, which is what nutrition is all about, is easily worth the time and effort of the professional test.