
Chickens eat a lot of bugs, but did you know they can become victims of bugs themselves? It’s true. Our yardbirds can fall victim to various ticks, fleas, and the ever-dreaded lice.
Poultry lice can be a huge issue in particular because a minor and annoying infestation can exponentially multiply into a life-threatening problem seemingly overnight.
Lice are very tough to spot, and often your birds won’t show many symptoms until the infestation is already quite bad. Accordingly, you’ve got to stay on top of inspection, detection, and treatment to keep them healthy.
I won’t lie to you: it’s challenging and will require a lot of extra work, but it’s something you’ve got to do.
The good news is treatment protocols are straightforward and something you can do yourself. Keep reading, and I’ll give you 10 action steps to rid your chickens of lice once and for all.
Positively ID the Problem
The very first thing you must do is confirm that your birds are actually infested with them. False positives will waste time and might actually make underlying issues worse.
Look for the following symptoms; the more you see, the more likely it is that it’s lice…
Itchiness: Lice live, breed, and feed on chickens, which naturally makes them quite itchy. Watch for your birds to peck and scratch more often than usual, and also look for them to spend more time in the dust bath.
Reduced egg production: Irritation and stress will often lead to a slowdown in egg-laying among hens. If everything else seems normal, but you notice your girls dropping off in output, lice might be to blame.
Dirty, ruffled appearance: Agitation, picking, and plucking will often lead to dirty, disheveled feathers, and this ruffled appearance will intensify as the infestation progresses. If some of your birds look like they’ve had a hard time, they might be infested.
Sluggishness: Serious lice infestations result in anemia as lice drink more and more of a chicken’s blood. This is as bad as it sounds, but the first sign of that is typically fatigue and sluggishness. Your birds won’t act as perky, react as quickly, or be as quick to get up and move around.
Pale combs and wattles: Likewise, a drop in oxygenated red blood cells owing to a severe infestation will lead to notably pale-looking tissues, particularly the combs, wattles, and earlobes. In any case, no matter what’s causing it, this is always a bad sign!
Patchy, scabby, or bloody spots on skin: Significant infestation and scratching will lead to broken skin on your birds. Move their feathers aside and check them carefully, particularly around their vent, legs, and under their wings.
Visible, moving lice: An obvious telltale sign if you can, in fact, see the little critters. Most are so tiny they’re almost impossible to see on feathers without the aid of magnification, and even then, it’s difficult. Some species, though, are larger, about the size of a grain of rice. If you do see them, it’s definitely time to act.
Lice egg clusters: Look closely at the roots of the shafts on your chicken’s feathers. If you see what appears to be pale clumps of lint or dirt, those are actually lice egg clusters. Not good!
Once infestation is confirmed, it’s time to act—and act quickly.
Separate and Quarantine Infested Birds
Here’s where things get tricky…
If you know one or more birds are infested with lice, you need to remove them from the flock and quarantine them as quickly as possible before the infestation spreads.
This can limit the spread, but it’s still a dicey proposition: lice can live in bedding and might already have infested other birds that are showing no signs at the moment.
You’ve got a choice here: you can try to treat the confirmed infested chickens and clean out the coop in hopes that you curb the spread before it gets too bad, or you can treat the entire flock, assuming that all chickens already have a latent infestation This is really up to you.
Provide Delousing Dust Bath at Once
I mentioned above that your chickens will hit the dust bath more frequently when they are itchy from a lice infestation. This can help to slow or, if you’re very lucky, even stop the problem all on its own.
You can help your chickens help themselves by mixing them up a special dust bath for the purpose.
A good mixture is 12 cups of food-grade diatomaceous earth, or DE, mixed with a large bag of play sand, anywhere from 40 to 50 lbs. Pour this out in their usual bathing spot.
DE is a great tool to have on hand for fighting lice and other insect infestations since this dust will lacerate the exoskeletons of bugs, slowly but surely killing them. Once it gets worked under the feathers of chickens, it can provide continual protection safely.

Dust Chickens with DE or Delousing Powder
Your next step is to take more DE, or an over-the-counter delousing powder specific for chickens, and work it thoroughly but gently under their feathers. Pay particular attention around their vent, legs, under the wings, and at the base of the skull.
Massage it in gently and let your chickens shake off the excess. Try not to get the stuff in the air, as neither you nor your chickens need to breathe in a lot of it. Wear a respirator or dust mask if you are concerned.
Apply Lice Treatment According to Instructions
DE works well, but a specific delousing medication is needed to decisively kill off these awful little critters and also get rid of their eggs.
There are various over-the-counter and veterinarian-prescribed medications for the job out there: fipronil, permethrin, pyrethrin and NuStock are popular for the task, and Banixx is often used in conjunction to treat raw spots and improve healing.
Whichever medication you get or have prescribed, you must follow the instructions to the letter and stay on schedule until the course of medication is finished. Applying it willy-nilly or stopping early might allow the lice to come back before they are completely eliminated.
In all cases, get your chickens started on a round of medication and then move on immediately to sanitizing the coop.
Remove and Dispose of All Coop Bedding
Most major infestations, in my experience, don’t come from incidental contact with lice out in the environment. They typically result from poor sanitary conditions and a lack of care given to the coop. Lice can hide and reproduce in soiled bedding and other regularly trafficked areas.
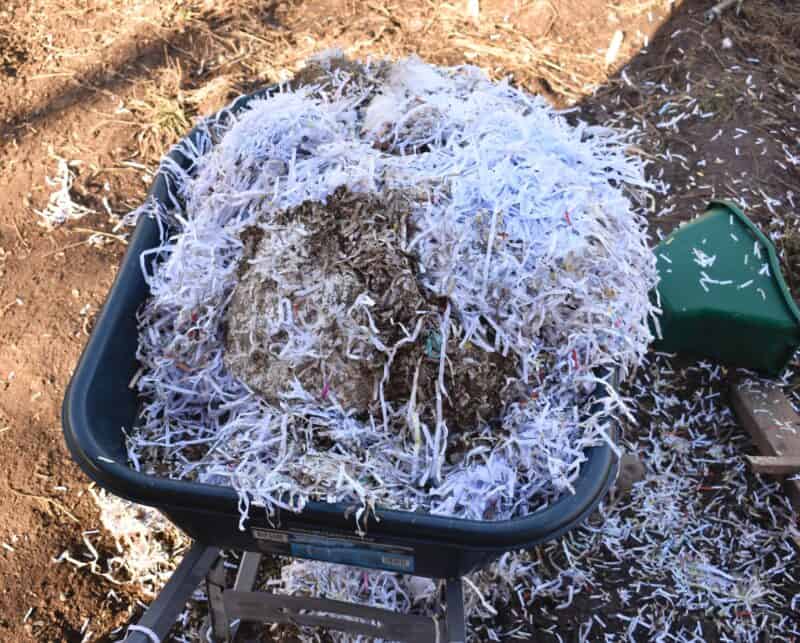
Treating the chickens without cleaning out these places just won’t do any good. The first thing to do is move your flock out into temporary quarters. Once they’re secure, pull out all of the old bedding and bag it up or burn it. Do not use it for compost or anything else.
Thoroughly Disinfect Coop
Scrape out all of the cracks and crevices with a stiff brush or some other scraping tool. Then soak every surface with a potent but chicken-safe antiseptic wash. Let that sit, then scrub everything down before rinsing thoroughly with fresh water.
Double-check everything to make sure you didn’t miss anything, and be sure to get roosting bars, nesting boxes, and any other surface where your chickens might come into contact.
Once that’s done, let everything dry out, and then sprinkle a generous amount of DE in all cracks and crevices. Add fresh bedding after making sure that your reserve isn’t also infested.
Note that if your chickens are all heavily infested, consider leaving the bedding out until you have the lice problem under control, or else they might reinfest the fresh bedding and start the cycle all over.
Continue DE and Delousing Treatments
Once the coop has been cleaned out, you must continue with periodic applications of DE and your delousing medication.
Apply DE directly to your birds once a day for the first week, and make sure their dust bath stays topped off. Apply the medication at the instructed intervals.
You should also add a scoop of DE to their bedding in the coop and stir it up thoroughly. Do this every other week until the infestation is under control.
Provide Supplements to Boost Health
As mentioned, lice are no joke; your poor birds can get so low on blood that they can barely stand, and the stress combined with the injuries and anemia can make them highly vulnerable to germs and other ailments.
Unless the lice problem is minor, your flock will benefit from some extra protein and iron supplementation in their diet. Mealworms or scrambled eggs are my go-to’s for this purpose.
Speaking of diet, make sure they are getting high-quality feed or other nutritious whole foods so their bodies are getting everything that they need to heal.
Inspect, Monitor, and Re-Treat as Needed
It’s not over until it’s over. Spend the time to check over your birds thoroughly during the course of treatment and after, looking for even a single louse, remaining eggs, or any other signs of relapse.
You’ll need to do the same thing with the coop and the bedding. Be especially sure that you stay on top of your usual cleaning chores so that things don’t get bad again. Remember to follow treatment regimens for medications to the letter, and don’t stop treating your birds just because they seem fine after a week or two!
Don’t get lazy here: you can slow down inspections to every few days once things get back to normal, but stay vigilant! Start treatment again at the first sign of reoccurrence.


Get your gift and learn things like:
- how to make this really quick pest spray
- how to prevent egg waste
- two cheap automation devices that will make your life easier
Tom has lived and worked on farms and homesteads from the Carolinas to Kentucky and beyond. He is passionate about helping people prepare for tough times by embracing lifestyles of self-sufficiency.