Most of us take it for granted that we can simply hop in the shower or climb in the bathtub whenever it is time to get clean. But for people with limited access to water, those living in austere environments, or people who are just miserly with their water, that isn’t an option.
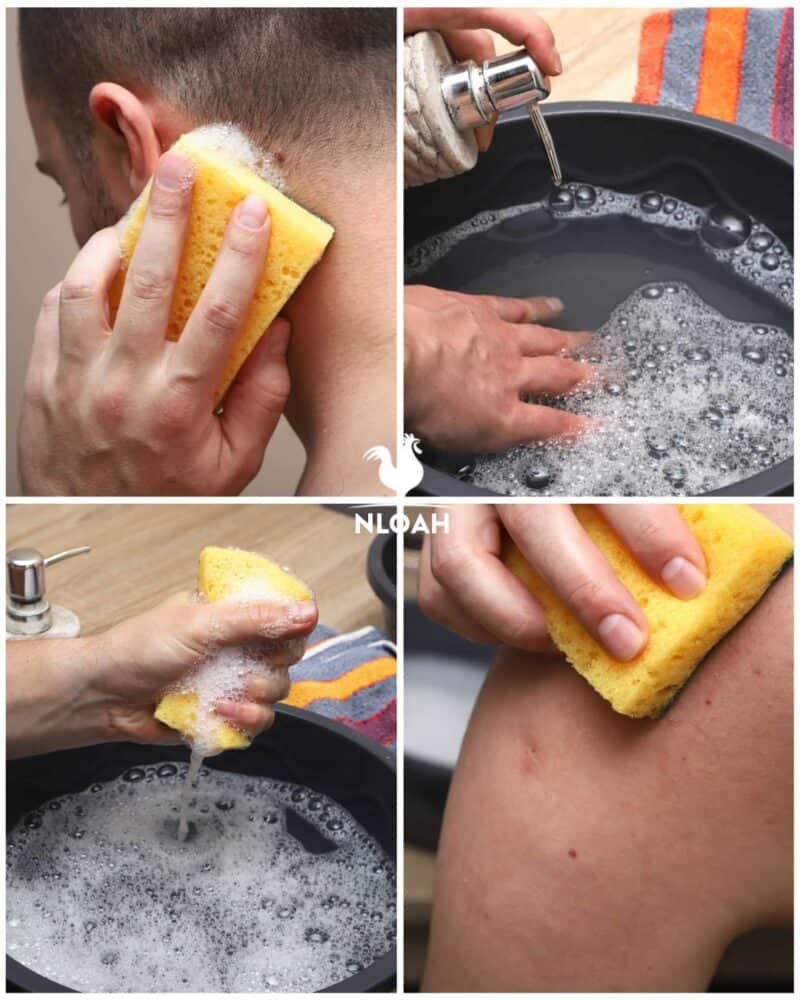
But, no matter who you are, where you live or what the situation is being clean is more than just a social nice. It is critical to good health, especially over the long term.
So what is one to do when you cannot get in the bathtub or shower, or even find a convenient stream nearby?
That answer is simple. You need to take a sponge bath! A sponge bath is nothing more than using a little bit of water in a container and a washcloth with a little soap to scrub yourself off. But knowing the right technique is important for good results and for saving resources. In this article I’ll teach you how.
What is Sponge Bathing?
Sponge bathing, as mentioned, is nothing more than bathing yourself by hand using a washcloth or sponge with a little bit of soapy water.
By scrubbing off your skin and then rinsing you can come out pretty clean without the need of using a huge quantity of water or access to running water.
Regardless of your circumstances, sponge bathing can be done quickly, efficiently, and using a minimum amount of resources and time.
Why Should You Know How to Take a Sponge Bath?
I’m of the opinion that everyone should know how to sponge bathe, both for practical and philosophical reasons. Speaking strictly on the practical side of things, sponge bathing might be an absolute necessity due to circumstances or the aforementioned lack of resources.
But considering other reasons, this is a great way to minimize your consumption of resources and to better understand how you might have to live what times are tough.
But there are many more good reasons to know how to sponge bathe, and not just for yourself. If you’re out in the field, if running water is cut off or transporting water to a bathtub is inefficient or just not an option, sponge bathing is what you are going to do when you need to get clean.
Consider also that there might be contingency reasons for requiring sponge bathing. If you have a cast on your arm or any other injury that prevents you from using the shower or bathtub, your choice will be either to sponge bathe or just stay dirty and smelly.
Sponge bathing can also be done pretty much anywhere with a little bit of setup. This means if you have a lot of people competing for bathroom time, or you are in any place where taking a traditional bath is impossible, it is entirely likely that you can sneak away to clean up with no one the wiser.
Lastly, consider that there are many people, including the very elderly and the chronically ill who are bedridden, and unable to use a shower or bath even with assistance. Sponge bathing is the only way for them to get clean, whether or not they do it themselves or have someone assist them.
But no matter your personal situation and no matter the reason you’ll need to know how to sponge bathe properly both for good hygiene and also to prevent waste and making a huge mess. But before we get there, it’s time to find out what items we need.
Supplies
The following items are necessary or helpful for sponge bathing. However, they are not the only way to do it.
Remember that at the end of the day all you need is something to hold the water, something to scrub yourself with, and some soap. So long as you can make that happen it is entirely possible to take a good sponge bath.
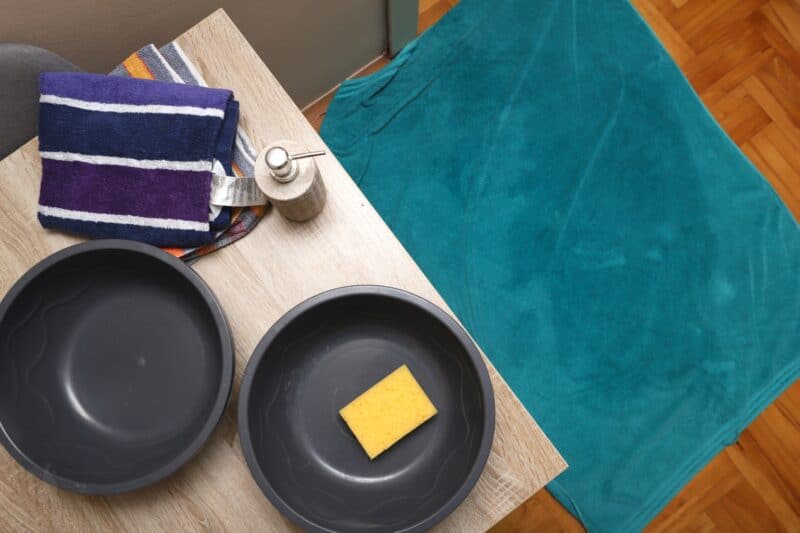
Bowls, Pots or Buckets
You’ll need something to hold the water you are going to bathe with. Ideally, you’ll have a couple of containers, one holding water for washing and the other holding water that you will keep clean and use for rinsing.
This could be large bowls, buckets, repurposed pots or pans or anything else, including empty sinks with the stoppers in place. Use what you have, so long as it is easy to reach and easy to wet your washcloth in.
Wash Bowl
If you are using a multiple container method, you’ll want one container to hold your wash water, or water that will get soapy and dirty as you reload your washcloth or sponge.
Rinse Bowl
Again, if using multiple containers to hold your water for bathing your rinse bowl will hold clean water that you keep in reserve until you’re done scrubbing your body.
You’ll then switch to using this container of water to rinse the soiled water and soap residue off of yourself. Alternately, if you have only one container you can pour out the dirty water and refill it for rinsing.
Table or Stand
A table or stand that is at approximately waist height for holding your water will make things easier on you since you won’t have to bend over to reload your washcloth.
Washcloth, Sponge, etc.
Just like every other bath you have ever taken, you’ll need a tool to help scrub your body. This can be a washcloth, a sponge, a loofah or anything else you prefer. As long as it can stay moist and hold soap it will work.
Soap
If you want to get truly clean when bathing you will of course need soap. Nothing changes here. However, to make things a little bit easier on yourself I recommend it using whatever soap you have on hand that rinses as cleanly as possible.
Soaps that are highly moisturizing or have a lotion component, soaps that are extremely sudsy and other specialty cleansers do not rinse away cleanly. It’ll be very difficult to get the feeling of residue off of your body when sponge bathing compared to immersing yourself fully in a tub or standing under a stream of water in the shower.
Ultimately though, just about anything can work, including diluted shampoo, body wash, bar soap, liquid soap, or anything else.
Bath Mat
Depending on the surface where you are bathing, a bath mat or towel might be a good idea. This will absorb the water that is dripping off of you and also help you keep your grip on a slippery surface, preventing accidents. Remember, tile floors are a major source of injury inside homes!
Towels
Naturally, bath time means you will need a towel to dry off with, and very likely an extra one to wipe up any water that got out of control. Keep in mind you can also use your towel as an impromptu bath mat in a pinch.
Curtain
Depending on where you are set up to take your sponge bath, you might be able to make use of a curtain, tarp, sheet or something else to provide a little privacy for yourself.
This is rarely an issue inside your own home, but if your home is particularly crowded or you are out in the field somewhere it is easy to rig one up for the purpose.
Again, this is purely optional depending on the circumstances, but do keep it in mind.
Bath Chair
If you are tired, infirm or injured a bath chair might be just the thing when it is time to take a sponge bath. Consider this mandatory if you are helping an elderly or incapacitated person bathe.
Note that this does not have to be a specialized bath chair, but could instead be any sturdy chair that you don’t mind getting wet under the circumstances.
Outdoor lawn furniture, a metal folding chair, mass-produced plastic chairs, and so forth all work fine. Just be certain that they are sturdy enough to support the weight of the person who is bathing!
This is everything you need to know regarding the items you will need to bathe, so now how do we go about it?
Where to Sponge Bathe?
Before you do anything else, figure out where you are going to bathe. Ideally, this will be a place that can withstand getting a little wet, or resist an accidental spill of water. In a pinch, this can be pretty much anywhere so long as you are cautious.
If you are still inside your home or another structure, a bathroom is ideal. Otherwise, you might try to bathe in a garage or if you are out in the field somewhere anywhere you can comfortably stand and place your supplies.
If you are helping someone else take a sponge bath you might be limited to wherever they currently are if they are bedridden or immobile. That’s okay; just do the best you can.
Dealing with Privacy Issues
Again, depending on the circumstances privacy might be an issue. Unless two people are as close as they can possibly be, most folks cannot stand being naked around others. The urge for privacy is entirely natural, and luckily it is easy to provide it even in a survival setting or austere environment.
As mentioned above in the equipment section, you can use a shower curtain, a tarp, blanket, sheet, or something else to provide a visibility-blocking screen for the person who is bathing.
One of the easiest things you can do is to hang this up using some type of cordage between two trees or other overhead points.
Alternately, you can grab a hula hoop or flexible rod and make a circular shower curtain that can provide someone privacy in the middle of an otherwise wide open area.
Taking a Sponge Bath, Step by Step
Now, time to get down to the business of actually getting clean. The following steps will take you through sponge bathing quickly, efficiently, and hygienically with ease.
Step 1 – Setup Bathing Area
Your first step is to set up your bathing area wherever this is. Gather your supplies, make sure you have plenty of room, and make sure you can stand or sit comfortably and do whatever you need to protect the area against accidental spills or splashes if required.
Place your bath mat or towel on the ground where you will stand, if using, and then you can move on to gathering your water.
Step 2 – Draw and Heat Water (if using)
Now’s the time to fill up your containers with water. If you’re going to heat up the water separately, do that now. If you are using hot water for sponge bathing, always carefully test the temperature of the water before you commit to bathing to avoid accidental burns.
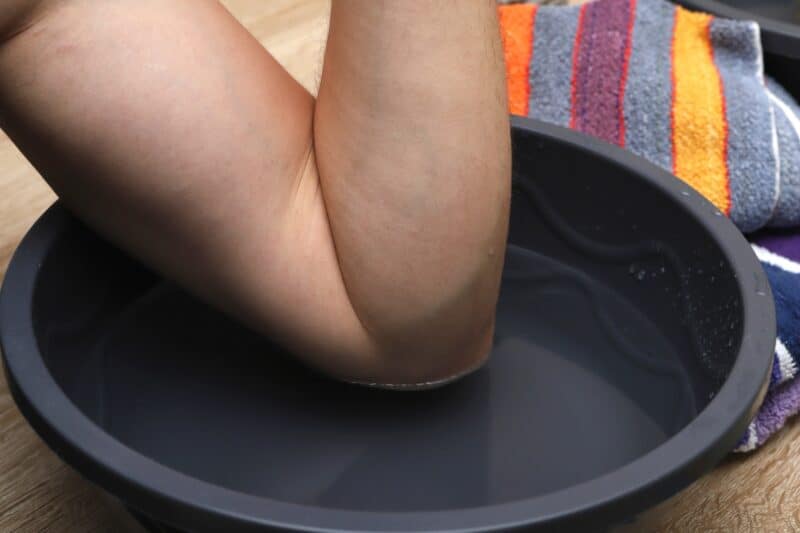
Also, and I’m mentioning this separately because it is that important, if you are giving anyone else a sponge bath, especially someone who is incapacitated or very old, test the temperature of the water on the inside of your wrist or elbow to make sure it will not scald their delicate skin. This is especially important for people who are bedridden.
Step 3 – Create Lather
Now is the time to create a little bit of lather for you to wash with in one of your containers. You have two options for this…
If using liquid soap or body wash, you can add just a little bit to the water before gently swirling it around. This should create plenty of sudsy bubbles, and allow you to soap yourself up with your washcloth as you go.
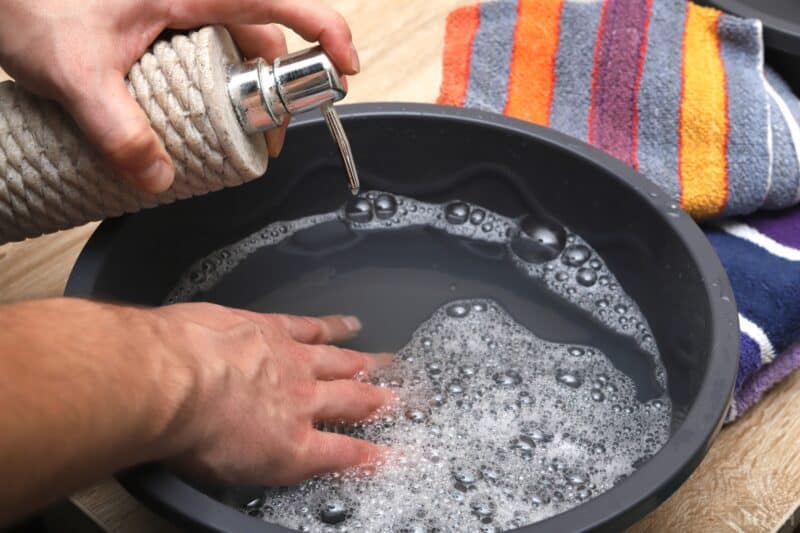
If you’re using hard soap, or just want more control over how much soap gets on your body, you couldn’t lather directly on your rag after you wet it in the first container.
Again, I caution you against going overboard with the suds since it is going to make it even harder for you to rinse the residue off your body under the circumstances. Unless you are truly filthy, less is more when it comes to soap and sponge bathing.
Step 4 – Wet Cloth or Sponge
Now it is time to get down to business. Either dip your soap, sponge, loofah, or whatever in the soapy water that you prepared in the first container or wet it and then work up a slight lather.
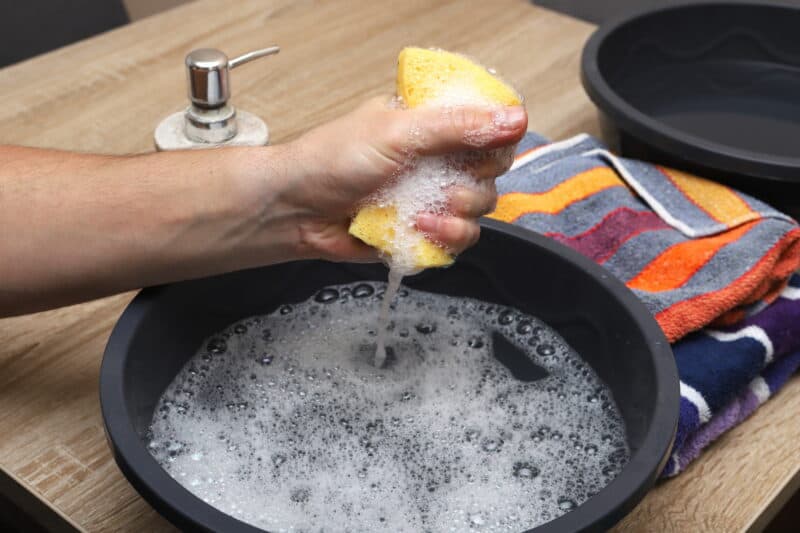
In either case, you want to squeeze out as much excess water as you can so that your washcloth is wet to the touch but not dripping. Excess water will just make a mess and make it harder for you to rinse off and get dry.
Step 5 – Wash Your Body, Top to Bottom
Now here is where the science of sponge bathing comes in. Generally speaking, you want to clean your body from top to bottom while saving the very dirtiest parts of your body for last, and for special attention. At the same time, you want to clean the most sensitive or delicate parts of your body first while your water is freshest.
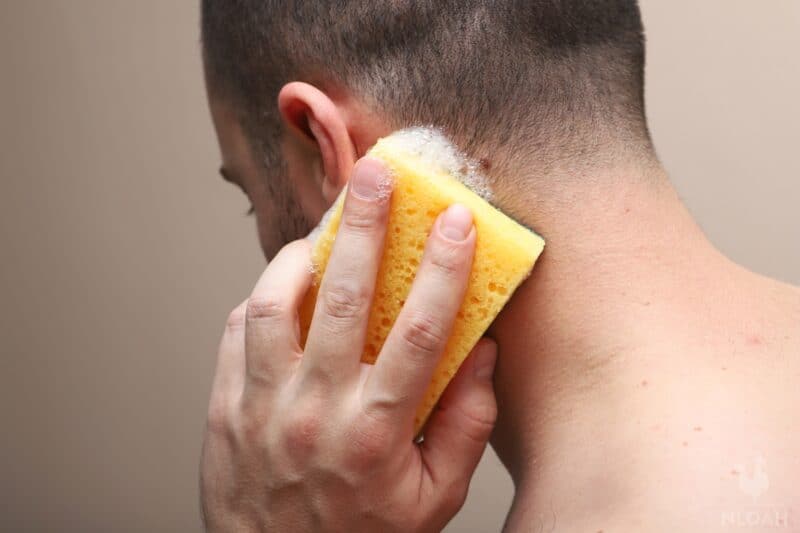
If this sounds complicated, know that it really isn’t and there’s a reason for this strange procedure. One, you generally don’t want to move germs around on your body and especially towards sensitive parts of your body.
You also definitely don’t want to contaminate your wash water with the dirtiest parts of your body up front. The goal is to keep the water as clean as possible while you work in a logical way.
I prefer to start at my head and face and then work down across my torso front and back, skipping my underarms, groin and the back side. Then work down the legs before skipping the bottoms of the feet.
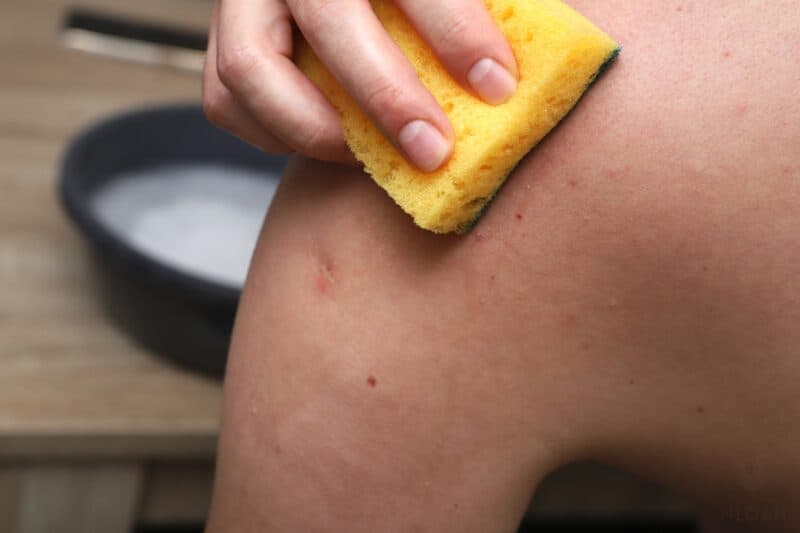
Once you have thoroughly scrubbed all these places of your body, you can clean the trouble spots. I am saying it again for emphasis…
Clean Your Dirtiest Places Last!
You don’t want to scrub your butt crack and then wipe your face, do you? Of course, you don’t, or at least I hope not, but this should apply to other parts of your body as well.
Some parts of the body are breeding grounds for serious bacteria, and these are typically the underarms, the groin, your backside and the bottoms of your feet. In the case of your groin these areas are also sensitive to infection, so you don’t want to move germs from one area back to these.
With this in mind, thoroughly ring out your washcloth or sponge, and then make a second pass over these trouble areas. This time, though, you’ll want to tackle them in order, starting with the underarms before hitting the bottoms of your feet, groin and then finally your backside in that order.
At this point, your washcloth is ready for cleaning itself and you should switch to a new one for the following steps.
Step 6 – Change Water, If Needed
If you only have a single container to work out of, now is when you want to switch out your water. Dump or drain the dirty, soapy water and refill with clean, fresh water for rinsing.
Step 7 – Rinse Off
Now it’s time to rinse. Using your second container of fresh, clean water use a clean washcloth to rinse your body from top to bottom. Optionally, rinse your backside and groin last and separately if you have any worries that you did not get properly clean when washing.
Remember, you only want to use as much water as necessary to prevent making a mess and to save water, but you’ll use slightly more than you did when washing.
Take your time and be diligent, as you don’t want to leave it any soap residue behind as this can irritate your skin. When you feel adequately rinsed, move on.
Step 8 – Dry
Now there is nothing left to do and the process except dry off. If you performed all of the steps above correctly you should be air drying quite rapidly, and only need to make a couple of passes with a towel or even blot yourself dry.
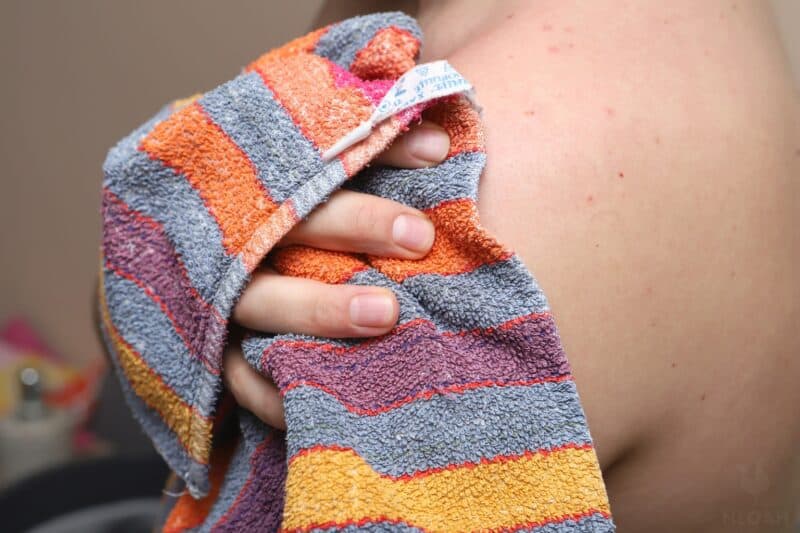
If you’re giving someone else a sponge bath, particularly a disabled person, make sure you dry them as thoroughly as possible to prevent rashes and other irritation.
Step 9 – Discard Water and Clean Up
That’s it, you are all done. discard your used water to make sure someone else doesn’t come along and use it behind you, unless you are in a truly desperate situation, and then tidy up the area to prevent falls or mildew.
Congratulations, you just took a sponge bath! Nothing to it, right?
Sponge Bathing for Water Savings and Good Health
Sponge bathing is a practice that has been around basically forever, though not known by that name and it remains the standard form of bathing in many parts of the world.
Even if you live in a place where water comes out of every tap reliably, knowing how to sponge bathe is a great way to conserve water and also a good contingency skill in case you or someone else are unable to bathe conventionally.

I’ve taken over this blog from Kendra Lynne around 2018, and turned it into one of the best an most comprehensive homesteading website out there. I was raised partly in the countryside living a very frugal life ever since I can remember.
