Rendering animal fat into lard will not only save you money, but provide you with a sustainable source of cooking and baking material from the hogs you raise yourself. This may be the easiest and cheapest self-reliance skill you will ever learn.
Tallow and lard are high heat stable, and unlike polyunsaturated fats found in vegetable and canola oils, take far longer to turn rancid. Animal fat has an exceptionally high smoke point of about 420 degrees.
Lard And Tallow Benefits
Both lard and tallow are rendered animal fat. The only real difference between the two is what animal produces it.
Tallow is traditionally made from beef livestock (goats, bear, deer, and sheep in particular) although cattle fat is commonly referred to as suet, in some regions. Grass-fed cattle are often touted as producing the most delicious form of tallow or beef fat. Lard, on the other hand, comes from hogs.
Animal fat boasts high amounts of potassium, linoleic acid, phosphorus, iron, riboflavin, selenium, niacin as well as A, D, E, and K vitamins. Linoleic acid boasts anti-inflammatory properties (source 1, source 2).
Both tallow and lard are actually better to consume than many types of cooking oils or fattening ingredients in recipes.
Animal fats also possess omega 3, omega 6, and glycosphingolipids. This type of fatty acid may help fight gastro-intestinal infections.
Baking and cooking with lard or tallow tends to make the recipe substantially more rich and moist. Contrary to what some folks may think, animal fat does not stink when being rendered or when using it to fry foods.
In fact, a recipe where both lard and actual butter not that nearly plastic margarine stuff is used, not only tends to taste better, but produces a mouth-watering delicious smell during the preparation process.
Where to Get Lard
The most obvious way to get lard is to raise and process your own pigs. However, if you don’t do this, you’re not totally out of luck…
Local butchers are often the best bet for finding quality sources of lard. Different cuts of pork fat contain different amounts of lard, so speaking directly with a local butcher can help you determine the right type for your needs.
You can also find lard in many local and international supermarkets, and specialty shops.
Types of Lard
Lard comes in many forms, such as leaf lard, back fat and fatback.
Leaf lard refers to the highest-grade lard, typically found around the kidneys and loins of pigs and composed mostly of unctuous layers of fat. Leaf fat has a cellophane type coating that should be peeled away before rendering.
You won’t likely be able to remove all of it, and the covering over the thinner fat will not hurt you, but the taste and baking capabilities of the tallow could be diminished if too much is left.
Back fat, also referred to as bacon fat, can be cut from the top layer of skin on a pig’s back. Fatback is sliced pork fat from a pig’s hard planks and it tends to be very lean with no suet or kidney fat.
While leaf lard is traditionally considered to be better than other types of lard due to its monounsaturated fat, all types tend to serve their purpose when it comes to adding flavor to dishes.
Again, though, all types of lard are superior in their nutritional benefits compared to other oils and shortenings, like corn oil, canola oil, vegetable shortening, cottonseed oil, and so on.
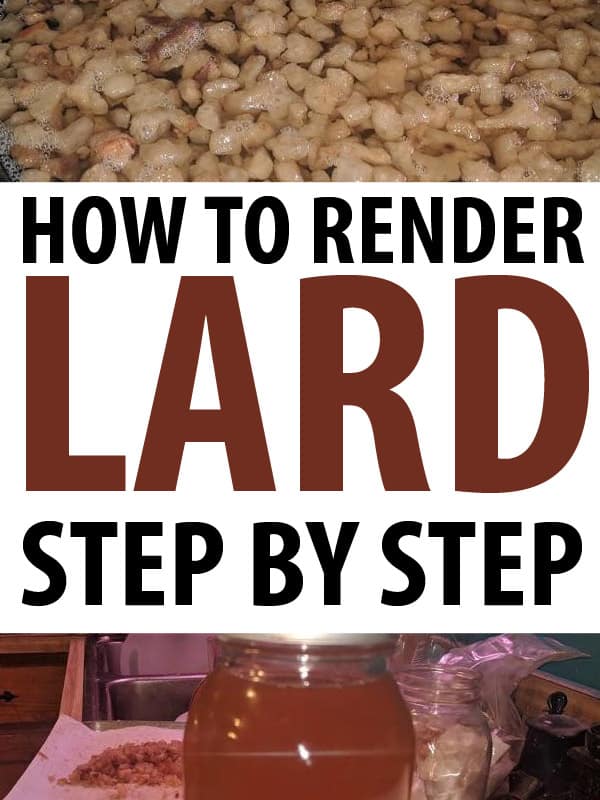
How To Render Lard
Chilled animal fat is always easier to cut and manipulate. Remove it from the freezer and allow it to thaw at room temperature for an hour or so before attempting to cut into chunks.
If you are working with a large batch of animal fat, you may need to put the lard or tallow back into the freezer if it thaws too much – making it too slick and sinewy to chunk easily.
Directions
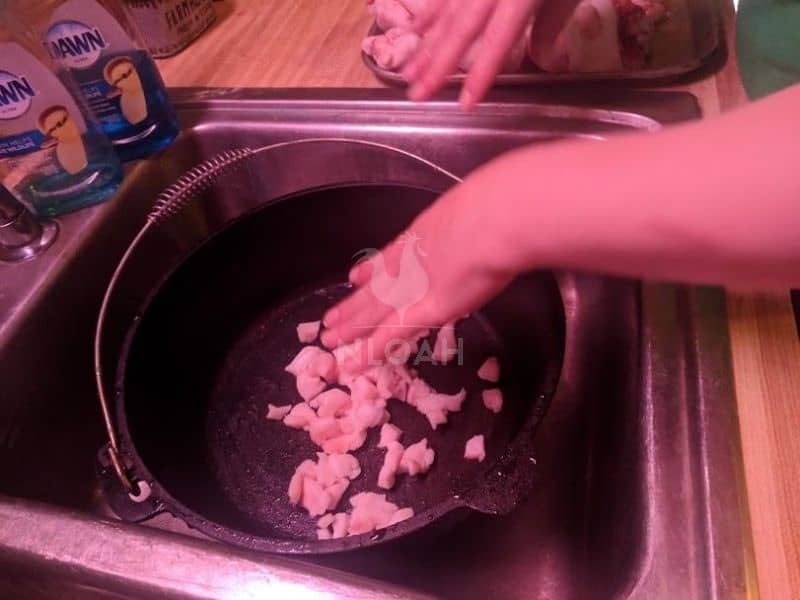
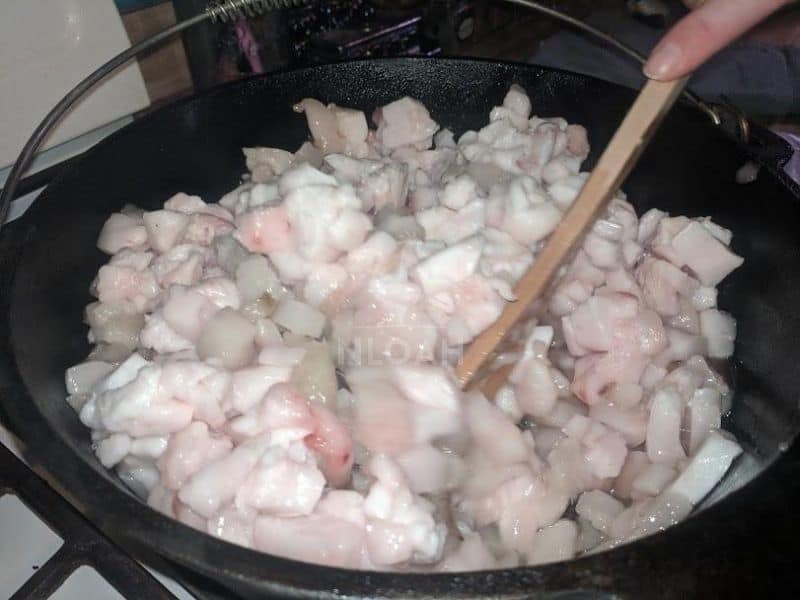
1. Cut the fat into chunks or small cubes. You can do this by hand or with a food processor. But, the hand chopping method is actually quicker when working with chilled animal fat, and there is a lot less clean up this way. If you’d like, you can also use a meat grinder to make those big pieces of fat a bit smaller.
2. Place the animal fat cubes into a large pot – a cast iron skillet is highly recommended.
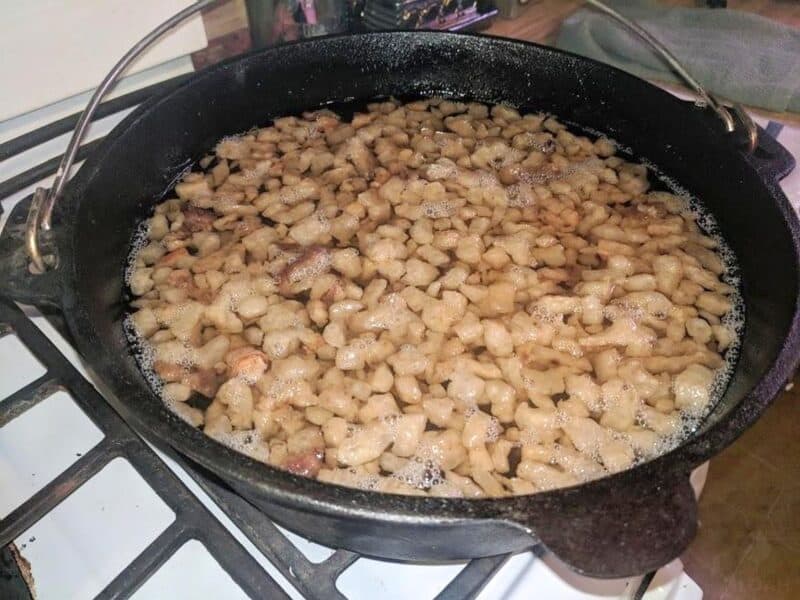
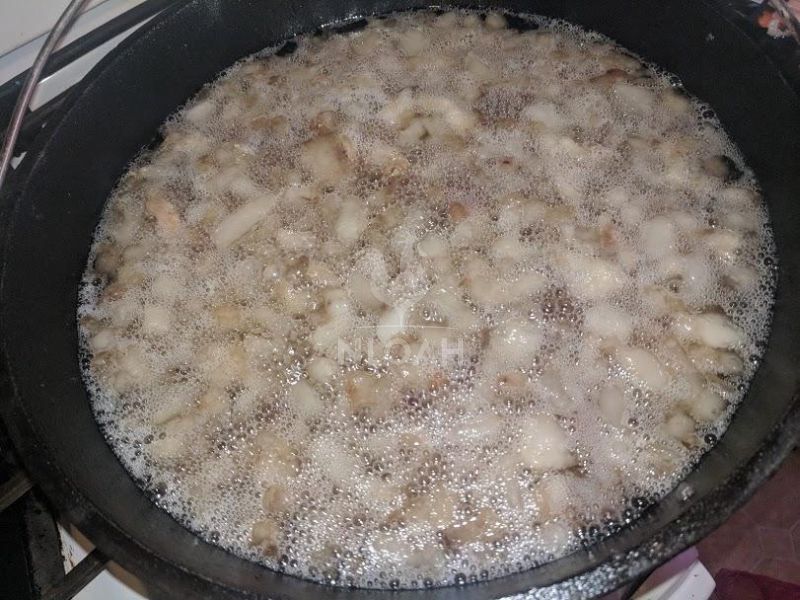
3. Melt the animal fat over only medium heat, stirring frequently to avoid scorching. If rendering the lard on an open flame, a grill, or in a smoker, do your best to keep the heat between 200 to 250 degrees F (93 to 121 C). If you scorch the fat, you will smell an odor almost immediately.
4. When the majority of the animal fat transforms into a liquid state and has a slightly brown cast, it is ready to be removed from the heat.
5. Allow the animal fat to rest at room temperature for about 15 minutes or so. If you wait too long, it will begin to gel and must be placed back on a heat source briefly to liquify it again.
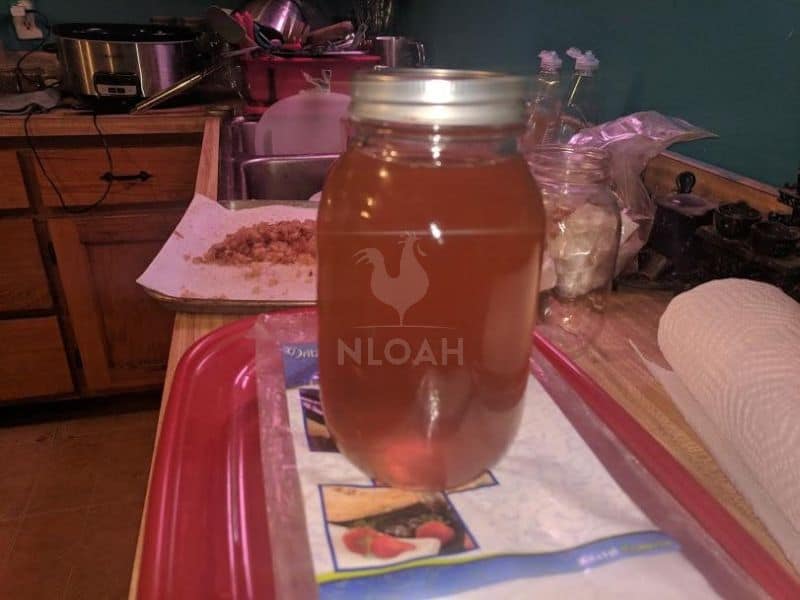
6. Pour the lard through cheesecloth or a fine-mesh sieve at least once, grasping the cheesecloth firmly as if you were ringing out a washcloth, to get every last drop from any remaining chunks of fat.
7. The lard should be stored in a Mason jar or similar container – but do not affix a tight-fitting lid. A lid could cause the lard to go rancid at a far faster rate. Instead, place a clean dish towel or several paper towels, over the lard once it has been placed in the refrigerator. Lard should keep for about six months before going rancid.
Tallow And Lard Rendering Tips
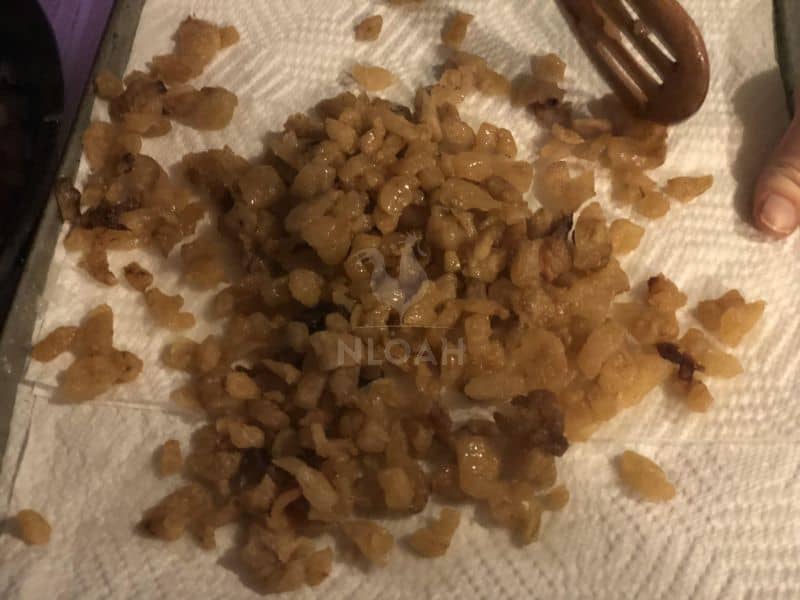
- The crunchy coating on top of the fat is actually a good thing. During the heating process, impurities in the animal fat will be cooked out and begin to caramelize – especially when using fat from bee animals.
- Lard from Angus or Hereford cattle often have less of a golden brown hue and more of a creamy white texture than other rendered animal fat, when it cools.
- Animal fat can also be rendered into lard or tallow using what is called the “wet method.” To process fat this way, mix together one cup of water for every two pounds of fat and render in the crockpot.
- Although you will not render as much lard, you can process the fat from ducks, chickens, guineas, turkeys, and geese. Lard from poultry birds and waterfowl is generally also considered to produce moist and rich baked goods.
Can You Render Lard in a Slow Cooker?
The short answer is yes! A slow cooker can be used to render lard with great results. However, there are some important points to keep in mind when rendering lard in a slow cooker.
Start by cutting your pork fat into small cubes so they fit easily into your slow cooker. This will allow more surface area to come into contact with the heat and will speed up the rendering process significantly.
Use only high-quality pork fat when rendering lard in a slow cooker – avoid any pieces with gristle as this can impart an unpleasant flavor to your finished product.
Keep an eye on the temperature; too much heat can cause your lard to burn, resulting in an off-putting smell and taste. Aim for a low simmer – around 200 degrees Fahrenheit – throughout the rendering process. Usually, a crockpot set on “low” will meet this cut-off.
Be sure to stir regularly; this will help prevent burning and ensure even cooking of all pieces of pork fat.
Can You Make Bacon Grease Into Lard?
Bacon grease is one of those little kitchen ingredients that you might not give much thought to.
However, many savvy home cooks know the value of storing and using the flavorful grease after frying up a few slices of bacon.
One way to extend the life of this precious liquid gold is by rendering it into lard.
Once cooled, it can be used for baking and frying as a substitute to butter or other vegetable oils, although some may consider its own unique smoky flavor to be an appealing plus!
Keep in mind that you may need to do some extra straining through cheesecloth filters or a coffee filter to get rid of all the “gristle” from the bacon grease – otherwise, the steps will likely be more or less the same.
Can You Make Lard from Pork Skin?
Making lard from pork skin is absolutely possible, though you may not get as much lard from the process than if you started with pig fat.
To make lard from pork skin, you first need to rub salt into the skins and leave them to cure for one day per pound. Then they need to be cut into smaller pieces and simmered in cold water over medium heat until they’re fully cooked. Again, follow the steps highlighted above.
Finally, strain off the fat and let it cool in the fridge before using or refrigerating it. It can take more time than just working with raw fat, but it’s worth the effort.
Lard Uses
Lard and tallow have a plethora of uses outside of the kitchen, as well:
- Lubricant – Both lard and tallow can be used as a knife grease. It can also use the animal fat to lubricate machinery.
- Soap – Rendered animal fat can be used as a base ingredient for making a very creamy soak that infuses moisture into dry skin.
- Leather – Use lard or tallow to condition any manner of leather – it works especially well on horse tack yet is gentle enough for thin fine leather, as well.
- Candles – Allow the lard or tallow to enter the gelt state just slightly, so it remains still pliable. Put it inside an oil lamp or Mason jar with a wick – or cotton scrap fashioned into a makeshift wick, and use as a candle or emergency lantern fuel.
- Fuel – Lard and tallow can be used as an ingredient in biodiesel fuel.
- BBQ Cracklings Recipe – Place some of the animal fat that was not strained through the cheesecloth on a baking sheet. Baste them liberally with BBQ sauce. Sprinkle them with salt and pepper and/or your favorite seasonings. Bake in the oven at 375 °F (190 °C) for 15 minutes until they have become slightly less crisp than bacon.
Have a favorite lard recipe or non-kitchen to share? Please post it in the comments section below.

Tara lives on a 56 acres farm in the Appalachian Mountains, where she faces homesteading and farming challenges every single day, raising chickens, goats, horses, and tons of vegetables. She’s an expert in all sorts of homesteading skills such as hide tanning, doll making, tree tapping, and many more.
The local Frys store had a great sale on Brisket. We bought 2 and when trimming there was a lot of fat left over and I hated throwing it out. I wish I had seen this two weeks ago. We won’t be wasting any more now. Thanks!