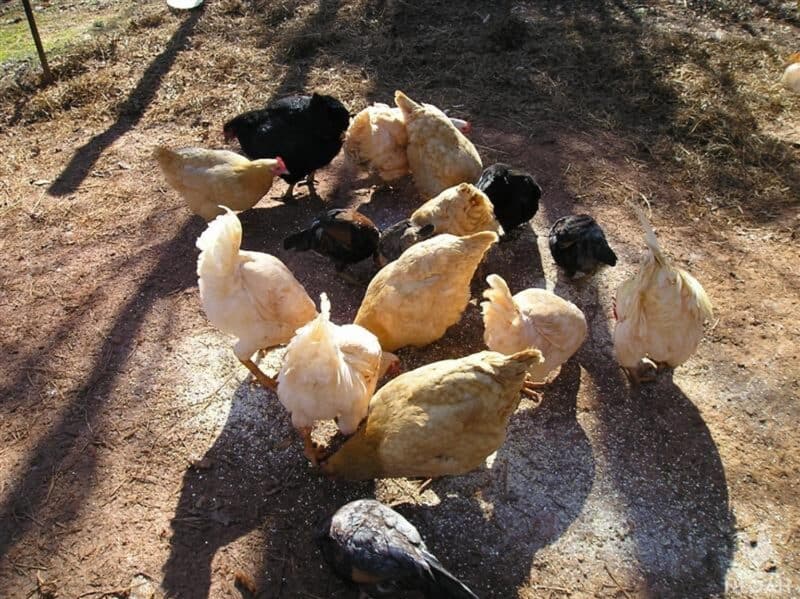
We’ve all been there, the day after tragedy strikes your coup, maybe it was a fox, a hawk, a neighbor’s dog, it was a family of raccoons for my flock. You have a full house one day and the next you may have half a flock or less.
Maybe it was an illness that came quickly and hit hard. Or a dreaded coup fire after an attempt to keep your hens warm at night with a heat lamp.
Or possibly you’ve had a healthy flock for many years, but their age is showing, and you can’t depend on their daily eggs any longer. Maybe you’ve had to cull a larger quantity of your flock this year.
Flocks dwindle for various reasons and the need to rebuild the flock arises many times over the course of a homestead’s life. There are a few different options to choose from when rebuilding your flock, and a few things to keep in mind when doing it.
Plan, Plan, Plan!
You may have lost some chickens because you chose a breed that wasn’t meant for the harsh winters in the north, or you had buyer’s remorse once you saw your neighbor’s beautiful olive eggs next to your brown eggs.
Do you want a few birds that are just for show instead of eggs or meat? You’re ready to grow your flock again, so now is your chance to change some things from last time.
Be picky about who your bringing to your flock, love the eggs you pick from your nesting, boxes and take pride in the flock you’re planning.
Make a decision about what breed you’re looking for, there are too many to go over here, but the Livestock Conservancy’s List on breed characteristics. Look for climate needs of the chickens but also consider your personal needs.
Adding to The Flock
Do you have a broody hen?
If you’re lucky enough to have a breed you love, and have a hen of that breed go broody, half the battle is over! You may even be able to sneak in a few eggs from other breeds and have your broody hen raise a multi breed flock of chicks.
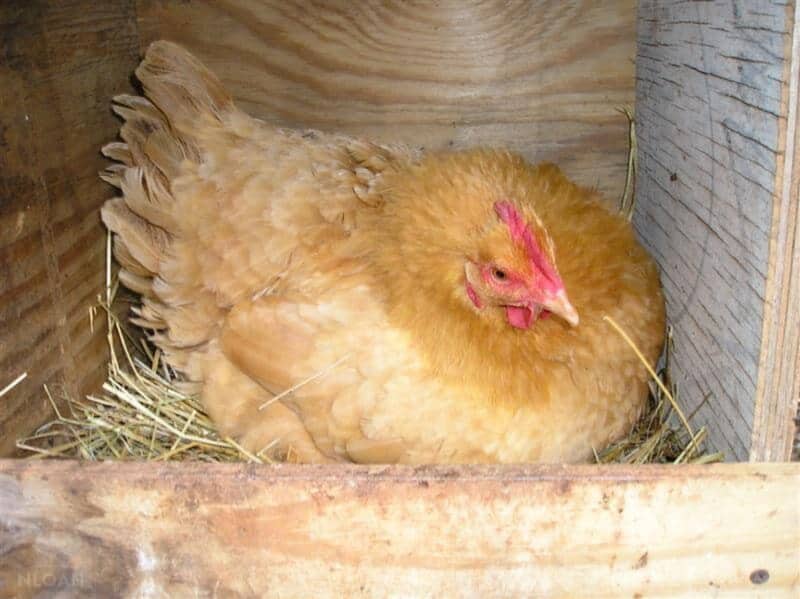
You need a few things to make sure the broody hen is successful. The first on the list is fertilized eggs. If you keep a rooster around, you probably have fertilized eggs.
You can crack open a few eggs and check the yolk for a small white dot with a ring around it. This is called the blastoderm, and means you have fertilized chicken eggs.
The hen can handle everything from egg to chick, it’s really the easiest and best way to go. She will turn the eggs as needed, and keep the chicks warm and act as their protector once they hatch. She’ll handle all flock introductions and help keep them fed on bugs and insects.
There are some ways you can encourage your hen and let nature take its course.
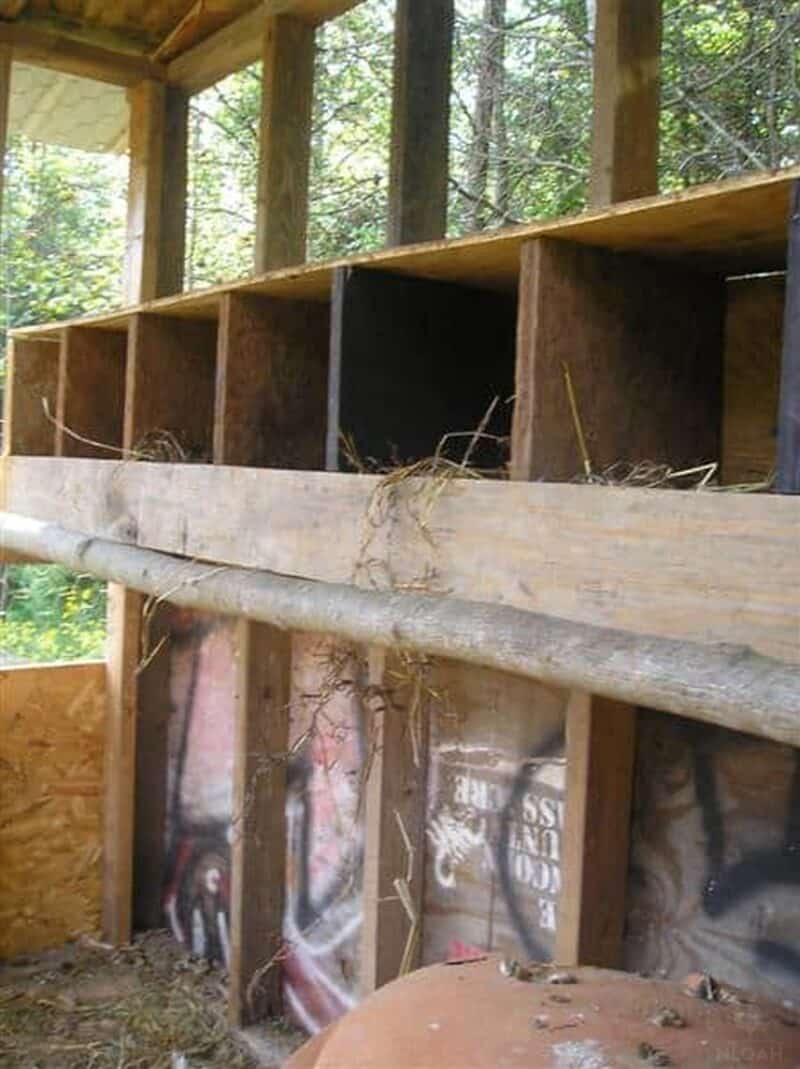
- Keep your nesting boxes pest free – A hen won’t want to lay on eggs if she knows there are critters around to compromise the safety of the eggs. Make sure the box is nice and comfy with lots of padding to keep the eggs from breaking.
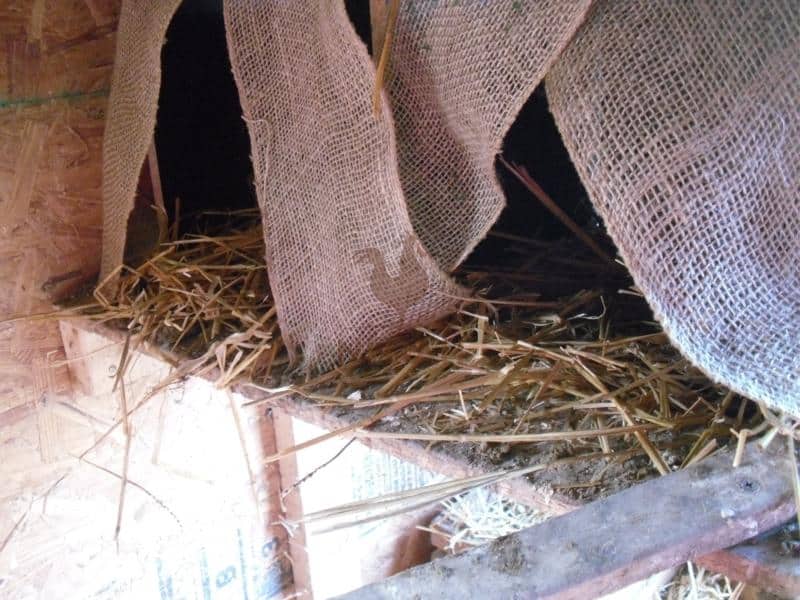
- Provide a dark safe spot – A broody hen wants to lay eggs in a secret place. Provide a nesting box that is blocked off, either by a curtain across the front or maybe one that doesn’t face the rest of the coup.
- Choosing the right breed – Some breeds are naturally inclined to go broody. Some include, buffs Australorps or Cochins, but refer to the above list for more.
- Leave eggs in the nest – If you’re taking fresh eggs out every morning, she won’t be encouraged to sit. Leave eggs in the nest you’d prefer her to use. You can use dummy eggs, recycle plastic Easter eggs, or use golf balls to trick her into thinking there are unbothered eggs in the box.
- Add some relaxing herbs – Every lady likes a relaxing area to spend their time. Adding some lavender to your brooder box will help her get cozy and feel at home.
Using an Incubator
You can use eggs from your own hens, assuming they’re fertilized. Go to a local hatchery to choose from breed specific eggs or order eggs of your choice online. You can choose any incubator you like, more expensive units will turn your eggs for you, or have a fan to ensure even temperature throughout the incubator.
To start, you’ll need to choose medium size eggs. Large eggs may have double yolks which could present problems, too small eggs will hatch out small chickens. You’ll want normal shaped and strong shelled eggs. Wipe he eggs clean with a dry paper towel but don’t clean them with water or you’ll remove the protective coating from the shell.
Use eggs that have been laid in the last week, that haven’t been handles too much, and haven’t been refrigerated. Keep the eggs with the small pointy end down but angle them a little and turn them each day.
Once you’re ready to incubate, make sure you have time to care for the eggs each day for the next 21 days. Mark each egg on one side with a “1” or an “O” and the other side with a “2” or an “X” to keep track when you’re turning them. Place your eggs in the incubator with all like sides facing up and place a thermometer inside, level with the top of the eggs.
Turn your eggs 3 times a day to prevent the developing embryos from attaching to the shell. Make sure you maintain enough water in the incubator to maintain humidity levels.
Don’t get the eggs wet when you add water and make sure to keep the incubator closed unless turning eggs or adding water. Keep an eye on the temperature but don’t adjust the thermostat too often.
At about day 10 and on you’ll need to make sure you check for rising temperatures. The eggs will start to produce heat of their own, so you’ll need to adjust as needed. Keep it around 99.5 to keep them from overheating.
At day 18, approximately 3 days before expected hatch, you’ll need to stop turning the eggs. This allows the chicks to get into position. It’s normal to hear a peep or chirp for a few days before the eggs hatch.
Once they start hatching, leave them be. It’s hard to resist helping remove the shell but the chicks are wet, and the incubator will keep them warm.
Unless you notice a chick that is weak and struggling after a long period of time, it is important to maintain the temperature for all the chicks, hatched or not.
Once a bunch, or all the chicks are out of the shell and dry, then you can remove them from the incubator.
The hatched chicks should be moved to a prewarmed brooder of the appropriate temperature immediately and not kept out of the heat too long.
Buying Chicks
Don’t have a broody hen? No rooster to fertilize your eggs? Maybe you would just like to change things up a bit and add some new breeds or egg colors to your coup.
Buying chicks of various breeds is a great way to do that. There are a few things you’ll want to consider when making an order or purchasing live chicks at a store.
Feed store chick buying– The initial cost of buying from feed stores seems to be the cheapest way to go. Many people have a lot of success purchasing this way.
You can go in, grab as many or as little as you’d like at a cheap price, and get out. For many, buying at a feed store turns out to be a disaster of sickly, unsexed, and misplaced chicks.
My own experience is that while each batch of chicks is labeled, there are usually a couple breeds in each bin. Children are always close by and may add the problem of misplaced chicks.
Free ranging children are also taking the chicks from their heat lamp allowing their body temperature to drop, resulting in sickly chicks. I even had a few roosters come out of a batch of pullets. A smaller feed store may not present these issues.
If you have a local feed store that you know and trust, pick up your chicks there. They probably know exactly where the chicks were hatched to give you an idea of their overall health and how well they’ve been cared for.
Buying from a hatchery– There is a whole slew of hatcheries available around the country. Each offering their own breeds and specialties available. You’ll have to do a little research on which is closest, and which has the breed you’re looking for.
A lot of hatcheries have a minimum order of 25 chicks, but you’ll find some, like Meyer Hatchery that’s close to me in neighboring Ohio, who will let you order a few chicks at a time.
Most hatchery purchases will cost more than at a feed store. But they’re already properly sexed, the breed is known and usually they’re healthier. Meyer Hatchery for instance, has a NPIP status that’s clean of Salmonella and Pullurum Typhoid, and H5/H7 Avian Influenza.
One downfall is if you choose to ship your chicks they’re at risk of any inclement weather. If they encounter a cold snap, you may have to deal with sickly chicks once they arrive
Caring for Chicks
No matter how you acquire your new chicks, you’ll need to make sure you have the right set up to keep them healthy when you bring them home. Birds require a clean brooder box with fresh water, heat and food.
You may encounter some health issues like pasting, this usually just requires keeping their bottoms cleaned off for a few weeks. Keeping their bedding fresh and clean will help keep sickly chicks to a minimum.
You can use anything for a brooder box, an old cardboard box, recycle a hamster cage. A rabbit or larger animal cage probably won’t work because the wire is spaced too far. Anything that will hold tiny chicks to keep them from the rest of the house will work.
They will need constant heat available for the next few weeks. A heat lamp is the usual go-to as you can raise it or lower it as needed.
The chicks can get right under it or stay on the outskirts of the heat to adjust their temp. They’ll need the temp to stay at about 95 degrees the first week and then the temperature can be decreased by about 5 degrees each week after that.
Food and water are also main points to be added to the brooder box. You’ll want to provide a low, shallow dish of each.
The chicks are too small to get over the ledge of a tall bowl of food and may get stuck or possibly drown in a large bowl of water. You can find appropriate food and water dish options at your local feed store or you can provide you’re own.
Buying or Rescuing Laying Hens
Buying or rescuing some laying hens is a great way to add to the flock or rebuild when you start to see your egg numbers drop. They’re ready to be outside of the house without an added heat source, which makes them so much easier to care for.
They’re probably ready to be on the same feed as the rest of your flock which makes for added simplicity. Although there are a lot of easier aspect to adding adult to the flock, there are some precautions you want to take.
Adding new chickens to the flock is kind of a big deal. You shouldn’t just throw new chickens in with the others and hope for the best. New chickens should be kept away from an existing flock for at least 30 days.
This means out of your coup and away from your other hens, not confined to a separate space in the same coup. This is to prevent the spread of diseases, some being airborne, should your new hens have them.
During this time, you can get to know your new birds. Let them get used to their surroundings and spoil them a little with extra treats. Make them feel at home and observe them for signs of illness.
Look for:
- Breathing issues
- Discharge from the eyes and nostrils
- Mites
- Lice
Some of these are treatable and can be resolved during the quarantine period, but some issues can be contagious and fatal. This means you’ll have to decide about what to do with your new bird or birds if you discover a disease that could potentially spread to your existing flock.
Aggression Issues:
There can be fighting when you introduce new chickens to an existing flock, even if the existing flock is small. You should place your new chickens in a pen close to your coup. This will allow everyone to get to know each other, but prevent any serious fighting from occurring. Do this for about a week then slowly let them mingle during supervised times.
Always let your new birds out first to they can establish some ground. Let your older hens or roos join them. You may notice some little fits of aggression here and there which is perfectly normal to establish a pecking order.
My Barred Rock, is the youngest but she is head hen in our small flock. Keep supervising to make sure things don’t get out of hand. You may need to separate them and try again after a time.
Once you feel confident that everyone is safe to sleep together, you can allow your new birds to follow your existing flock into the coup at then end of the day. It may take a while for them to choose to sleep in the coup, they may prefer their quarantine pen for a while, and that’s ok.
During the night you can move your new or younger birds to the coup to get them used to sleeping and roosting with the others.
Keeping your flock healthy for years
Of course, enough food and water must be available always. Plenty of chicken enthusiasts free feed their chickens.
Meaning they fill up a large food dish, usually found at your local feed or pet store, to allow your chickens to feed at all hours. During the winter months this allows them to eat their dinner before bed to help keep them warm all night.
In the winter months, this means you’re either trekking out to the coup multiple times a day to provide fresh warm water before it freezes, or you’ve set up a heated water bowl. These water bowls are usually smaller, so you’ll still need to make sure there is water available throughout the day.
If you lost your birds to an illness, you may want to get a necropsy to make sure there isn’t something contagious lingering in your coup. Either way, you’ll want to make sure your coup is fresh and clean for any newcomers.
A proper coup will have ample space for the birds you to plan to house. They need enough perch space and plenty of nesting boxes to prevent them from fighting.
If you lost some of your flock to what seemed to be respiratory issues, and you know an infectious disease wasn’t the culprit, you may want to look at the living conditions of your chickens.
If you’re allowing their litter to get too dirty before cleaning, this can be an issue. This is amplified if your coup doesn’t have proper ventilation.
During the summer months you’ll want to make sure your coup is getting enough air inside. You can leave the coups doors and windows open during the day to allow enough air flow. Cross ventilation is important to keep fresh air around your birds during the day and helps them from overheating.
During the winter you may have the urge to lock them up air tight, but this can cause issues. Chicken droppings, the water dish, and the chickens themselves will create humidity inside the coup.
You’ll want to make sure there is some type of ventilation system up high in the coup to allow the warmer air to rise and escape.
Space between the walls and the roof or cutting out a square and adding a vent cover will work perfectly. Just make sure there is chicken wire or hardware cloth in any gaps to keep predators out.
In Summary
Weather you’re rebuilding your flock from the ground up, or you’re adding to a dwindling flock make sure you plan your process.
Decide what changes you wish you had made to your flock before, or what characteristics your birds are lacking, and add them now. I’ll be rebuilding my flock with egg layers of various colors to make up for my loss.
Utilize your resources like a broody hen, fertilized eggs or start fresh with new chicks or eggs from new breeds.
Keep in mind the lessons you’ve learned from past mistakes with your flock and fix any problems you have with your bird or with their environment. More than ever, enjoy your birds and the eggs they produce!
Are you rebuilding your flock of chickens? What are some changes you hope to make this time around?

Paige is a writer with a background beginner homesteading, small scale self-sufficiency, and animal topics. Paige and her husband spend time away from work playing with their daughter, keeping their chickens from destroying the vegetable garden, and snuggling their 3 dogs and 2 cats.
high quality/high velocity air rifles are a very good thing. nice and quiet.
Ben,
Lol, I love the way you think! We trapped a possum that killed my favorite rooster over the weekend. I had looked forward to getting my revenge with my .22 Henry rifle, but for a reason we still can’t figure out, it died in the cage trap. I must have been in the middle of giving birth because we found one still born baby possum. So, I figure we have at least one male possum running around our homestead – the cage trap is back in place and hoping to catch another one today.
In my city we can have 4 hens (no roosters). Over the years I’ve had to rebuild twice.
The first time was hawks. I slowly lost them over a three month span. One time, I came out just in time to see my chicken go flying upside down over the fence at the bottom of a hawk.
The last time was a Raccoon in the coop. It literally pulled one hen out of the hole it made in the chicken wire, another chicken barely survived. It’s tail feathers were totally gone. I nursed it back to health.
i now hunt raccoons at night around my neighborhood.
Wow, that is a lot of heartbreaking carnage, FLAPrepper1. We have a 56-acre homestead and actively engage in farm avoidance training with Appalachian predators – which include hawks and coons. We can trap or shoot coons, coyotes, wild boar, fox, and mink, but doing anything to hawks or bobcats is still illegal. I hate that, I lost some ducks and chickens early on to hawks, but now they remain largely outside of our area. Spray paint some large eyes onto your coop to trick hawks into thinking a larger predators is already there, it really does work a lot of the time. Also, they hate anything reflective, like old CDs hanging on a fence, tin foil pans, and reflective duct tape. Please rip out all of that chicken wire, it is only good for keeping chickens in and won’t keep predators out, especially mink. Put up some hardware cloth (rabbit cage wire) and put a 2-step lock on your coop, a determined coon can open a simple latch.