
There’s hardly anything that feels nicer on your skin, or is better for it, than real soap made with real ingredients. And by real, I mean things that didn’t get picked at random out of a chemistry textbook; things that are drying, irritating, and just all-around harmful.
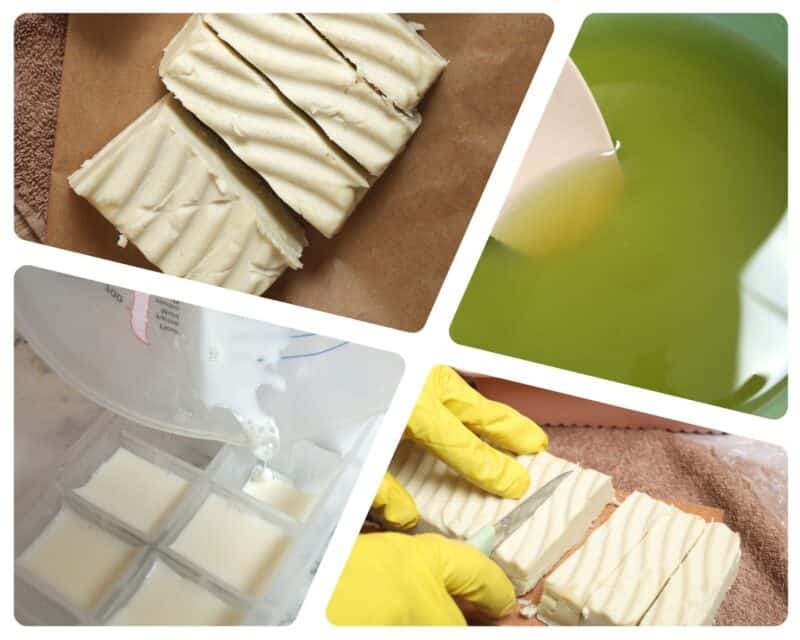
Instead, real soap, the good stuff, contains things like goat milk, olive oil, almond oil, and various essential oils that will give your skin the things that it needs while gently exfoliating, and you’ll hop out of the shower or tub smelling great.
But real soap is big business right now, and you can spend a pretty penny on it as sad as that is. But you don’t have to be sad if you learn how to make your own customized goat milk soap at home. Keep reading, and I’ll walk you through it step by step in this easy guide…
Make the Process Easier by Putting Everything in Place
We’ll get right into things, but before we do, I want to give you one tip that will make all the difference: prepare your workspace and get everything in its place before you start.
Get out all of your tools, utensils, vessels, and ingredients. Make sure the countertop or bench is clear. You’ll also need plenty of light and good ventilation.
I strongly recommend that you pre-measure your ingredients and have them in individual measuring cups, graduated cylinders, or anything else you want to use to hold them. It makes the process so much smoother when you can just grab what you need and put it straight into the bowl or pot.
You can measure as you go if you’re more comfortable doing it that way, but you’ll be keeping one eye on the temperature and the clock during this process, so the pressure will be on in a couple of phases.
With that said, let’s move on to our tools and ingredients…
Caution: Lye is Caustic and Reactive with Water and Aluminum
One thing you must know is that a necessary component of making real soap is lye, also known as sodium hydroxide.
This stuff is caustic and can seriously burn your skin and especially mucous membranes. It will also emit vapors which can be harmful if inhaled, and they get really nasty in a small, enclosed space.
Lye is also exothermic when combined with water, meaning it heats up. This can potentially burn you, and we have to control the heat during the process to avoid damaging our soap before it is made.
This stuff also reacts with certain metals, namely aluminum, so nothing that you use in the following processes can be made from aluminum! I strongly recommend that you stick with steel or glass containers only, but you can use number one or number two plastic as an alternate.
Check your tools and check them twice or else you can have a serious accident!
Tools and Equipment
You’ll need a fair bit of stuff from your kitchen to make your own goat milk soap, but chances are good you’ve got pretty much all of it right now. You’ll also need some personal protective equipment and a couple of specialized soap-making items.
Eye Protection: In case the previous section did not impress it upon you enough, lye is serious stuff and you must protect your eyes especially from splashes. Use standard laboratory goggles that are splash-protective while making soap.
Chemical-Resistant Gloves: your hands and forearms will also need protection from possible mishaps, splashes, and drips. Rubberized, chemical-resistant gloves with forearm protection are mandatory for this operation.
Medium Pan, Steel: you’ll need a small saucepan for melting the solid oils on the stovetop and then combining them with the liquid oils. Make sure it is stainless steel or plastic, not aluminum, to minimize any risk of an accident with the lye solution.
Small Bowl, Steel: for holding your liquid oils. You can combine the liquid oils ahead of time in a small bowl and then add them to the pan containing the melted solid oils once they’re done.
Medium Bowl, Steel or Glass: for mixing the lye solution. This container must be both heat-resistant and made from either steel or glass only, or heat-resistant plastic. Lye is highly reactive with aluminum and can also attack some plastics.
Soap Molds: you can use any variety of soap molds you prefer for making this soap. If you want smaller pucks or bars, that’ll be fine…
You can also use larger loaf-style molds and then slice the finished soap into bars when it is done resting. If you don’t have these molds, you can use a cardboard milk carton or other waterproof container that you can sacrifice for the cause.
Ice Trays: we will put our goat milk in ice trays and freeze it to help quench the hot lye solution, and also to keep it from cooking the goat milk, breaking it down, and turning it an unpleasant yellow-brown color which will affect the color of our finished soap!
Plastic Wrap: this will come in handy both for covering your finished soap when it is in the mold chilling in the refrigerator, and also for protecting surfaces it’s resting on during curing.
Thermometer: an instant-read immersion thermometer or, if you have one, an infrared one will make a world of difference when you’re assessing the temperature of the lye solution and also the oils when they are coming off the stove. Get one or the other; you don’t want to guess at the temp during this process!
Immersion Blender: hand stirring is for the birds if you want perfectly blended and super silky soap. A cheap immersion blender will work wonders here.
Mixing Spoon, Steel: for stirring the lye solution.
Spatula: a silicone spatula comes in handy for scraping down containers, preventing air bubbles, and various other chores during this process.
Strainer: a fine strainer or sieve is needed to strain the finished lye solution to catch any chunks of sodium hydroxide that might otherwise end up in our soap.
Kitchen Knife: you won’t need anything more than a stout kitchen knife for slicing your soap into bars if you are using a larger loaf-style mold.
Measuring Spoons: measuring spoons are a must for carefully and precisely portioning soap ingredients.
Measuring Cups: likewise, you’ll need measuring cups for measuring the oil, water, and sodium hydroxide.
Whew! Quite a list, but I promise you it’s easier than you might think, and the actual process goes pretty fast.
Ingredients
Gather the following ingredients and materials for our soap-making journey.
Distilled Water, 3 ¼ oz: you can use any water you want in this recipe, but I strongly recommend distilled water as only it will be free of chemicals that might negatively interact with the sodium hydroxide, or lye.
Goat’s Milk 3 ¼ oz: you can’t have goat milk soap without goat’s milk! You don’t have to use goat milk that is fresh from a goat or anything. Store-bought stuff, or even reconstituted powdered milk, works perfectly.
Sodium Hydroxide, 3 ½ oz: this is the lye. Nasty stuff, but necessary for soapmaking. Or I should say, real soap! Handle with care, keep it dry and away from all water sources, and never let it come into contact with aluminum.
Coconut Oil, Refined, 9 oz: an important base oil for our soap. This stuff is solid at room temperature, and so we’ll need to melt it on the stove.
Olive Oil (any kind), 14 oz: any sort of olive oil you have on hand will work just fine for this recipe as long as it isn’t rancid. Don’t hesitate to use non-virgin olive oil; it can give your soap a luscious lathering quality.
Almond Oil, 2 oz: the healthy oils keep coming. A little dash of almond oil and your soap has great benefits for skin, and will help it to repair itself.
Palm Oil, 2 oz: a little palm oil is a good thing, too. It is particularly hydrating and protective.
Lavender Essential Oil, 5 tsp: used for fragrance, but lavender oil also has noted antimicrobial properties.
Rosemary Essential Oil, 2 tsp: rosemary oil is a wonderful accent to lavender, and like the other essential oil on our ingredients list, has proven germ-fighting and restorative properties.
And that’s everything you need. Now, time to finally get down to business and start making our own soap!
Goat Milk Soap, Step by Step
I urge you to review all of the steps carefully before you get started at all. Some steps are time-sensitive, and in others, you must check the temperature before you proceed. Delaying while you read instructions might make a difference!
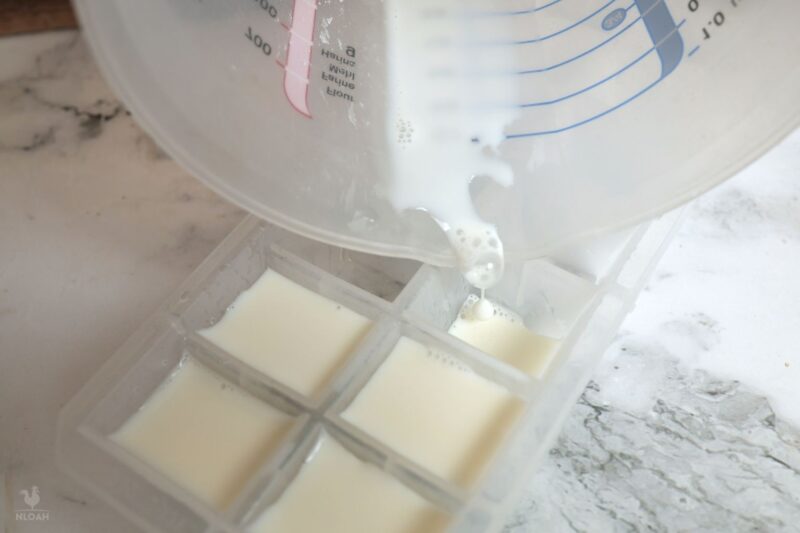
Step 1: freeze goat milk. First things first. Pour the goat milk into your ice cube tray and then place it in the freezer until it’s frozen solid.
Step 2: put on your safety equipment, ensure adequate ventilation. We will be making the lye solution in the next step, so it’s time to put on our goggles and gloves and make sure you’ve got plenty of ventilation to protect you, and your possessions, from the vapors.
Turn on the fan over your stove or open up several windows near your workspace. Even crack a door if you have to.
Step 3: fill the medium bowl with water, add sodium hydroxide. Be prepared, it will start to heat up quickly.
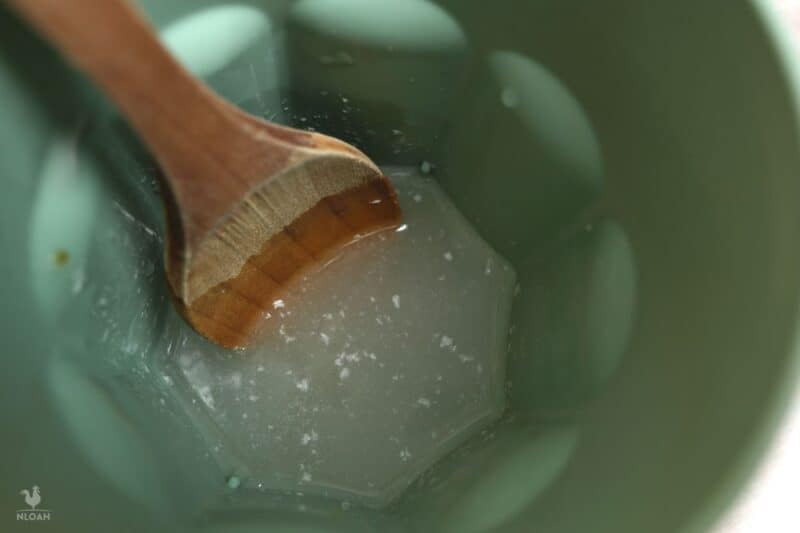
Stir with the steel or wooden spoon and take care to avoid inhaling the vapors or splashing it. Keep stirring steadily, but smoothly, until the sodium hydroxide is totally dissolved in the water.
Step 4: Place bowl of lye solution aside to cool. Carefully move the bowl containing the solution to a heat-proof surface to let it cool down a little bit. Check it periodically until the temperature gets close to 100° F (37ºC).
Step 5: add goat milk. When the temperature of the lye solution is right at 100° F, get your milk cubes out of the freezer, pop them out of the ice tray, and then carefully add them to the mix without splashing.
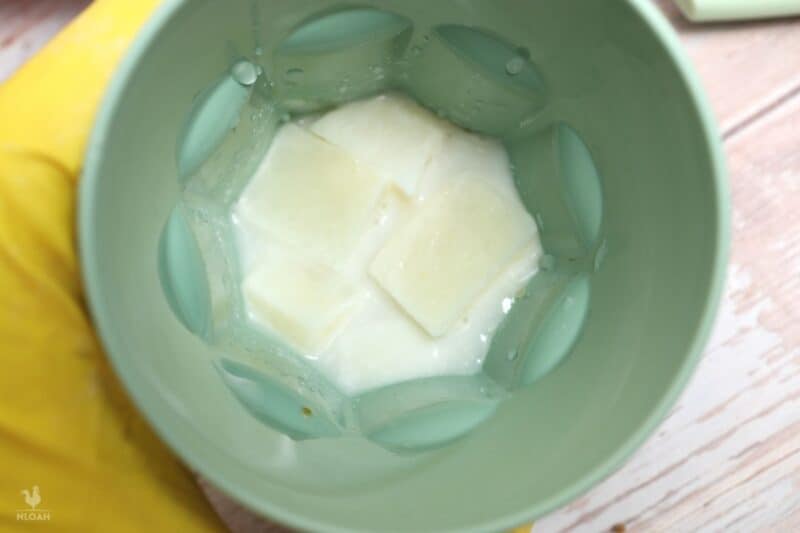
Stir them around until they’re completely melted and fully integrated. Once this is done, move on to step 6 and beyond because you have other things to do in the meantime…
Step 6: cool lye solution to room temperature. Now place the combined solution of lye and goat milk aside and let it cool down fully to room temperature. Anywhere between 65° F and 73° F (18° C and 22° C) is fine.
Use your thermometer to be sure, don’t assume! Continue on to step 7 and beyond while the solution is cooling to room temperature.
Step 7: melt coconut oil. In the steel pan, add the coconut oil and put it on your stovetop over low heat. And I do mean low heat! This stuff melts very quickly and it doesn’t take much, and you don’t want to scorch it.
Step 8: add olive oil, almond oil, and palm oil to pan. Once the coconut oil is fully melted, add and stir in the olive, almond, and palm oil.
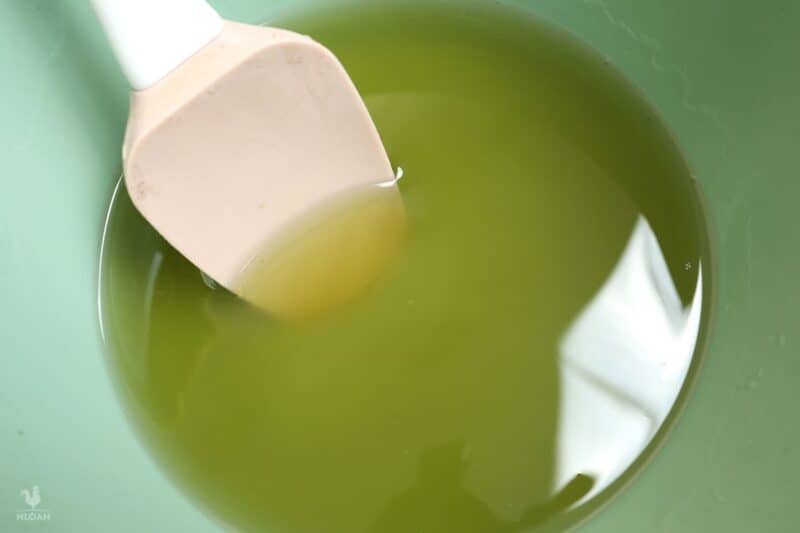
Pour them on the back of a spatula slowly while adding them to prevent splashes and bubbles. You want to avoid the formation of air bubbles in all steps of the process from here on. Stir them together gently until they are combined or nearly so.
Step 9: cool combined oils. Remove the pan from the heat, and let the combined oils cool down until they are about 90° F (32° C).
Step 10: combine oils and lye solution once at the appropriate temperature. Once the lye solution is cooled down to room temperature as directed in the previous step, and your combined oils are about 90° F (32° C), carefully pour it through the strainer and into the oils.
Lay the spatula into the oils and direct the lye solution onto that to avoid bubbles as before. Be very careful to avoid bubbles and splashes. Once added, stir slowly and cautiously until roughly combined.
Step 11: blend to completely mix. Grab your immersion blender and with the device turned off, immerse it into your soap solution.
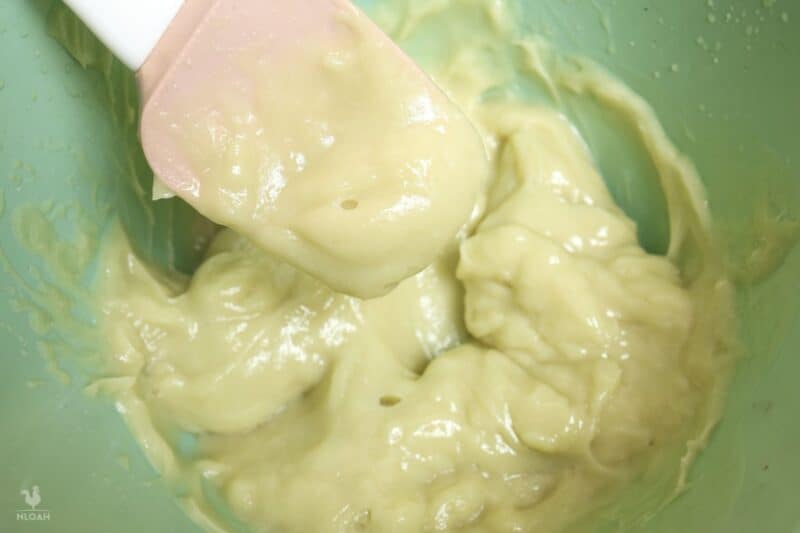
Put it in the middle of the pan and then turn it on low for a couple of seconds, slowly and carefully pulsing the solution. Repeat this process, a couple of seconds at a time, until the thing starts to thicken…
Step 12: continue blending until soap forms trace. When you notice the soap taking on a mousse or custard-like consistency, swipe the spatula through it. If you notice trails forming on the surface in the wake of the spatula blade, move on to the next step. Otherwise, keep blending.
Step 13: once trace forms, add lavender and rosemary oil. Add your scented essential oils, then pulse with the blender for a few more seconds to fully integrate.
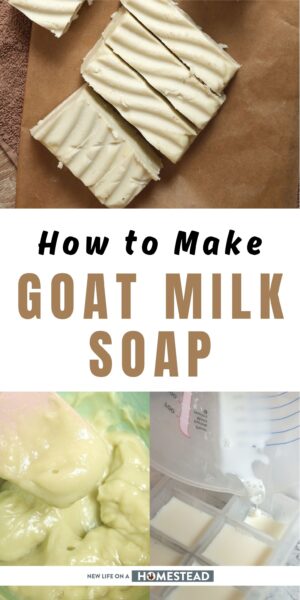
Step 14: pour finished soap mixture into mold, cover. Carefully pour the finished soap mixture into your soap mold, whatever it is. Once that’s done, cover the molds with your plastic wrap.
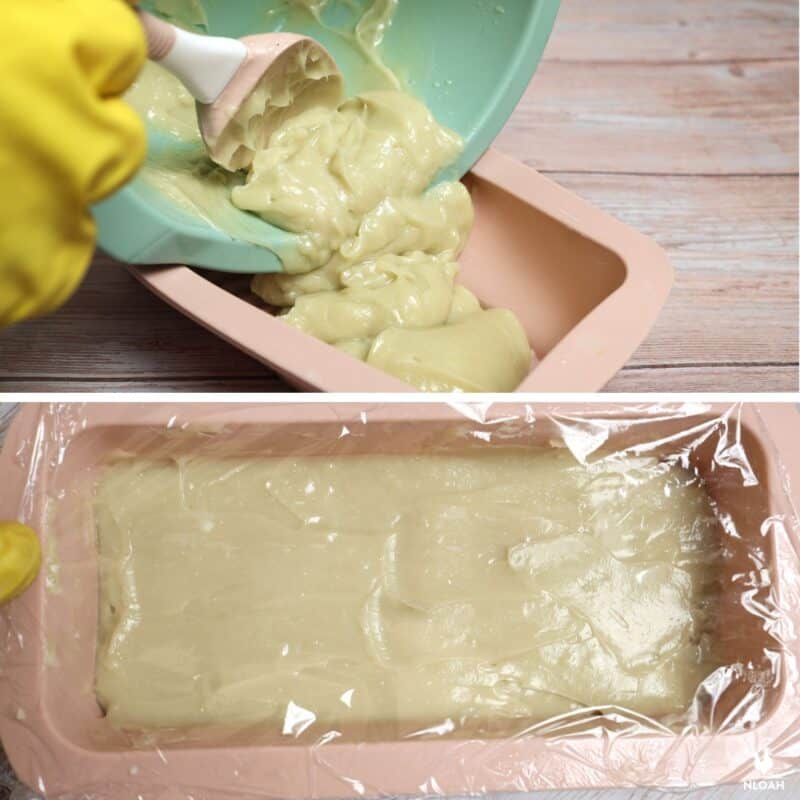
Step 15: chill molds. Place the molds, containing the soap, into the refrigerator and leave them in there for at least one whole day.
Step 16: remove soap from fridge, rest. After 24 hours have passed, take the molds out of the fridge and place them somewhere, undisturbed, for at least 3 days until it firms up enough to handle without crumbling or breaking.
Step 17: remove soap from mold, cut. Carefully pop the soap out of the mold, taking care not to break it. If needed, slice the larger bar of soap into smaller individual bars.
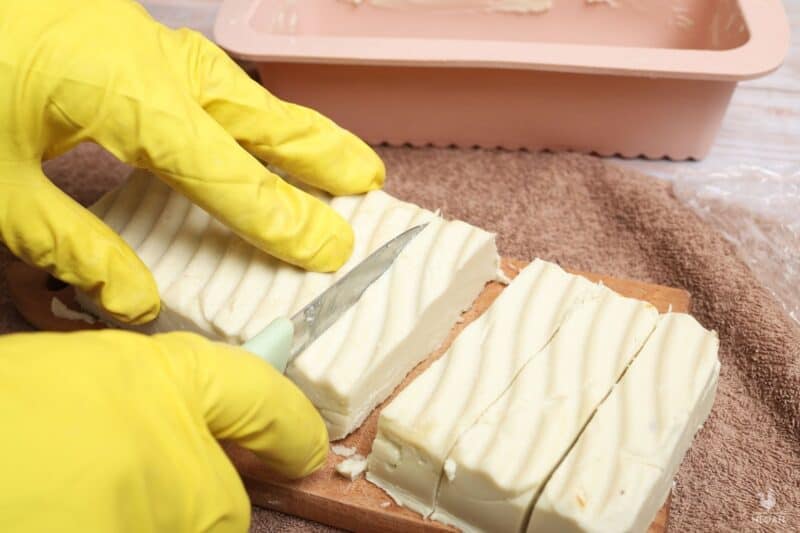
Step 18: cure. Your soap isn’t ready to use yet. Once removed from the molds and cut into sizes, place it somewhere safe and dry on a piece of plastic wrap to fully cure, a process that takes at least 4 weeks. Make sure the individual soap bars don’t touch each-other for optimal results.

Step 19: done! At the end of curing your soap is finally fully formed and ready to use. Enjoy!
You Must Cure Your Finished Soap Before Using It!
I know when that soap comes out of the fridge and firms up, you’ll be ready to use it right away as quickly as you can cut it. But resist that urge!
You must, must give your soap time to fully cure after it is finished forming and processing..
Even though saponification, the process where the oils are broken down by the lye and turned into soap, will be complete much earlier, the soap will still have too much moisture in it. This means it will dissolve too quickly and won’t feel as nice in use.
Additionally, the proper crystalline structure of the soap won’t be fully formed for at least three weeks and probably closer to four. This isn’t just silly scientoid nonsense, either: that crystalline structure is actually what contributes to a good, rich lather and to its cleaning ability!
The longer you cure the soap, the better it will be, but it’s not ready to use until at least the end of the fourth week. Don’t skip it and don’t hurry the process!

Get your gift and learn things like:
- how to make this really quick pest spray
- how to prevent egg waste
- two cheap automation devices that will make your life easier
Tom has lived and worked on farms and homesteads from the Carolinas to Kentucky and beyond. He is passionate about helping people prepare for tough times by embracing lifestyles of self-sufficiency.