There are so many cuts of meat that you can get from processing a deer, most of which need stored in the freezer. Well if you are like my family, we also raise and process our own beef and pork. To say the least, our freezers are full.
The cuts of meat are different and so they are cut differently. There is the loin from the back strap and an inner tenderloin. These are so good, especially if you butterfly cut them. Most of the roast or stew meats come from around the neck and front shoulder and then from the rump. We used to freeze all of our roast whole, now we can it and it is so good and tender.
You also have the ribs and chops and some steaks. Anything that we don’t want or really know what to do with we grind it up for burger. Can’t go wrong with ground meat. We always make jerky, it never lasts either. Don’t forget about the heart, it is all muscle and tastes great if fried up in some butter.
This article is about canning roast venison. For canning uncooked venison, check out this other article.
Watch our full video on canning deer roast here:
On to the roast and stew meats now. I have been canning mine for a few years now. It is so good that we eat it as it is coming out of the jar for the meal. I use the roast and stew meat to make roast, taters, and carrots and veggie soup. We make a big pot at a time and we cook it over the fire. It is even better if cooked in the cast iron kettle over the fire.
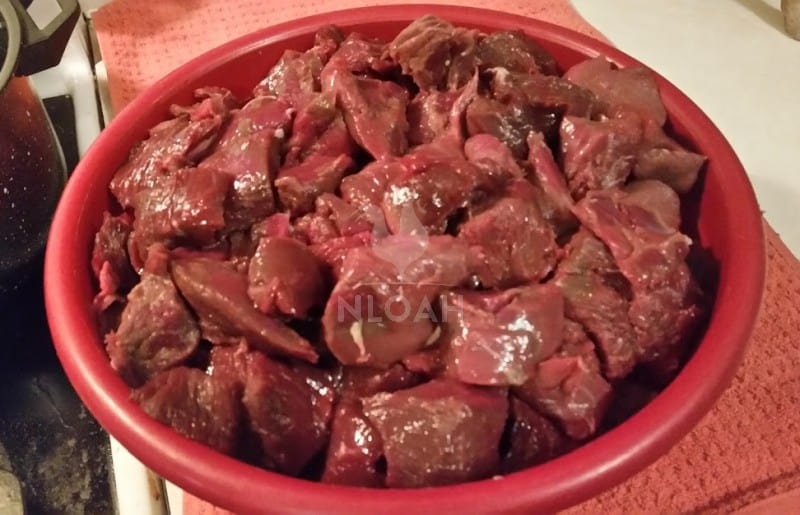
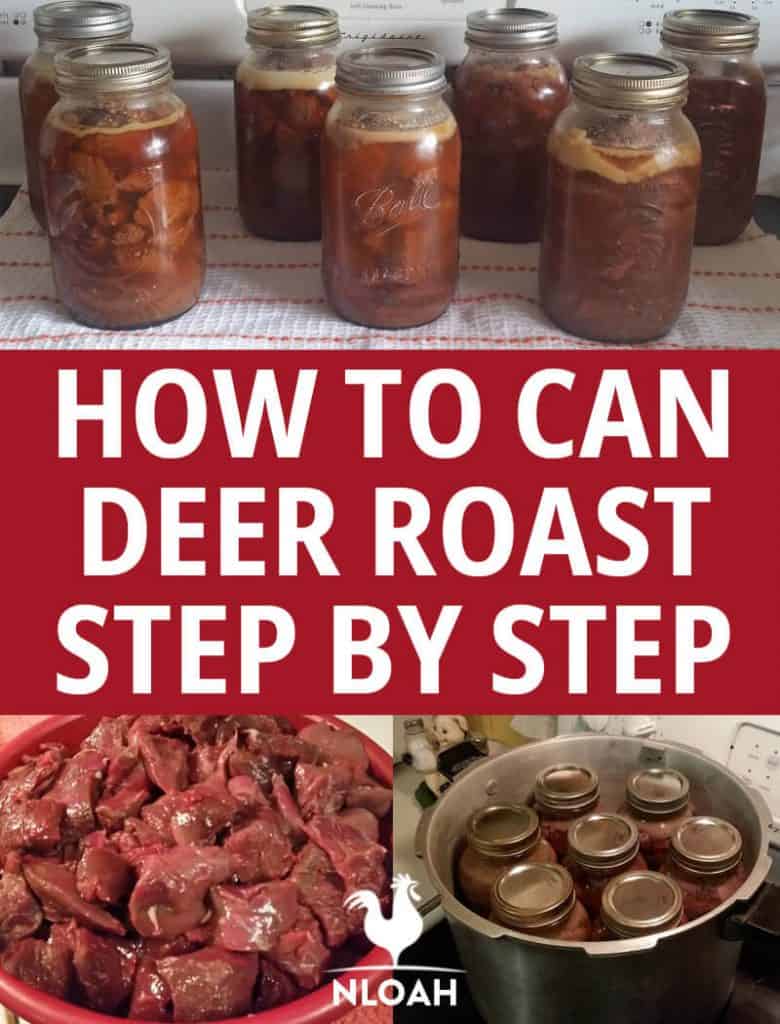
This is a bowl of deer roast and stew meat all cut up and ready to brown for canning.
Anyhow, I made some and had a dinner for my family and they all was amazed that the meat was canned. Now my brother and sister-in-law have me can theirs too. By canning the meat it is already so flavorful and tender.
Plus it cuts my cook time in half because the meat is done. I dump the meat and broth all in together then add my other ingredients. You definitely wanna keep the broth in the stew as that is where the flavor lives.
Getting Started
As with any canning, there are certain things that you have to do to be ready to start the process. You don’t want to put all of that work in and then not be able to finish.
The needed supplies for canning are your pressure canner, canning funnel, jar getter, air bubble remover, jars, lids, bands, cloth for wiping rims, and a method to heat jars so that it can be hot packed, You will need a skillet to brown the meat and a pot for the broth, so you will need lard and water. You also need salt, seasoning (optional), a teaspoon, and a tablespoon.
- Gather your supplies.
- Inspect your canner for any damage to the lid or the canner base being warped or cracked. Thoroughly inspect the lid to be sure the vent pipe is clean so that steam can pass and that the gasket is in good shape, not cracked or dried out.
- Check that the canner seals properly.
- Thoroughly inspect your jars for any cracks, or knicks in the jar or the rim.
- Be sure that your lids are in good shape, the rubber seals are fine.
- Thoroughly wash your jars in hot soapy water and rinse them well. You can also run them through the dishwasher.
Now that everything is gathered and ready to go it is time to get started. This is actually a lot less work than it sounds. I am going to break this down by task to make it easier to explain.
Browning The Meat
The cubed up pieces of roast and stew meat will need browned in a skillet before actually going into the jars. I use a cast iron skillet to do this but you don’t have to. You can put a little lard in the skillet so that the meat has some moisture to fry in.
Preheat the skillet before browning. I recommend doing this on medium heat so to cook it better without burning the outside and leaving the inside too pink. The meat needs browned but not all of the way done.
Making The Broth
Now for this it is best to use a broth instead of water. You can use store bought broth or make your own.There are two ways to do this, make in a large amount in a separate pot or after the meat is browned you can do it in the skillet.
If doing this in the skillet you will need to know how much fat is in the pan, then you will need one cup of water to every one to two tablespoons of fat. If making in a separate pot then just add your water measured out and put in the lard.
I render my own from our butchered pig. I recommend not doing two tablespoons to every one cup as it is a lot of fat in the jar.
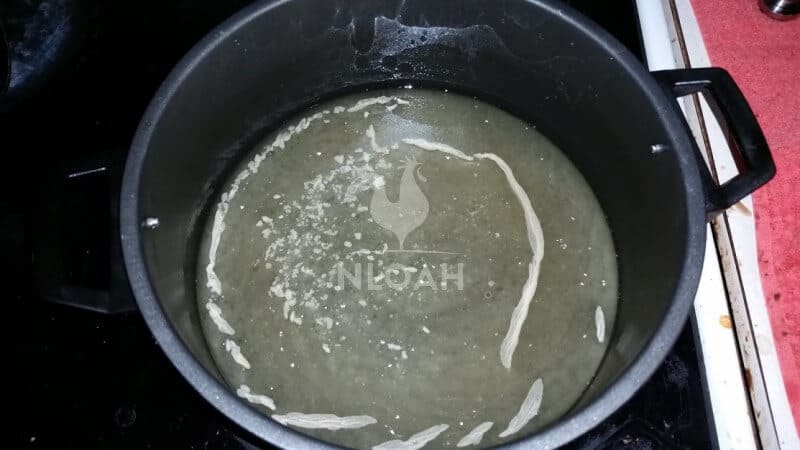
This is the broth that has been boiled and is now staying warm to add to the jars of meat.
If you are making the broth in a separate pot then you can have that going at the same time as the meat is being browned. This is what I do because I feel like it is a faster process, to each their own preference.
The broth will need to boil for three to five minutes after it starts so that all of the lard melts good. If you allow the broth to cool it will firm back up on the top. Leave the pot on a low heat to keep it warm.
Filling The Jars
The jars will need to be kept hot because the meat and the broth are hot. You have a few options here, in a pot of hot water or in the oven. After the jars are cleaned and inspected you can put them in a pot full of water on the stove to simmer to keep them hot.
If like me, you don’t have enough space on the stove top then use the oven. Preheat the oven to 200 degrees Fahrenheit, or so, just to keep them hot. Be sure to take out one jar at a time to fill so that they remain hot for packing.
When filling the jars use half a teaspoon of salt in every pint jar and one teaspoon of salt in every quart jar. I also sprinkle in some steak seasoning for extra flavor. However, these are both optional.
Using the funnel fill the jar with browned meat and then with broth to one inch of headspace. Use the bubble remover to remove all of the air from the jar.
Finally wipe the rim of the jar clean and then place the lid and bands. Tighten the bands to finger tight. Place the filled and closed jar in the canner. Do not allow the jars to touch each other or the sides of the canner.
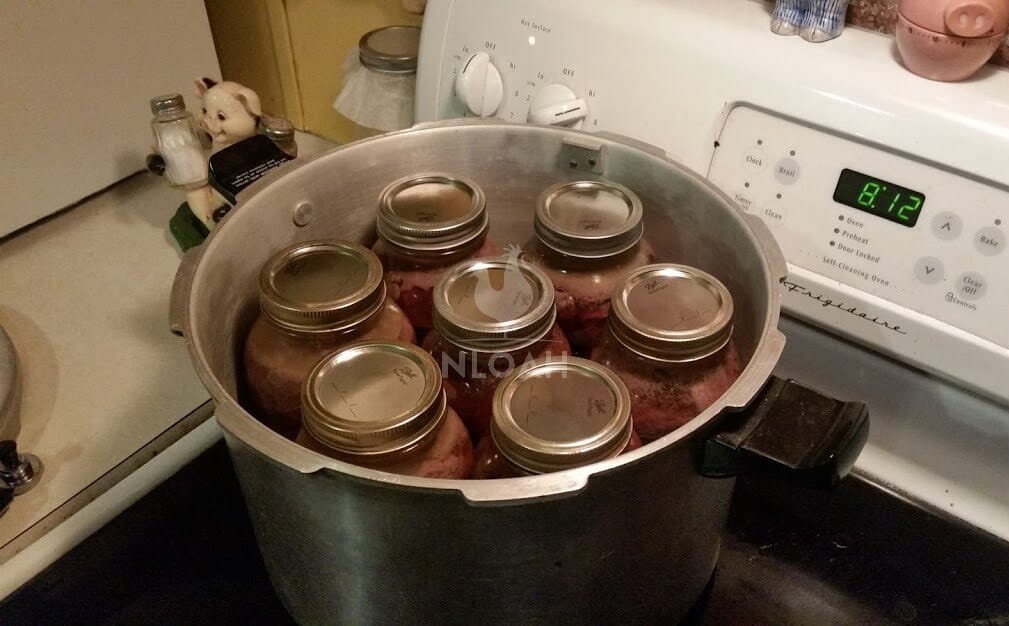
This is the canner completely filled. The jars are not touching each other or the sides of the canner.
The Canning Process
Place about two inches of water in the bottom of the canner. As you are preparing the meat and broth have the canner simmering on the stove, this is so the jars don’t bust from being hot to placing in cool water.
Once the canner is full, or you are out of food to process, place and lock the lid on the canner. Turn the heat up to high while it starts to steam and build up pressure. Once the pressure valve has popped place the gauge or weighted jiggler.
Process at ten pounds of pressure for one and a half hours. After the pressure is at ten pounds then start the timer.
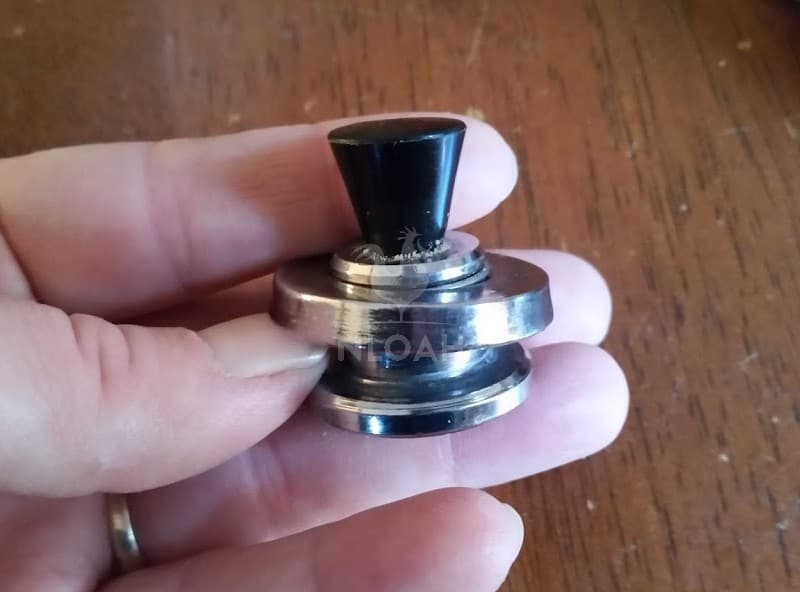
This is the weighted jiggler. The jiggler itself is five pounds of pressure. Adding the ring makes it ten pounds of pressure which is needed for canning meat.
Once the time is up allow the canner to cool naturally. Do not remove the weight or mess with the pressure valve. I remove my canner from the heat to allow it to cool quicker.
Once the pressure valve has dropped back down then give it about ten minutes before opening the lid. Be sure to open the lid away from you as the steam is very hot and will scald you.
As the jars are being removed from the canner, place them on dry towel to cool. Leave about two inches or so between the jars so that they can cool.
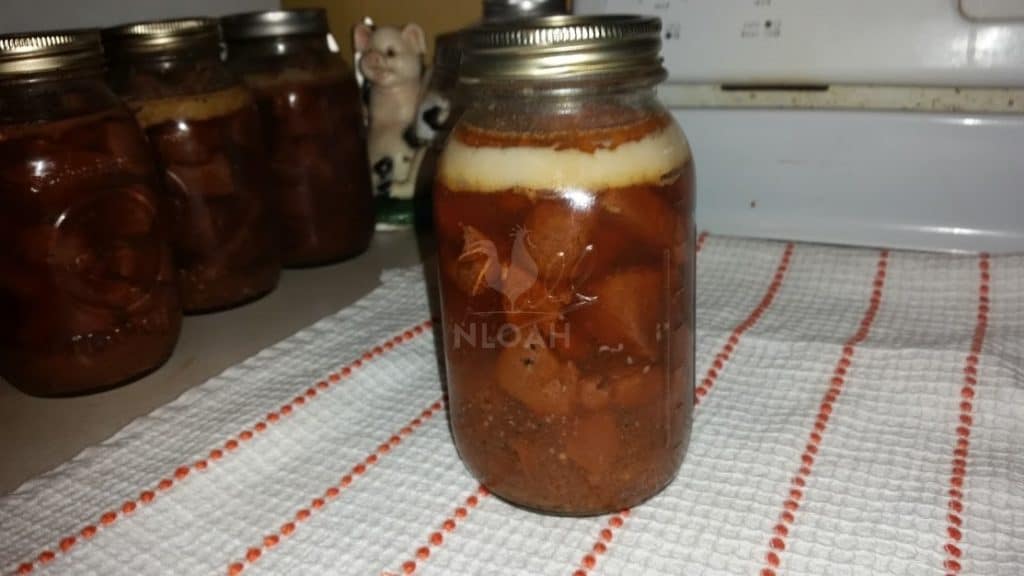
This is the finished product. The broth makes it so good. The white at the top is from the lard and how it is supposed to settle.
After 12 hours or so check the jars to be sure they sealed. Even if you heard the “ping” you still need to check them. Check the center of the lid to see if it is depressed and if it is it should be sealed.
For extra measure you can remove the band and pull up on the lid to be sure that it is sealed on there. If it is sealed then you can store them away for later use. Label the jar with the contents and store in a cool dark place.
If your jars didn’t seal you have a few options. You can reprocess the jar, after you have inspected and cleaned the rim and changed the lid. You can also refrigerate the jar for eating within a few days. You also have the option to freeze the contents after storing in a freezer safe container.
When you harvest and process your own meat then you know exactly what you are feeding your family. Canning can be done on so much more than the vegetables that you grow on your homestead.

Sarah Rodriguez is a homesteading wife and mother of five living in Appalachia. She grew up in a homesteading and logging family.
She and her husband Arnie work their 10-acre homestead together alongside their growing family. Sarah honed her self-reliance skills through 4-H and FFA at an early age and is now teaching her children to live off the land, raise livestock, and the importance of both sustainability and frugality.