One of the best things about fall is all the delicious pies you get to eat. And while buying a pre-made pie crust or even a whole pie is easier, nothing beats a homemade pie.
Sure, there are lots of other ways you can process and preserve your apples. I make a ton of canned applesauce and freeze apples for baking later on in the season. But again, there’s nothing quite like a fresh, homemade apple pie.
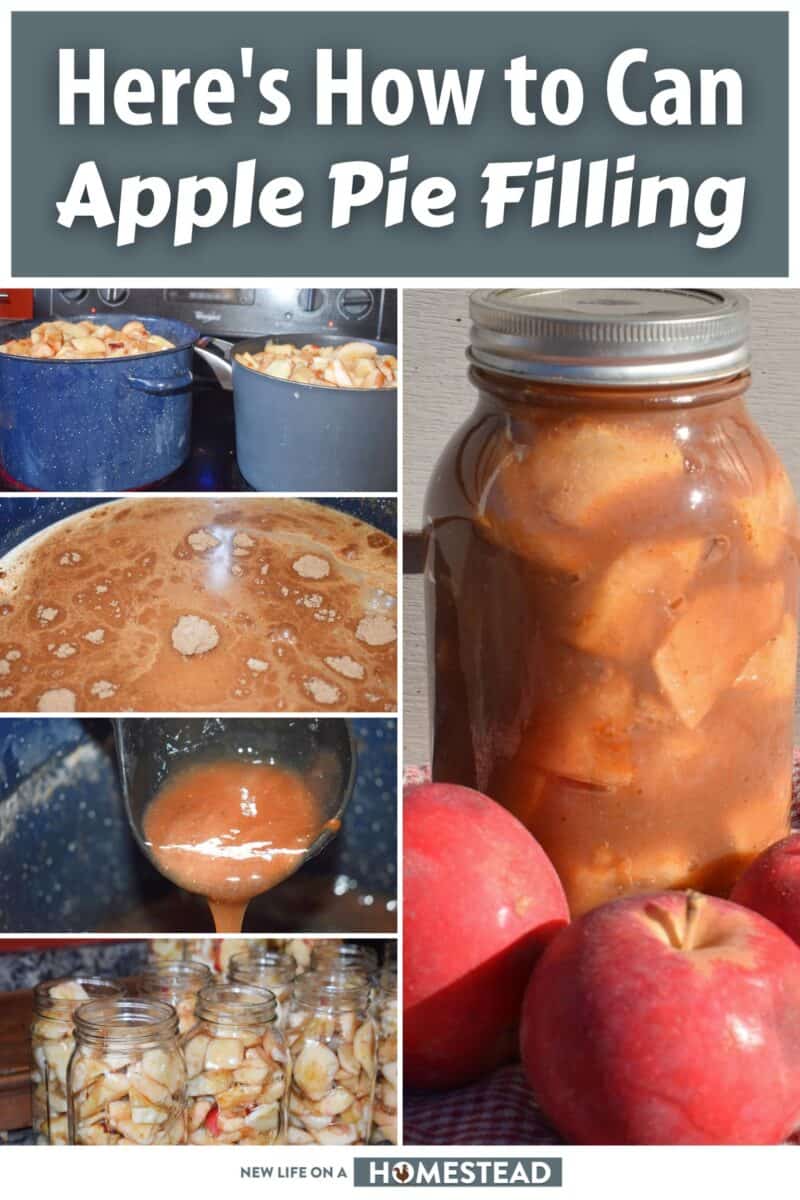
Making your own apple pie filling is actually pretty easy – and canning it means you can have fresh apple pie filling any time you want!
Plus, it’s much less labor-intensive when it comes time to bake your pie. Just fill the crust with a few jars of apple pie filling, pop it in the oven, and you’re good to go.
Not to mention, apple pie filling can be used for stuff besides just pies, too – things like apple cobbler, crisp, and even as a yogurt or ice cream topping.
Ready to get started with making and canning your own apple pie filling? Here’s a step-by-step guide on how to do it.
What Kinds of Apples Should You Use for Homemade Apple Pie Filling?
You can use any kind of apples you want to make your own canned apple pie filling.
Just keep in mind that you’ll want to choose an apple that doesn’t break down a ton during cooking.
An applesauce apple won’t always be as good for a pie, but I had good results using drop McIntosh apples from a local orchard this year.
Some people swear by Honeycrisp, while others like Red Delicious…honestly, it’s up to you. Just remember that some will be sweeter than others and some will be more tart (and some will fall apart a bit more during cooking).
Rest assured, any kind of apple is safe to use – it’s all about the final flavor and consistency you hope to achieve in your canned apple pie filling.
Is it Safe to Water Bath Can Apple Pie Filling?
Water bath canning is a process of preserving food in jars by submerging them in boiling water.
This method is typically used for high-acid foods like fruits, pickles, jams, and tomato-based sauces.
Low-acid foods like vegetables, meat, and seafood must be pressure canned in order to be safe.
So what does this have to do with apple pie filling? Most commercially-prepared apple pie fillings are made with a combination of apples, sugar, cornstarch, cinnamon, and lemon juice.
Because of the acidity of the lemon juice, water bath canning is safe for this type of filling, even when you’re doing it at home.
I don’t recommend processing it in a pressure canner. Why?
For starters, the National Center for Home Food Preservation does not have an approved recipe for this.
You could always wing it and process the apple pie filling for the same pressure and time that you would other types of apple products, like applesauce (which do have recommended guidelines under the National Center for Home Food Preservation).
However, it’s still not a great idea.
Some pressure canner manufacturers recommend against processing even applesauce in their canners (even though there is an approved recipe) because the high heat and pressure causes the apples to foam and bubble up.
Often, they spill out over the jars and can cause the vent pipe to clog up on your canner – leading to even more problems.
It doesn’t take long to water a bath with apple pie filling, and honestly, it’s easier. Just go that route!
There are a few things you should keep in mind when canning your own apple pie filling at home.
First of all, be sure to use fresh, ripe apples. Overripe apples are more likely to turn mushy during the canning process.
Second, use a light hand with the sugar. Too much sugar can prevent the filling from setting properly.
And finally, don’t forget the lemon juice! Without it, your filling may not be acidic enough to safely water the bath can.
How Long Does Home Canned Apple Pie Filling Last?
Home canned apple pie filling can last for many years if done correctly. The high acidity level of the apples helps to preserve the filling and prevent the growth of bacteria.
However, it is important to use only fresh, unblemished fruit, as well as sterile canning jars and lids. If any of these factors are not up to par, the filling may spoil quickly.
Canned apple pie filling can be stored at room temperature, but it should be used within a year for the best quality. Once opened, the filling should be refrigerated and used within a few days.
Does Canned Apple Pie Filling Have to Be Cooked?
While many people assume that canned apple pie filling must be cooked before it is used, this is not actually the case.
Canned apple pie filling is already cooked and sterile, so there is no need to heat it up before using it in a recipe.
In fact, heating canned apple pie filling can actually degrade the quality of the fruit.
The high temperature will cause the apples to break down, releasing their juices and making the filling watery. So just pour it directly into your pie crust and you are good to go!
Can You Can Pie Filling WIthout Clear Jel?
Yes, and in fact, this recipe does not use it. The National Center for Home Food Preservation recipe does include Clear Jel, but I have never used it because it is challenging to find on store shelves where I live.
Cornstarch is equally safe as Clear Jel. The only reason why Clear Jel is used often in pie fillings that are canned is that it doesn’t become thin after canning (as cornstarch, flour, arrowroot powder, other common thickeners, sometimes do).
I haven’t had too many problems with my cornstarch recipe thinning out when I bake my pies – just make sure you stick to the right processing times and allow the mixture to get nice and thick before loading your jars.
Also, use your jars relatively soon after canning – don’t wait a year or more to use them. The thickeners will break down over time, which is the main reason why Clear Jel is recommended.
The moral of the story – if you can get Clear Jel, use it. If not, there are alternatives. Just make sure you’re still using an approved recipe.
In terms of other substitutions, try to avoid swapping out different sweeteners (don’t use honey or molasses in place of white sugar, for example).
In all honesty, you would probably be okay – but the recipe hasn’t been tested and approved so you may want to steer clear. Spices shouldn’t have an impact on the safety of your canned apple pie filling, though.
Do You Need to Blanch the Apples?
The jury is kind of out on this one, but most recipes call for blanching your apples before you load them into the jars.
Why? It’s simple.
Even though you’ll be “cooking” the apples during the canning process and then again once you bake the pie, the blanching will preheat the apples and help remove air.
This will get rid of a lot of extra space in your canning jars so that the jars are filled nicely and to capacity.
How to Can Apple Pie Filling Step by Step
Now that you know more of the basics about making and canning apple pie filling, let’s get started!
Canned Apple Pie Filling
Equipment
- water bath canner
- Canning jars
- Canning lids and rings
- Jar lifter
- Funnel
- Stockpot
- Ladle
- Apple peeler
- Apple corer
- Apple slicer
- Cutting board
- Various rags, towels, and pots and pans for cooking
Ingredients
- 4 ½ cups white sugar
- 1 cup cornstarch
- 6 lbs apples
- 3 tbsp lemon juice
- 2 tsp salt
- 10 cups water
- 2 tsp ground cinnamon
- ½ tsp ground nutmeg
- ½ tsp ground cloves
- ½ tsp ground allspice
Instructions
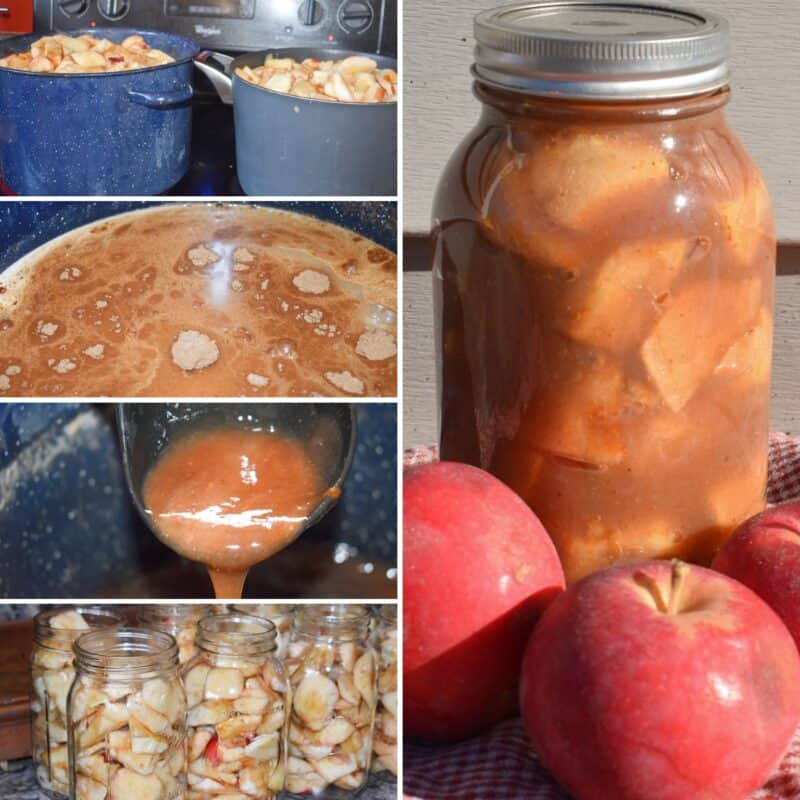
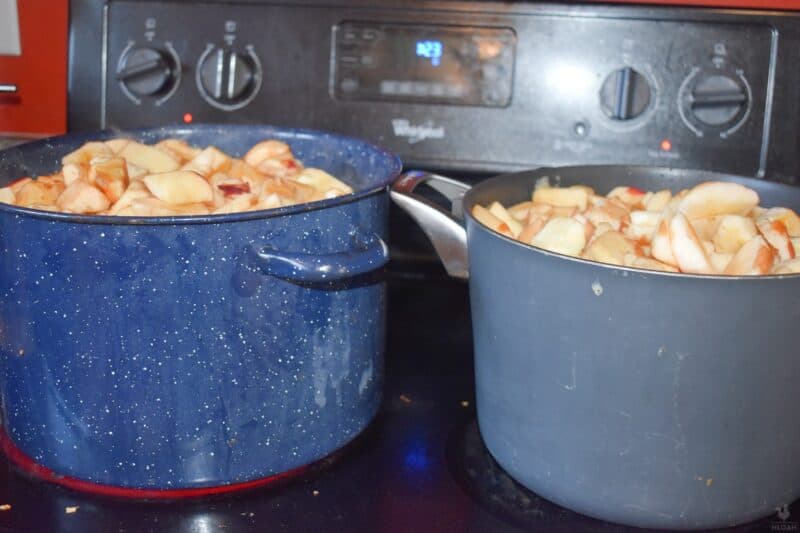
- Start by washing, peeling, and coring your apples. I find it easiest just to do this by peeling and then chunking up the apples. Slice them fairly large – if you cut them too thin, they will get soft when processing.

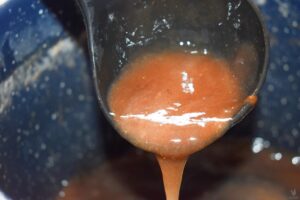
- After processing your apples, get out a stockpot and combine the spices, cornstarch, and sugar.Add the water and salt, then stir well.Bring it to a boil, stirring constantly to prevent sticking, until the mixture is bubbly and thick (like caramel).Remove from the heat and add the lemon juice. You can add a few drops of yellow food coloring to prevent browning if you’d like, too, but this is optional.
- Place your apples in a large pot with hot water. Boil for one minute. Drain, but keep the apples warm.
- While you’re preparing the apples and syrup, you can also sterilize your jars and rings (I prefer to do this in the dishwasher).
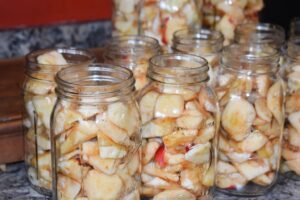
- Load the sliced apples into hot jars, leaving about a half inch of headspace. Pour hot syrup on top, again leaving half an inch of headspace, and remove air bubbles with a plastic tool.
- Put lids on the jars and load the canner. Quarts should be processed for 20 minutes; pints can be processed for 15 minutes.
Final Thoughts
Canning your own apple pie filling is easy and rewarding. The process may seem daunting at first, but with our step-by-step guide, you can start canning today.
Follow the recipe to the letter for the best results, and enjoy homemade canned apple pie filling all winter long.

Rebekah is a high-school English teacher n New York, where she lives on a 22 acre homestead. She raises and grows chickens, bees, and veggies such as zucchini (among other things).