
Have you ever seen a braid of onions hanging up in a root cellar, in a kitchen, or at a farmer’s market? It’s charming, isn’t it? Charming, yes, but also practical. Braided onions are easy to transport and store, and they tend to last longer in storage because they enjoy better air circulation.
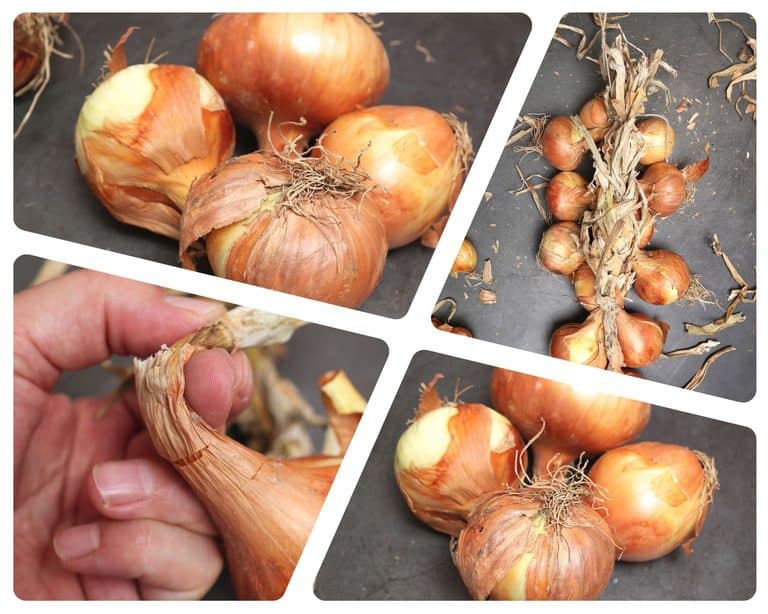
If you’ve ever wanted to try it yourself, you are in luck: it’s easier than you think, and I’m here to help you with a comprehensive step-by-step guide. If you have ever braided hair before, you’ll find this to be a breeze, but even if you haven’t, I promise it is a cinch. Let’s get going.
What You’ll Need
Onions: Obviously! You’ll need anywhere from 8 to 20 onions per braid, depending on how big a bunch you want. Most onions will do as long as they are properly cured and still have their stems attached, though other varieties such as sweet onions don’t have as long a shelf life.
Twine (optional): Although not strictly necessary, twine comes in handy for tying the onions together initially to get them started and for making a convenient loop for hanging them once you have finished the braid.
If you don’t have any, don’t worry, because you can just tie the stems the whole way through if you want.
Onions Must Be Properly Cured to Braid
Before you even think about braiding your onions together, they need to be properly cured. To be properly cured, they must first be properly harvested.
I promise this is important: get this part wrong, and the whole braid is likely to fail, and that will be disappointing if you have your onions in storage.
Do the following, and you’ll get it right every time.
Harvest Near the End of the Season
Generally, you’ll get much better results if you wait until the end of the season to harvest mature onions. Letting them fully ripen and start to naturally dry out will make a big difference in the finished product, and they will be a whole lot easier to braid!
Let Onions Dry Out in Ground
Try not to harvest your onions at all if conditions are wet or damp. If there’s been recent rainfall, give them a couple of extra days for the soil to dry out around them. Sometimes this can’t wait, but much of the time it can.
So why is rain a problem? Simply because you’ll be dealing with extra moisture which can interfere with the curing process, which can lead to rotting.
Note that if you live in a rainy area, you’ll just have to do the best you can; try to get them during a break in the weather.
Watch for the Stalks to Fall Over
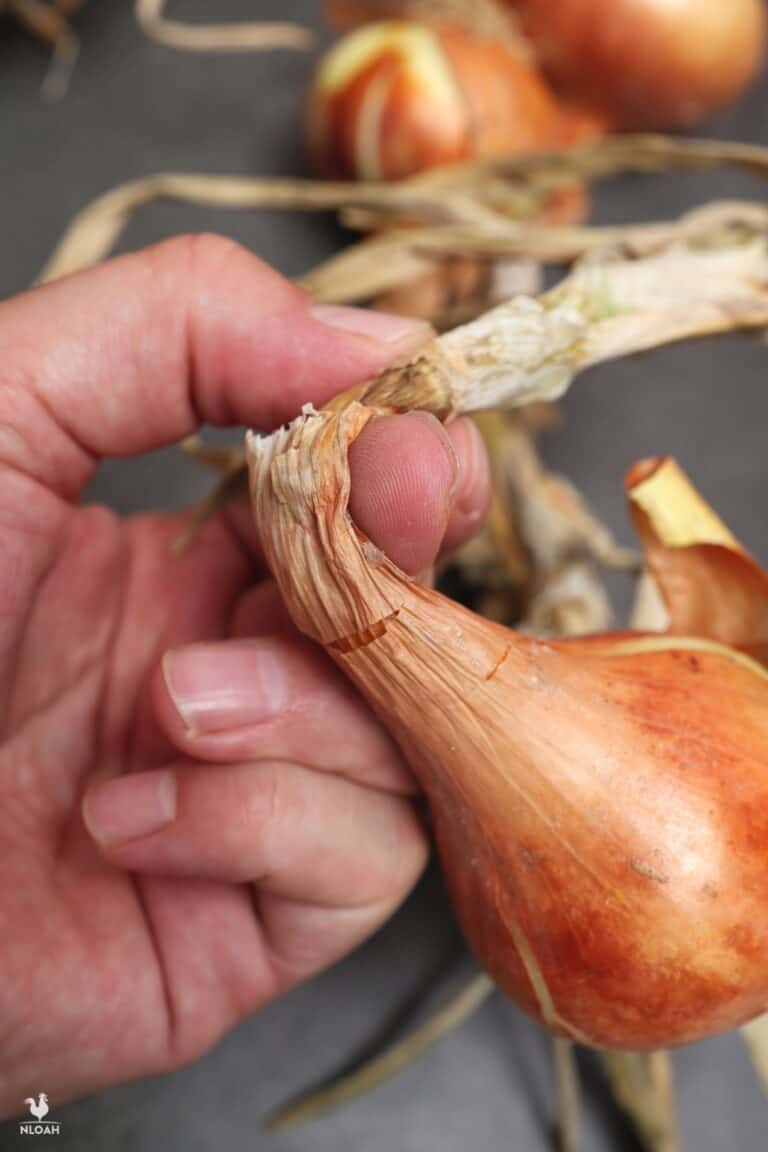
You’ll know your onions are ready to go when the green stalks start to yellow slightly and fall over, bending right at the neck. You’ll see a few leaves here and there, and eventually a few stalks flopping over entirely.
It’s easy to jump the gun at this point: don’t wait until all of the stalks have fallen over on their own, just until most of them have. Then you can bend the rest of the tops yourself!
Harvest and Gently Brush Off Remaining Dirt
Pop the onions out of the ground, taking care not to damage them or break off the stems. You’ll need those later, obviously! Avoid nicking them or damaging the skin.
Gently shake off any clumps of dirt still clinging to them and consider using a soft paintbrush or a veggie brush to give them a delicate cleaning. The reason you need to be careful is to avoid bruising the produce, which could lead to rotting over time even in proper storage conditions.
Cure in Shaded, Cool, Dry Location
This is the most critical part: set your produce aside on a wire rack in a shady, dry spot to cure for anywhere between 2 and 4 weeks prior to braiding. It’s not the length of time that’s the best indicator of ripeness, but that each onion is fully dry.
Ideally, the temperature should range between 75 – 90°F (24 – 32°C). You can do this on a covered porch or anywhere else that’s protected from rain and direct sunlight – and has good ventilation.
Ready When Skin is Papery and Stalks are Brown and Flexible
Check on your onions regularly. When you notice the skin is taking on that characteristic papery texture and the green stems have shriveled up and darkened, and when the neck is fully dry as well, that’s when you are ready to braid and then store them!
Braiding Your Onions, Step by Step
Step 1: Sort onions by size. Sort all of your onions into piles: large, medium, small. This will be important for making a nice, tidy braid.
Step 2: Remove odd or damaged onions. After you’ve sorted out all of the onions, remove any that show any signs of damage or soft spots. They won’t store well. You don’t need to throw them away, but plan on using them in the very near future if you don’t want them to go to waste.
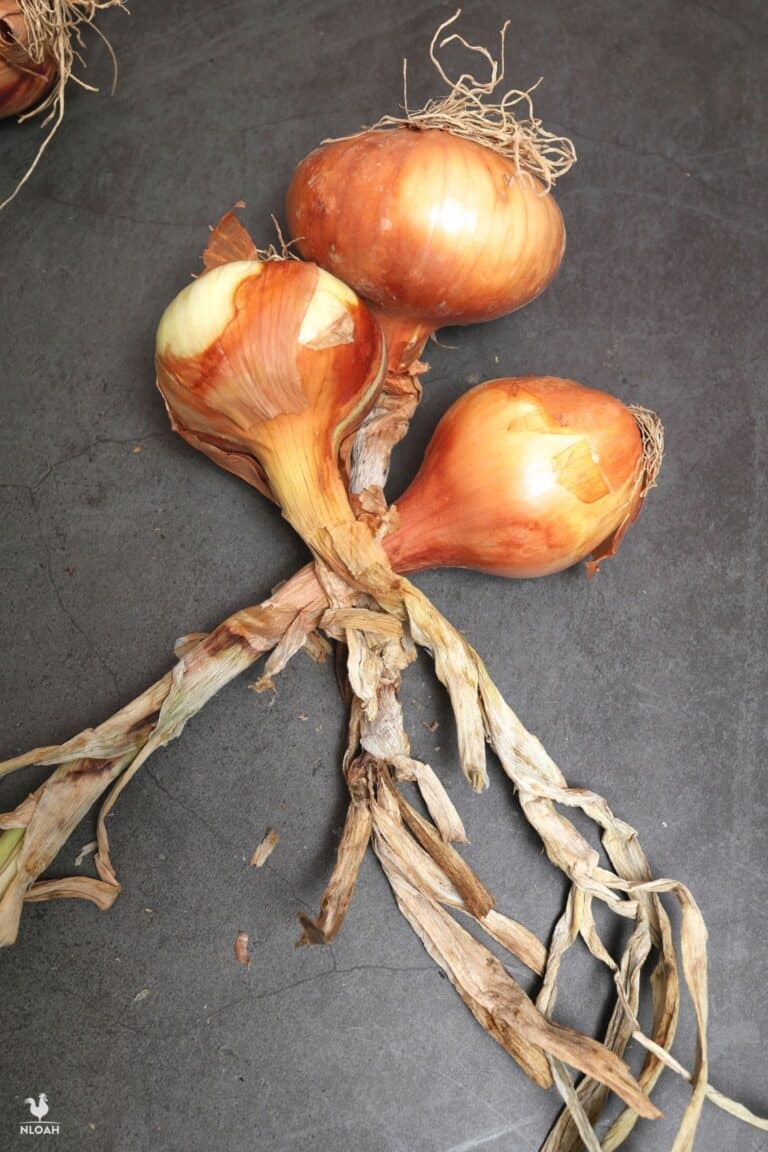
Step 3: Lay out three onions, stems overlapping. Grab three large onions and lay them out on a flat surface, stems facing you and overlapping.
The onion on the right should have the stem pointing left at a 45° angle and on the bottom. The one on the left should be pointing to the right, perpendicular to the first. Lastly, lay an onion in the middle with the stem pointing right at you.
This is the basic arrangement you should keep the stems in as you build the braid.
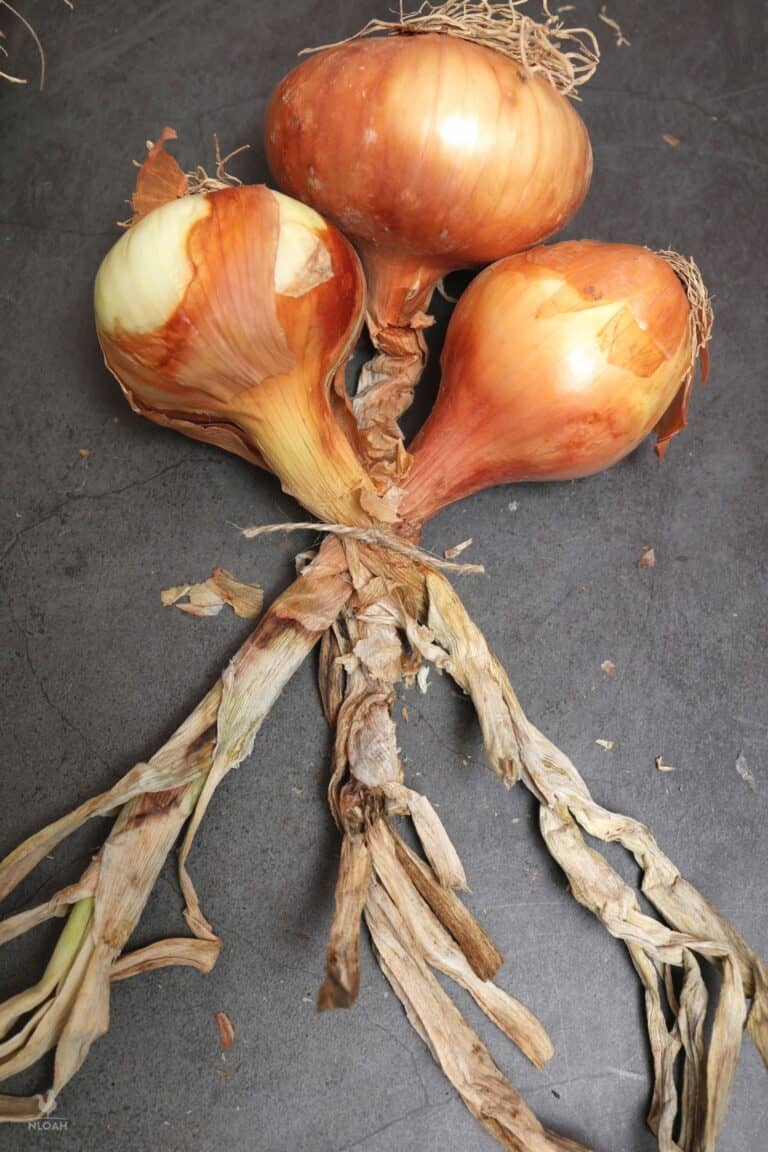
Step 4: Secure onions by wrapping or tying with twine. Take a piece of twine and tie it around the neck of the onions to hold them together, making sure it is snug. If you’re not using twine, take the bottom stem and wrap it completely around the other two with a loop.
Step 5: Arrange stalks. With the first three onions fastened together, take time to rearrange the stalks properly. The bottom stalk should be pointing to your left at a 45° angle, the middle stalk pointing to the right at a 45° angle, and the one on top pointing straight at you.
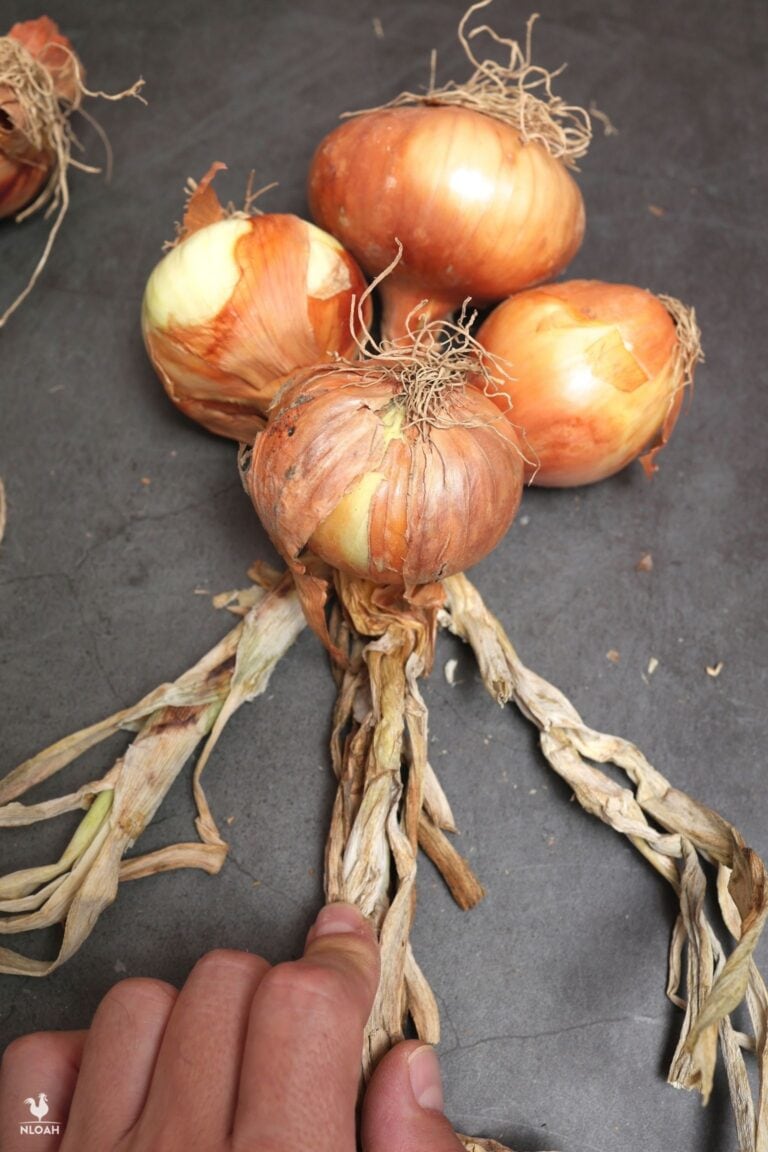
Step 6: Add onion to middle, align with center stalk. Grab another onion the same size as the first three, lay it in the middle of the bunch, and align its stalk with the one in the middle, pointing straight at you. Now you’re ready to start braiding!
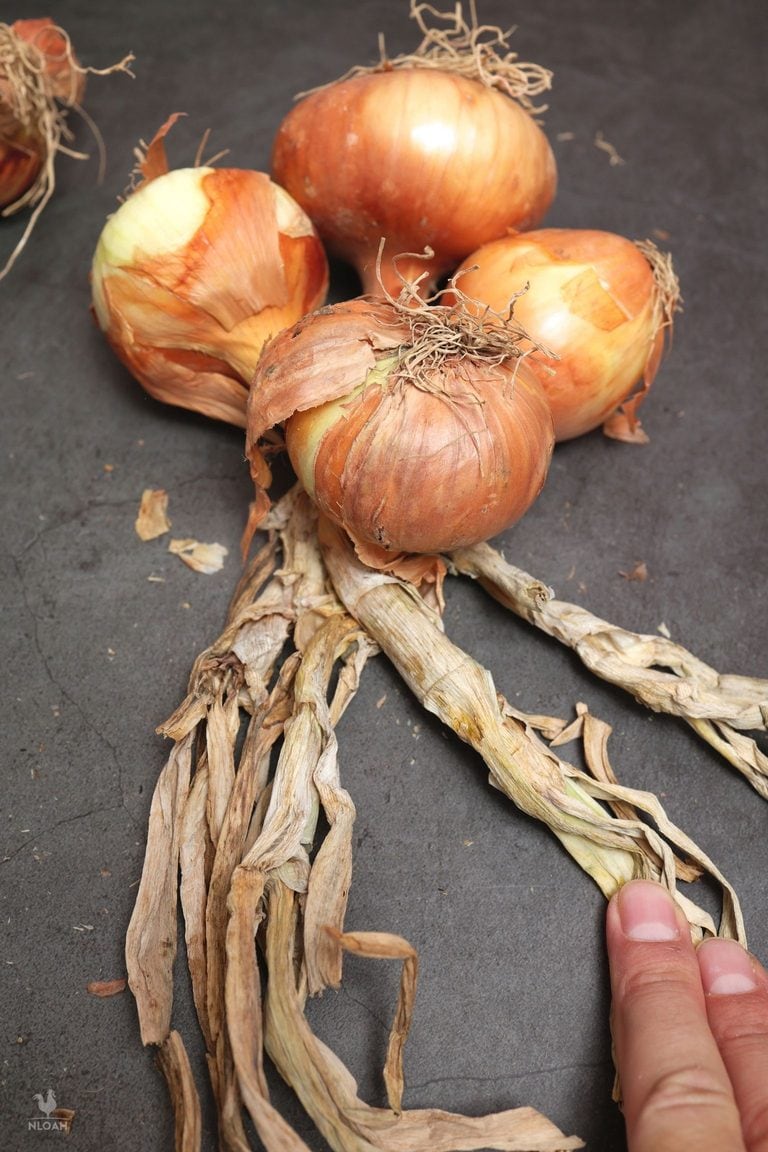
Step 7: Wrap left strand over the top. Taking the leftmost strand, wrap it over the top, pulling the center strand to the left to take its place.
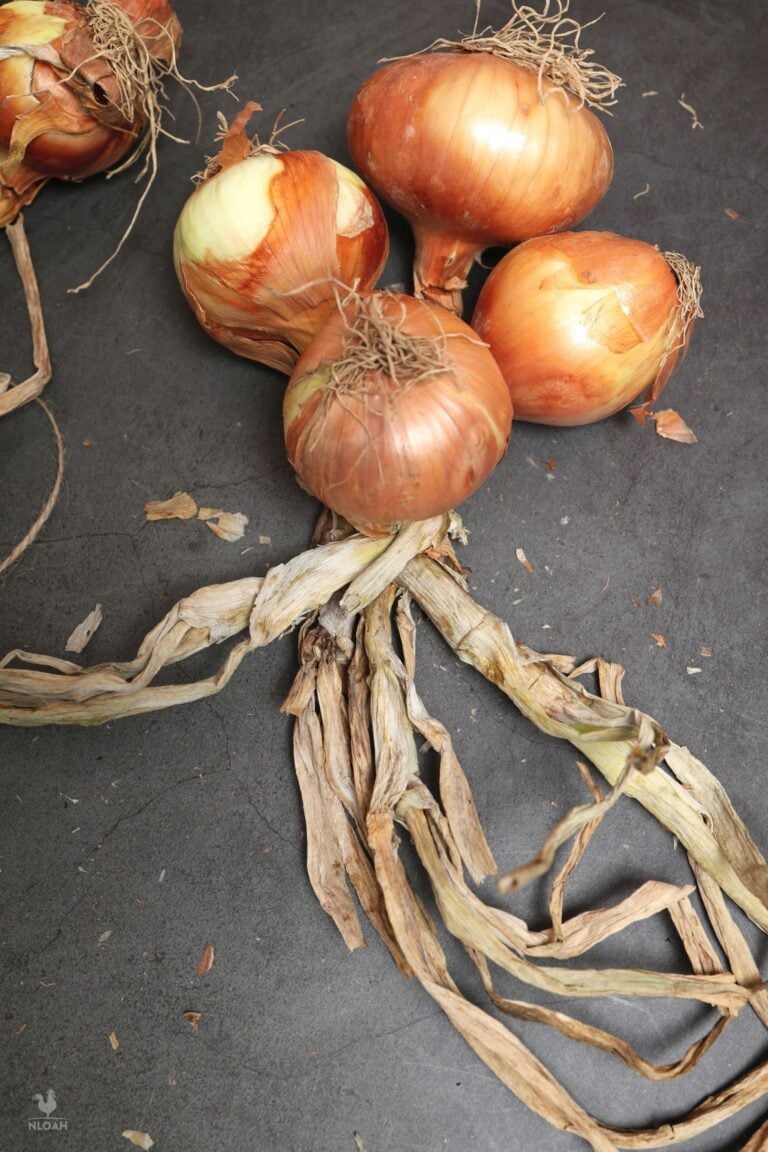
Step 8: Wrap right strand over the top. Now take the strand on the right and wrap it over the top, pulling the center strand to the right to take its place. Take a moment to keep things cinched up snug and make sure your stalks are in the same arrangement that you started out with.
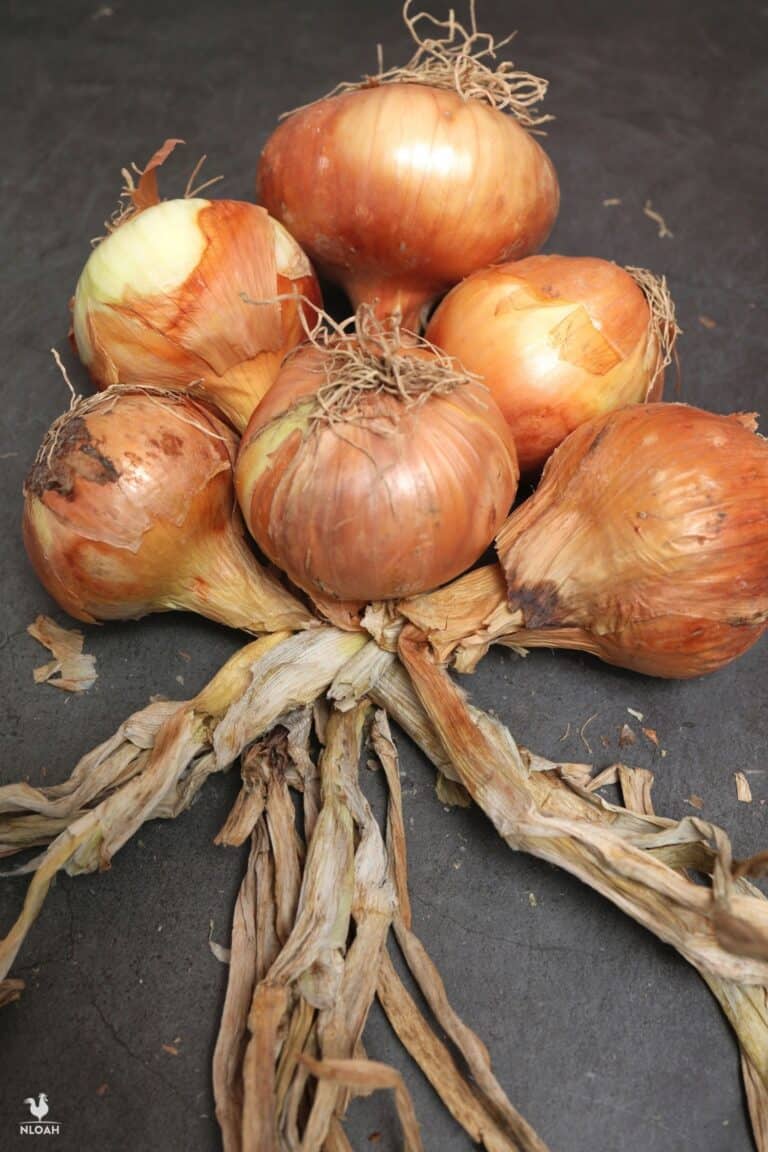
Step 9: Add two onions to either side, align stalks. Grab two more onions slightly smaller than the ones you are working with already. Lay them to either side of the last onion you put in the middle and overlap their stems with the ones pointing to the left and right.
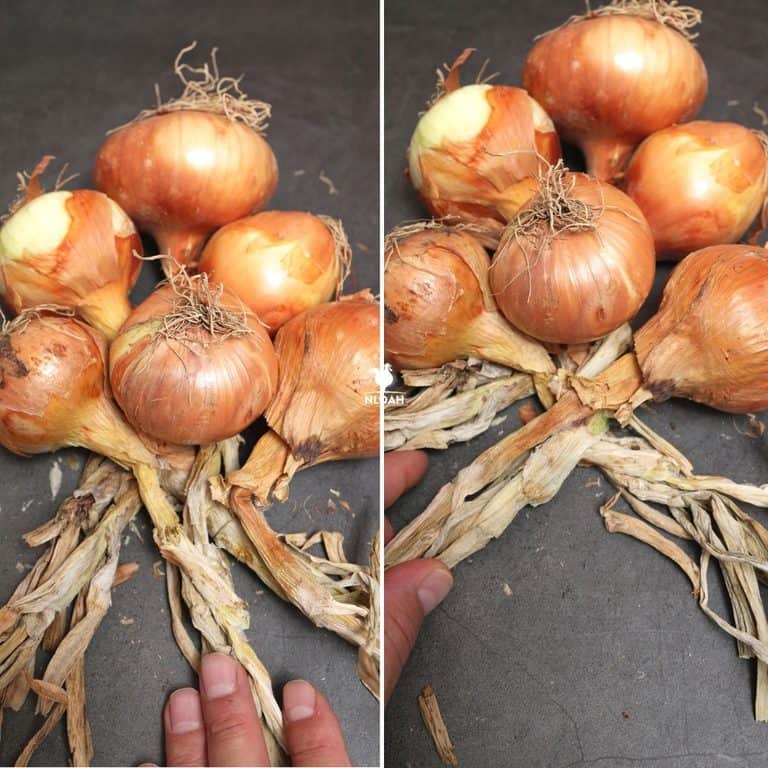
Step 10: Wrap left strand, then right. Now grab the stems that are on the left side and wrap them over the top of the others, pulling the stems in the center to the left. They are basically changing places once again. Then repeat this process with the stems on the right, wrapping them over the top and then pulling the ones in the center to the right.
Dress the braid, keep things snug, and then move on.
Step 11: Repeat steps 5 through 10. Keep adding onions, going slightly smaller with each layer. This will keep the finished stack tidy and make it easier to keep the braid uniform.
Step 12: Continue until enough onions are added. Repeat this process over and over, adding more onions, aligning the stems, and then braiding them as before until your stack is big enough.
Depending on the size of your onions and your preferences, this could be anywhere from 8 to 20 onions. Keep in mind that a large bundle of big onions can be quite hefty!
Step 13: Finish braiding stalks, tie off. Once you’ve added all of them, simply finish braiding the stems alone as described previously. Once you get near the end, you can tie the braids in a loop or tightly wrap the end with twine and then tie that into a loop for hanging.
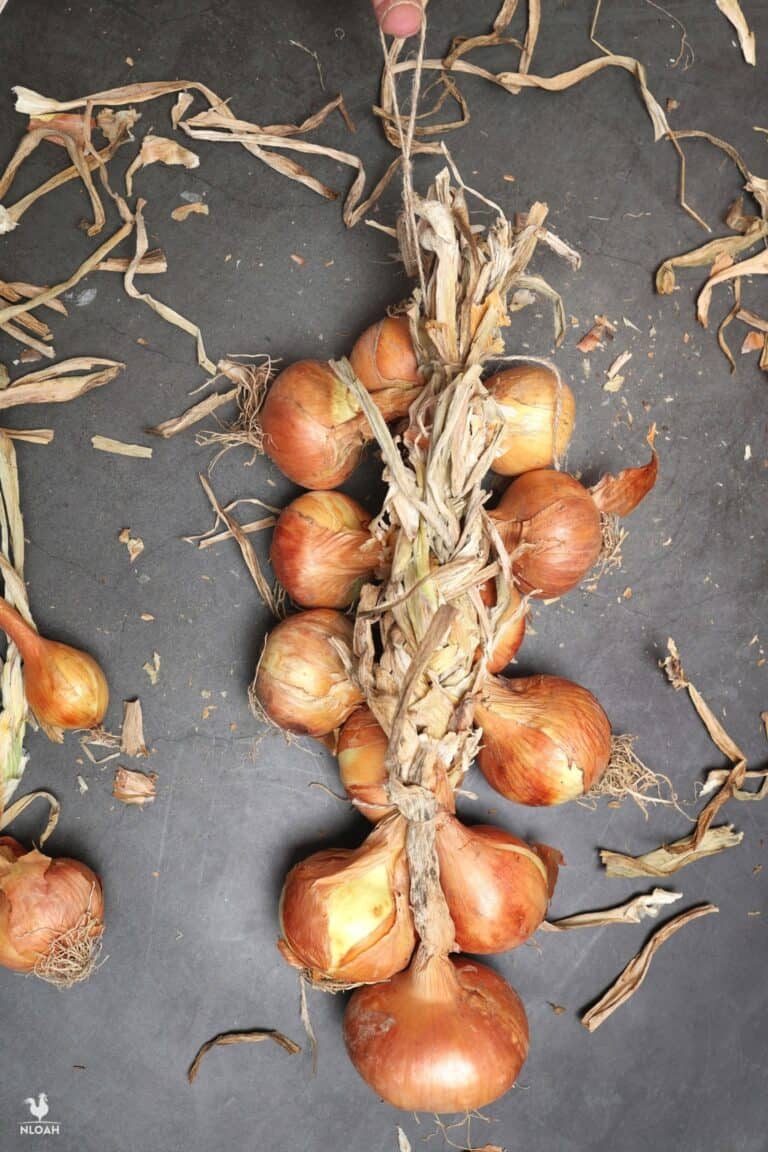
And that’s it! You’ve successfully braided your own onions. 😃 The only thing left now is to hang the braided onions in a cool, dry place. A root cellar is ideal, but you can go with any spot that’s ideally around 32 °F to 40 °F (0 ºC to 4 ºC) with low humidity. Also, try to keep them in the dark if possible. Do all of this and they should last you at least 6 months in storage.

Get your gift and learn things like:
- how to make this really quick pest spray
- how to prevent egg waste
- two cheap automation devices that will make your life easier
Tom has lived and worked on farms and homesteads from the Carolinas to Kentucky and beyond. He is passionate about helping people prepare for tough times by embracing lifestyles of self-sufficiency.