
Is there anything more luxurious in the bath than a skin-soothing bar of homemade honey and oatmeal soap? Nope! Made with oats, honey, and a dash of tea tree oil, this soap is a miracle for dry, itchy, and irritated skin. Winter dryness or just for relaxation and daily skincare, this soap is just the ticket to softer, happier and healthier skin.

Now, making soap from lye can sound intimidating, I get it. But you don’t need to be scared: Today, I’m telling you everything you need to craft a perfect batch of honey and oatmeal soap that’s safe, moisturizing, and downright easy. Sound good? Then off we go.
Ingredients
Distilled Water, 9 ounces: Tap water can introduce impurities, so stick with distilled for a reliable process. You’ll need an extra tablespoon or two for diluting the honey, too.
Tea Tree Oil, ½ teaspoon: Adds a fresh scent and mild antiseptic properties. Use only pure, high-quality oil.
Olive Oil, 22 ½ ounces: The backbone of this recipe, olive oil makes your soap gentle and moisturizing. Use a good-quality, food-grade variety.
Coconut Oil, 7 ½ ounces (220 ml): Adds a creamy lather and a touch of hardness to the bar. Don’t skimp on this!
Honey, 1 teaspoon: a natural additive that helps keep skin hydrated. Raw honey is ideal.
Gluten-Free Oats, ½ tablespoon: These add gentle exfoliation and soothing properties. Grind regular rolled oats in a coffee grinder to make your life easy.
Lye, 4 ounces (115 grams): AKA sodium hydroxide. The magic ingredient that turns oils into soap. Use food-grade lye and be sure to handle with care; this stuff can hurt you!
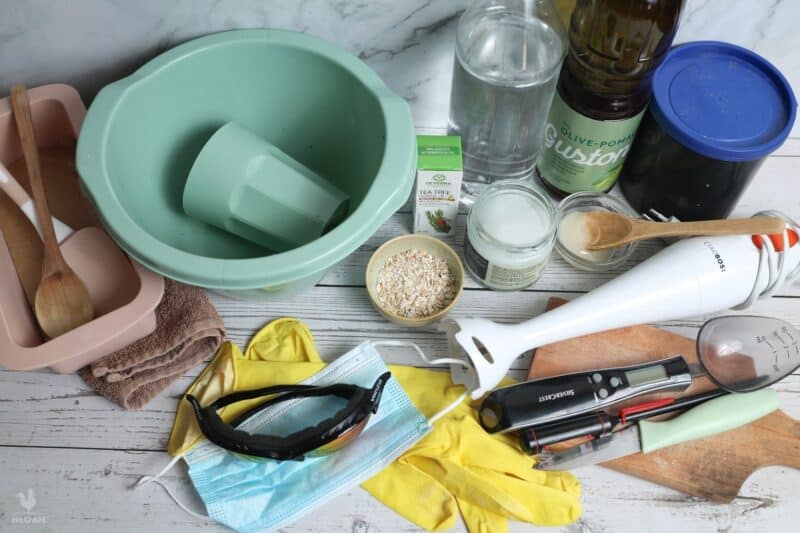
Equipment
You don’t need a fancy soapmaking studio, but you do need a few special tools and the right gear to keep you safe.
- Digital Scale: For precise weighing of all ingredients. In a pinch, you can use measuring cups or a postal scale.
- Soap Mold: A silicone loaf mold (about 10 inches long) works great for this batch. Line wooden molds with parchment if needed.
- Stick Blender: Speeds up mixing, mixes thoroughly and helps you reach trace quickly.
- Mixing Container, 1-Quart: For preparing the lye solution. Use heat-resistant plastic or stainless steel.
- Large Mixing Container, 2 to 3 quart: For combining the oils and lye. Again, stainless steel or plastic is best.
- Small Saucepan: For melting the coconut oil.
- Disposable Cup: For weighing lye. A paper or plastic cup works fine.
- Silicone Spatula: For scraping every last bit of soap batter into the mold.
- Parchment Paper: For lightly covering the mold.
- Cloth: To cover and insulate the soap in the mold. An old towel, or even something like a t-shirt or pillowcase works just fine.
- Safety Gear: Don’t skip this! Gloves, safety goggles, and long sleeves to protect against lye splashes and other mishaps, and a respirator or other fume mask to keep you safe from the fumes when mixing lye and water.
- Thermometer (optional): For checking lye and oil temps.
- Coffee Grinder: For grinding your oats into a fine consistency.
- Cutting Board and Knife: For slicing soap into bars.
That’s it! Now, let’s get to the good part.
Instructions
Step 1: Prep your workspace. Clear your counter or table, keep kids and pets out, and focus. Lay out all ingredients and equipment. Put on your gloves, goggles, and long sleeves. Lye can hurt you, so take this seriously.
Step 2: Prepare the mold. If using a silicone mold, set it on a stable surface. For wooden molds, line with parchment paper to prevent sticking.
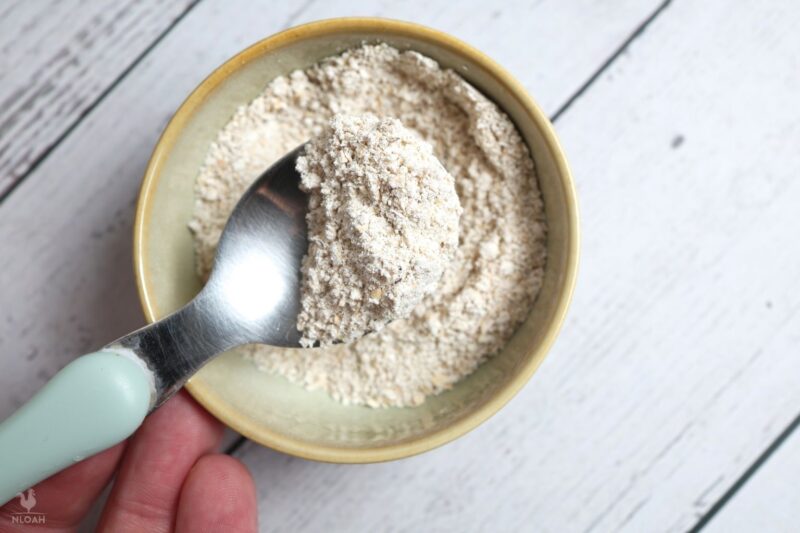
Step 3: Grind the oats. Toss ½ tablespoon of gluten-free rolled oats into a clean coffee grinder and pulse until finely ground. Set aside.
Step 4: Weigh the water. Using your digital scale, measure 9 ounces (255 grams) of distilled water into the 1-quart mixing container.
Step 5: Weigh and add the lye. Carefully weigh 4 ounces (115 grams) of lye into the small disposable cup. Slowly sprinkle the lye into the water. Do not pour water over the lye! Stir until fully dissolved. Avoid breathing in the strong fumes. It will get hot, so set the lye solution aside in a safe spot to cool.

Step 6: Melt and weigh the oils. In the small saucepan, melt the coconut oil over low heat. Then add the olive oil to your large mixing container and pour the melted coconut oil in.
Step 7: Dilute honey. In a small bowl, mix 1 teaspoon of honey with around 1 teaspoon of warm water until it’s smooth and pourable. Dribble a little more water in as needed. Set aside.
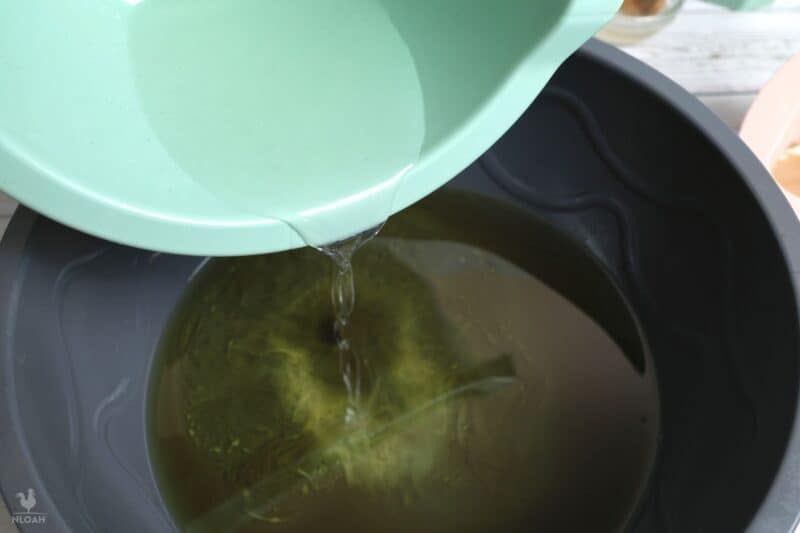
Step 8: Mix lye with oils. Grab your thermometer. When the lye solution is ideally between 90° and 115°F (between 32ºC and 46ºC), slowly pour the lye solution into the oil mixture. Use the immersion blender in short pulses to combine.
Step 9: Add oats, honey, and tea tree oil. Once the mixture starts to thicken, add the ground oats, diluted honey, and ½ teaspoon of tea tree oil. Stir by hand using your spatula and periodically hit it with short pulses from the blender.
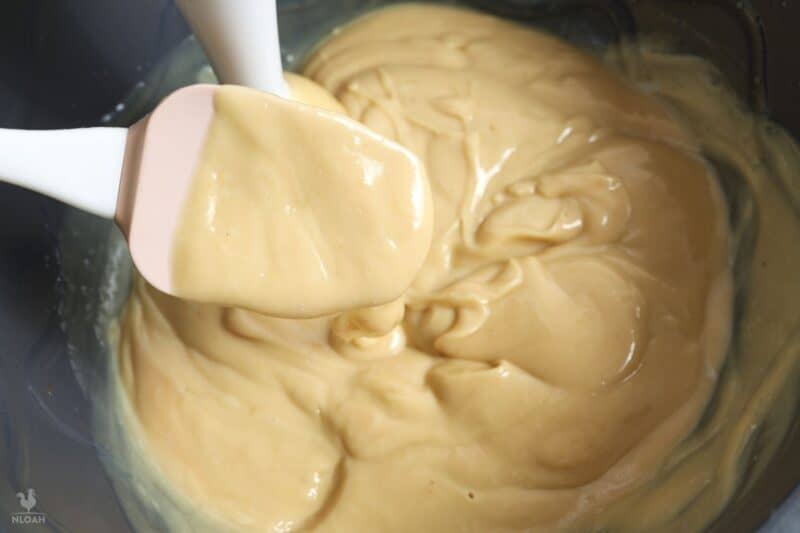
Check for trace, a faint trail left on the surface when you drip the mix over the surface. When you see it form, you are ready to pour.
Step 10: Fill molds with mixture. Pour the soap batter into the mold, using your spatula to get it all out and fill the molds completely. Tap gently to remove air bubbles. It will get warm from here on!
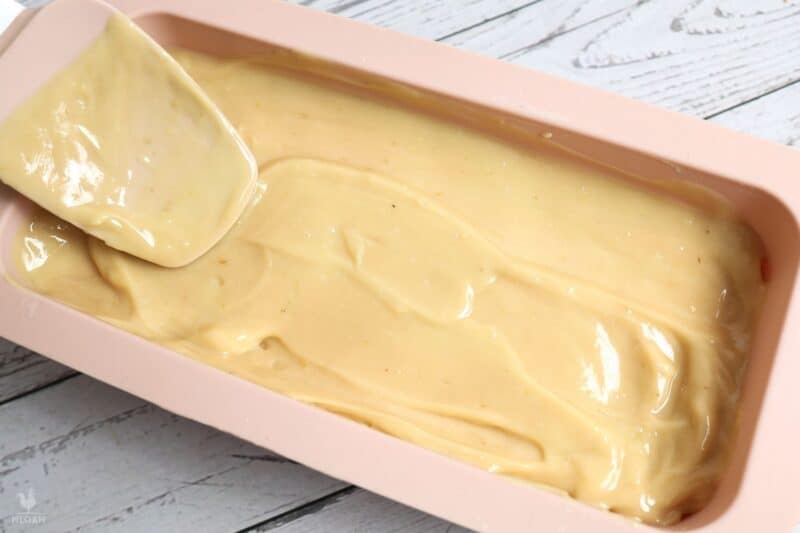
Step 11: Cover lightly and check. Place a piece of parchment paper over the mold, followed by your cloth. Inspect every few hours for cracks on the surface of the mold. If you see any, uncover the mold and move it to a cooler spot or place it on a rack to promote better cooling.
Step 12: Let it set. Leave the mold to sit for 1 to 2 days until firmed up.
Step 13: Remove and cut bars. Carefully coax the soap from the mold. If it’s a bit too soft, wait another day or two. Slice the finished soap into bars using a sharp knife on a cutting board.
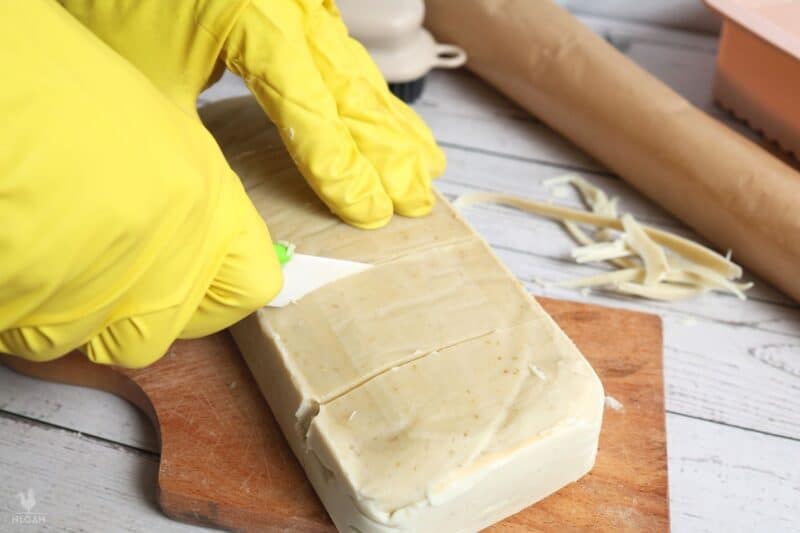
Step 14: Cure the soap. Place the bars in a well-ventilated area on a rack or parchment paper. Let them cure for 4–6 weeks, turning occasionally for even drying. This hardens the bars and makes them even gentler on skin.
Step 15: Done! Store your finished bars in a cool, dry place.

What If Your Soap Doesn’t Set Properly?
Don’t panic. If your soap is too soft, it’s not ruined so long as you were careful in weighing your ingredients and mixing them. Soft soap can be used right away, though it won’t last as long or be quite as nice. It will still get you clean!
If it’s crumbly, though, you might have mismeasured one ingredient or another. Double-check your scale for calibration and pay close attention on the next batch.

Get your gift and learn things like:
- how to make this really quick pest spray
- how to prevent egg waste
- two cheap automation devices that will make your life easier
Tom has lived and worked on farms and homesteads from the Carolinas to Kentucky and beyond. He is passionate about helping people prepare for tough times by embracing lifestyles of self-sufficiency.