
Regular exfoliation is a very common practice to help keep the skin in tip-top shape. Exfoliation can scrub away dead skin cells, oil, gunk, and other built-up debris to help your skin look and feel better. Sadly though, so many commercially available exfoliators are either packed with harsh, irritating chemicals or else are fantastically expensive. It’s ridiculous! The good news is you don’t have to submit to either form of torture if you make your own.
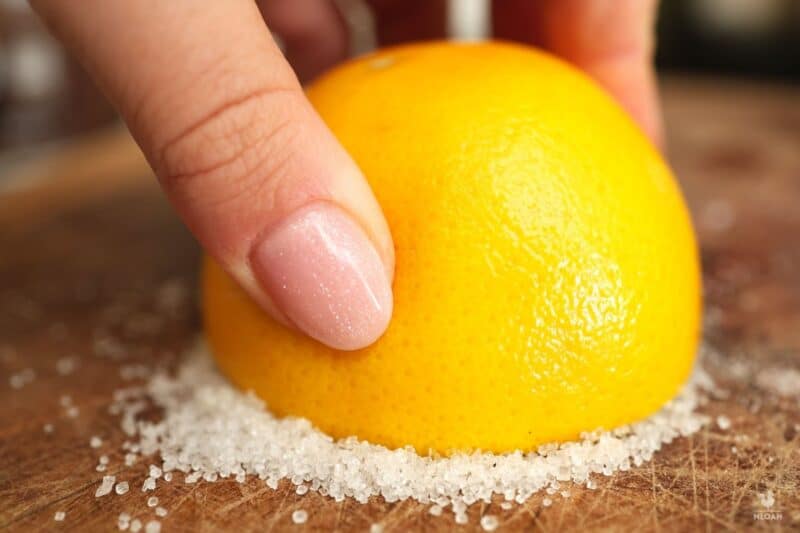
It’s super quick and easy to do using affordable, commonly available, and, most importantly, all-natural ingredients. My very favorite version uses orange peel, white sugar, and coconut oil. Want to make it yourself? Read on!
What Do the Orange Peels Do?
Orange peels have a number of potentially beneficial compounds for your skin, such as:
- hesperidin,
- naringin,
- nobiletin,
- and other phenolic compounds
The problem with them is that , for some people, they can irritate the skin a little. I would caution against using it on the face… Yes, citrus peels are indeed used in cosmetics, but since they’re done in a lab, the concentrations are well controlled and adjusted. If you really want to try this to scrub your face, try to use less zest at first to see how you react.
What You’ll Need
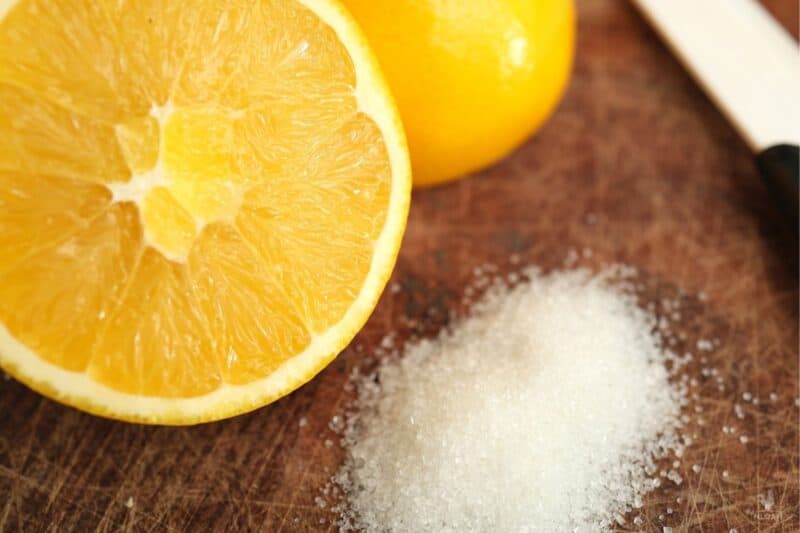
- Orange Zest, Fresh: your orange can be whole or peeled; it doesn’t matter as long as the fragrant orange rind with that aromatic oil is still intact. You won’t need much, around 1 tablespoon. One or two oranges should be more than enough.
- Coconut Oil: preferably organic and pressed. You’ll need one cup for one batch that should last you a month. If you’re making gifts or if your family goes through tons of the stuff, double it.
- White Sugar: common white sugar, nothing to it. Small granules work better and are gentler on your skin than large ones. Once again, you’ll need one cup for a one-month supply. If you need more, double it as with the coconut oil.
- Grater: for processing the orange zest.
- Mixing Bowl: self-explanatory.
- Electric Mixer or Whisk: thorough mixing is essential for an awesome, light, and creamy product. An electric hand or stand mixer makes short work of it. You can do it yourself with a whisk, but I warn you that it will be a workout!
- Measuring Cups and Spoons: also self-explanatory.
- Airtight Jar: for storing your exfoliator cream. Make sure it is absolutely clean and dry.
Step-by-Step Instructions
Step 1: Grate orange zest. Grab your oranges or your orange peels and run the outside, that is, the orange side, over the small teeth of the grater. It’s okay if you pick up a little bit of pith (the white part, along with it).
Step 2: Combine ingredients in mixing bowl. Dump your orange zest, coconut oil, and sugar into the mixing bowl.
Step 3: Mix until chunky paste forms. Fire up your mixer or grab your whisk and start mixing. Occasionally scrape down the sides of the bowl to ensure everything gets blended evenly. You’ll know the exfoliator is starting to come together when it takes on a whipped but chunky appearance like cake frosting or a light batter.
Step 4: Transfer to clean jar and cap tightly. Carefully scrape or scoop your finished exfoliator into your chosen jar and cap it tightly for storage. Keep it in the fridge for maximum shelf life.
Step 5: Scoop out exfoliator with clean hands or tool. When you are ready to use, make sure your hands are clean or grab a clean tool and scoop out the product.
Step 6: Use as needed, close jar tightly. Whenever you are finished using it, make sure you close the jar tightly to prevent contamination and slow spoilage. Be sure to not over-exfoliate! I typically exfoliate once a week, I don’t see the need to do it more often…
Step 7: Done! You are finished. I told you it was easy!

Make Small Batches and Use Promptly
Even if you use a ton of exfoliator, think twice before you make a huge batch. As I alluded to above, the organic and simple nature of the ingredients used to make this one means it is prone to spoilage, particularly from bacterial contamination. This is very likely if you go sticking your dirty hands into the jar or if you keep it in a hot, steamy shower all the time.
Just to be safe, store in the fridge and use it within a week before it gets dodgy. That’s why I recommend making smaller batches so you can use them up before that happens. There is no tested shelf life for it, unfortunately.


Get your gift and learn things like:
- how to make this really quick pest spray
- how to prevent egg waste
- two cheap automation devices that will make your life easier
Tom has lived and worked on farms and homesteads from the Carolinas to Kentucky and beyond. He is passionate about helping people prepare for tough times by embracing lifestyles of self-sufficiency.