Dill is an herb that is known and used all over the world. When I hear the word dill, I automatically think of pickles. All parts of the plant are edible, but the leaves and seeds are generally used for flavoring food.
Dill is grown annually by most gardeners, but is actually a biennial plant. Dill can reseed itself and grow year after year, whether it be in a container or a garden bed making it biennial. Dill is also referred to as dill weed because it is so easy to grow.
You can start by purchasing seeds or by transplants. It is very easy to start dill by seeds. Since the plant has a long tap root it is difficult to transplant the herb. Transplanting can cause the plant to be small or not produce as much. Whichever method you choose is fine.
Table of Contents:
Container Growing
To grow in containers is very simple. Since dill has a long tap root, you need to be sure that your pot is big enough to accommodate the root. It is recommended to use at least a 12 inch deep pot. It doesn’t have to be particularly wide, however.
The container needs to be placed where it can receive at least 6 to 8 hours of sunlight daily. It is okay to sow your seeds outside after the danger of frost, but if you want a head start then feel free to start it indoors.
Start by sowing seeds directly into your container, just as you would if you were sowing outside. A soilless potting mix will work best, and you need to make sure there are draining holes in the bottom of the container. It can grow in most soils, but prefers well-drained, acidic soil.
Planting in a container will still allow your plant to grow. You can even bring your container of dill inside when the weather starts to change. The biggest rule to growing dill is being sure that it receives adequate amounts of light. You can put it in a sunny location or use a grow light.
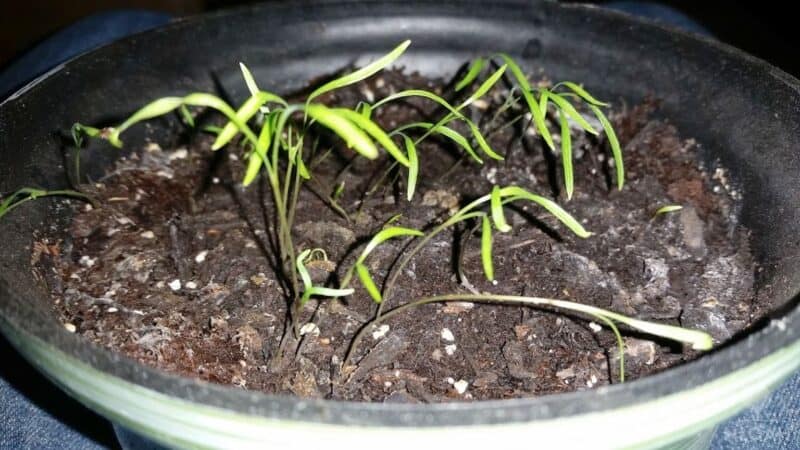
Dill can be planted in any type of soil so long as it drains well. Fill your container with soil and then sprinkle your seeds over it. Lightly cover the seeds with some more soil and water. Keep the soil moist until the seedlings appear. The seedlings will start to emerge in 10 to 14 days.
Water your plants often by misting them lightly, and once the seedlings are a few inches tall, you can then thin them to just two per pot. Otherwise, caring for dill in a container will be exactly the same as tending to it in your outdoor garden!
After the seedlings have reached about two inches in height it is time to thin them. Thin the plants to one to two plants per container so that they have enough room to grow.
Dill does not require a lot of water. If the soil directly under the dill goes undisturbed you’re more than likely to get reseeding for next year.
You will want to do succession planting every 2 to 3 weeks so you have plenty of dill on hand. If the weather is too hot it will go to seed. I have a couple of pots of dill at any given time.
Varieties Of Dill
- Bouquet Dill– the most common type grown by home gardeners. Leaves and seeds are perfect for cooking and pickling.
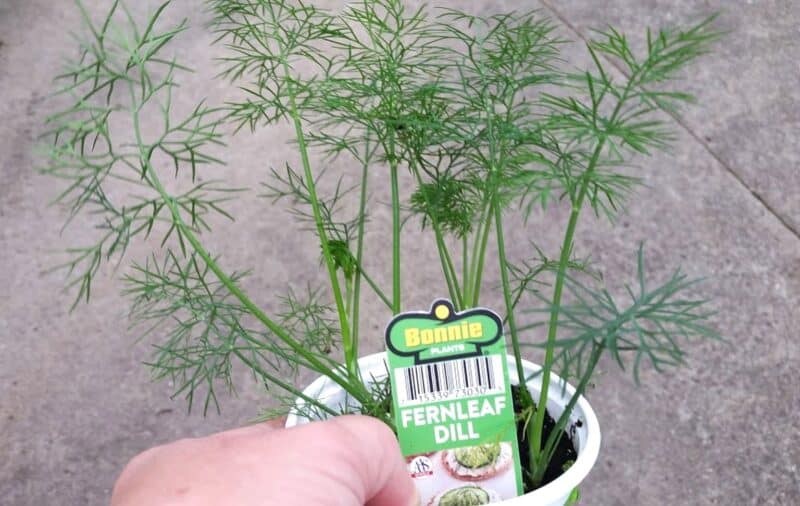
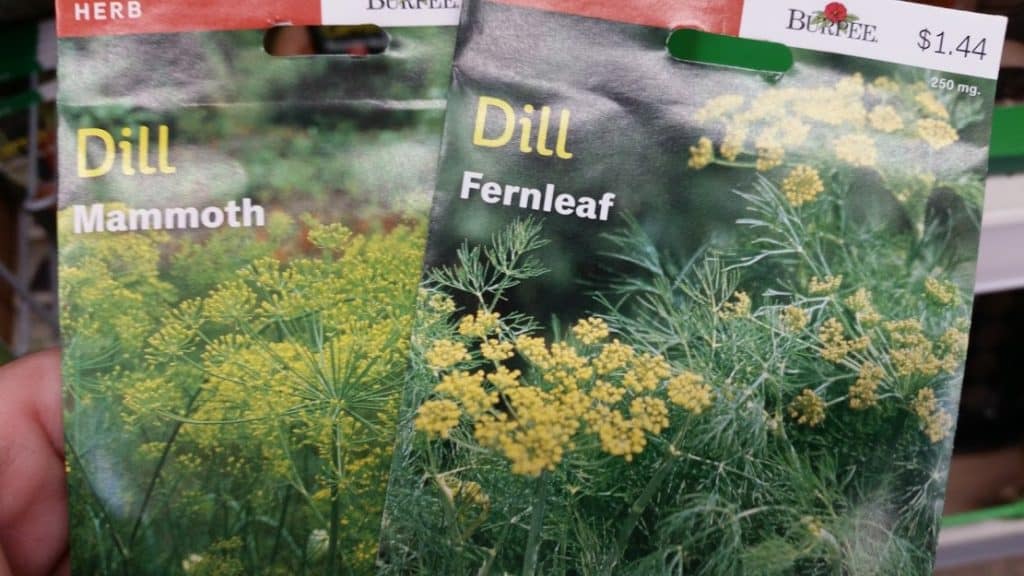
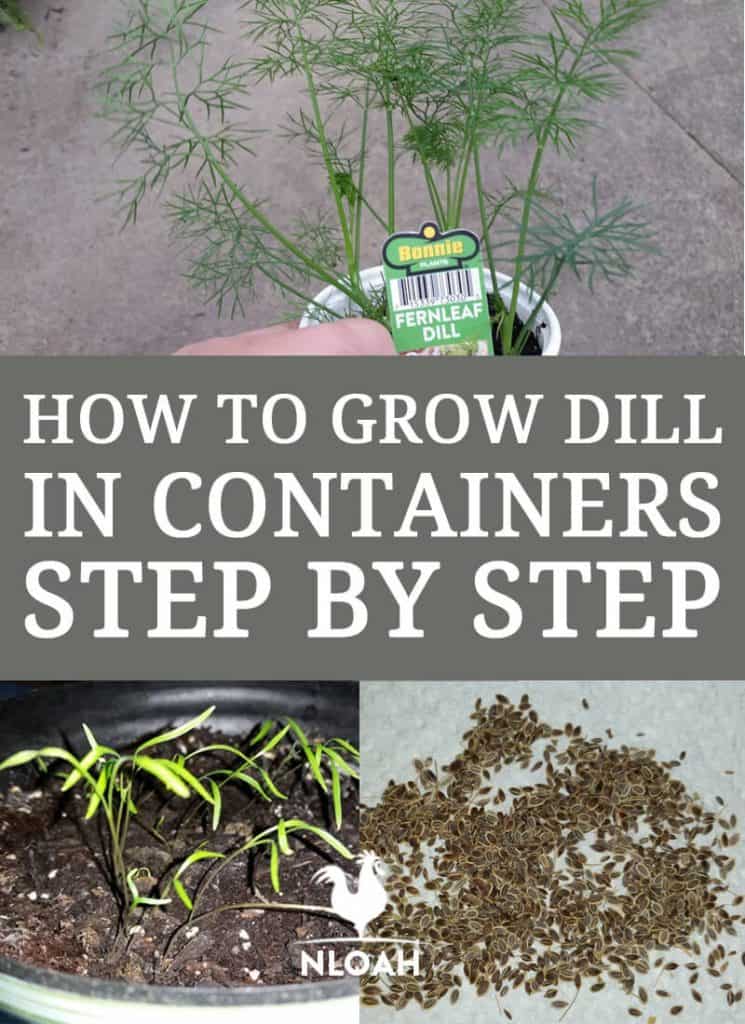
- Fernleaf Dill- a common dwarf variety that can reach up to 18 inches. This is a great dill for container growing.
- Dukat Dill– this is another dwarf variety perfect for growing in containers. It produces bright green leaves, and many people enjoy sprigs of it in their salad.
- Mammoth Dill– also known as Long Island Dill. This is a very large variety that can reach up to five feet tall. It is best grown in garden beds, but can be grown in large containers, it does need full sun. This dill is great for pickling.
- Vierling Dill– this dill is slow to bolt, and can grow all summer. This variety does well in warm climates.
Pruning
Dill can grow as large as 5 feet tall, but most varieties reach around 3 feet. The plant has fine feathery looking leaves that grow around the stalk.
The leaf is actually a unit that stands off from the stalk with the tiny tendrils, or feathery part, on it. The flowers look like clusters of small yellow umbrellas that can be up to 6 inches wide.
Dill does not require pruning, but you may want to do it if you grow in a container. If you pinch back the top of the plant, it will encourage it to grow bushier instead of taller.
If you want the plant to continue to grow you will want to prune the flowers. If the dill goes to seed the plant won’t make it. Dill will cross pollinate with other herbs, and you do not want this to happen, so pinching back the flowers will prevent it.
If you harvest regularly you won’t need to prune. You can prune with scissors or pinch off with your finger. To prune you will want to look at what needs taken off, for example the flower, cut above the joint on the stalk where it is growing from. Even when you prune, you will want to use the cuttings, there is no need to waste.
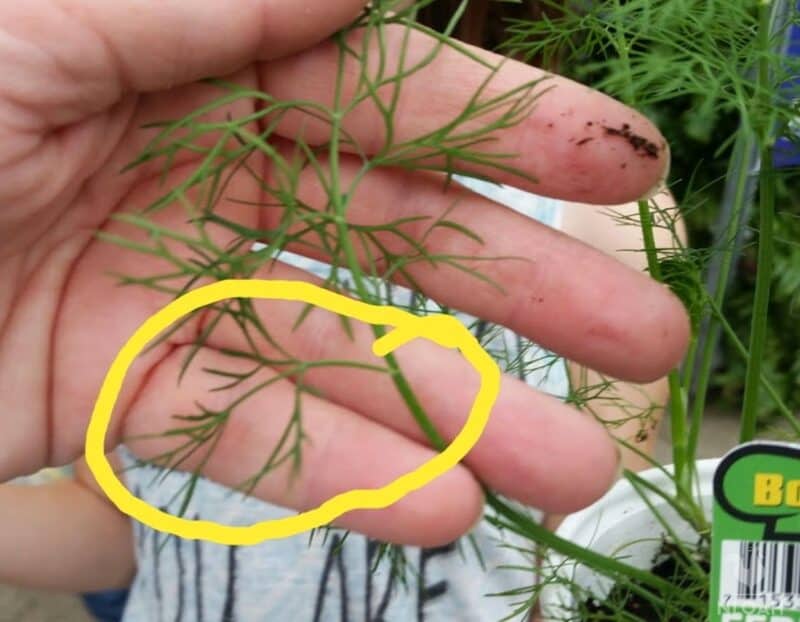
The part in the yellow circle is what is considered a full leaf on the dill plant. The other parts off of it are the tiny feathery tendrils of the leaf.
Harvesting
It is not recommended to harvest from the plant until it has at least five leaves. You should always harvest from the top of the plant. If you need just a little bit of dill then you can take a pinch off of a leaf, or take the whole leaf off at the junction of the leaf and stalk.
Do not harvest too much at once, as it can kill your plant. A good rule of thumb is to leave at least ⅓ of the plant when harvesting.
Storage and Use
Dill tastes best when it is used fresh. It loses some flavor as it dries. It is recommended to harvest dill just before it starts to flower as it tastes the best then and will have good flavor after drying.
After harvest you can wash and dry your dill to remove any dirt and insects. At the end of season you will hopefully have a lot of dill to use. With a surplus of dill on your hands you have to be able to save it so there are a few options.
Refrigeration
Dill can stay fresh in the fridge for a week or two. You can put the dill in a glass of water or wrap it in a wet paper towel and plastic wrap to keep it fresh. Store the dill in your vegetable crisper drawer.
Drying
The stems, leaves, and seeds can all be dried. To dry the dill clip off the individual leaves and lay them out on a rack to dry. To dry be sure that they are laid out in a warm, dry room away from direct sunlight.
Turn the dill over daily to be sure that it gets even air exposure to dry. Once the dill has dried, crush it and store in a glass jar. The dried dill will store for up to six months if kept in a cool dark area.
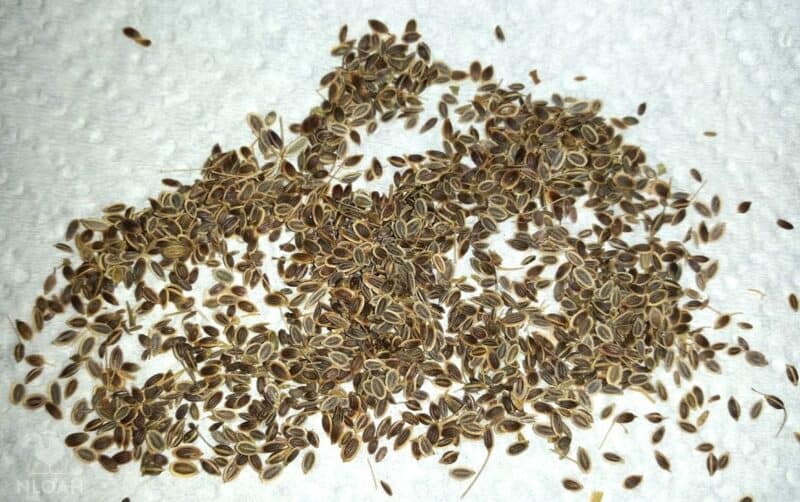
If you want to harvest the dill seeds you need to allow the plant to flower and go to seed. Gather the bunches with the seed and tie them together by the stems and hang them upside down. Place a tray or something under where they are hanging to catch the seeds.
You can also hang a bag over them to get all of the seeds. You need to be sure that air can get through the bag, so you may need to punch some holes in it, to help the drying process.
Once the seeds are dry they will drop from the plant, which will take a few weeks. Store the seeds in a glass jar in a cool, dark place. Use the seeds for cooking or put them up until the next season to plant.
** Helpful hint: the dried dill is not as flavorful, so you may need to double what the recipe calls for when using it to cook.
Companion Crops
With the risk of cross pollination and the certain bugs that are attracted to dill there are a few plants that you shouldn’t plant next to it. Dill attracts insects such as ladybugs and lacewings, which eat aphids. It attracts pollinators such as honeybees and swallowtail butterflies. It also helps in repelling spider mites, squash bugs , and cabbage loopers.
Due to its ability to repel these insects dill does excellent being planted next to plants in the cabbage family, asparagus, corn, beans, lettuce, onions, cucumbers, fennel, and eggplant. Since dill attracts pollinators you should avoid planting it near carrots, cilantro, caraway, and nightshades.
If cross pollination occurs among these plants, it will ruin them. This is good to know because even container gardening plants will still need to be placed next to each other.
Pests
There are few pests that tend to disturb dill. Aphids are attracted to dill and love to feast on the plant, Being attracted to dill is its problem though because ladybugs enjoy aphids and are also attracted to dill.
Caterpillars love to feed on dill, they don’t necessarily kill the plant but you still want them there. To rid the caterpillars simply remove them by hand.
Another pest of the dill is the cutworm, they will eat the stem off right at the soil line. To help rid cutworms use sharp objects around the base of the plant so that it cuts the worm.Some examples of this is crushed egg shells and diatomaceous earth.
Diseases
Diseases can affect your dill just like it can any other crop. Some of the diseases range from being fungal to being caused by insects spreading viruses to the plants.
1. Carrot-Motley Dwarf Disease: this virus is spread by aphids from carrots to other plants. This disease is caused by two separate viruses that have to be present to affect the plant.
This disease causes the plants to develop red and yellow discoloration to the leaves and it stunts the growth of plants. To rid Carrot-Motley Dwarf Disease you will need to use an insecticidal soap and avoid planting next to carrots.
2. Damping Off: this fungal disease is caused by the seeds not being able to germinate due to the seeds rotting from being too wet. To help control this disease you can treat with a fungicidal spray and be sure to plant in well drained soil.
3. Cercospora Leaf Blight: fungal again this disease causes the leaves to develop necrotic tissue that will spread over the leaves killing them. To treat this disease you will need to use a fungicidal spray and be sure to use disease free seeds, rotate your crops,and be sure to not leave old plants laying around.
4. Powdery Mildew: this is a fungal disease with a powdery growth that affects the leaves and stalks of the plant. To treat avoid over fertilization and use fungicides as needed.
5. Downy Mildew: another fungal disease that has yellow spots on the leaves with a fluffy growth on the underside of the leaves. Wet leaves tend to harbor the disease. This fungus targets young plants and can be treated by using disease free seeds and proper spacing of the plants.
As always when treating diseases, it is good practice to try to use disease-free seeds and follow the directions on the seed packet for proper planting.
Do the proper treatment of insects and being sure to clean up your garden spot of any dead weeds. Also, remember to rotate your crops, and plant your garden in soil with proper drainage.
You should have no problem starting and growing your own dill. All you need to do now is figure out which way you prefer to use and eat it. Happy harvesting, and enjoy the dishes that are made great with the flavor of dill that you have grown yourself.

Sarah Rodriguez is a homesteading wife and mother of five living in Appalachia. She grew up in a homesteading and logging family.
She and her husband Arnie work their 10-acre homestead together alongside their growing family. Sarah honed her self-reliance skills through 4-H and FFA at an early age and is now teaching her children to live off the land, raise livestock, and the importance of both sustainability and frugality.