Composting is an essential component to permaculture and gardening. It is also essential in striving for that goal of sustainability.
Rather than throwing away the trimmings from your kitchen vegetables or the leaves and grass clippings in your yard, let’s turn it into a rich nutrient filled soil. We call this compost. What a great way to understand and have total control over you source of food!
Normally, composting is a pretty labor intensive undertaking, requiring a lot of work with the pitch fork, and creating several different piles for several different stages.
We are, however, in the city and probably don’t have the time or space for a large composting set up. We can however achieve almost the same results with just a balcony or even a place on the floor.
If you do have a little yard, then you will want to do this method right on a piece of dirt. You only need about one square meter or yard. This will be easiest if I just go point by point, and add some pictures so you can see each stage of putting our urban compost together.
Step 1. Get your container
The tub you see in the picture, I rescued from the garbage just to make a compost. So that was free. You can use any type of tub it doesn’t really matter, as long as it doesn’t leak.
This tub is about the smallest you want to go in order to make it worthwhile. My assistant loves compost almost as much as my vegetables do:
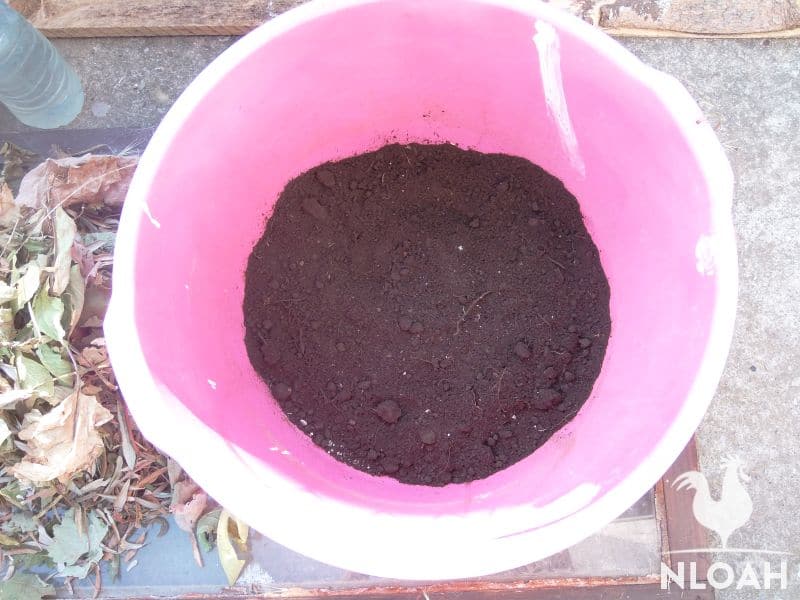
Step 2. Find some soil
The next component you need, if you don’t have a yard or garden, is some soil. Get your soil from a field or take a bit from under a tree, you don’t need much.
Try not to take it from under a pine tree if you can help it. Pine needles are very acidic and then you will have to counterbalance the acid, and it just starts to get to complicated.
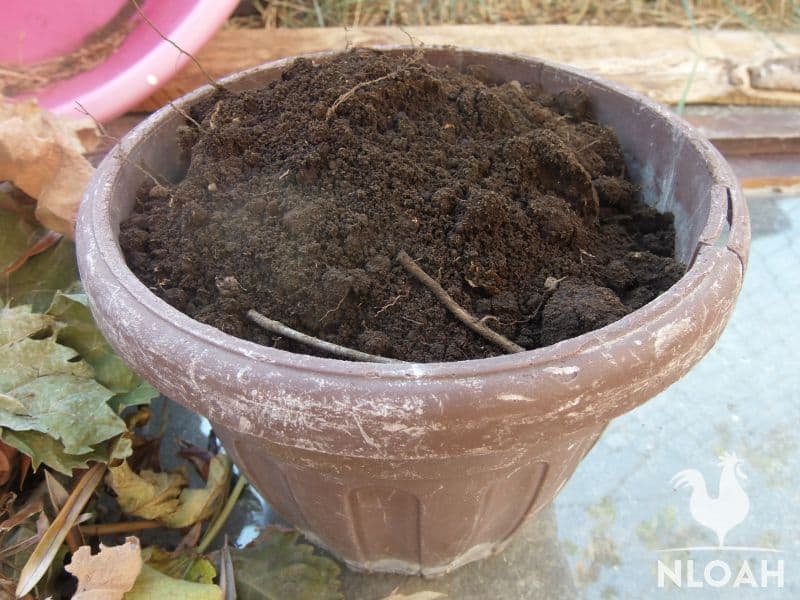
You only need enough soil to cover the bottom of your tub, about 3 inches or 5cm deep. This soil is from my garden, it’s not great, but will work just fine for compost:
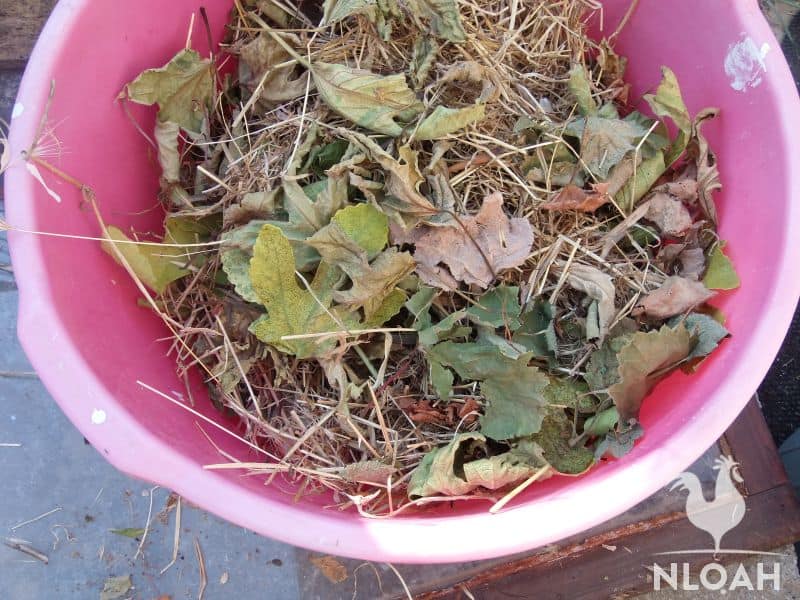
Step 3. Find some leaves
The next thing to collect are some leaves. You want the dead ones that you see everywhere, at the bottom of hedges or swept by the wind into corners of every yard park, or even alley way. The type of leaves doesn’t really matter as long as they are pretty dry.
Get a bucket or a big bag full, if you take the time and observe around you. This should take about 10 minutes. You will fill half the tub up with these.
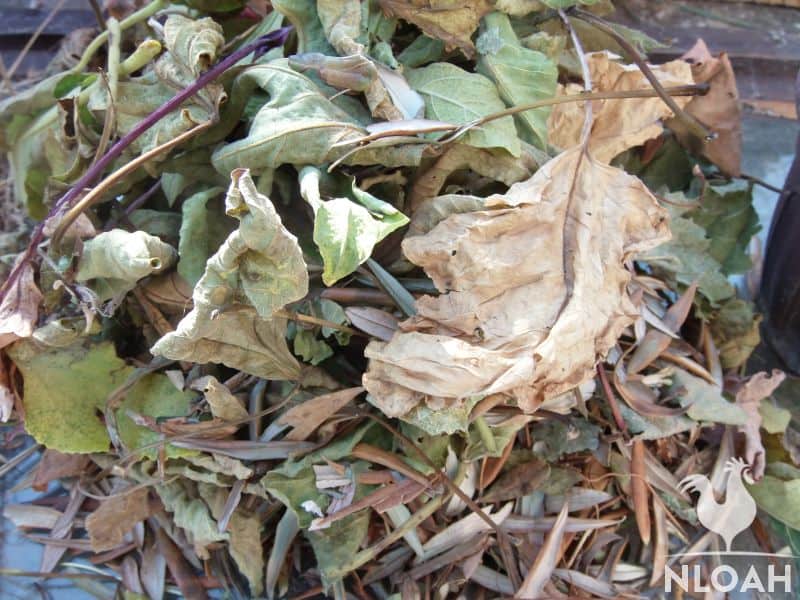
I have here a mix of olive, fig and grape leaves, because that’s what I have in my garden. I collected these from around the edges of my garden:
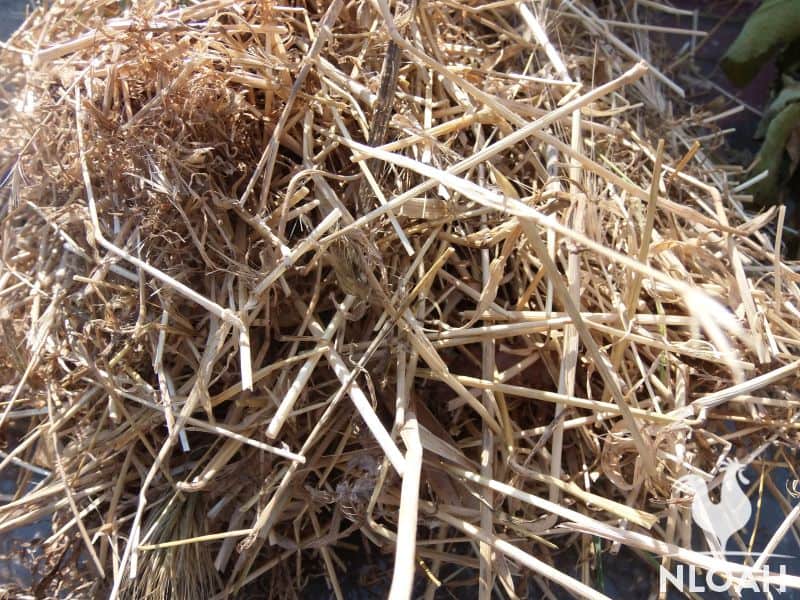
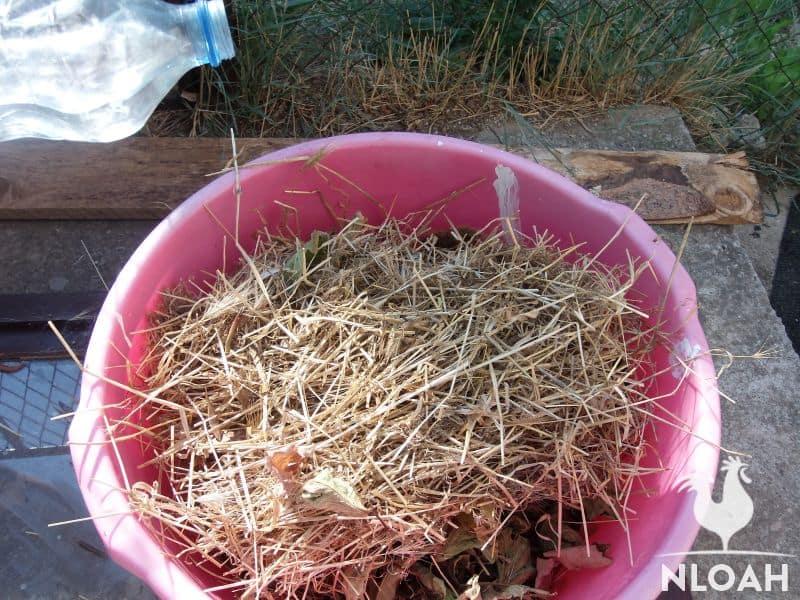
Step 4. Find some grass clippings
OK, now you have your tub your soil and some leaves. The next thing you want is some good old fashioned grass clippings. I am using mulch from the high grass that grows wild around the edges of my garden. Not too many manicured lawns around me but the mulch works just fine as well.
Grass clippings are just easier to work with as they are already cut fine, no need to spend time cutting them up. These you can also get for free.
Just go to any park where they are doing maintenance and ask the crew they will give you a funny look, and tell you to take as much as you want. Or ask a neighbor with a lawn.
You can also add any vegetable scraps you have in the kitchen, but not necessary if you don’t.
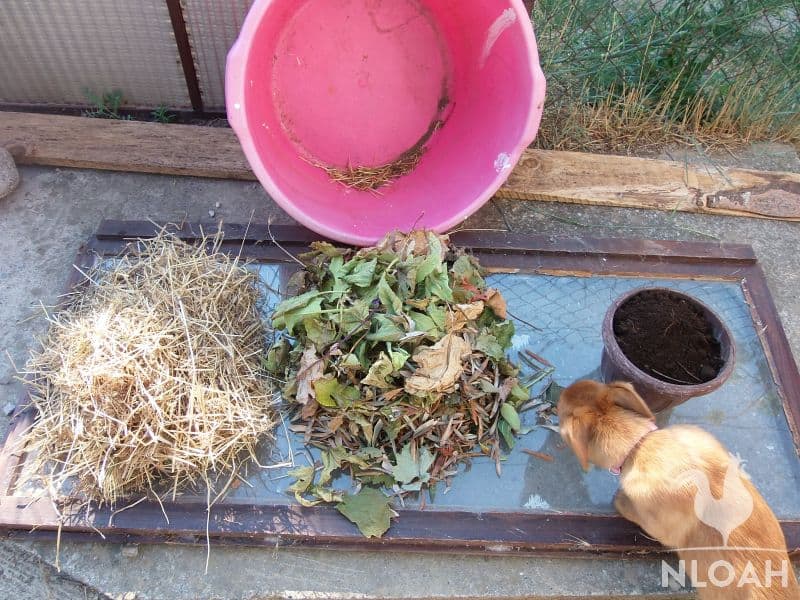
OK, so you see in the 1st picture (towards the top of the article) that I have 3 separate piles, leaves, grass and my soil.
Step 5. Make your activator
The next ingredients you will need is a jug of water (2 liters) and about a 3rd of a cup of sugar. Mix the sugar in the water until it dissolves. You can use molasses or even soda pop works great.
I know you might think it is gross, but you can also use your urine, it is actually the best thing to activate the compost.
Step 6. Put it all together
So now put the soil in the bottom of your tub:
Add your scraps, leaves and grass clippings to the tub on top of the soil:
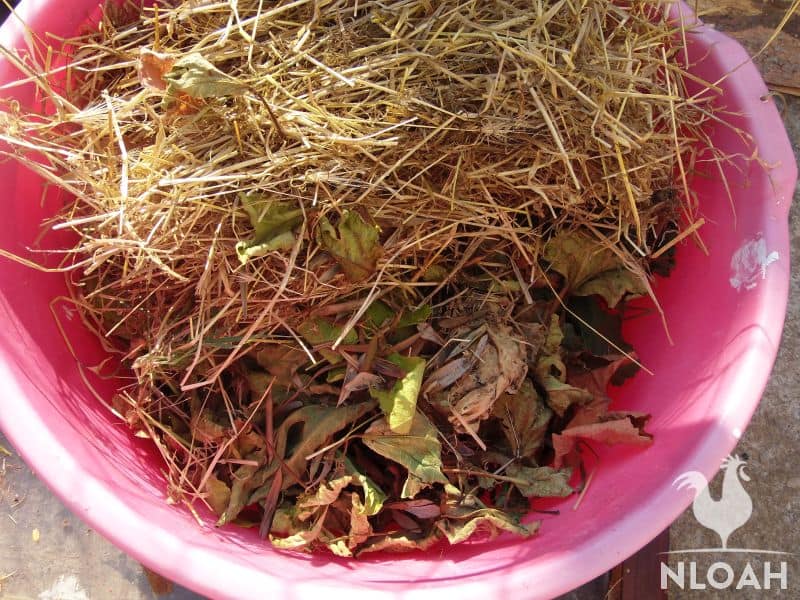
So far so good? Now go ahead and mix it all together. Don’t mix it up with the soil just the leaves, grass and scraps; the soil is just the foundation right now.
Don’t worry if some soil gets mixed in, it will all be mixed up together soon anyhow.
You now can go ahead and add your liquid sugar mix or whatever you have to the tub. Once again, give it a good mix or stir:
That’s it, your compost is started.
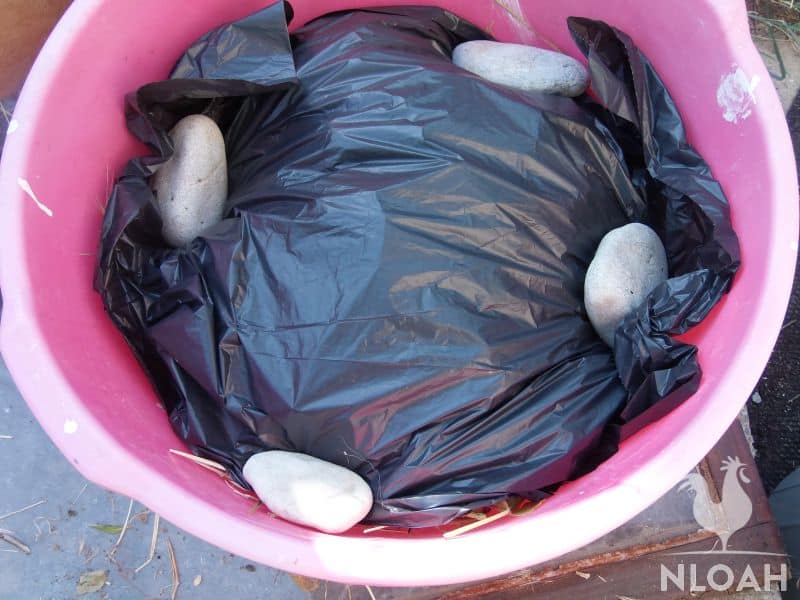
Step 7. Keep out the light
Now just cover your tub up with a lid or a plastic bag, pretty much anything that keeps the light out. Make sure to weigh down the edges, if it’s outside, so the wind doesn’t take it away.
That’s it, you’re almost done. You will need to mix or stir this around every day, for around 8 to 10 days but not forever, you will see in about 8 days your leaves, grass and vegetable scraps will start to turn into a beautiful, rich soil. Make sure to mix the soil that was on the bottom into it as well.
The reason why we need the soil is, it contains all the microorganisms that once activated, will consume the plant material, and turn it back into soil.
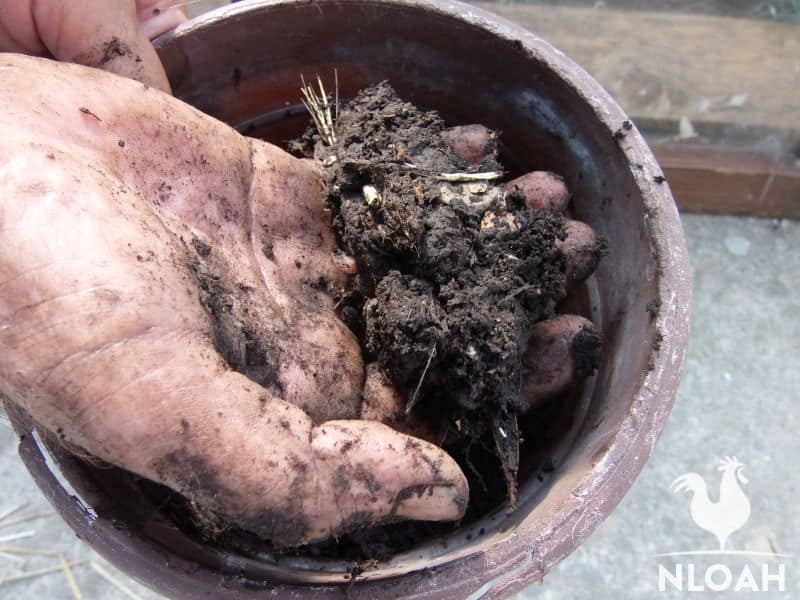
This next picture should be your end result. Don’t worry if there are still some leaves or grass that haven’t broken down, they will:
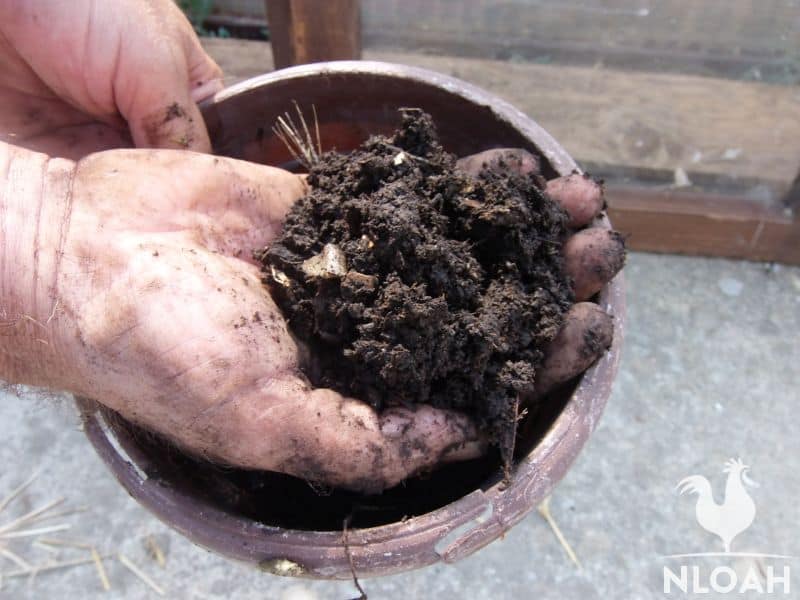
This soil or compost should have a beautiful organic smell, and be a little sticky as you can see below, where I’m compacting it:
Now you have this beautiful nutrient rich compost, which you can mix with other less fertile soils. With this you have the perfect media in which to grow you plants.
There are a number of different methods of making soil, we will explain in another article or, you can find a lot of information out there on how to do this. It has a lot to do with which types of plants you want to grow.
Now that you have this beautiful rich compost, you can add it to your growing pots or planters, just mix it in with the soil you already have. If you don’t have soil, head back to where you got the soil for the compost, and fill a couple of buckets.
You are now ready to plant your seeds or seedlings into the soil, and watch them grow. No need to go and buy expensive fertilizer from your local plant nursery or Walmart. What you have just produced is far better, and hey, it’s free!
We go from organic byproduct from our fields, lawns and trees, to organic soil which turns into what we eat.
From here, you can get into all kinds of interesting things to help your plants and save you money. One of those is vermiculture, that is using worms, soil, manure and your vegetable scraps to make compost and compost tea.
Compost tea is the liquid you get from combining these 4 things and is an amazing fertilizer and soil inoculant. Again, no need to go to the nursery and pay our hard earned cash.
Just a quick tip on our path to sustainability. Instead of letting that dishwater go down the drain, save it and water your plants, trust me they love it. Just make sure there is no bleach but the soap won’t hurt your plants.
I also use my shower water, all those bits of skin and hair that wash off in the shower are also great plant food. Water is a precious resource that we must always be conscious of.

Dirk is Canadian permaculture designer with a certificate from Tagari farms, studying under the tutelage of the legends and founders of permaculture Bill Mollison and Geoff Lawton. Dirk has been doing permaculture for more than 20 years, initiating and managing projects in Cambodia, Madagascar, Montenegro, and Vietnam. He’s been helping people use permaculture techniques in growing their own food, and in leading more sustainable lives across the world.