Flannel boards (or felt boards, if you prefer) are low tech learning aids that are rarely used in school classrooms anymore, but they used to be a staple in elementary schools and Sunday school classrooms.
About a year ago, I got online to buy a flannel board to use with the learning sets I was making for our youngest grandkiddos…
After looking at the price of even the cheapest felt boards, I shook my head and decided to make my own. Instead of paying a minimum of $29 for a flannel board that was not even 2 feet long, I made my own for $3.
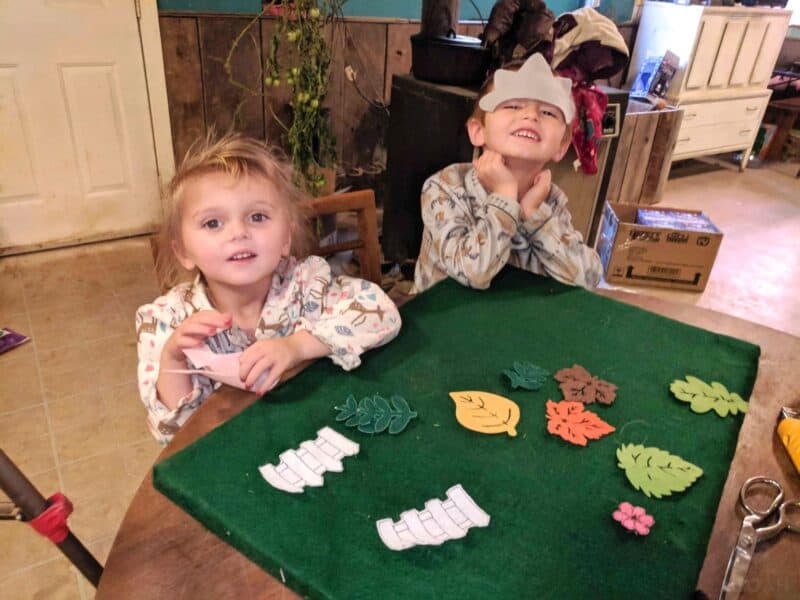
Our daughter does not allow her children to have “screen time” except for watching shows on the televison. They absolutely loved their flannel board, as I knew they would.
But, shockingly enough, the hordes of other children who have been over to play, many of which have their own tablets by the age of three, also went nuts over this interactive activity.
I am sure that none of the children even realized they were learning when using the flannel sets that I made then or since.
Even when doing a lesson with the flannel board is not on the day’s educational agenda, they still love to open up a set or two and create their own scenes and stories.
Table of Contents:
How to make a Soft Felt Board
You can make a flannel board that simply consists of a single piece of felt that has a hanging string sewn onto the top so it can be displayed against a wall or whiteboard.
Some folks like to hot glue magnets onto the back of the board so they can attach to a magnetic white board, or to make them in individual child-sizes, and place them on the refrigerator.
If you are not going to back the flannel board with something hard so it can be rolled up and stored away, I highly recommend sewing two layers of flannel together to give it increased stiffness so it does not move around too much when being used.
Felt can be purchased off a bolt and cut to your desired length from stores like JoAnn Fabric and Hobby Lobby. The widths available will vary, but two feet wide is standard. You can also buy large sheets of flannel on Amazon.
If you are making smaller flannel boards or individual child-sized ones, cutting up a solid color flannel shirt will work just fine. Sewing backing, eitiher out the same type of flannel or another fabric you have on hand – even two layers, is highly recommended.
The flannel shirts are made out of is not as thick as flannel purchased for crafting purposes.
How to Make a Hard Felt Board
A flannel board with a hard backing can be propped up against a wall, sat upon, or hung from a hook on a wall. I prefer this type of board because it will not move about when being used by young children like a soft board – even one that has magnets on the back.
The piece of particle board that I used to make this flannel board was roughly 26 inches by 17 inches, and weighed around five pounds. It took one and a half yards of thick good quality felt fabric to make the board, at a cost of approximately $3 to $5 total.
A scrap piece of particle board or plywood, or even cardboard, can be used to make a hard flannel board. Watch the video below to see the simple, quick, and super cheap flannel board I made for my homeschooled grandchildren. Apologies in advance as part of the stapling process isn’t completely visible on camera:
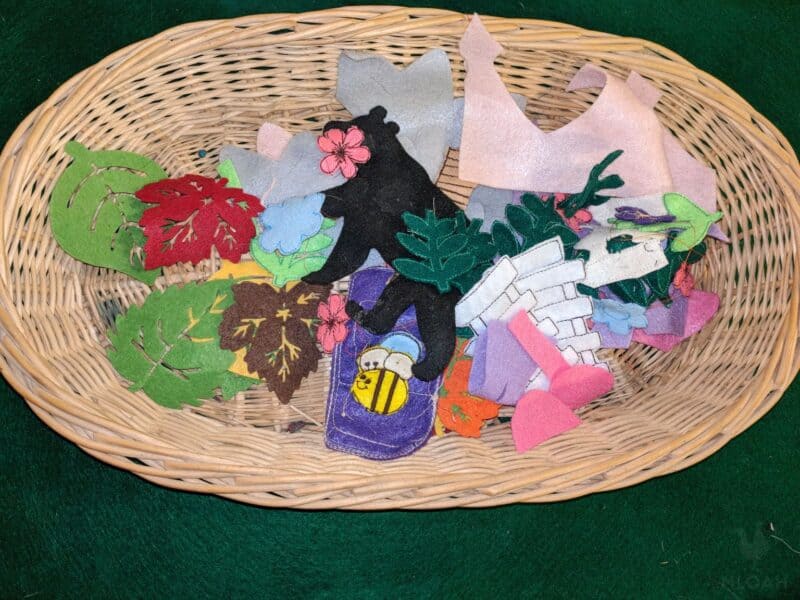
Because we now have so many flannel board learning sets, I am in the midst of making a pouch out of scrap felt to hold each one. I am going to use my embroidery machine to label each pouch, but permanent marker words just fine on felt, as well.
After the pouches are made, I am going to glue a strip of felt on the back of each one, and strips across the back of the flannel board so they can be attached to it for easy use and storage.
How to Make Flannel Board Pieces
I put my embroidery machine to work making a plethora of embroidery pieces, but you do not need to own one of these little wonders to make awesome flannel board sets.
I embroidered numbers, letters, shapes, and color sets, then worked my way up to pieces that could be used when teaching the children about agriculture, history, science, the seasons, and to correspond with images commonly found in storybooks.
There is no need to velcro back the pieces because I embroidered them on felt, but to larger and heavier ones like tall trees, I did add some velcro to ensure they would stay firmly in place when seasonal adornments were added to them.
Print or draw pictures on paper to correspond with the learnng activities you are planning. Cover the pictures in clear contact paper. Hot glue a single piece of felt or two pieces of flannel shirt scraps onto the back on the images.
If you are using just flannel scraps, I recommend also hot gluing a piece of velcro onto the back to ensure it stays firmly in pace on the felt board.
If you have a Cricut machine, cutting out flannel board pieces will be a breeze. But you can also print a copious amount of simple images for free off the internet, and trace them onto cheap felt pieces from a big box store for about a quarter.
Flannel Board Learning Activities
Reading Comprehension
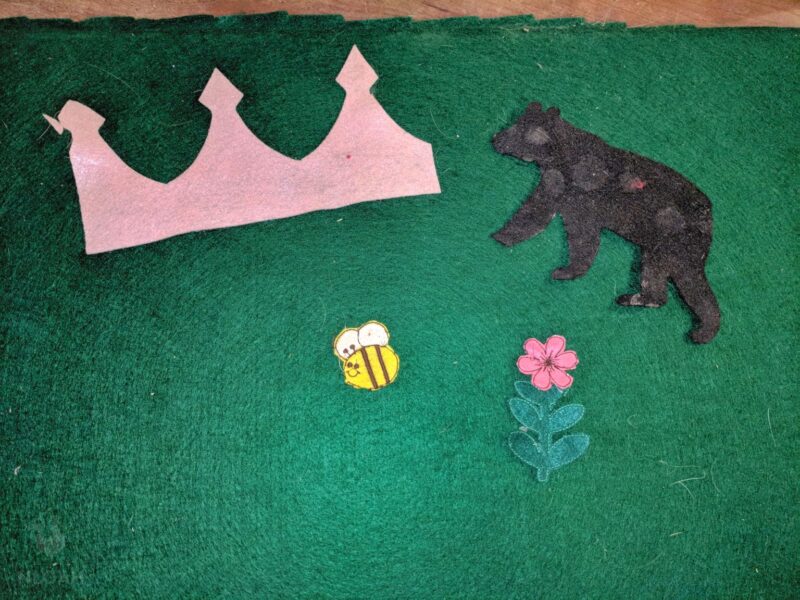
Make flannel pieces that are scene setters, and can likely be used for many activities: trees, flowers, weather, grass, houses, favehicles, and animals. I make “felt paper dolls” that can be used to represent the people in a story, as well.
You can also print story-specific images from the internet, and back them with felt to use. Allow the children to build scenes from the book as you read, retell the story with the felt board pieces, predict what happens next to the characters after the book ends, and do a sequencing of events.
Numbers
Make a large set of simple symbols such as stars, cirlces, squares, etc. Make numbers out of felt, and have the children place the numbers in order on the flannel board and next to it the amount of symbols it represents.
You can vary this activity for older children and use the felt numbers and math symbols you make to work problems. Make an alligator with his mouth open flannel piece so the children can play “greater than, less than” with two numbers – where the smaller number eats the bigger number.
Letters
Make an alphabet set of both upper and lower case letters. Have the children put the letters in order and eventually match upper case letters to lowercase letters. Place a letter on the board, and allow the children to sort through a basket filled with felt board pieces to find ones that start with the letter – sound.
Make more letters and use the felt board to practice spelling by placing an item from a set to the board and having the child spell what it represents beneath it.
Habitats
Make flannel board pieces that represent different biomes and the animals that live in them. Allow the child to set a scene with all of the biome pieces: trees, water, plants, homes, etc., and then place the animals that live there chosen from a basket of all types of animals.
History
You can taylor some felt board piece sets to specific times in our nation’s or our world’s history, or center them around a specific person – like Thomas Jefferson as part of a reading extension activity.
As with the reading comprehension activity above, the children can create a scene to reflect what they are listening being read or after the lesson is over.
If you are studying a specific historical figure, print a picture of the person to turn into a flannel board piece, and put it in the middle of the felt board. As the children to add other pieces to the board that relates to the person and then explain why they chose the piece.
For example, a child could put a cherry on the board and explain how they feel it represents something they learned about George Washington.
You can also cut a long strip of felt that stretches across the flannel board to use as a timeline. You can write dates or divider lines on the piece of felt with permanent marker.
Using the felt board pieces the child can put in order events from a specific period in history, and then explain why they chose them.
The child can also tell their own history if you create flannel board pieces either with photos of them from birth through current time or pieces that show a silhouette of a baby, toddler, etc. and other milestone symbols like a bicycle, sandcastle, dog, etc. to represent when the child learned how to ride a bike, took a beach vacation, and got a pet.
Make felt board pieces from images printed and backed with flannel that show common items that we use now, no longer use, or fit into both categories.
The children can show the progression of inventions through history, or place each item into a group you make using felt strip divider lines on the board that labeled: then, both, and now.
For example, you can show a manual sewing machine, an electric sewing machine circa 1970 or so, and a digital model that is popular today. For younger children, keep the selection simple and create pieces that can show a horsedrawn wagon, early car, and modern car. Items like shovels, pitchforks, wooden picnic tables could all fit into the “both” category.
Agriculture – Planting
Let the children make a felt garden while learning how plants grow. You can place a piece of brown felt on the board to represent the garden.
The children can demonstrate their knowledge of the growing process by placing a tractor in the field, and then making little dots on the brown felt to represent the planting of gardens seeds.
Next, allow them to add environmental elements to show the natural resources plants need to grow like the sun and rain. Place another piece of brown felt on the side of the first one, and let the children put felt board pieces of young plants to show how they grow from seed.
You could also place the plants over top of the seed dots made with permanent marker.
Now, add a third piece of brown felt, and allow the children to fill it with flannel board pieces of vegetables that are ready for harvest. You can add some people to the scene to represent the food being harvested.
Teach the children about food preservation by printing photos of Mason jars. Glue a piece of white felt over the glass section of the jar in the image.
Let the children place the mature veggies from the garden inside the Mason jars as they learn more about what you do with food after it is harvested. Now, remove everything from the flannel board but the filled Mason jars.
Cut a simple table out of felt and place it on the board. Allow the children to remove any veggies from the Mason jar that can be eaten raw and place them on the table. Print and back with felt or flannel any pictures of food that is made from the ingrediens, and allow them to choose the right ones from a basket to place on the table.
Agriculture – Livestock
Teach children about the life cycle of each animal and what it is called from birth to maturity. Create felt board pieces of a hen sitting on a nest, a rooster, eggs, and baby chicks so the child can sequence the life cycle of a chicken.
You can create a simple barnyard scene out of felt or printed pictures backed with felt, and have the child place each animal in the appropriate place – cows inside a fence, horse in a barn, etc.
Make some smaller pieces the child can use to adorn the barnyard while learning the role each plays: pitchfork, hay bale, straw, feeder, saddle, livestock trailer, etc.
You can use the scene pieces you already made along with some other related ones to play two distinct matching learning games. First, create flannel board pieces showing mature animals and baby ones for the children to pair.
Next, print and back with felt or make pieces of what the animal is used to make: milk, scrambled eggs, cotton shirt, goat’s milk soap, steak, etc.
Animals
Make flannel board pieces to represent wild animals that live in your region. Make a felt divider line in the middle of the board, and label one side predator and the other pray. Have the children sort animals from a basket into either category.
Print images of footprints or hoof prints of various animals, and any animal pieces you still may need. Have the children pair the animal with its footprint.
Divide the flannel board into three columns, labeling or adorning the top of each – or both, to denote the woods, the sky, and the water. Children will use the animal felt board pieces to sort each one to show whether they walk, fly, or swim to move about.
Using felt divider lines, label one section herbivores, and another omnivores, and the third carnivores. Have the children sort the animals into the appropriate column.
Community Helpers
This is an excellent activity for younger children learning about their community. Make felt board pieces that symbolize a police department, fire department, EMS, courthouse, town hall, post office, restaurant, park, school, stores, construction site, etc.
Make felt paper dolls or print people who match those who work in these places. Have the children match the career people pieces where they go and then talk about what each one does for the community. For slightly older children, have them make a map of their town using the same pieces.
Measurement
Make rulers out of felt. Make simple shapes like squares or rectangles in various sizes that can be measured. Say a measurement or make flash cards with measurements on them for the children to use to match a piece on the ruler. You could also make multiple small rulers to pair with the pieces being measured.
Telling Time
Make one large or multiple smaller simple clock face flannel board pieces. The black hour and minute hands must be separate pieces. Say or make flash cards to relay, what the felt person placed at the top of the board is doing at a particular time: Billy brushes his teeth at 7:30 a.m.
The child will find a toothbrush flannel piece and set the hour and minute hand on the clock to the correct time. This activity combines listening and following directions with a time telling lesson.
Memory Game
Alright, every momma or grandmomma reading this article has played the tray memory game at least once at a baby shower. Grab a baking sheet and fill it with items that you have made felt board pieces to match: a toy car, toy horse, glove, apple, etc.
Allow the child or children to view and touch the items on the table for one minute. Then, give them a basket with not only the flannel board pieces they need, but at least one dozen more that they will not.
Task the child with putting all of the pieces they remember seeing on the tray on the flannel board – you can time this activity for older children to increase difficulty.
Writing – Oral Essay
Use a writing lesson the child completed to tell a story on the flannel board. Allow the child to create a scene to represent what they wrote or if you have multiple children around the same age, have one child read their essay while the other creates the evolving scene at the same time as a comprehension activity.
Seasons
Create felt board pieces with the names of the seasons and the months on them. Make pieces that illustrates what it looks like outdoors during the various seasons, common weather patterns, a felt paper doll that can be dressed to match the season, and symbols of holidays that occur during the season.
You can divide the felt board up into four parts and work on all of the seasons at once or just use the entire board to learn about one season. After you place the name of the season at the top, have older children add all of the months that fall within that season beneath it.
Children should be given felt board pieces that coincides with all seasons to pick from when choosing what goes on the board so they musht ponder which should be placed.
You can also teach about the seasons using four trees. Cut a tree from – trunk and bark only, out of four pieces of brown felt.
Cut a topper (it does not have to be single leaves but can be one solid piece) for the tree to show the tree’s leaves being light green in the spring, bigger and darker in the summer, and then less dense and colorful in the fall as they begin to turn – and empty branches in the winter months.
Have the child make a tree to match each season. You can also make little apple felt board pieces they can put on the tree to show they know when the apples grow, and make a little felt basket to place in the right season for them to place, to show he or she knows which season is harvest time.
Following Directions
You can do this direction following and comprehension felt board activity several ways. First, you give each child a simple recipe card to read and “cook” on the felt board. Make a stove flannel board piece, a skillet and pot, dishes, spoon, measuring cup set, and measuring spoons.
Embroide or write a different measurement on each measuring spoon. Make flannel board pieces for all of the ingredients used in your recipes. Read the card to young children or give the card to older children.
Have them place the ingredients in the right measuring container and then put them all in the skillet.
You can get a little fancy and make a clock and temperature settings bars to attacah to the stove. You can make a similar following directions and comprehension game using felt pieces of wood and brick, and a series of felt tools.
For this activity, cover the front of the felt building materials with clear contact paper. Have the child measure the building materials with the felt ruler you made for the activity above and use a marker (not permanent) to write the measurement over the clear contact paper.
Have the child build a simple structure like a house by following along with the directions and placing the tools used on the board when they are noted in your building instructions.
A homemade felt board, as well as the store bought variety, will get little fuzzies on it over time. To remove these, simply wrape a piece of maskng tape or painter’s tape around your hand and dab at them like you would fuzz on a sweater – or roll a lint brush lightly across your flannel board.
In my experience, under heavy use, a homemade felt board should remain in good usable condition for at least three years – but often five. Honestly, fellow homesteaders, your board is will wear out long before your children get tired of “playing” with it.


Tara lives on a 56 acres farm in the Appalachian Mountains, where she faces homesteading and farming challenges every single day, raising chickens, goats, horses, and tons of vegetables. She’s an expert in all sorts of homesteading skills such as hide tanning, doll making, tree tapping, and many more.
Thanks for the refresher on the how to (my mom made me a flannel sheet tacked to plywood felt board when I was 8) and ideas beyond bible stories.