I have tried to start different types of fruit trees without much success. I mean, I was really getting angry at my inability to do so as I generally have a green thumb.
After several failed attempts and then one accidental that worked, I decided I should do some research. The answer is stratifying your seeds. That turns out to be what I had accidentally done that worked.
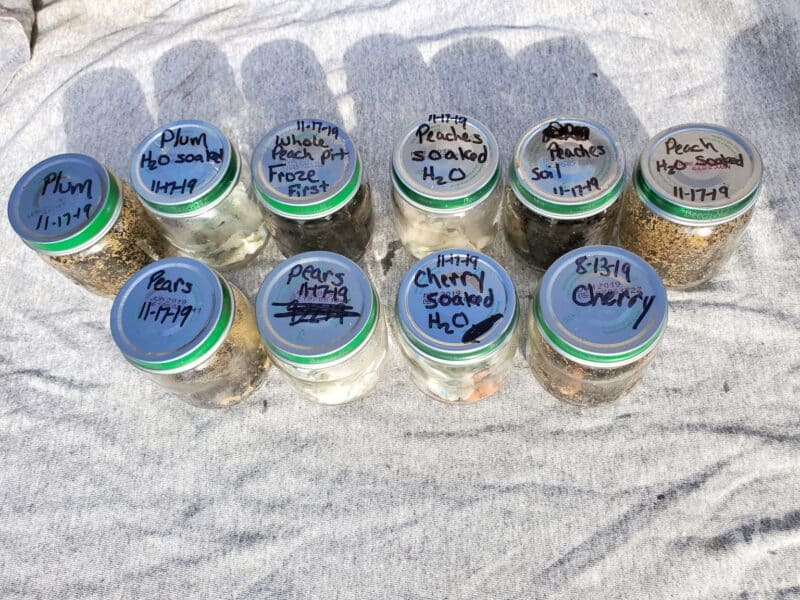
Table of Contents:
What is Seed Stratification?
Seed stratification is a process of simulating natural conditions to let the seeds germinate as part of the seed starting process. Many seeds have an embryonic phase that must be started for them to germinate.
Seed embryos will develop after the seed goes dormant. The cold temperatures trigger dormancy in seeds. Without triggering dormancy, the seeds are unlikely to sprout.
Pros and Cons to Stratification
There are pros and cons to doing about anything. Let’s start with the cons of cold stratifying seeds. It is time consuming to refrigerate or cold water stratify.
Another con is the trial and error of trying to figure out which method works best for you. If you do the natural method of stratification, then it may take time to allow the seeds to come up and start growing.
The main pro to cold stratification is that you can allow nature to do the work for you. You can also control when your seeds germinate, and the time that you will plant the seedlings. By doing cold stratification you can decide how many and the types of seeds you want to grow.
Which Seeds Need Cold Stratification
What Fruit Trees Need Stratified
Not all seeds require stratification. The ones that do are generally those of the tree species.
| Fruit Tree | Time (days) | Temperature (F) | Temperature (C) |
|---|---|---|---|
| Pear | 60 to 90 | 40 | 4 |
| Apricot | 60 to 70 | 45 | 7 |
| Apple | 70 to 80 | 40 | 4 |
| Cherry | 90 to 140 | 40 | 4 |
| Peach | 120 to 130 | 45 | 7 |
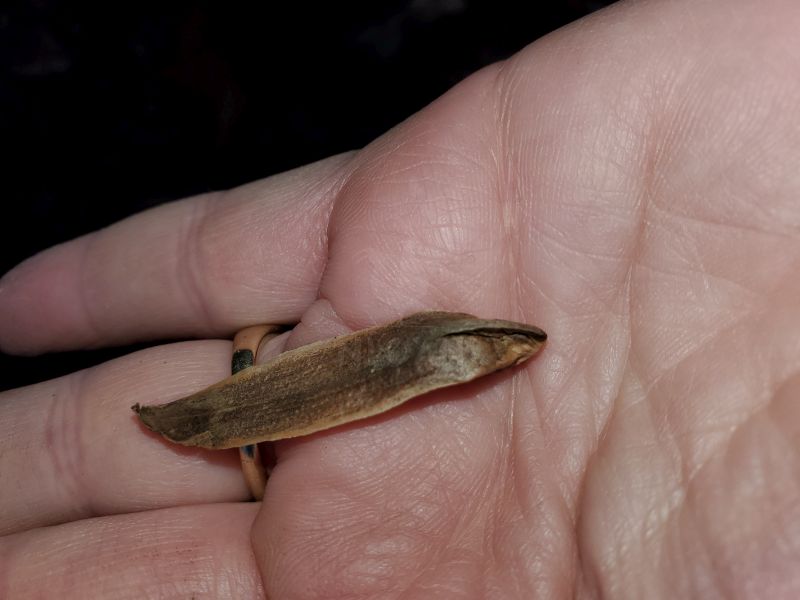
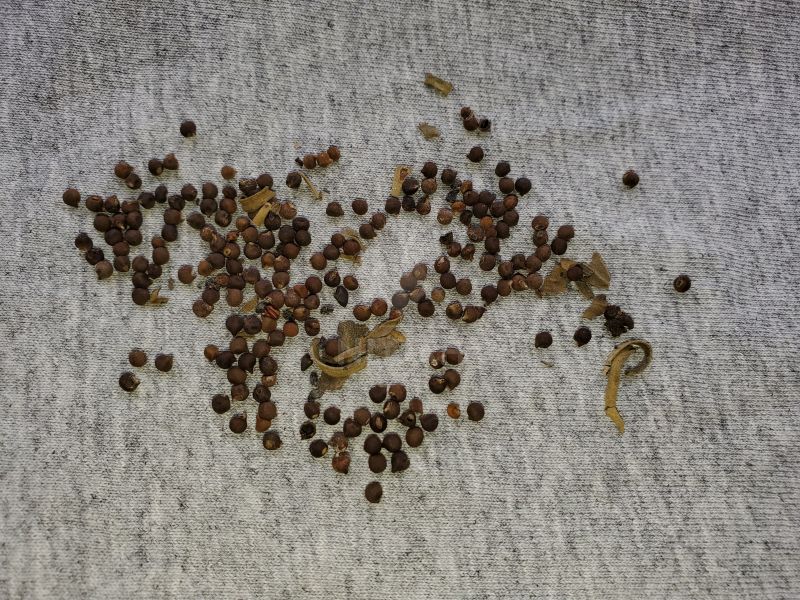
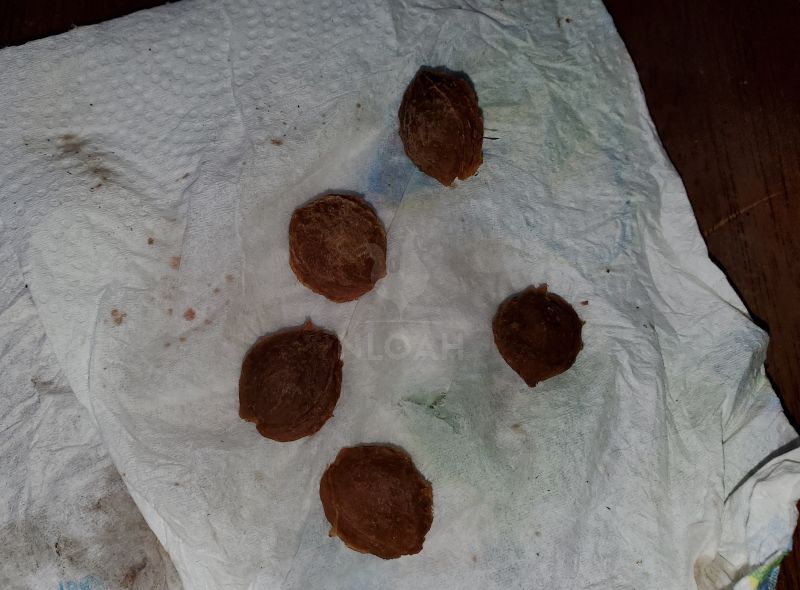
I have listed the more common edible fruit trees and their requirements. If you are growing a stone fruit such as peach, then the seed needs to be carefully removed to start.
It is much harder for the germinating plant to make its way through the hard shell.
What Nut Bearing Trees Need Stratified
If you are trying to stratify and grow a nut bearing tree you should not remove the shell from the nut. Place the whole shell and nut into the material for stratification.
- Walnuts need to be stratified in temperatures just above freezing for 90 to 120 days.
- Butternuts need to be in temperatures of around 32 to 40 °F (that’s 0 to 4 °C) for 120 days to germinate.
- Hazelnuts have to be stratified in cold temperatures for about 90 days.
- Chestnuts have a very low germination rate and therefore are hardly ever grown. However, chestnuts do require stratification and if they are going to germinate it usually takes 60 to 90 days to start growth. They need to be kept moist and checked regularly for rotten seeds.
- Pecans are easily grown through natural stratification. However, to stratify at home, the temperature should never go below 35 °F (1 °C) as that temperature is the embryo. The time can vary from as little as 30 days up to 90 days.
- Hickory needs temperatures of 40 °F (4 °C) for stratification. It takes four to five months in cold temperatures for any of the varieties to germinate.
- Almonds start to grow after being planted for a just few days. With temperatures of 34 to 40 degrees F (that’s 1 to 5 Celsius), the almond can be stratified in three weeks’ time.
- Pine nuts all require cold stratification with the exception of Siberian and Korean pine. The edible pine nut needs to be in peat moss at 33 to 36 degree Fahrenheit temperatures (that’s 0 to 2 degrees Celsius) until they are ready to be planted.
- Oak species of the burn, pin, and red oak require cold stratification. Bur oak takes 30 to 60 days in cold temperatures while pin and red oak takes 30 to 45 days in temperatures of 32 to 41 °Fahrenheit.
- Maple trees are not a nut producing breed as the trees, but they are definitely needed for maple syrup. Red and silver maple ripen in the spring and do not require stratification as the rest of the maple species do. The maple produces “helicopter blades” that drop from the trees, and that is where the seeds are at.
To properly stratify the maple seeds need to be in cold temperatures of 33 to 41 degrees for 40 to 90 days. Once the seeds start to sprout, they are ready to plant. The seed does not need to be removed from the pod that it is in to grow.
What Plant Seeds Need Stratified
Some of the more common plants and flowers need cold stratification. Nature tends to do the work for you, but if you are looking into starting your own or wanting to move your flower bed around, then you will want to know which seeds or plants you should cold stratify.
With the flowers listed here it is easier and more guaranteed to allow nature to do the work and plant in the fall as recommended and then just wait for your beds to look beautiful in the spring.
| Black Eyed Susan (Rudbeckia) | Evening Primrose |
| Hens and Chicks | Ironweed |
| Catmint | Sedum |
| Hardy Hibiscus | Fuschia |
| Chinese Lantern | Butterfly Bush |
| False Sunflower | Perennial Sweet Pea |
| Lavender | Verbena |
| St. John’s Wort | Coneflower |
| Milkweed | Prairie Violet |
| Wild Geranium | Larkspur |
This is not a complete list of seeds that need stratifying. Be sure to research your species before you start them in case of a different method that is needed to germinate them.
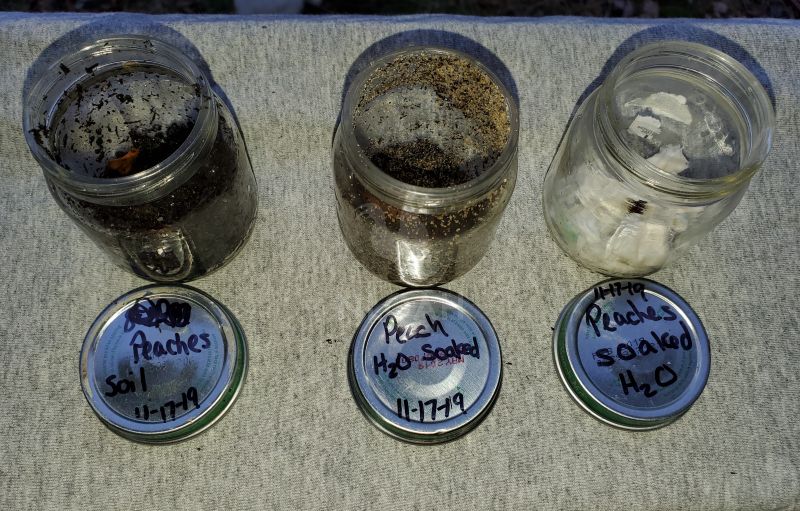
To cold stratify seeds, you must subject the seeds to cold and moist temperatures. You can use soil, sand, or wet paper towels to keep the seeds moist and in the cold.
There are a few ways to cold stratify your seeds. Any way that you choose is fine for starting seeds as long as you allow plenty of time in the right temperatures. It is important to use sterile soil for planting so you don’t introduce fungi or disease to the seeds.
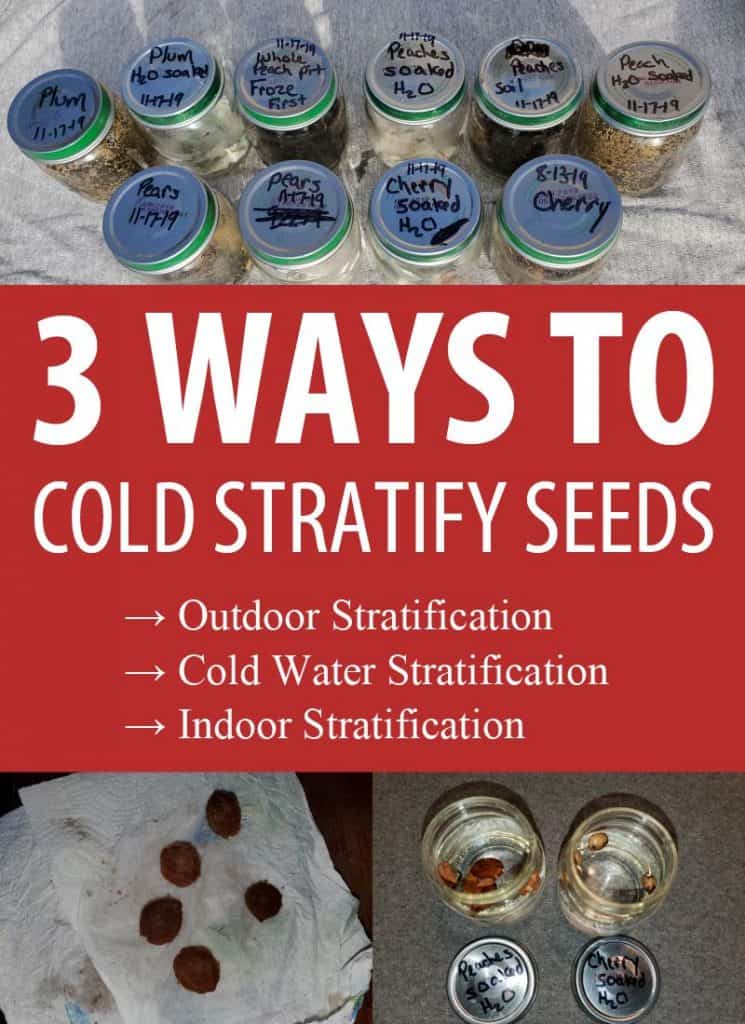
The 3 Methods to Cold Stratify Seeds
There are different methods you can do to stratify your seeds: outside directly into the soil, cold water stratification, and refrigerator stratification. Any of these will work, and you will figure out which you prefer to use to start your seeds.
Think about the way nature grows trees. The seeds fall from the trees and lay in the soil and leaf debis. When winter comes, the cold temperatures do a natural stratification allowing the seeds to germinate.
Method 1. Outdoor Stratification
You can plant your seeds directly into the soil outdoors in the fall. Simply scrape back the soil some, or dig an appropriate-sized hole. Lightly cover the seed and water lightly, and then wait. You also have the option of sowing your seeds in the winter.
This is probably the easiest way to stratify your seeds. Simply spread the seeds out directly onto the snow and you are done! The seeds can be planted directly in the ground where you wish for them to grow. Be sure to mark the location so you know where to find them the following spring.
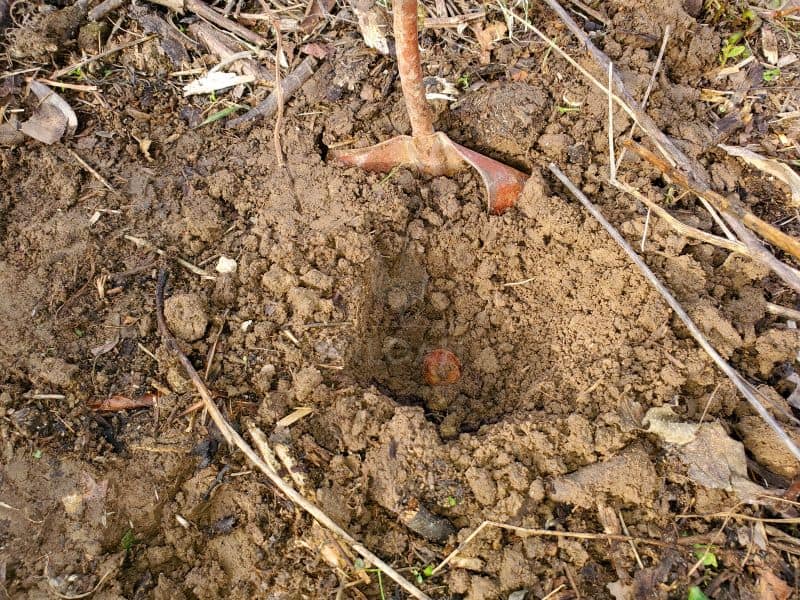
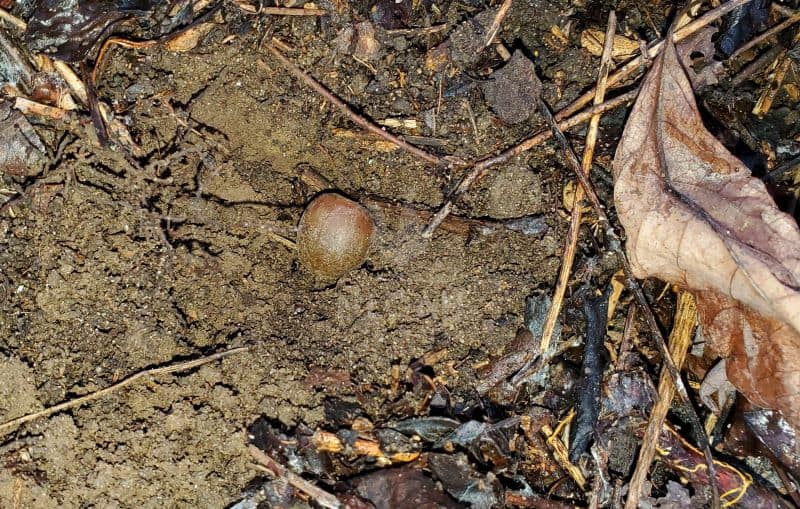
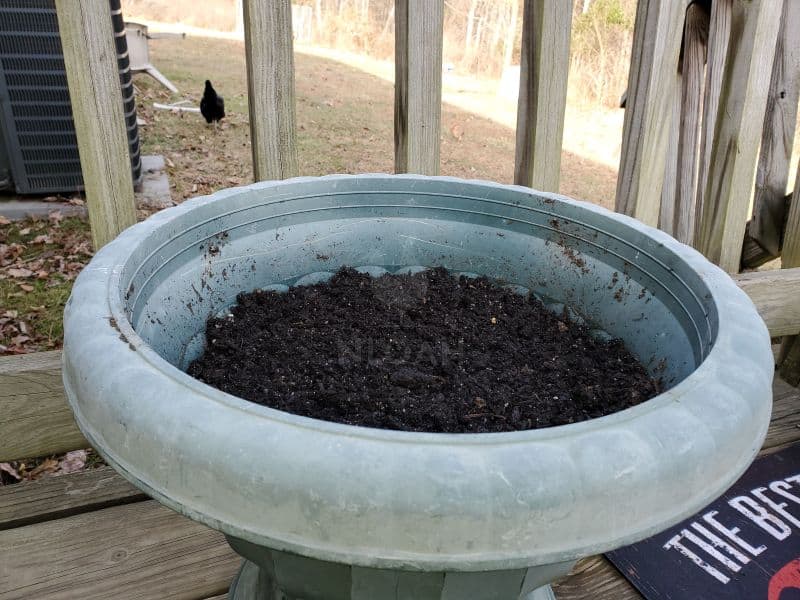
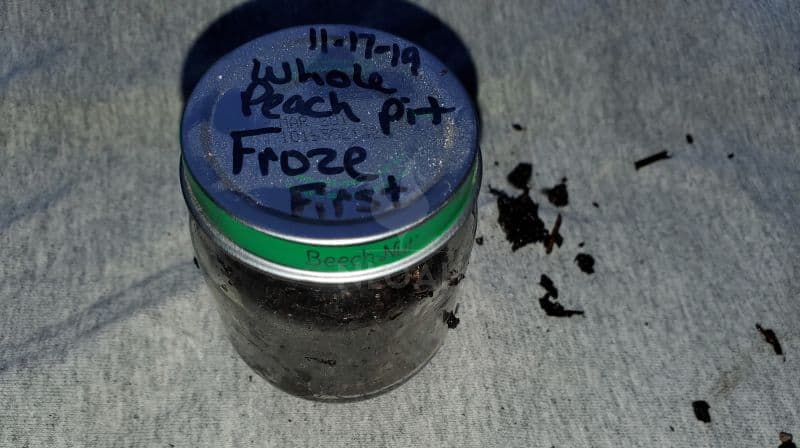
Another way to stratify outdoors is to plant in a pot of soil, and place outside during the winter. This is how I accidentally grew a peach tree. Be sure to water the seed after planting and placing it outdoors.
Also, make sure the planted seed is where it will be sure to be exposed to the cold. With planting and starting your seed in a pot you will know where your seedling is, and you can transplant it in the spring to its final location.
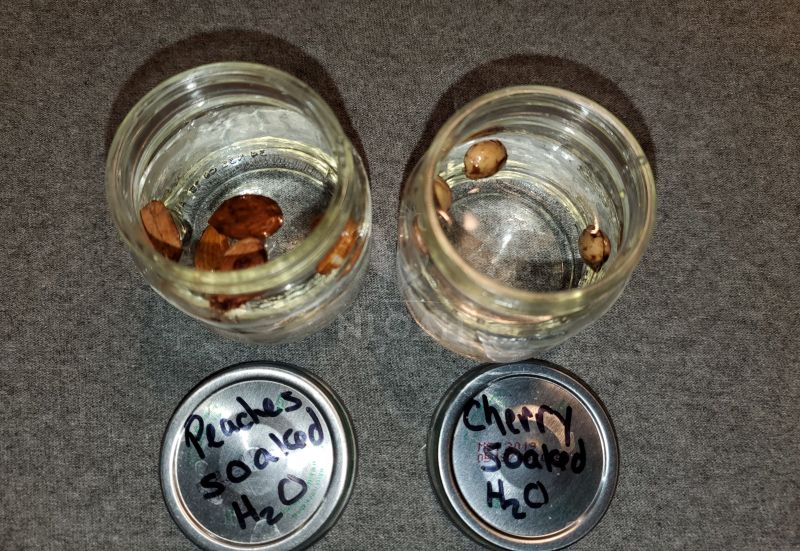
Method 2. Cold Water Stratification
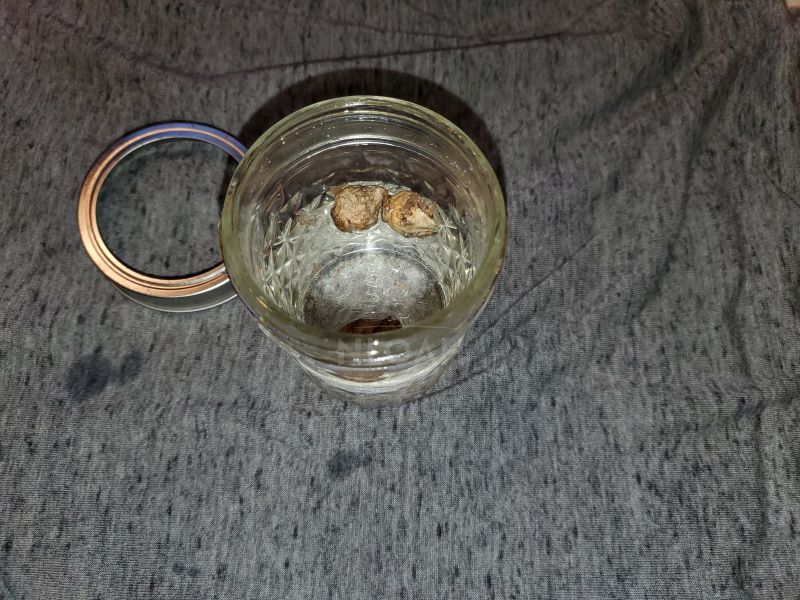
This process is the quickest way to stratify your seeds and is also known as cold moist stratification. Using cold water to stratify your seeds is easy, but it does require daily water changes.
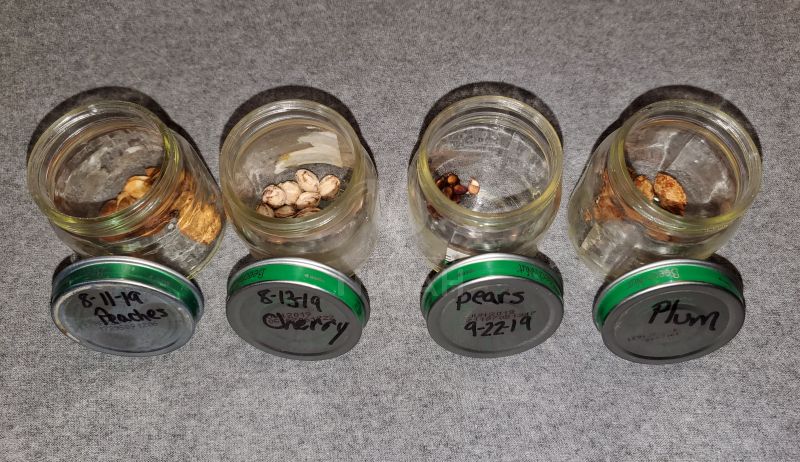
To cold water stratify, put the seeds in a jar or container, then add cold water. Place a net or cloth of some sort to drain and filter the water from the jars, and leave the seeds.
Add cold water back to the jar, then store the jar in the fridge until you change the water the next day. It’s important not to leave your jar at room temperature.
The number of days you will need to repeat this process varies depending on what kind of seeds you’re trying to stratify.
A good rule of thumb is that you should cut your stratification time in half when using the cold water method vs dry stratification. So if you typically need to stratify your seeds for 120 days, you can get away with 60 days of soaking.
Use this as an estimate – if your seeds sprout during the stratification process, take them out immediately and use this as a benchmark for the next time (don’t give them quite as much time).
Method 3. Indoor Stratification
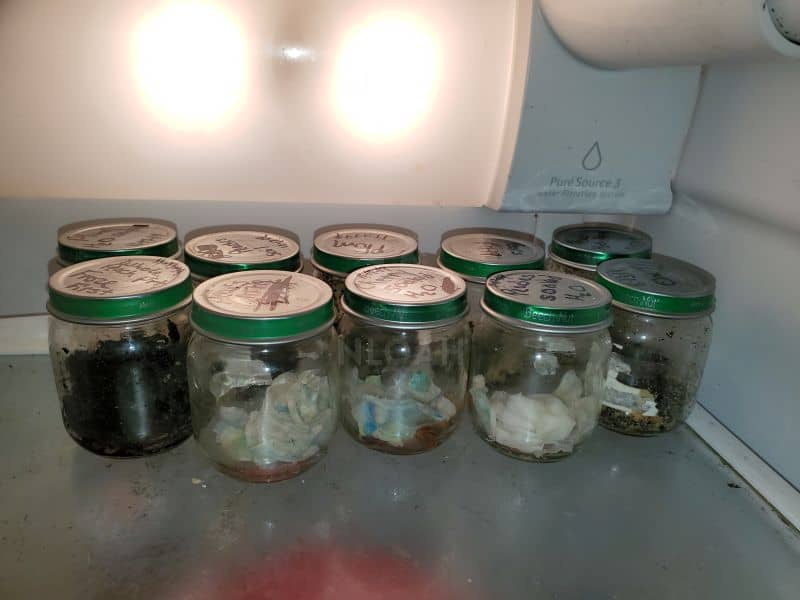
The refrigerator can be used to stratify your seeds. This is a simple process, but it does require you to do some work over time.
Step 1. Clean the seeds of any debris or of remaining pieces.
Step 2. Soak the seeds in water for 3-4 hours before starting the stratification. The seeds need to absorb some moisture to enable the changes that must take place for germination. This will speed up the stratification process.
Step 3. Allow the seeds to dry.
Step 4. Place the seeds in a glass or plastic container with a lid. I used cleaned baby food jars.
Step 5. Mix the seeds with sand, vermiculite, or peat moss, or put them inside a moist paper towel.
The damp paper towel or other damp medium will help reduce the length of time it takes for the seeds to stratify and is generally more effective than dry stratification.
Step 6. Place the lid onto the container.
Step 7. Store in the refrigerator for the allotted time to simulate stratification per species growing:
Step 8. In early spring, plant the germinating seeds outside in moist soil. The seeds should be buried no more than two to three times the length of the seed itself. Do not fertilize the soil.
The idea is to keep the seeds cold, but not frozen. Freezing the seeds does not harm them, but it is the constant coldness and changes that cause the seed to break down and germinate. Freezing the soil and the seed is just that… frozen. There are no changes happening when it is frozen solid.
Another important thing to remember is to not overwater the soil. The soil only needs to be moist. Overwatering will cause the seeds to mold or rot.
I have tried to stratify inside and outdoors, and I was more successful with the outdoor stratification. A plus for planting outdoors is that you can plant the seed, and then forget about it.
If doing so indoors, you’ll need to keep an eye on the date that you planted to be sure that you plant in the soil to allow the seed to grow into the plant. It is very important to remember to check the soil and seeds to be sure that they are moist for the stratification to occur.

Sarah Rodriguez is a homesteading wife and mother of five living in Appalachia. She grew up in a homesteading and logging family.
She and her husband Arnie work their 10-acre homestead together alongside their growing family. Sarah honed her self-reliance skills through 4-H and FFA at an early age and is now teaching her children to live off the land, raise livestock, and the importance of both sustainability and frugality.
For cold water stratification, what is the total number of days/amount of time involved? It’s nice to know that it’s the quickest way, and that it involves daily water changes, but there’s no mention of how long this is supposed to go on before the seeds can be considered stratified??
Good Afternoon Sarah,
Thank you for you insight to stratification.
I read somewhere on a cold and warm process for seeds that need cold stratification.
The method was to simulate winter spring conditions and is as follows as i remember it:
* Cold stratify in a moist towel w/ ziplock bag for a selected period of time per seeds needs
– 14 days to 3 months
– After cold stratification was achieved start the cold/warm stratification process
* Cold/Warm Stratification Process
– Cold stratify for 2 days in refrig
– Remove from refrig and at room temp, warm stratify for 1 day
– repeat steps for 2 weeks before planting inside or outside.
Have you any knowledge of this process?
Thanks and hope all is well,
Jeffrey
I want to deeply thank you! I have been racking my brain why my fruit trees are not growing. so thank you for this and the ability to save it for my personal binder of growing tasks.