
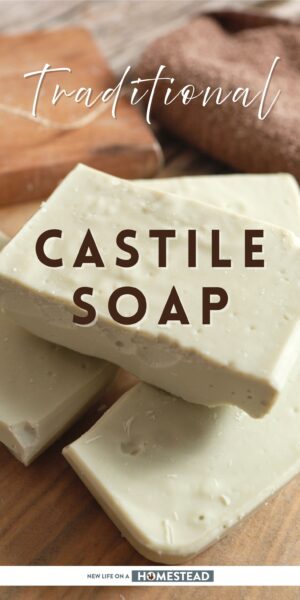
If you’re just getting started with soap making at home, or you want to try the most nourishing and gentlest soap ever, you’ve got to try Castile soap. Made from olive oil, lye and water, and nothing else, this soap is incredibly pure, super soft and a cinch to make even for beginners. Is a tremendous everyday soap, and one that I especially recommend if you have sensitive skin, allergies or other issues.

The soap cot its name from where olive-oil soap became established: Castile, Spain. It is sold in both liquid and bar forms, and is typically made from vegetable and not animal fats. Castile soap is alkaline, but the pH depends on the formulation, since there are many different soaps that are marketed as Castile soaps.
In this article I’m giving you a detailed step by step guide that will show you everything you need and what to do. We will get straight into it down below.
A Note on Lye, Water and Oil Ratios
Really quick, something I’ve got to address before people jump me in the comments. It’s difficult to pin down exactly how much of each ingredient makes the most authentic castile soap recipe.
I’ve seen everything from one to 1 to 1 for all ingredients, high water ratios of 3 to 1 water to lye and everything else in between. Don’t get caught up in all of that and instead focus on what outcomes you want from your soap. Softer, harder, easy to work with, something else?
Here we are going with a low water formula: it makes for quicker firming and curing bars that last longer because they end up denser. The mixture will also reach trace faster which I think is an important consideration considering that most castile soap recipes involve lots and lots and lots of mixing to reach trace. That also helps to ease the concerns of high lye concentration which can sometimes result in uneven saponification and other issues; we have to mix it a lot anyway because olive oil is so slow to harden.
As always, there’s more than one way to do something and keep it authentic and this recipe is as authentic as It gets. Like I said, just three ingredients, unadulterated, with no additives. I also had great success making it in the past so that is why I’m sharing it with you all now!
Ingredients
Distilled Water, 89 grams: Tap water’s a no-go as it can mess up the process thanks to all of the weird chemicals it contains, like fluoride. Stick to distilled water only for clean and dependable results.
Lye, 64 grams: Also known as Sodium hydroxide. The stuff that magically turns oil into soap. Handle it with care; it’s serious business!
Olive Oil, 500 grams: The heart and soul of castile soap. Use good-quality, food-grade olive oil for a gentle, nourishing bar.
All together you should end up with about 6 full-size bars at the end. If you want more soap or just want to make a giant batch at once like the old days, you can double, triple or even 10x these amounts.
Equipment
You will need a few special tools here, but mostly for weighing and measuring your ingredients and the temperature of the lye solution. You will also need PPE to stay safe; lye can be dangerous!
Digital Scale: Precision is everything. A postal scale works in a pinch, but a digital one’s best.
Soap Mold: A 10-inch silicone loaf mold is perfect, or you can use individual bar molds. For wooden molds or repurposed metal loaf pans, line them with parchment paper.
Stick Blender (optional but highly recommended): Makes mixing quick and easy to hit that perfect trace. Not strictly necessary, but I really think you should use one for this recipe in particular. Castile soap takes a long time to reach trace compared to other types.
Mixing Container, 1-Quart: For the lye solution. Use heat-resistant plastic or stainless steel. If you want to use glass, it must be laboratory-grade that can resist high temps.
Small Bucket, 2 to 3-Quart: For combining oils and lye. A bucket is the most traditional – and useful – option for making castile soap! Once more, stick with stainless steel or plastic for best results and safety.
Disposable Cup: For weighing the lye. Paper or plastic is fine.
Silicone Spatula: For scraping soap mix out of the bucket and into the mold. Note that you should not use this tool for cooking ever again; keep it just for making soap!
Parchment Paper: For insulating and covering the soap mold.
Cloth Covering: To further cover and insulate the soap in the mold as it sets up. An old towel is perfect, but you can use anything big enough.
Safety Gear: Non-negotiable, folks! Gloves, safety goggles, and long sleeves to protect against lye splashes. A fume mask or respirator is strongly recommended during the lye preparation phase, even in a well ventilated area. The lye solution will create significant fumes
Thermometer: To check lye temps prior to mixing. A laser thermometer “gun” is ideal, quick and effortless but a canning or candy thermometer works just fine, too.
Cutting Board and Knife: For slicing your soap into bars assuming you made a big loaf.
And that’s all there is. Not too bad. I promise the process is so much easier than all of this equipment would suggest…
Instructions
Step 1: Set up your workspace. Clear your countertop, move unneeded things away, and reduce distractions or anything that could cause an accident. Lay out all your ingredients and tools. Put on your PPE at this time so you don’t forget; gloves, goggles, respirator.
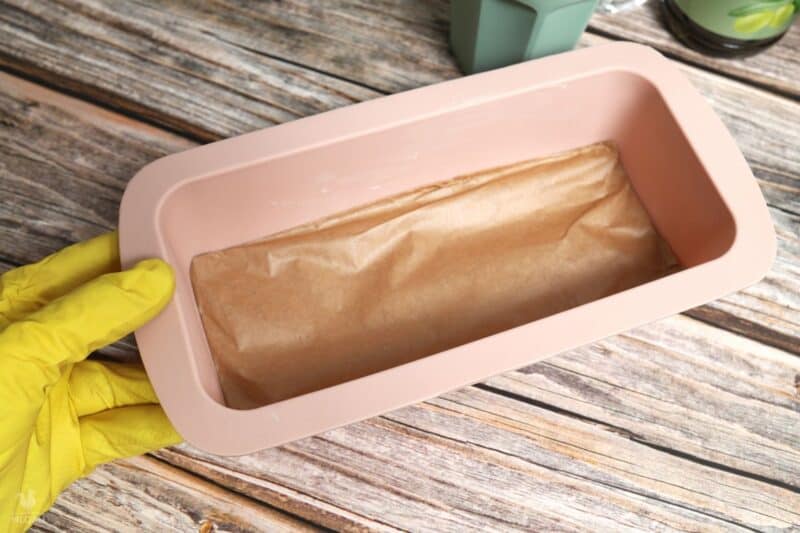
Step 2: Prep the mold. If it’s silicone, set it nearby. For wooden and metal molds or pans, line them with parchment paper now to avoid sticking later. Weäve lined ours anyway because of the way patterns at the bottom that would get imprinted into the soap design.
Step 3: Weigh water. Using the digital scale, measure 90 grams of distilled water into the 1-quart mixing container. Set it aside.
Step 4: Weigh and then add the lye to the water. Carefully weigh 64 grams of lye using the disposable cup. Slowly, carefully sprinkle the lye into the water but never the other way around! If you pour water over lye it can pop, spatter and burn you.

Mix until dissolved and totally clear, taking care to avoid the strong fumes. It’ll heat up at this point, so set it aside in a safe, well-ventilated spot until it cools to 100–120°F (37–48ºC). Keep an eye on it with the thermometer, but move on to the next steps in the meantime…
Step 5: Weigh the olive oil. Weigh out 500 grams of olive oil. Warm it gently in a microwave-safe bowl or in a saucepan to about 100–120°F (37–48ºC). Then pour it into the bucket.
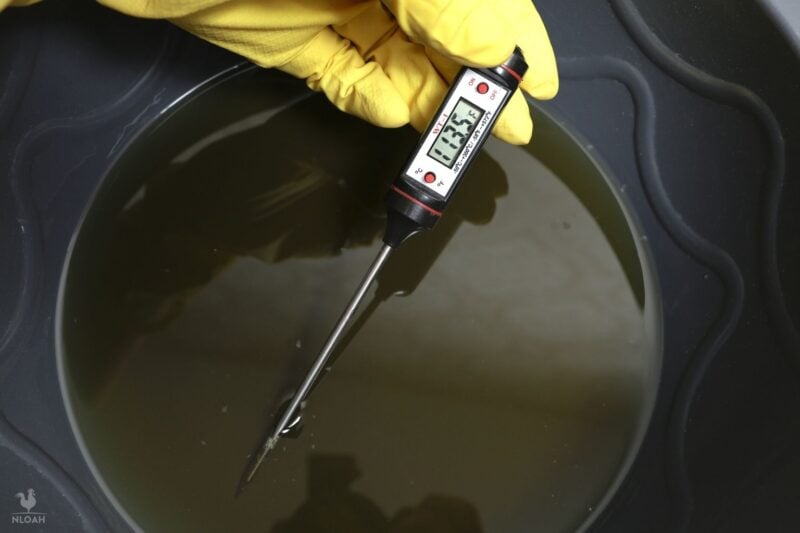
Step 6: Double check temps. Use the thermometer to ensure the lye solution and olive oil are both between 100° and 120°F (37–48ºC), and ideally within 10° of each other. Let one or both cool to within that range as needed.
Step 7: Combine lye and oil. When the temps are just right, slowly pour the lye solution into the olive oil.
Tap the stick blender gently against the side of the bucket after immersing to release air bubbles, then blend in short pulses. You’ll see the mix turn creamy and yellowish, signaling emulsion taking place. Now, keep doing it and settle in as this might take a bit.
Step 8: Reach trace. Keep blending and blending until you reach light “trace”, where the mix thickens, and when dripped sits on the surface before sinking. If it doesn’t happen, you need to keep on mixing! Castile soap takes significantly longer to trace than other kinds, so be patient and keep at it.
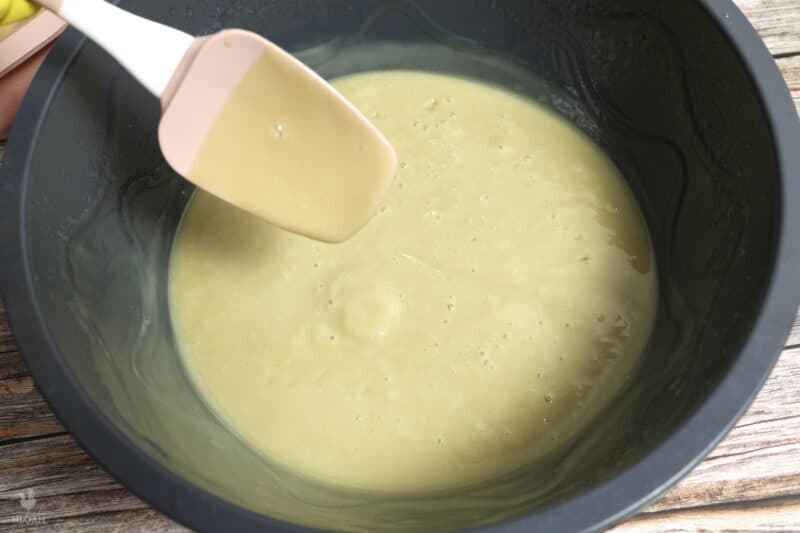
Step 9: Pour soap mix into the mold. Scrape the mix into the mold with your spatula. Once filled, carefully tap and bump the mold to release trapped air bubbles. Smooth down the top with a spatula or scraping tool. Alternately, add texture to the finished product by drawing the edge of the spatula over it or using some other tool.
Step 10: Cover mold and wait. Cover the mold with parchment paper, then drape a cloth over it. If you don’t have parchment paper, use a piece of cardboard or acrylic for extra insulation before covering with the towel. Let it sit for at least 48 hours to firm up.
Step 11: Check for cracks. Peek at the soap every few hours after you cover it up. If you spot cracking in the surface, uncover it or move to a cooler spot to promote even cooling.
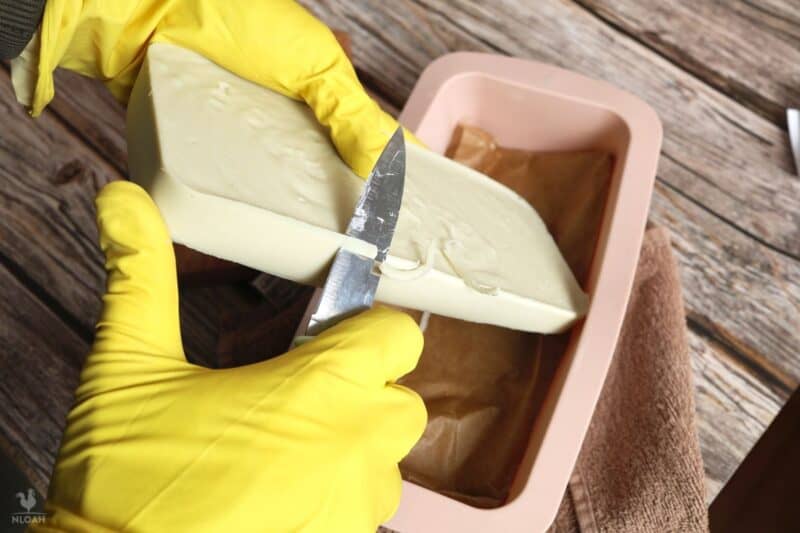
Step 12: Demold and cut as needed. After 2 days, gingerly check to see if the soap will separate cleanly from the mold. If it does, gently pop the soap from the mold. If it’s still too soft, wait another day or two and try again. If molded into a loaf, slice into bars on a cutting board with a sharp knife.
Step 13: Fully cure the soap. Set the bars in a cool, dry, well-ventilated spot on a rack or parchment. Allow 6 to 8 weeks to fully cure, turning them occasionally to promote even drying. This makes the bars harder, longer lasting and even gentler as the chemical reactions of the saponification process complete!
Step 14: Done! Your castile soap is now done and ready to use or store. Keep your bars in a cool, dry place and they’ll be ready to go.

What If Your Soap Doesn’t Set Properly?
Don’t fret, and don’t jump the gun, either. Castile soap is naturally quite soft, so if it’s mushy, you likely just need to wait longer compared to other soaps. As said, give it another day or two in the mold. If you measured everything carefully, it should be fine…
If it still isn’t coming together after several days, you might’ve messed up weighing ingredients, or you didn’t mix it thoroughly enough. Double check your scale next time. You’ll get it, I promise.
Tips and Tricks
- If desired, you can add essential oil to the recipe to add a nice aroma and additional properties, though traditional castile soap doesn’t use it. Lavender essential oil is my pick. Add between 12 and 16 grams, and add it to the mixture after it has reached trace, then mix it again.
- Castile soap is great for washing up and cleaning your baby because it is so very gentle. You’ll see it recommended for that a lot, but I always recommend you perform a pH test on the soap just to be on the safe side. 5.5 pH is considered ideal.
- Don’t get confused between castile and bastille soap. Often said to be the same thing, Bastille soap includes other kinds of oils besides just olive oil. It’s still good, for sure, but it’s not as gentle or as pure as castile! If you want to experiment with other oils you’ll be making bastille soap.

Get your gift and learn things like:
- how to make this really quick pest spray
- how to prevent egg waste
- two cheap automation devices that will make your life easier
Tom has lived and worked on farms and homesteads from the Carolinas to Kentucky and beyond. He is passionate about helping people prepare for tough times by embracing lifestyles of self-sufficiency.