Are you ready to make some blueberry jam? If you’re a homesteader, finding a way to preserve delicious easy-to-grow fruits like blueberries should be a top goal this year. Making jam is easy, inexpensive, and can help you get the most for your dollar; and if you grow your own blueberries, you can make this jam for practically nothing at all.

Blueberries are commonly grown in most parts of the United States, making this a great recipe to keep on hand. Fresh picked blueberries are also readily available year-round at most supermarkets as well. In the northeastern United States, it’s not uncommon to find blueberries growing wild, alongside patches of elderberry plants and blackberry briars. Since blueberries are so common, it should be easy to keep your pantry stocked with jars of this delicious blueberry jam all year long.
Let’s take a quick look at jams in general, and then we’ll discuss the steps you can take to make some delicious blueberry jam today.
All About The Jam
Common Types of Preserved Fruits
There are many different styles of canned, preserved fruits; each one has a different flavor, texture, or purpose. Jams, like the blueberry jam we will discuss shortly, is a thick fruit spread, usually made with crushed or chopped fruit, sugar, and pectin (we’ll discuss pectin later). The presence of fruit chunks within jam usually make it thicker and less translucent than some other preserved fruits. Jam is a popular sandwich spread, although, as we’ll discuss shortly, it has other uses, too.
Jelly is another popular fruit preserve. Unlike jam, jelly is made primarily from fruit juices, with sugar and then pectin mixed in to solidify it. The lack of fruit pulp or chunks within it makes jelly translucent; this popular sandwich spread is often noted for its beautiful, gem-like appearance.
Preserves normally consist of whole or lightly chopped fruits preserved in sugar. Fruit preserves are very chunky, and retain even more of the consistency and flavor of the fruit than jams or jelly; however, they are less easy to spread on toast or other baked goods. Fruit preserves are often used as pie or pastry fillings in many different dessert recipes, or enjoyed on ice cream.
Why Make Jam, Anyway?
Why should you make jam, as opposed to some of these other types of preserved fruits? There are several good reasons, here are a few.
- Easy to Make. The recipes for making most jams, blueberry jam included, are very straightforward and simple. There are only a few easy steps, and it does not take much effort to fill your pantry with delicious jams.
- Few Ingredients. Most jams only require fruit, sugar, and pectin to make. If you make jams when fruits are in season, or grow your own fruits, you can fill your pantry with jam jars for practically nothing.
- Jams taste great! Your family will appreciate spreading homemade jams on toast with their breakfast each morning, and will savor a lunch of peanut butter and blueberry jam sandwiches.
- When you stock your pantry, it is always good to have a wide selection of foods in it; you can only eat so many pickles, after all. Having fruit preserves like jam on hand will ensure you can vary your meal offerings throughout the year.
- Jams are often fast movers in farmers markets. Fruit jams are less common in supermarkets, where grape jelly is the most commonly available fruit preserve; if you can make jams out of fruits like blueberries, you’ll likely have popular sales items at your table in the farmers market this summer.
OK, now you know all about jam and why it’s a good deal to have it on hand. Let’s look at the equipment and ingredients you’ll need to start making some blueberry jam in your kitchen right away.
Gathering The Equipment and Ingredients
The equipment listed here will enable you to prepare a batch of blueberry jam in your kitchen today. It will also allow you to preserve that jam through the water bath canning process, so you can store it all I n sealed mason jars at room temperature for up to one year. Let’s take a look at the equipment you’ll need for this blueberry jam recipe.
Equipment For Canning Blueberry Jam
Here are the items that you’ll need to make some delicious blueberry jam:
- Boiling Water Canner A boiling water canner is a large pot that is used to sterilize canning jars, and then preserve the jars of blueberry jam through the water bath canning process.
- Canner Rack. A canner rack is a removable wire frame with handles that sits inside your boiling water canner. It allows you to safely insert and remove batches of canning jars into hot water. Most boiling water canners come with a rack, but you can buy them separately if need be.
- Seven To Eight 8-Ounce Canning Jars, With Lids And Rings. You’ll use these small jars to preserve your blueberry jam, so you can store it at room temperature in your pantry for up to one year.
- One Large Saucepan And One Small Pot. You will cook all of your ingredients together in the saucepan to prepare the blueberry jam. You will use the small pot to boil and sterilize the lids to your canning jars.
- One Measuring Cup. You will use one the measuring cup to carefully measure all of the ingredients in this recipe.
- One Tablespoon. You will use a tablespoon to measure the pectin you add to your blueberry jam.
- Two Large Bowls, And One Small Bowl. You will need one large bowl, preferably a sturdy mixing bowl, to crush your blueberries into a chunky pulp for the recipe. You’ll need a second bowl to measure out all of the sugar in this recipe, so you can rapidly add it all at once to the rest of the ingredients when the time comes. Finally, you will use the small bowl to put your lime zest and juice in, so you can quickly add it to the recipe when the time calls for it.
- One Colander Bowl. The colander will allow you to wash the blueberries prior to crushing them.
- Potato Masher. You will use a heavy-duty potato masher to crush your blueberries.
- Food Grater. You will use the food grater to zest the lime in this recipe.
- Spatula And Funnel. Fruit preserves like jams are very messy and tend to get all over everything. Using a small spatula and funnel will help you get all of the blueberry jam into the jars when the time comes, and keep it off your stove, counters and tabletops. The spatula will also help you ensure your jars are fully packed with jam, and that there are no air pockets.
- Most jam recipes like this one require you to keep stirring the mixture at all times while it cooks. You’ll use a sturdy whisk to do that with this blueberry jam.
- Small Strainer. If any foam appears on your jam while cooking it, you can use a strainer to remove it.
- You’ll transfer your jam from the saucepan to your jars with a small ladle.
- Large Towel. After you process your canning jars, you will place them in a quiet, draft-free corner, and cover them for 24 hours with this towel.
- Small Towel. You’ll use a small towel to wipe off your jars and lids; this will help ensure you get a good vacuum seal, so you will be able to store the conserve at room temperature for up to a year. Jams and jellies tend to get all over your jars, regardless of how neat you are trying to be, so wiping down the jar mouths is really important with this recipe.
- You will need something to help keep track of time (boiling times, canning processing times, etc.) while you make and preserve your pickled garlic.
Optional Canning Equipment
There are additional items you might want to have on hand as well for this recipe. While they are not essential, they can help make the entire canning process easier.
- Magnetic Lid Wand. It should be clear by now that making jam can be a bit messy. A magnetic lid wand will let you grab hot jar lids and move them where you want them, all without contaminating them with your hands. Which will probably be sticky with jam now matter how many times you wash them while making this recipe!
- Jar Lifters. A jar lifter is basically a set of wide pincers that enable you to grab hot canning jars and move them into and out of places that are too hot to touch.
- Labels And Markers. If you can on a regular basis, it is a good idea to label your canning jars, and put a date on when you processed them. TJams often look the same, so labelling them will help you know which jar you are grabbing out of the pantry. You will also know which cans are getting closer to their expiration date if you have a good labeling system, too.
You can shop online for most of this equipment, it is all readily available. If you plan to can fruits and vegetables on a regular basis, it is a good idea to just take the plunge and buy a canning kit. It has everything you need in it to start canning, except the jars and ingredients. Most supermarkets and hardware stores are fully aware of canning’s popularity right now, and stock jars and other canning equipment. Small, “mom and pop” local hardware stores are often really good places to pick up a wide variety of canning supplies, too.
If you are new or inexperienced canner, you should also try to find a more experienced person to show you the ropes. Read as much as you can on the subject, too; there are great books available on canning, and the United States Department of Agriculture provides terrific, authoritative food preservation information as well. Finally, when you are first starting out as a canner, follow all recipes to the letter; this will ensure you safely preserve all the delicious food you stock in your pantry.
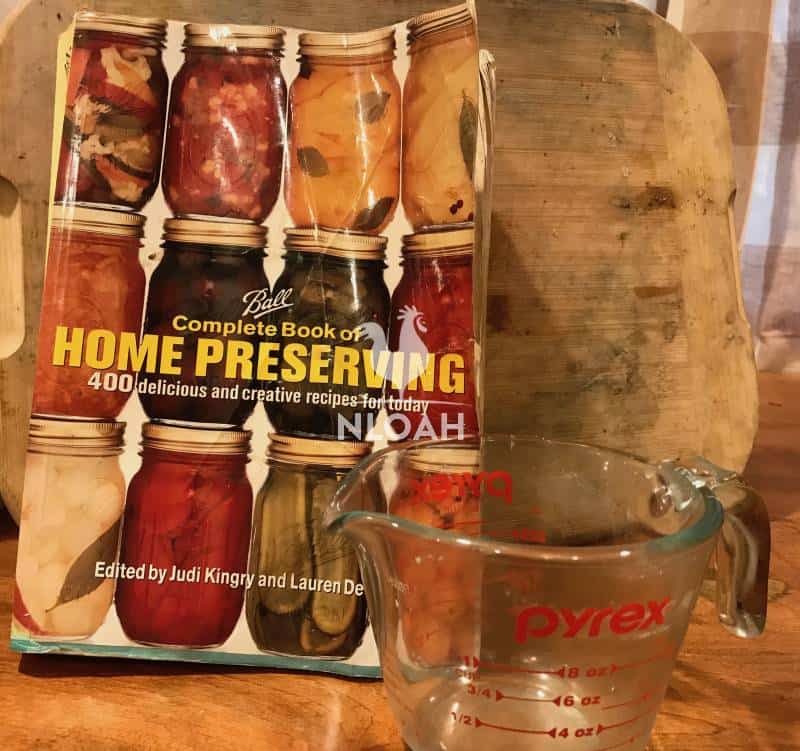
PHOTO: The author’s well used copy of Ball’s Complete Book of Home Preserving. A great book for any canner’s library!
Assembling The Ingredients
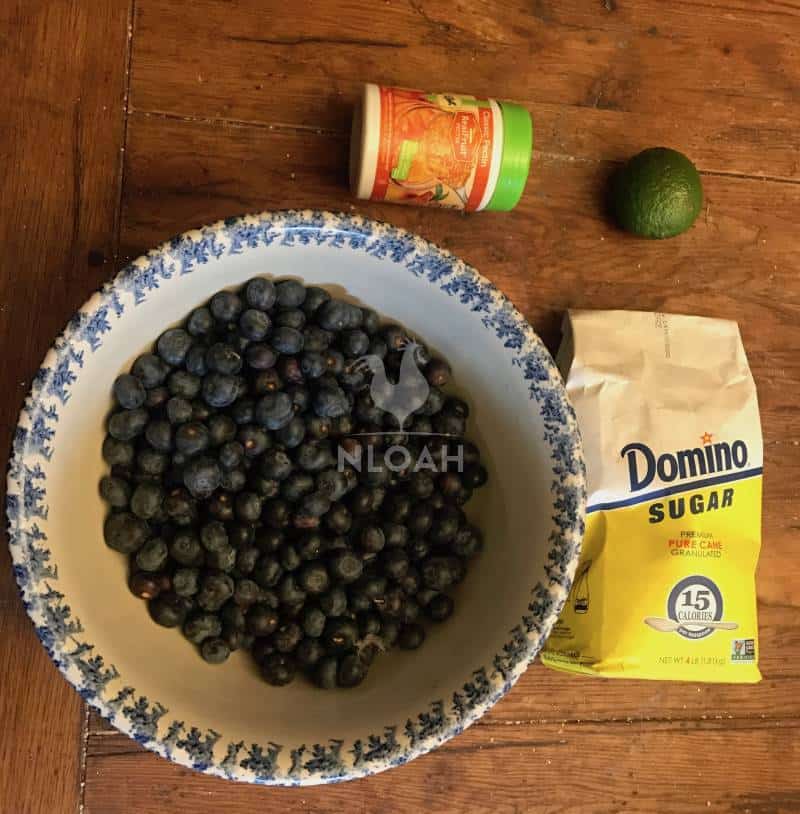
PHOTO: All the Ingredients you need to make some delicious blueberry jam today!
This recipe makes about seven 8-ounce jars of blueberry jam. Here is what you’ll need:
- 5 Cups Of Crushed Blueberries Try to find the freshest blueberries available for this recipe; pick them yourself if you are able to get out to a local field (or have them growing on your homestead). Also, note that the recipe calls for crushed blueberries. In order to make 4.5 cups of crushed blueberries, you will need to start with about 9 cups of fresh blueberries.
- 1 Large Lime. You will use the juice and zest of the large lime to add a zing of citrus flavor to your blueberry jam. It also introduces additional acid to the jam, which will aid in the preservation process.
- 2 Tablespoons Of Pectin. Pectin is a type of starch made from plant matter. Adding it to jams helps them to “set”, and become more solidified. Adding pectin to a jam recipe also helps to shorten the recipe’s overall cooking time, and helps to preserve the delicious flavor of the blueberries.
- 5 Cups of Granulated Sugar.
When you are preserving blueberries or other fruits as jams or jellies, follow the recipe directions closely. Failing to do so could ruin the flavor or texture of the jam; it could also pose a safety hazard as well. New and inexperienced canners in particular should adhere closely to canning recipes. Finding an experienced “canning buddy” is one of the very best ways to get started with food preservation. However, in the absence of an experienced canner, pay close attention to whatever canning recipe you are following.
And if you are an inexperienced canner, you definitely picked the right recipe to start with here today; blueberry jam is pretty easy to make!
So if you have all your equipment and ingredients handy, let’s look at how you can start making some blueberry jam right now.
Step 1: Sanitize Everything
Starting with clean equipment is the best way to ensure a safe canning process, and to end up with the best tasting blueberry jam ever.
Fill your boiling canner with water, and place it on high heat until the water boils. Then, place your 8-ounce canning jars on the canning rack, and lower them into it. Make sure the jars are completely submerged in the canner, and then boil them for at least ten minutes. Simultaneously, place your canning lids in the small pot, cover them in water, and boil them for at least ten minutes as well.
Remove your jars from the canner once they’ve been sterilized, and set them aside to dry out. Use caution when removing the canning jars; do not let a jar with scalding hot water tip and spill on your foot. You can leave the lids in the pot until you’re ready to use them.
Clean all of the other equipment – spoons, ladles, saucepan, bowls, ladles, whisk, etc. – thoroughly, and set them aside. You should consider buying a good sanitizer, like Star San, to get your equipment as clean as possible.
Step 2: Wash and Crush Your Blueberries
Place all of your blueberries in the colander, and rinse them thoroughly. Remove any stems, leaves, or other detritus from them (especially if they were freshly picked); once they are clean, transfer them a handful at a time to the large mixing bowl. Remove any discolored or overripe berries as you are transferring them, you only want to use healthy, fresh blueberries to make your jam.
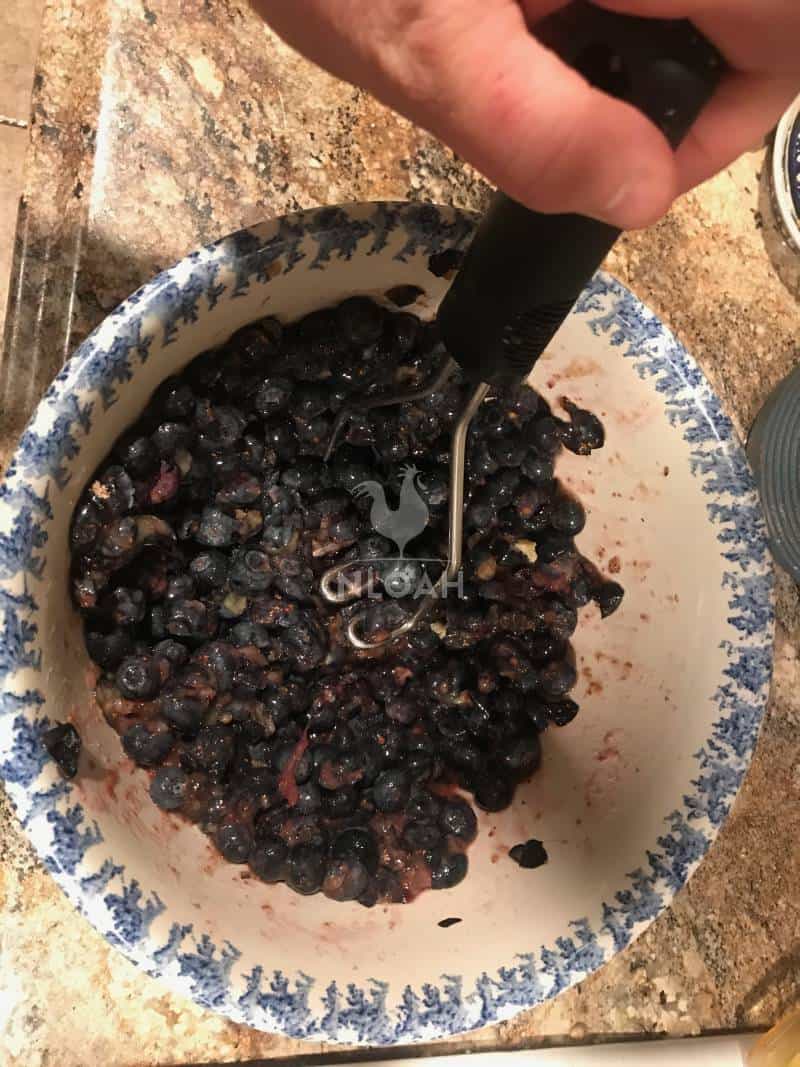
PHOTO: Crush the blueberries with a sturdy potato masher
Once you have transferred all of the blueberries to the large mixing bowl, it is time to crush them! In a rapid motion, press down hard on the mass of blueberries with your potato masher, mix them around a bit, and mash down hard once again.
Take care to ensure you don’t get blueberries all over your kitchen while you complete this step. It should take you 5-7 minutes to crush the blueberries sufficiently. You want to be left with a dark blue, pulpy, mixture, roughly the consistency of oatmeal. Remember, this is a jam, so having a thick, chunky consistency is desirable here. Once you are done crushing your blueberries, set them aside
Step 3: Zest And Squeeze The Lime
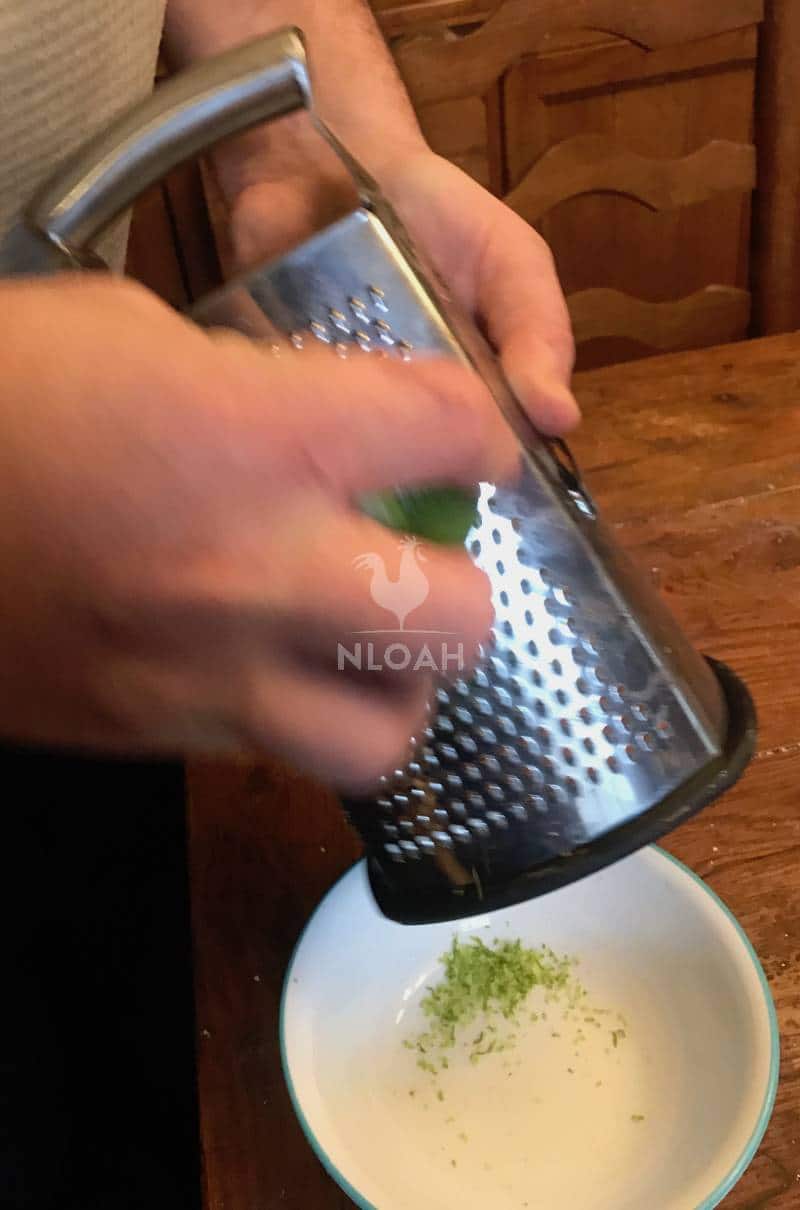
PHOTO: Zesting the lime
Using your food grater, carefully grate the lime’s outer peel into your small bowl. You only want to remove the thin layer of the outer peel, the zest, while doing this; the lime’s white, inner membrane will impart a bitter flavor if you add it to your blueberry jam.
Once you’ve removed all of the lime’s zest, cut it in half, and squeeze all of its juice into your small bowl as well. Once you are done, set the bowl with the lime zest and juice aside for a moment.
Step 4. Measure Out Your Sugar
While cooking your blueberry jam, you will need to add your sugar all at once; this allows you to cook the overall jam for a minimum amount of time, which preserves its flavor. In order to have your sugar ready to add all at once, measure out five cups of it, and place all of the sugar in a large bowl. Then, set that bowl aside for a moment.
Step 5. Cooking The Mixture.
Place your saucepan on a burner and set it to high heat. Add your crushed blueberries, lime zest, and juice, and use the whisk to mix them all together. Then, add two tablespoons of powdered pectin to the saucepan as well, and whisk it into the mixture. Stir the mixture frequently, making sure the pectin dissolves. Keep stirring frequently, until the mixture begins to boil.
When the mixture begins to boil, pour the entire bowl of sugar into the saucepan all at once, and use the whisk to quickly mix it in with the rest of the ingredients. Continue stirring the mixture frequently, and let it all heat to a hard, rolling boil. Boil the entire mixture for one full minute, then remove it from the heat.
Step 4: Packing The Jars
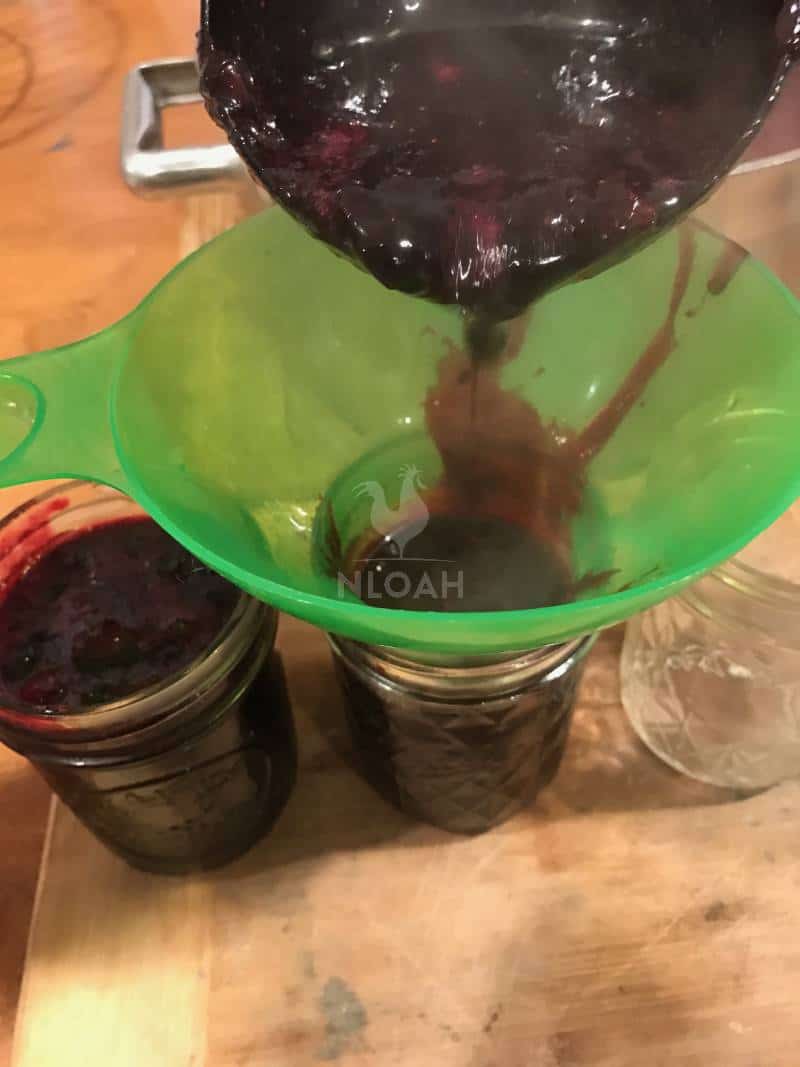
PHOTO: Ladling hot blueberry jam into the 8-ounce jars
Move the saucepan with your blueberry jam, along with your canning jars, to a place where you have enough space to move around and work with them. A dining room table or decent countertop will work for jar packing. You may want to put an additional tablecloth or towel down beneath your work area, since spilled jam is a sticky mess.
Line up your jars neatly, so they will be easy for you to handle and pack. Place your canning funnel on the first 8-ounce jar. Then, using your ladle, load the first jar with the blueberry jam, up until it is filled up to approximately ¼ inch from the jar’s opening. Use the spatula to gently ensure the jar is sufficiently packed with jam; remove any air pockets that may have formed when you packed the jar as well. Repeat with each successive jar, until all of your jars are filled.
You may wind up with more or less than seven 8-ounce jars of blueberry jam when you finish packing the jars. However, only move on to the next step with jars that are completely filled with the blueberry jam. If you have any remaining jam that cannot fill an entire jar, refrigerate it and eat it like any other perishable fruit. Once it cools down in your refrigerator, put it to good use as a sandwich spread right away!
Once all of your jars are filled, use your small towel to wipe off the rims of your canning jars. You’ll almost certainly have some jam stuck to the jar rims, unless you are the neatest canner ever! Ensure you remove all of it, or your jars will not seal correctly. Wipe away any jam that may have spilled onto the outsides of the jars, too.
Use your magnetic wand to grab a sterilized lid, and place it center of mass on the top of our first filled jar. Grab a ring and screw it on carefully, until you meet a slight resistance. Each lid that you screw on should only be “finger tight.” Repeat this process with each jar of blueberry jam, until all of them have lids.
Here is a video demonstrating how to place the lids on canning jars:
Step 5: Processing the Jars
Once you have placed all of the lids on your blueberry jam jars, it is time to process them. Heat processing will preserve your jam so that you can store it in canning jars at room temperature, and consume it at a later date. There are two components to this when it comes to canning, both of which are accomplished by boiling your glass jars: first, the boiling destroys any harmful microorganisms in the jars; next, boiling the jars, with their metal lids, help creates an airtight vacuum seal. After successful processing, your blueberry jam can be stored in your cupboard or pantry for up to one year.
To process all of your 8-ounce jars, place them on the canner rack. Then, carefully lower the rack back into your boiling water canner. Be careful, the water may still be very hot from when you sterilized your jars earlier. Make sure that all of the jars are upright; use your spatula or jar lifter to set any jars straight that accidentally tip over. Also, ensure that there is at least one inch of water covering all of the jars’ lids inside the canner; add additional water if there is not enough.
Once your canner is filled, set the heat to high. Bring the water inside to a rolling boil, and let it boil covered for ten minutes. After ten minutes, turn off the heat, remove the lid from the canner, and let everything set for at least five minutes to cool down.
Step 6: Cooling and Inspecting the Jars
After five minutes, carefully remove the canning rack with the 8-ounce jars of blueberry jam from the boiler. Using your jar lifter or small towel, move each jar to a cool dry place, away from any drafts. Place all of your jars together, and then cover them all with a large towel. Let the jars sit like this for at least twenty-four hours.
At this point, you will likely begin hearing loud “POPS” from some of the jars; this is a good sign, indicating that a lid has inverted downward, and the jar has successfully vacuum sealed.
After twenty-four hours, remove the towel, and inspect each of your jars of jam for a vacuum seal. A sealed lid will be concave (curving downward into the jar). To check further that each jar sealed, press lightly down on the center of the lid; it should have no “give” in it. Any jar that has not vacuum-sealed effectively will allow you to press it down significantly, like the “Home” button on a smartphone.
If you find a jar that has not sealed successfully, you can attempt to repeat the processing techniques described in Step 5. However, it is likely that you have a defective lid; it may be better to just refrigerate this particular jar, and consume it immediately. All of the jars that vacuum-sealed successfully can be stored at room temperature in a cupboard or pantry for up to one year.
Keep in mind that once you break a seal and open a jar of blueberry jam, it must either be consumed immediately or refrigerated. You cannot seal the jar back up and store it at room temperature once it’s been opened.
Here is a video showing a canner making blueberry jam from start to finish:
Enjoying The Jam!
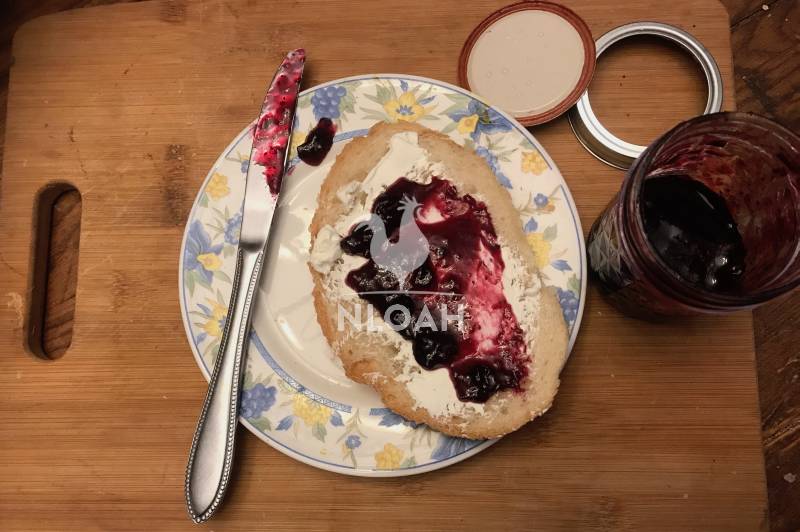
PHOTO: It’s time to enjoy your blueberry jam!
You can get a lot of mileage out of your blueberry jam. Sure, it is great on an English muffin or bagel in the morning. And yes, you can add some jam to liven up a peanut butter sandwich. But you can also use your jam in other ways, too.
Meat Glaze
Try using your blueberry jam as a glaze on ham or poultry dish, especially wild game like pheasants or quail. It can add unique flavors to an otherwise ordinary meal.
Tasty Filling
Blueberry Jam can make a tasty filling to homemade pastries and cookies. You can also use it as a fruity layer within your favorite cake recipe as well.
Spice Up Plain Dairy Products
If you have plain yogurt or cottage cheese on hand, try mixing some of your blueberry jam in; it will turn a boring snack into a real treat.
Sweeten Up a Smoothie
The next time you make a fruit smoothie, try adding a tablespoon of your homemade blueberry jam. It will sweeten the smoothie right up, and turn it into a real dessert!
Closing Thoughts
Blueberry jam is a tasty treat, and it is easy to make. This versatile jam is versatile, popular, and can be made year-round. So get your ingredients, prep your equipment, and make some delicious blueberry jam today!
When Tom Harkins is not busy doing emergency repairs to his 200 year-old New England home, he tries to send all of his time gardening, home brewing, foraging, and taking care of his ever-growing flock of chickens, turkey and geese.
Excellent instructions! Thank you for sharing your expertise. Can’t wait to taste it later today!