
It seems like everyone is coming around to the notion that plastic can be bad news. With so much in our daily lives being made of plastic, including the things we use in the kitchen and packaging that’s constantly in contact with our food, long-term toxicity from microplastics is a hot-button topic.
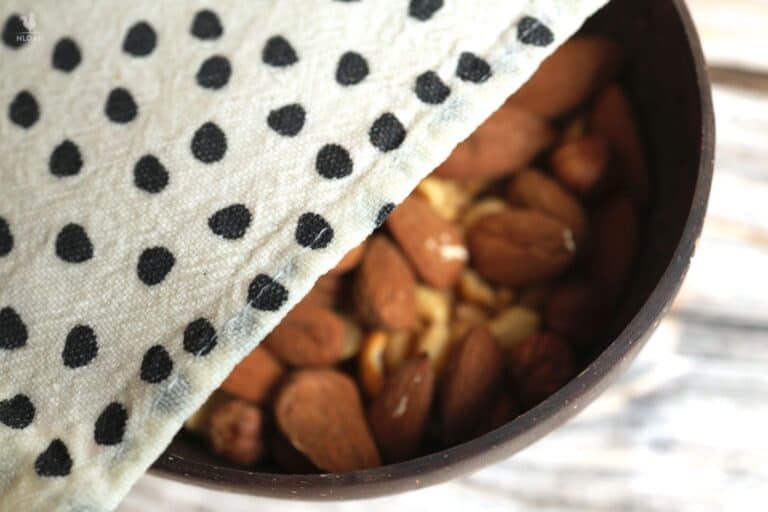
Accordingly, my family and I are doing everything we can to move away from plastic products. It’s easier to give up some things than others, like my precious press-and-seal plastic wrap! I’ve used countless rolls of the stuff, but no longer.
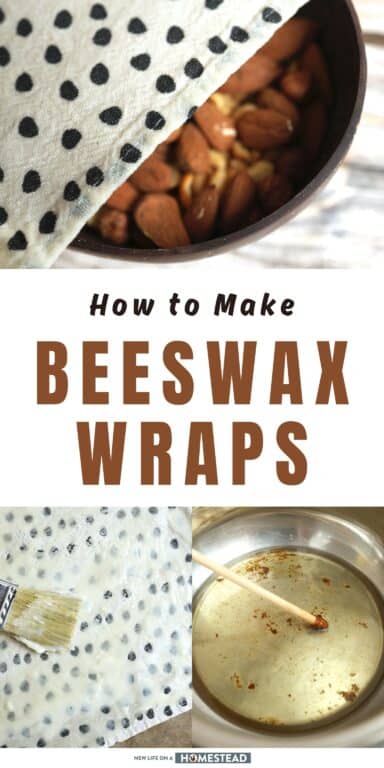
I heard about an awesome idea from Mountain Rose Herbs that uses nothing but cotton cloths, beeswax, and a few other ingredients to make completely organic and completely food-safe wraps.
The project turned out too easy and too cute, and these eco-conscious and health-friendly wraps are the perfect project for a lazy afternoon. I’ll take you through the whole process below if you want to make a set for yourself!
What You’ll Need
- Cotton Cloths: thin, preferably organic cotton cloths. You can use scraps that are suitably sized for your dishes or cut a larger piece down to size.
- Beeswax: pellets or grated is fine; just make sure it is pure beeswax and organic for best results. You’ll need about four parts beeswax to every one part pine resin. The recipe from Mountain Rose Herbs that I followed calls for about 1 1/4 oz.
- Pine Resin: you can harvest pine resin yourself or get it from a trusted supplier. Make sure you’re getting resin, though, and not oil. You’ll need one part for every four parts beeswax, or for this recipe about a third of an ounce.
- Jojoba Oil: not something you probably have on hand, but it’s easy to get online or from most retailers that sell candle supplies. Use one tablespoon for every four parts beeswax.
- Double Boiler: a double boiler makes the whole process really, really easy, but if you don’t have one you can use a small pot or a glass measuring cup placed inside a saucepan for the same effect.
- Baking Sheet
- Measuring Cups and Spoons
- Wooden Spoon or Stir Stick
- Parchment Paper
- Brush: a clean but disposable paintbrush works best for applying the beeswax.
- Clothespins and Drying Line: you’ll need to hang your finished cloths somewhere to dry.
Step-by-Step Instructions
Step 1: Wash and dry fabric. You can use scrap fabric, but it needs to be clean and totally dry. You shouldn’t use any that has been contaminated by harsh chemicals or other oils.
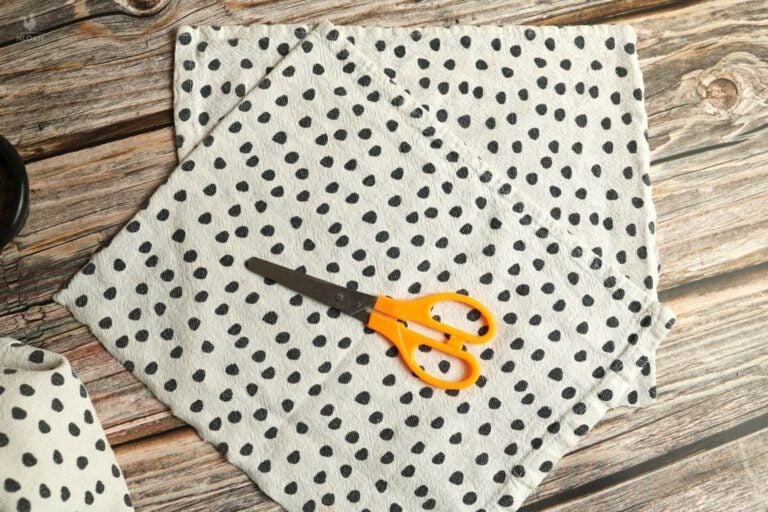
Step 2: Cut fabric down to size, if needed. This process will work with any size cotton fabric. If you’re working with a larger sheet, cut it down to the appropriate sizes you need.
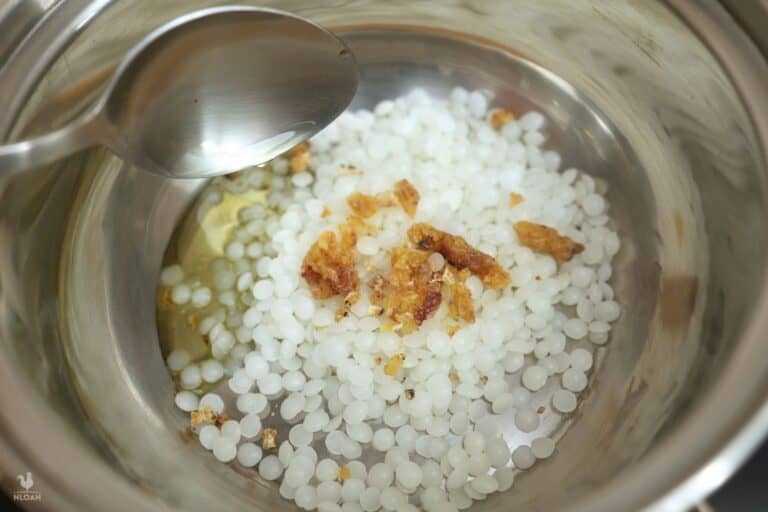
Step 3: Combine beeswax, pine resin, and jojoba oil in the double boiler. Make sure you portion and measure everything carefully. A precise ratio produces a superior product and more effective wraps!
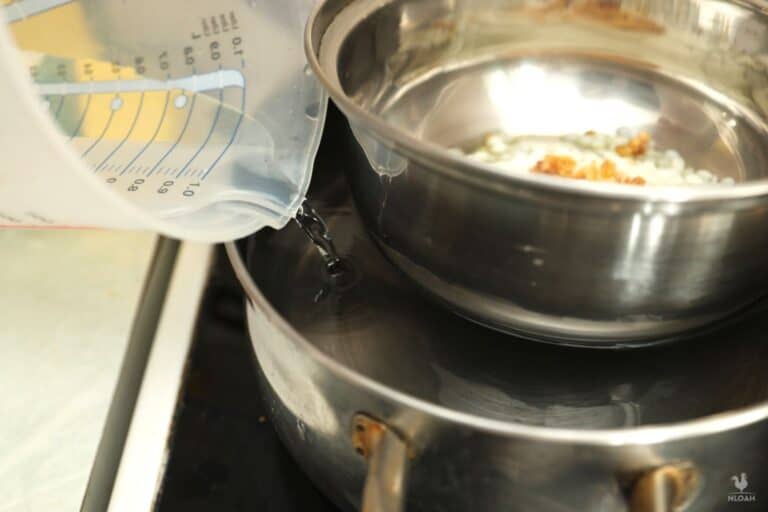
Step 4: Add water to the double boiler and simmer, stirring occasionally. Fill the outer vessel of your double boiler (or your larger pot) with water until the ingredients in the inner chamber or smaller pot are below the water line. Turn on the heat to bring the water to a simmer. Stir the ingredients with your wooden spoon or stirring stick as they begin to melt.
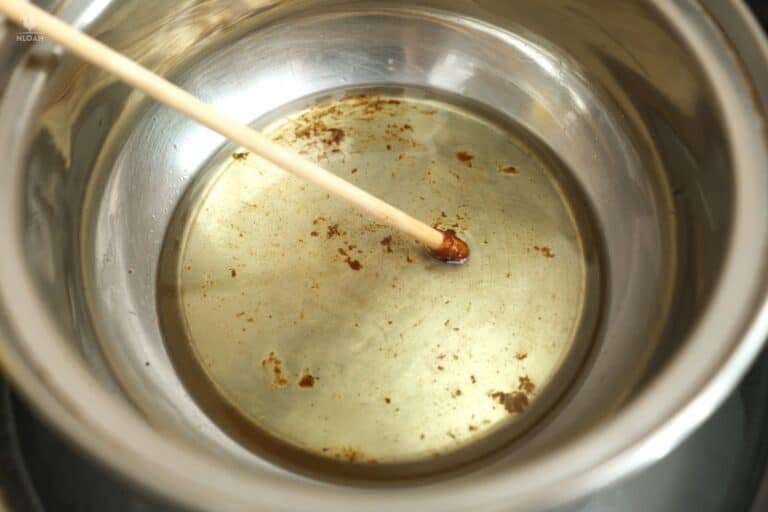
Step 5: Continue until ingredients are combined; preheat oven. Watch the heat and keep stirring until the wax, pine resin, and jojoba oil are completely combined. At this point, turn on your oven and preheat it to 300°F / 150ºC.
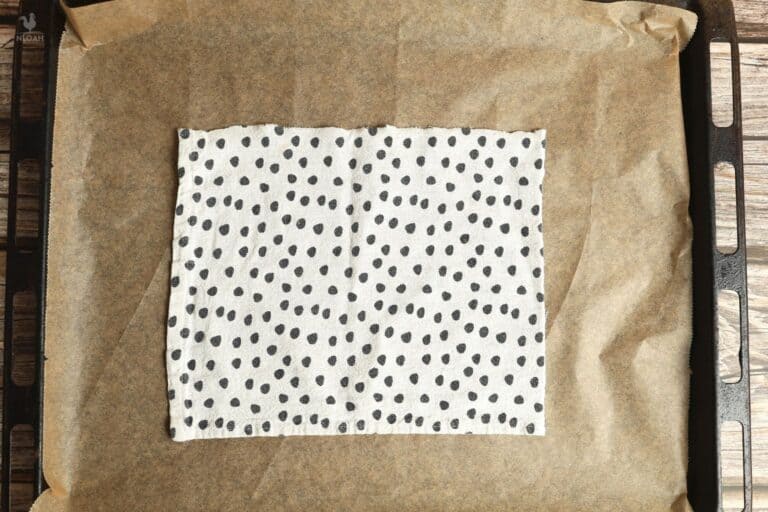
Step 6: Place parchment paper on the baking sheet and lay out fabric. Cover your baking sheet with parchment paper and lay out your fabric on top of it.
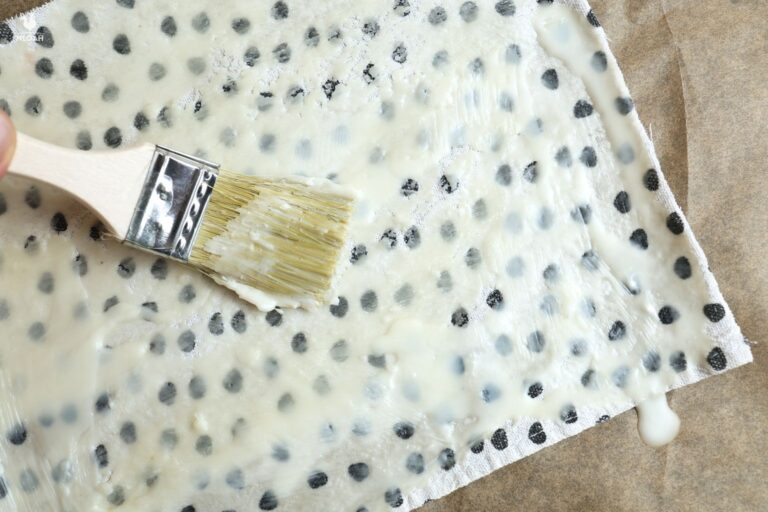
Step 7: Brush beeswax mixture onto one side of the fabric. When the mixture is completely incorporated, use your brush to apply it to the cloths you placed on the baking sheet. You want to saturate each cloth, but you don’t want it sopping wet with the wax mixture.
You only need to do this on one side of the fabric, not both. The side that will cover your bowl of food doesn’t need to look fancy.
Step 8: Bake until fabric looks wet. Pop the baking sheet into the oven for 2 or 3 minutes. Watch for the fabric to look conspicuously wet; that’s when you’ll know it is done!
Step 9: Check for even application; reapply as needed. Pull the baking sheet out of the oven and inspect the individual cloths. If any of them look dry or unevenly saturated, apply more of the hot wax mixture using your brush as before. Then pop the sheet back in the oven for another couple of minutes.
Step 10: Hang finished wraps up to dry. Once the cloths look good and are fully impregnated with the beeswax mixture, carefully transfer them to a line and hang them up with clothespins so they can dry. You can also lay them flat – if you have the space. This should only take 15 minutes or so.
Step 11: Repeat the process until the batch is finished. Start this process all over again with any remaining cloths. Take the second piece, the one you just applied on the first piece to soak up the extra beeswax and go back to step 7 (brush beeswax evenly, bake for a few minutes, etc.)
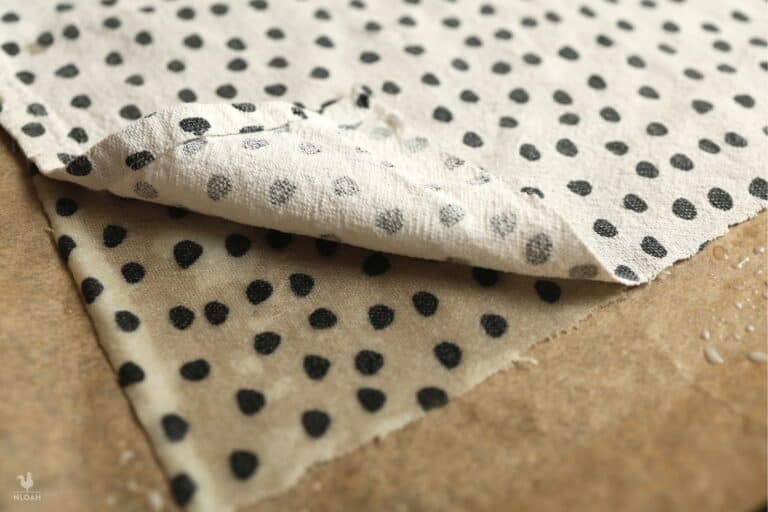
Pro Tip: Use Other Cloths to Soak Up Excess Wax
If you’re making multiple batches of cloths and wind up applying too much beeswax mixture to one, simply use one of the fresh cloths to soak up the excess (see photo just above). You can finish it in the next batch, and this way you won’t waste any wax!

Get your gift and learn things like:
- how to make this really quick pest spray
- how to prevent egg waste
- two cheap automation devices that will make your life easier
Tom has lived and worked on farms and homesteads from the Carolinas to Kentucky and beyond. He is passionate about helping people prepare for tough times by embracing lifestyles of self-sufficiency.