
Sterilizing canning jars can be an important part of the canning process. Look around the Internet and you’ll see several methods being touted over and over again. This can lead to confirmation bias: you just assume they are all fine to use… but with canning, a lot of the advice out there is not safe and can lead to failed jars, spoiled food, and, you know what happens next.
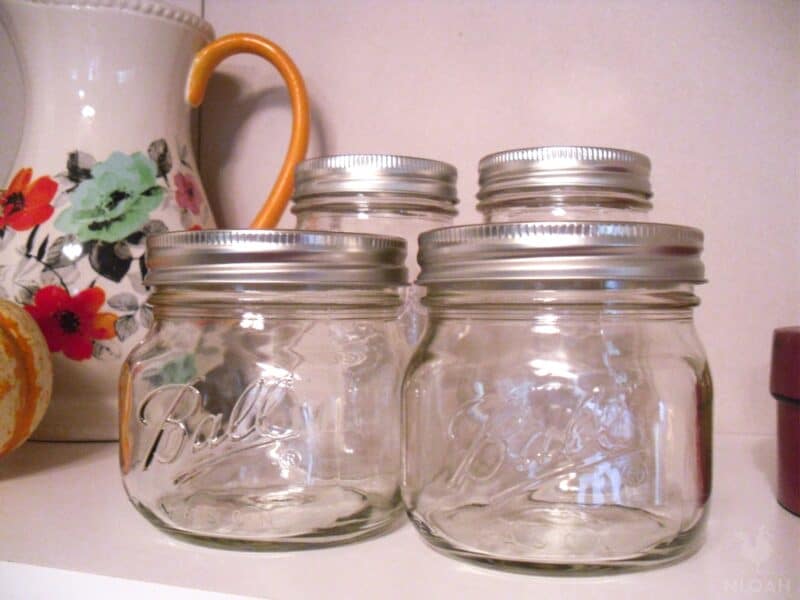
I have two goals with this article. The first is to tell you when you need to sterilize canning jars. This is important for two reasons: One, because it’s different from sanitization (or cleaning them), and second, because you don’t need to do it every time.
Of course, you’ll want to make sure you wash each jar prior to use and take the time to inspect each jar for cracks and chips.All in all, sterilizing makes me feel safer about canning for my family.
When Sterilization is Needed
It is not always necessary to sterilize jars:
- If you plan to process your recipe for 10 minutes or longer for elevations of less than 1000 ft.
- If the recipe calls for using a pressure canner. Pressure canners will take care of any microorganisms during the actual canning process.
If you live above 1,000 feet, you’ll need to add an extra minute to the sterilization time for each additional 1000 ft of elevation. Just use this table to figure it out for your altitude:
| Altitude (ft) | Altitude (m) | Boil Time to Sterilize Empty Jars |
|---|---|---|
| 0 – 1,000 ft | 0 – 305 m | 10 minutes |
| 1,001 – 2,000 ft | 306 – 610 m | 11 minutes |
| 2,001 – 3,000 ft | 611 – 914 m | 12 minutes |
| 3,001 – 4,000 ft | 915 – 1,219 m | 13 minutes |
| 4,001 – 5,000 ft | 1,220 – 1,524 m | 14 minutes |
| 5,001 – 6,000 ft | 1,525 – 1,829 m | 15 minutes |
| 6,001 – 7,000 ft | 1,830 – 2,134 m | 16 minutes |
| 7,001 – 8,000 ft | 2,135 – 2,438 m | 17 minutes |
| 8,001 – 9,000 ft | 2,439 – 2,743 m | 18 minutes |
| 9,001 – 10,000 ft | 2,744 – 3,048 m | 19 minutes |
When necessary, sterilization of canning jars before the canning procedure helps prevent the growth of mold and helps to reduce the risk of contaminates by microorganisms. Lots of jam and jelly recipes only call for a 5-minute process time and so, your canning jars must be sterilized.
Caveat: the pre-sterilization step comes after this mandatory first step: sanitization (or cleaning). You should always wash your jars in hot soapy water before each use to insure there is no dust, cracks, chips, broken glass or other contaminates inside the jars.
Now… because there’s a lot of misinformation out there, I’ll separate fact from fiction and analyze the different ways I can get my jars safe and clean. Let’s see what’s considered safe and what is NOT!
✅ Water Bath Sterilization
This sterilization method is the only one that’s not only tried-and-true, but also tested to be safe by NCHFP:
When a process time is 10 minutes or more, the jars will be sterilized DURING processing in the canner. Therefore, when process times are 10 minutes or more, pre-sterilization of jars is not needed.
Do I need to pre-sterilize my jars before canning?
Caveat before you do it: make sure you start with clean jars. Wash them prior to use to remove any dust or stuck on debris. Be sure to check for cracks or chips, paying close attention to the top of the jar.
These may compromise your canning process and result in a seal failure. You want to make sure you have enough jars for your recipe, so finding a crack in an unchecked jar would be a major bummer!
Water Bath Sterilization Steps
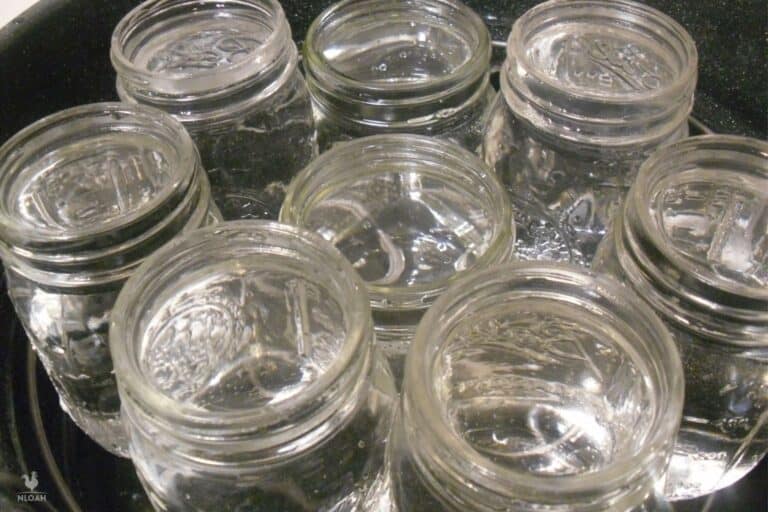
Step 1. Place empty jars in water bath canner. Simply place your jars in your canning pot of choice, preferably the same pot that you plan to do your canning, so you can recycle the water. Be sure to place the jars right side up (so in a normal position):
Step 2. Fill canner with water. Fill the pot and the jars with water until the water is about an inch over the top of the jars:
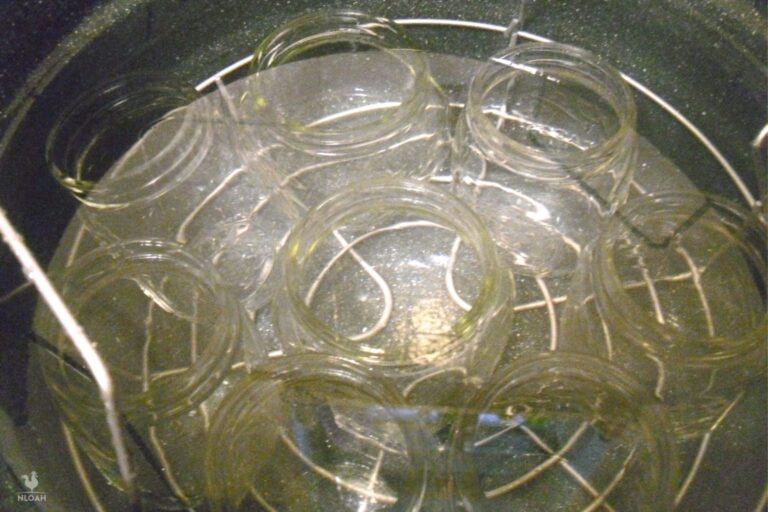
Step 3. Boil the jars. Bring the water to a boil and let it stay at a boil for at least 10 minutes. If you live in an altitude higher than 1000ft, you’ll need to add 1 minute of boiling time for each 1000ft of elevation.
Step 4. Cool jars off. Once finished, turn off the heat but leave the jars in the hot water until you’re ready to start canning.
This method is simple enough, but it tends to make a mess with all the water needed. It also creates a lot of water spots on your jars that are not harmful but also not pretty. Try adding 2 tablespoons of vinegar to the water to help keep the water spots form appearing.
❌ Sterilizing Jars in Oven
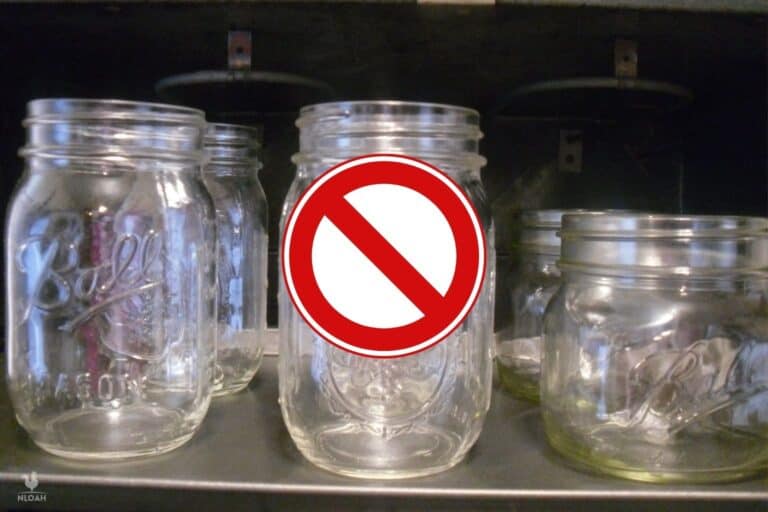
This has been discussed in detail over here, but long story short, don’t do it. the funny thing is, you’ll see this method recommended in older canning books. But if there’s a chance the jars can chip and crack because of the heat, why risk it? It just makes sense to stick to the method above…
Even though most ovens will easily reach the 212 ºF / 100 ºC, there is a problem with that: the heat won”t be the same everywhere inside the oven, and you need that heat to sustain that temperature for the whole duration of the canning. There”s a good chance the center of the oven (in particular) won’t stay that hot the hole time.
Besides reliably killing the pathogens, the risk of shattering the jars is real: canning jars are not made of tempered glass or borosilicate, which is what those glass baking trays are made of. Those are much thicker than a jar, too!
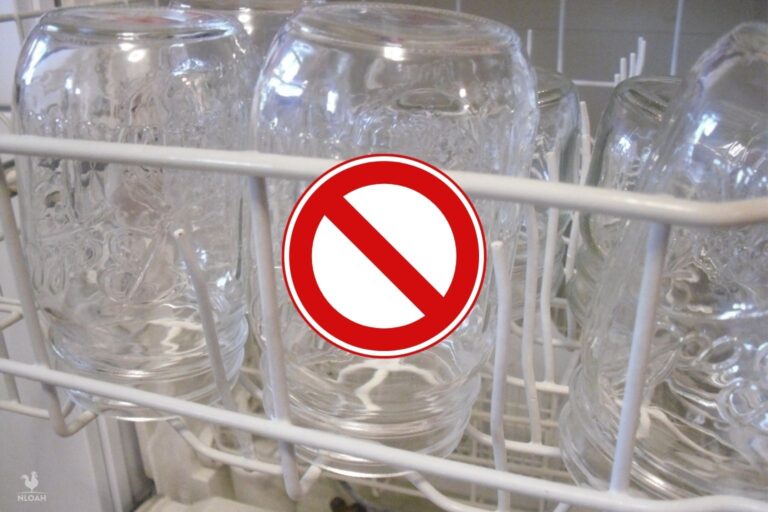
❌ Dishwasher Method
The problem with this one is that the dishwasher won’t reach the 212ºF (100ºC) temperature, which is what you need to get rid of all the bacteria. Most if not all can get up to 150 ºF, but just as in the case of ovens, the middle of the interior will likely not get and then stay hot enough to sterilize the jars.
❌ Microwave Method
This doesn’t work either but the reasoning is different: a microwave can’t ensure that the whole space inside it will each the 212 ºF (100 ºC) temperature needed. And you really need to sustain that temperature for the whole duration of the process of 10+ minutes.
And just like in the case of ovens, the jars will risk cracking and chipping in the microwave. They are not made from tempered glass so they aren’t tested or guaranteed to withstand this type of heat.
Off-Grid Sterilization
Home canning or sterilization can be done without the use of electricity if you have a firepit with a grill. It’s a great option for power outages or off grid homes and works well because you’ll be boiling the water at 212 ºF / 100 ºC. You must make sure you have enough wood to keep the fire hot and the water boiling if you’re using the water bath method.
What About the Lids?
Lids can only be used once for canning. After the first use they won’t reseal properly and so your food preserves won’t be safe to eat. They’re still great to use with jars for storing dry goods or odds and ends, so don’t throw them out!
The lids don’t need to be sterilized prior to the canning process. Since the change of the sealing band from Latex to Plastisol, pre-heating your lids is not needed anymore. Latex needed to be heated so that it could soften and create a good seal. The plastisol does not need to be pre-heated and will seal effectively in the canning process.
You can still heat your lids if you prefer. You can simmer them at 180 degrees but do not allow the water to boil. You can always just give the lids a good wash in hot soapy water and leave them at room temperature until needed. Your screw band rings that help to hold the lid on do not need to be sterilized as they do not touch any food.

Get your gift and learn things like:
- how to make this really quick pest spray
- how to prevent egg waste
- two cheap automation devices that will make your life easier

Paige is a writer with a background beginner homesteading, small scale self-sufficiency, and animal topics. Paige and her husband spend time away from work playing with their daughter, keeping their chickens from destroying the vegetable garden, and snuggling their 3 dogs and 2 cats.