
Canning is a great way to preserve food for a long time; however, the jars must be properly cleaned to prevent bacteria from invading your food and spoiling it. Now, when it comes to sterilization, there are good ways and bad ways to do it, and one of the popular ones is to put them in the oven at a high temperature. But is this a good idea? Is sterilizing jars in the oven safe?
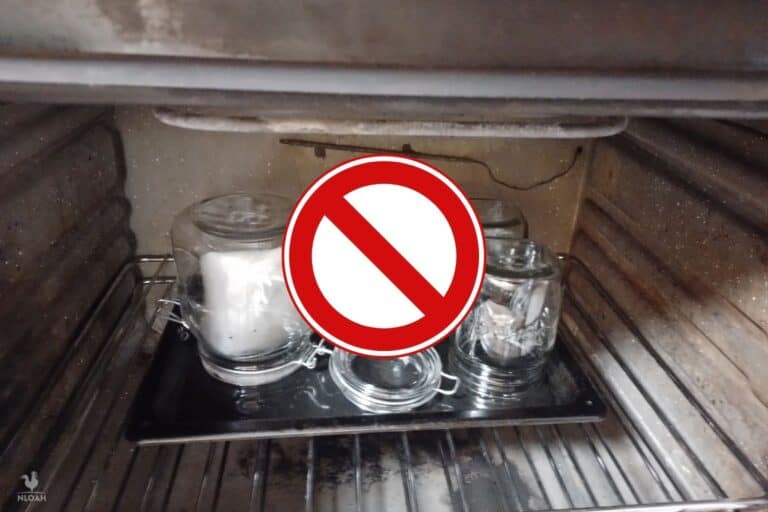
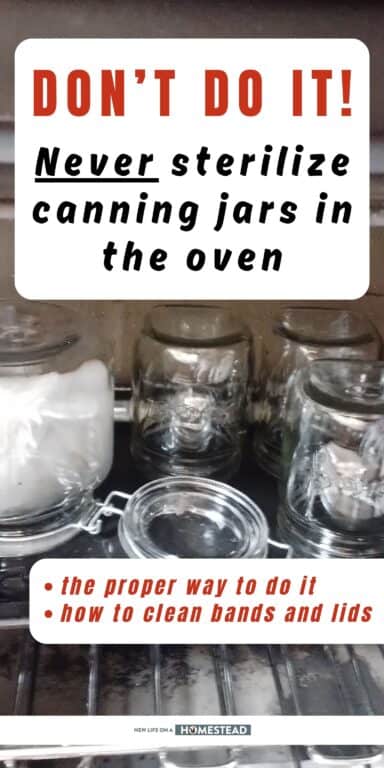
No, sterilizing canning jars in the oven is not safe and is not recommended. While you might find this method on other blogs and even in older cookbooks, this is not recommended by the canning authorities, and there is no valid procedure to do it at home or anywhere else. But let’s take it one step at a time…
Sanitization vs. Sterilization
First there is a distinction to make between cleaning or sanizizing them, and sterilizing them…
To make matters confusing, the two terms are used interchangeably in canning articles. I can assure you, they are very different, and you may or may not need to do both depending on a number of factors.
This is outside the scope of this article, but long story, short, sanitization is mandatory before canning anything, while sterilization (or pre-sterilization, same thing) comes after sanitization, but is only required when you water bath can for less than 10 minutes (altitude adjusted).
Truth be told, you can do both every time, but in the two situations I just mentioned, you don’t need to. Anyway…
❌ Is Oven Sterilization the Way to Go?
OK, so you determined that you need to pre-sterilize your canning jars. And you read that doing it in the oven might be a good idea. Should you do it? Definitely NOT! And the NCHFP, the highest authority when it comes to canning, has this to say:
the jars are preheated in an oven (dry-heat), which is not recommended for canning jars. Manufacturers of canning jars do not recommend baking or oven canning in the jars.
FAQs / Canning
There are two main reasons they give for why oven sterilization is a bad idea…
The first one is that we don’t know if and how well it works. There is not data, and no actual temperature to rely on to get the job done. But the second reason is just as bad and makes a lot of sense, too: the jars may crack or even break in the oven.
Canning jars are not made to be heated in an oven. Sure, if one breaks, you’ll just toss it away, but what if it just cracks? Cracks are easy to miss but rest assured the bacteria will find their way inside through them. And I don’t need to tell you what happens when they do, which is only a matter if time.
Even the canning jars manufacturers warn about using them in the oven:
The glass used for Ball and Kerr canning jars is not tempered for oven use (…)
ballmasonjars.com
Sure, you can nitpick and say that the context of the quote is in the context of baking with the jars, but th half-sentence stands on its own: their jars are not made to be used in ovens. Ever.
Here’s a similar advice on another one of their pages:
Jars should not be used in the microwave or oven.
Ball Mason Jars
The University of California Agriculture and natural Extension has this to say about Mason jars:
Canning jars are made from annealed glass and are not designed for the dry, fluctuating heat of an oven. These conditions can cause thermal shock, resulting in cracked or even exploding jars. And no, putting a pan of water in the oven along with the jars doesn’t work.
More Mason Jar Myths
Your grandma might have done this all her life, but if you’re a modern homesteader who wants to do everything by the books and minimize the odds of food poisoning, oven sterilization is not the way.
When to Sterilize Relative to the canning process
Sanitizing your jars needs to be part of your canning routine with your eye on the clock. Because bacteria are the problem when combined with food, you cannot sterilize your jars and then leave them on the counter for any amount of time.
You need to start by preparing your food and then begin to sterilize the jars about 20 minutes before the food will be ready to can.
Give yourself 10 minutes to prepare everything you need. You’ll need 10 minutes to wash the jars and set them on trays in the oven and then 20 minutes in the oven sterilizing.
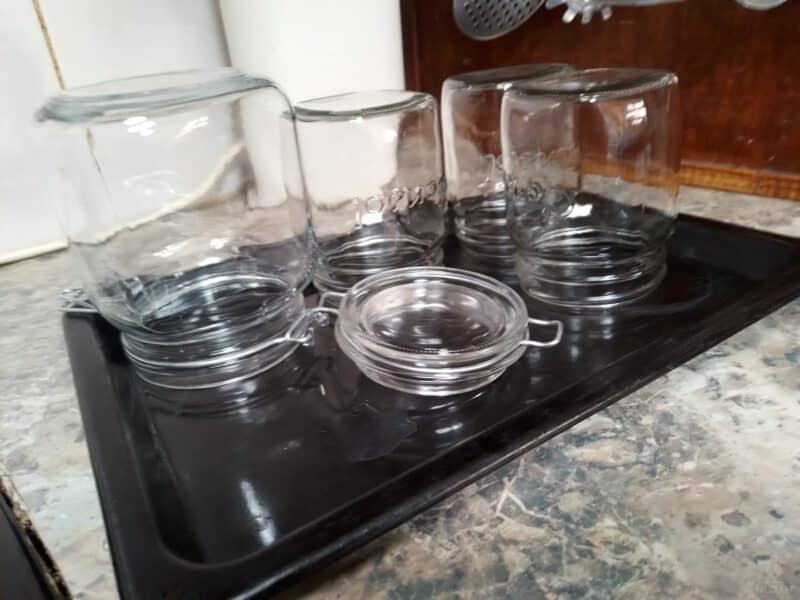
How to Sterilize Your Jars (Safely!)
Before you start, make sure there are no cracks or chips in the jars before sterilizing them. Discard any that show any signs of damage.
Step 1. Prepare Your Fruit, Vegetables, Jam, or Meat
When you are canning, you need both the food and the jars to be ready at the same time. Work on your food first, and time your sterilization for when the food is be ready…
Step 2. Wash and Sanitize Jars, Rims, and Lids
Now is the time to do the first thing we talked about, and wash your jars in hot soapy water. Do this even for new jars, because they will have dust and other residue on them.
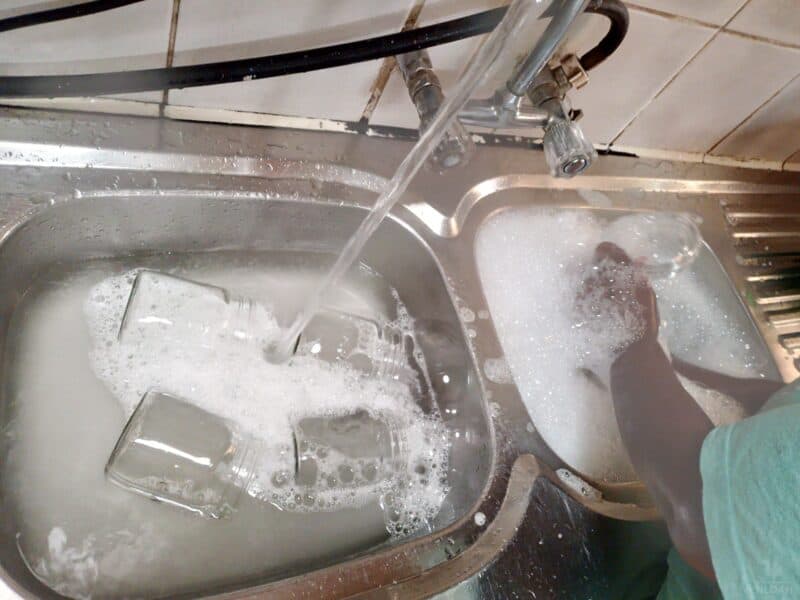
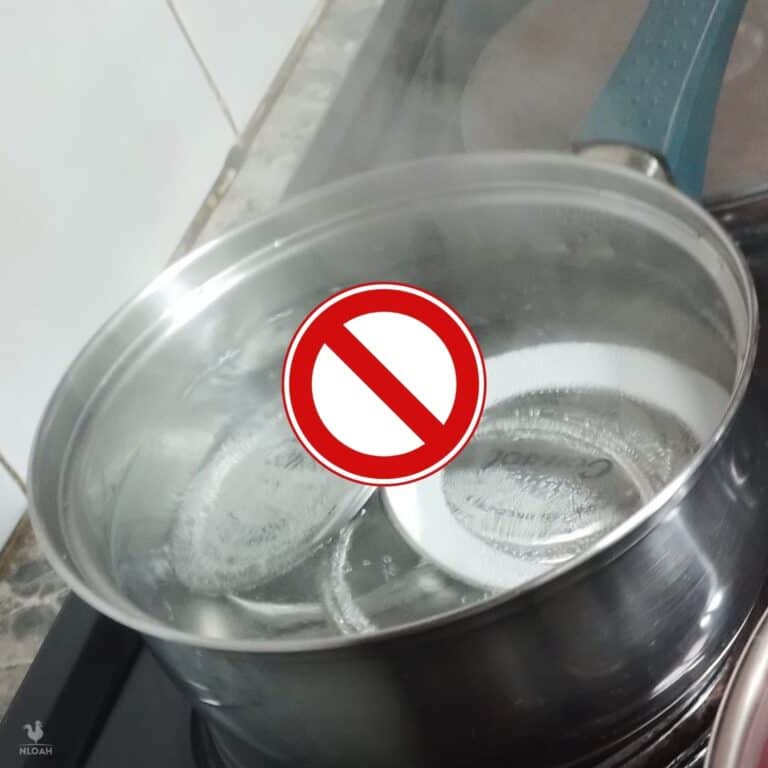
You should do this for your lids and rims as well. Which brings me to another no-no: never boil your lids and rims! For lids in particular, this could lead to a damaging the sealant.
Step 3. Rinse
Rinse the soap off of the jars, rims, and lids in hot water. You need the jars to be hot before going into the boiling water inside the canner to prevent damage to the glass.
Step 4. Bring Water to Boil in Water Bath Canner
Fill the canner with water and put the jars inside, making sure the jars are submerged by at least an inch (2.5 cm of water). Bring it to a rolling boil.
Step 5. Boil Empty Jars for 10 Minutes (Altitude-Adjusted)
Start the timer when the rolling boil begins, NOT when you turn on the heat. Let them boil for at least 10 minutes, and add one extra minute for one extra 1,000 feet of elevation you are at, like so:
| Elevation | Boiling time |
|---|---|
| 0–1,000 ft (0–305 m) | 10 minutes |
| 1,001–2,000 ft (306–610 m) | 11 minutes |
| 2,001–3,000 ft (611–914 m) | 12 minutes |
| 3,001–4,000 ft (915–1,219 m) | 13 minutes |
| 4,001–5,000 ft (1,220–1,524 m) | 14 minutes |
| 5,001–6,000 ft (1,525–1,829 m) | 15 minutes |
| 6,001–7,000 ft (1,830–2,134 m) | 16 minutes |
| 7,001–8,000 ft (2,135–2,438 m) | 17 minutes |
| 8,001–9,000 ft (2,439–2,743 m) | 18 minutes |
| 9,001–10,000 ft (2,744–3,048 m) | 19 minutes |
Step 6. Can Immediately
Follow the rest of the recipe to fill the canner back with water, bring it to a rolling boil, place the jars filled with produce inside, and boil them for the prescribed amount of time. Happy canning y’all!
FAQs
Time your canning so that you start preparing and sterilizing your jars 20 minutes before your food is ready.
Sterilize a few extra jars (I do 2 spares) than you think you will need in case you have more food than you thought you would have.
Recipes that use a boiling water bath lasting 10 minutes or more (altitude-adjusted) may not require that the jars need to be sterilized before canning.
If it’s a new purchase, you you definitely need to sanitize, not necessarily sterilize. Jars in stores have been in trucks and warehouses, and have been handled by many people. Treat them like any other jar and only pre-sterilize if you’re using a water bath that will boil the produce for less than 10 minutes (altitude-adjusted), or if the recipe specifically calls for it.

Get your gift and learn things like:
- how to make this really quick pest spray
- how to prevent egg waste
- two cheap automation devices that will make your life easier

Di-Anne has been living on a farm her entire life. She has a gorgeous garden, and also tends to livestock big and small. She’s not raising her three children with the self-sufficient mindset.