Winter is the precious time when we have reaped the rewards of the previous season and are getting ready for a new one. But it isn’t the time to just sit back and relax! Whatever the size of your homestead, there are plenty of things that need doing to prepare for winter.
I expect you are looking online and choosing seeds and plants. You are probably already planning your garden for next year. You will be reflecting on your successes – and failures – of the current and previous years and this period of reflection will influence next year’s work.
If you’re ready to take a walk outside, we’ll have a look at some permaculture work you can be getting on with despite the short, cold days. Pull on your jumper, put on your boots, and let’s see what’s out there!
If you look at your ground, do you see bare patches of earth? Hopefully, it’s not already covered with snow or else you will have a problem!
Generate Warmth in Your Soil
Where you have bare soil, cover it with the mulch material you have been making during the year. If you haven’t got any ready-prepared mulch available, use a layer of manure, followed by straw. This makes great mulch. The straw keeps the manure warm, and the manure keeps the soil warm.
The moisture in the ground is also retained by the mulch and this is as important during the winter as during the summer. Cold winter winds suck the moisture from the surface of the soil and with it, the nutrients that were present in the topsoil get washed away.
Heat traps are easy to make and generate much-needed warmth to the ground and plants. This leads to an earlier start to the growing season in the spring and can prevent plants from dying in the cold.
Either get a very large stone or several smaller ones. Choose rocks that are a dark color, or if necessary paint them black. These stones will draw in heat.
Place them on the ground or partially buried in the ground so that some of the heat they generate will be directed downwards into the soil. Put them at the base of trees and the trees will absorb the heat.
The plants will really appreciate this added warmth, and so will the worms. They will carry on doing their fantastic work close to the soil’s surface during the winter which means the soil will benefit to.
Clear Up
It’s a great opportunity to see what debris is lying around when there are more open areas and patches of bare earth.
Cleaning up is so much easier and you can remove any rubbish, twigs, and waste that has blown onto the beds. Trim any dead plants that haven’t yet been cut down. Remove any rotting plant material and dig out any invasive weeds.
Pruning
Often late in the winter, you can prune trees and shrubs. The leaves haven’t yet grown back so the shape of the plant or tree can be easily seen.
The tree is still dormant so it will cope with the pruning better. In particular, fruit trees will benefit from pruning and they will produce more fruit of better quality.
When pruning large trees, try to look at the symmetry and keep it even. You don’t want to make a tree heavier on one side. You should also remove any weak and spindly branches. They will not be strong enough to support the weight of fruit.
Also remember that whilst you need sufficient branches for leaf growth, you also want to increase the light level in order to maximize blossom and fruit. So keep the canopy as open as possible.
Survey Your Ground
Have a look at the ground. It may have become damaged by strong winds and heavy rains. In more extreme circumstances, water erosion may have cut channels in your land, or strong winds may have damaged trees.
This is why it is so important to observe your garden when it is clear of excess vegetative growth. You can look out for any dangers, such as loose branches or leaning trees.
If you have discovered any particularly wet areas, then consider how you can use this to your advantage later in the year. Maybe you could redirect the water to areas that are often dry. Or think about planting things that appreciate damp ground.
You can see where the wind has adversely affected plants, shrubs or trees and consider whether you can provide a wind break to shelter this part of your garden.
If there are areas of your garden where nothing grew successfully during the last season, this could be an indication that soil in this area needs improving with soil conditioner.
Repair Time
You may find there are broken posts or trellises which need to be fixed – again so much easier to do this when there are no plants climbing up.
Garden fencing, livestock fencing, gates and gate posts, garden beds, and decking – all need to be thoroughly checked.
This is the time that livestock has a tendency to find any available chink in the fencing armory, since as we all know, “the grass is always greener …” Do as many repairs as you can at this time of year. Work in an outbuilding or garage if you can where all your tools and equipment will be at hand.
Alongside repair work, there is usually a lot of cleaning up you can do during the winter, but so much better to get it all done now when you can’t be planting and growing.
Take some time, to check and clean up your garden tools. Hopefully, you cleaned them thoroughly at the end of the season and arranged them tidily in your shed.
It’s a good time of year to ensure that all your tools are in good order. You should identify any which have broken beyond repair and make a list of any tools you don’t have but need.
Once you know what you need, keep a look out for sales where you might be able to pick up some bargains at this time of year.
It’s important to have the correct tools for the job; otherwise, you can end up using inappropriate tools which can end up being damaged, or causing you physical injury. So check all the handles and screws and make sure that everything is done up tightly.
When checking the condition of the tools, remember that the cold and damp to which they have been exposed can lead to the oxidization of metal and plastic becoming brittle. Oxidization leads to rust and if plastic becomes brittle, it can crack or break.
If necessary, make new replacement handles, preferably in wood. Strong metal tools with wooden handles are easy to maintain and wasted less often.
Older tools were more robustly made and although often heavier, are likely to last longer. The metal parts can be sharpened and oiled.
If you come across any rust patches, you should file them away and rub oil into the metal. The oil will help to protect and seal the metal edges from damage by the cold and humidity levels in the air. Next season, when you dig your ground with sharpened tools, you will notice a huge difference.
Then come the spring you can focus all your energies on the new season.
Spring Is Only around the Corner!
It’s a bit early to build a cold frame as strong winds could damage the top, but you could plan where you will build one early in spring in order to protect your plants from late frosts or cold spring winds.
You could even do the preparatory work, marking out the box that will sit on your beds or over planters or raised beds. Make sure that the frame for the back of the cold frame is higher than the front so that the end result will be a sloping roof.
When choosing the site for the cold frame, choose somewhere that faces the sun. The slope should face south if you are in the northern hemisphere, or north if you are in the southern hemisphere.
If you want to create new raised beds, this is a good time to get the preparatory work done. And being physical work, you’ll even keep warm doing it!
You need to make sure that you build your beds along the contours of your land. You don’t want rainwater to be lost and wasted to run-off. Rain will provide you with a precious water resource and save you some watering later in the year.
Equally importantly, you don’t want to lose the soil nutrients which would run out with the water. So, mark out with care, peg out, and mulch the area with a good, thick layer of manure and straw. This will warm up the soil beneath, and keep the area moist.
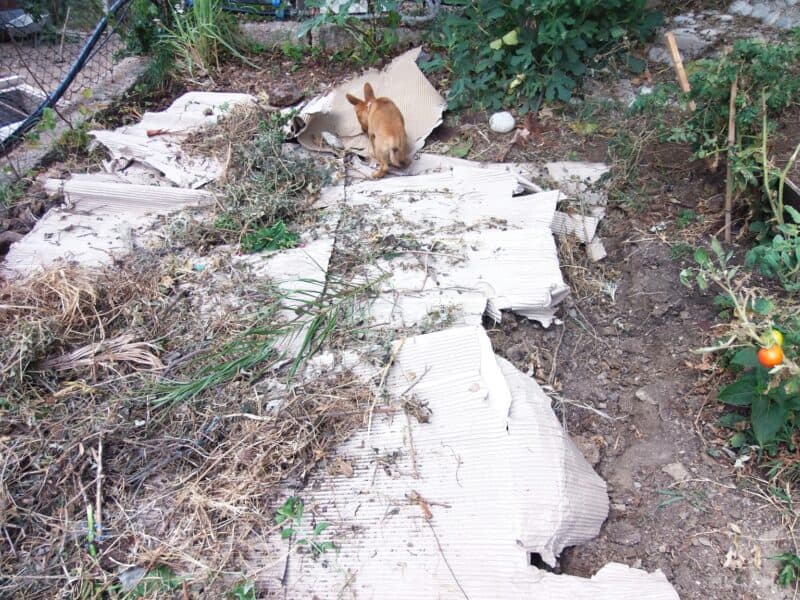
Alternatively, you can simply cover the beds with black plastic sheeting, and layers of cardboard. Or even an old carpet! Leave this covering material down over the soil all winter and until you are ready to plant. It will have acted to kill any existing weeds and will also suppress the germination of weed seeds in the soil.
Planning Is Exciting!
The planning phase depends on what changes you want to make in your growing area. Ideally, you will have kept a written record of what worked well and what didn’t work so well. Your journal will prevent you from repeating at least some of the same mistakes.
There will have been some crops that just didn’t work and it is a waste of your resources – time and money – if you squander more of your precious energy on repeating failures.
Another useful thing you can do at this time of year is to make a map of your garden. A map showing where your different vegetables and herbs have been grown is a valuable design aid.
If you haven’t already done so, note where you planted your crops this year. This helps you plan for good crop rotation next year. It is much easier to do this whilst it is still fresh in your mind. By next year, trust me, you will have forgotten!
Keep the map for three or four years. In this way, you can make sure you don’t plant annuals from the same family in the same spot for several years.
Rotating your crops in this way will help to reduce disease. It will also help maintain balanced levels of nutrients in the soil. Make sure you also note if any of your crops suffered from pests or disease. Then you can look for resistant varieties of the crop next year.
If you have saved as many seeds as possible from the previous year, then you have to make sure they are organised and orderly. You can use some of the winter time available to see what you need to buy and what you have available.
Make sure you throw away any old seeds or seeds that are damaged or damp. You will have more important things to attend to in the spring than wasting your time on seeds which are unlikely to germinate. When putting your seeds in order, once they are bagged up, put them in a cool dark place.
Let the Chickens In!
There is one more thing you can do which is very effective use of resources and a true permaculture principle in action. If you use the deep litter method for raising your chickens, then this is the ideal time to give the hen house a thoroughly deep clean in preparation to renew the deep litter.
Let your chickens, ducks, and geese have access to your garden. Yes, they will damage the mulch a little, but they will eat a multitude of small pests which outweighs that small inconvenience. The other benefit is that they will mix up the soil and make some small amounts of manure. This is in small amounts and will create pockets of warmth for the soil below.
And …
Finally, and it might be too late now…. but did you remember to wrap your outside tap to protect it from freezing and bursting the pipe work?

Sally is a retired English lawyer who spent 20 years homesteading on the Welsh hillsides in the U.K.
Semi-retired, she moved to France 15 years ago, where she and her husband set about restoring a 14th century watermill which came with 5 hectares of woodland, riverbank, and pastureland.
Using the skills and experience gained in the U.K, they continue to enjoy working on their land, woods and water.
Thank you for all your knowledge. We are on our 3rd year of gardening & canning.
Learning as we go.