Our carrots did amazing this year. I don’t know if it was the soil, the timing, or what, but boy am I pleased! I did mix sand and wood ashes into the raised bed to make it super loose (I can stick my hand right down into it… unlike the clay soil originally here).

I also planted the carrots alongside garlic and onions, which are supposed to be good companion plants. I need to remember to repeat these steps in the Fall when I plant carrots again for a winter crop.
I went with St. Valery and Dragon carrots this year. Loved them both.
When’s the Right Time To Pick Carrots?
Usually on the seed pack it will tell you something like “65-70 days to harvest” or “90 days to maturity”. It’s important that you mark down on a calendar when you planted the seeds, so that you can have a general idea when they should be ready to pick.
According to my notes, it was exactly 13 weeks from seed to harvest for me…
You can also tell if a carrot is ready to be harvested by brushing the dirt back a little to see how big around the root is. Of course you can always eat them before they’re fully mature, as a baby carrot.
The Harvesting Process
It really isn’t rocket science. Just grab the plant as close to the base of the stem as possible, and pull up, wiggling back and forth as you pull. Sometimes if the root is stubborn, the stem of the carrot will break off in your hand. If this happens, you’ll have to gently dig into the soil to retrieve the rest.
f you have a lot of them breaking off, you can use a pitch fork to loosen the soil and uproot the remaining carrots. Just be careful not to damage them if you want to store them.
These were the St. Valery variety. I had no issues whatsoever with pests bothering the plants or roots. And I didn’t do a thing to repel them, other than companion planting. I couldn’t believe how big and beautiful they were! Completely organic.
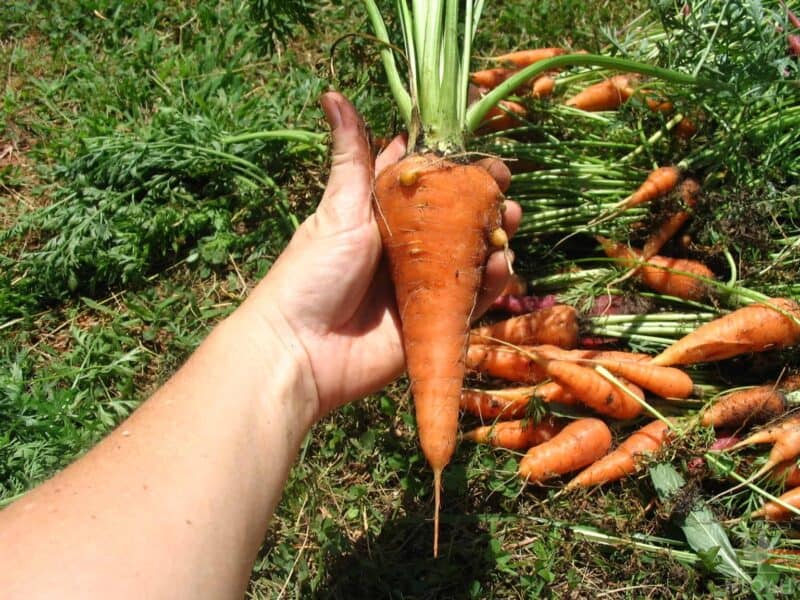
This was our biggest carrot for the season. It’s like a treasure hunt pulling carrots from the ground. The kids try to outdo each other by pulling a bigger carrot. I get a kick out of the kids’ exclamations as they discover an even larger carrot than the previous.
How To Store Carrots
There are a few ways you can store fresh carrots, if you don’t want to can them, dehydrate them, or freeze them. If you have a basement or root cellar, you can keep carrots for months by layering them in a box with damp sand, sawdust, or peat moss.
Carrots will stay crisp in the fridge for a few weeks if you have a crisper drawer. I’ve had some success with wrapping fresh carrots in damp paper towels and storing them in a ziploc bag in the fridge.
If you have a Fall harvest, carrots can be stored right in the garden bed throughout the winter if you cover them with a thick layer of mulch to protect them from freezing.
You can even dig a hole in the ground and have a food cache like farmers back in the day used to do; they would put root crops in a deep pit, insulated with straw, leaves, or sand, and cover it with a wooden lid or something to keep critters out.
Whichever method you choose to try, there are a couple of things you definitely want to do to keep the carrots from going limp during storage:
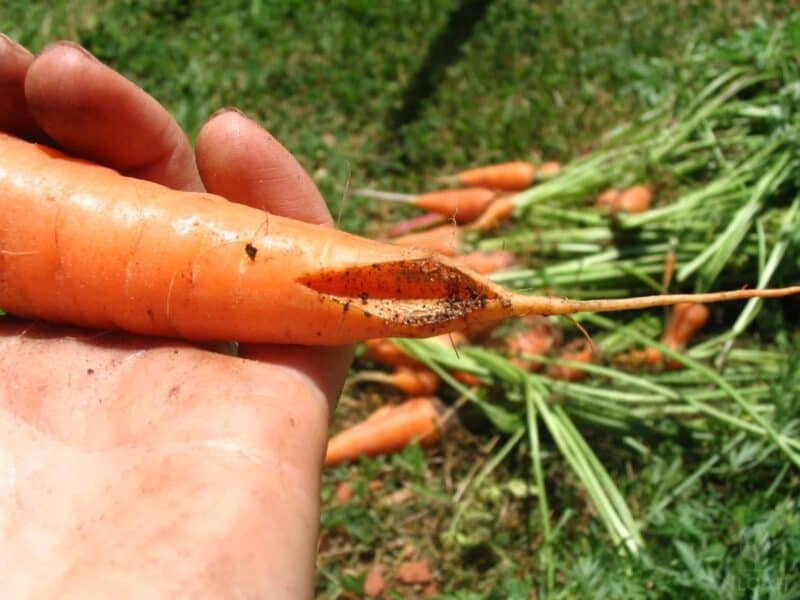
Do not wash the carrots. Gently brush the dirt off of the roots before storage, and wait until you’re ready to cook them before you wash them off.
Cut the green stems off. Otherwise, they will continue to sap nutrients out of the roots and the carrots will get rubbery.
Remove any damaged carrots from the group. These are more susceptible to deterioration during storage, which could spread to the healthy carrots around them. Better to use these up right away.
The Storage Experiment
I’ve read about many ways to store fresh carrots, but I’ve never tried any of them long term. In the past 5 1/2 years of homesteading, I’ve learned many times over again that books don’t always get it right, nor do they always give you all of the information you’ll need to be successful.
Something might sound good on paper, but when you try it in real life you encounter problems that you never envisioned having to deal with. Until you try it yourself, you really don’t know what to expect.
Since we had a great harvest this year, I thought I’d do some experimenting with seeing how well fresh carrots will store long term. We don’t have a basement or a root cellar, but we do have a crawl space under the house which stays very cool throughout the summer months.
I figured I’d stick a tub of carrots down there to see how long they last, and note any problems I run into.
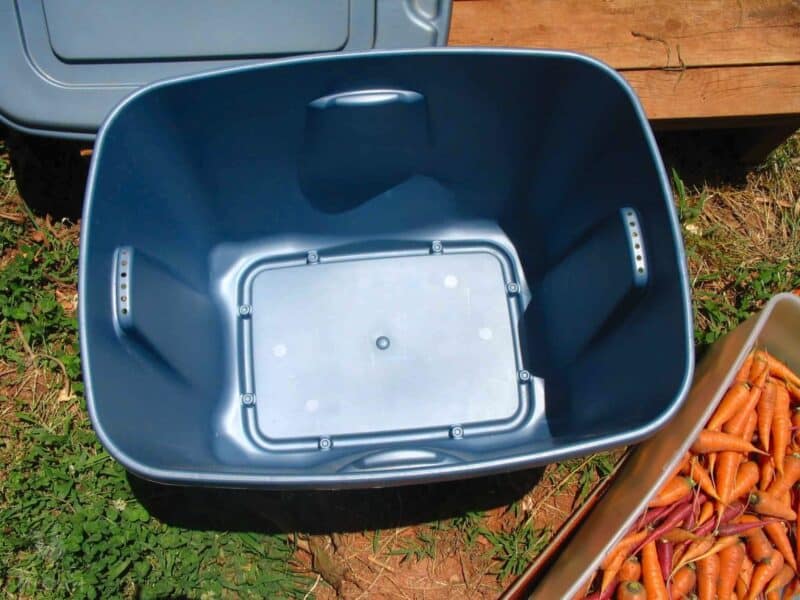
I started with a clean plastic storage tub. I knew the mice would chew through a wooden box in no time, so I wanted to use something rodent-proof:
I put a 2″ layer of damp sand in the bottom of the tub. This isn’t any special “clean” sand. I had a truckload of it brought in from a local landscaping company when we laid our brick sidewalk, and this was leftover. I had been storing it in old trashcans to keep it from getting spread all over the ground:
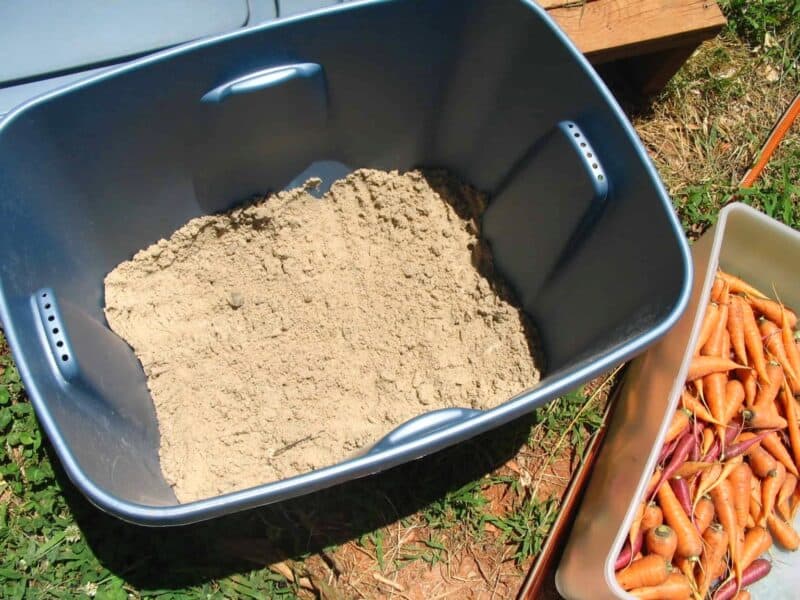
Recent rains made the sand moist, so I didn’t have to do anything to wet it before using it for the carrots. You do want the sand to be damp though, if you want your carrots to stay crisp.
I chose sand because it was what I had. Sawdust from untreated wood can also be used. I even read somewhere that you can use wild moss from the woods… which would be interesting to try.
Next, I laid the carrots on top of the sand, giving them a little bit of room between each. I’ve read that it’s best that they don’t touch during storage, and I’ve also read that it doesn’t matter if they touch. I just thought I’d play it safe:
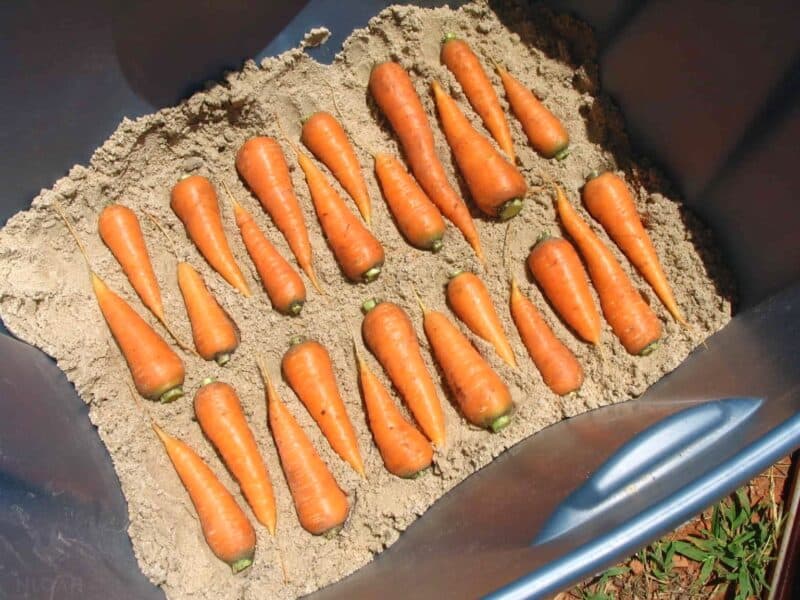
You also want to give them some space between the carrots and the walls of the container for better insulation. Don’t have them right up against the walls of the box or tub:

Cover the carrots with 2″ of damp sand, and repeat the layering process.
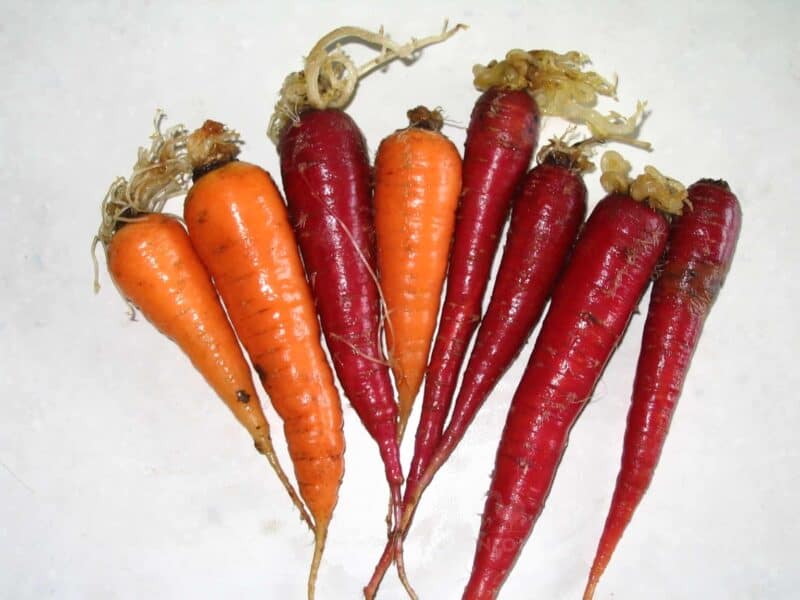
For my second layer, I put some of the Dragon carrots in there to see how they store compared to the St. Valery variety.
Finish it off by covering the carrots with another 2″ or more of sand:

I only did two layers of carrots because I didn’t want to waste too many if it didn’t go well. Also, the tub was HEAVY with all that sand. It was all I could do to push it into the crawl space. In all I used about 8 or 9 gallons of sand.
Root Cellaring Carrots in a Crawl Space
There is an approx. 3′ tall space underneath our home that stays a cool 60-ish degrees during the sweltering summer months- our crawl space. It’s the closest thing we have to a root cellar at the moment.
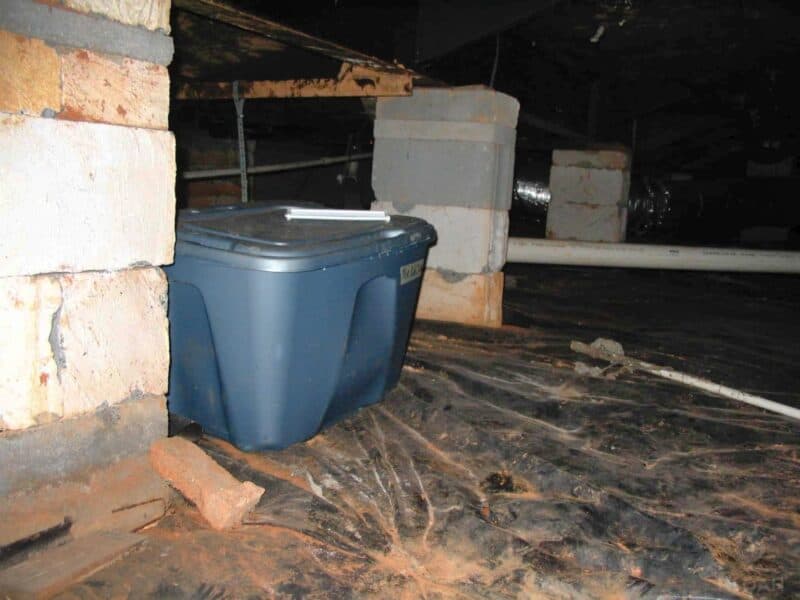
It was all I could do to push the tub of sand and carrots into the crawl space. It was extremely heavy. In all I used about 8 or 9 gallons of damp sand.
Would it work? How long would the carrots stay good in there? I was dying to find out.
I put a thermometer on top of the container so that I could keep an eye on the temperature periodically.
3 Months later (in September)…
It has been about three months since I stored the freshly harvested carrots. I wanted to see how well they were holding up:
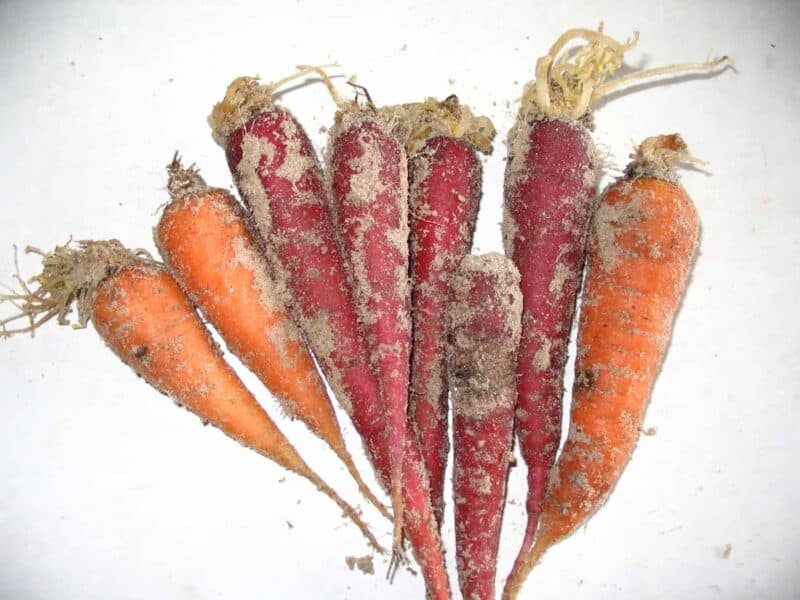
Strapping a headlamp around my head, I crawled underneath the house and dug around in the sand until I retrieved a handful of carrots. I was surprised to discover that the tops had started growing back, though obviously not green due to lack of sunlight. Carrots need a lot of sunlight for them to grow bigger.
After washing them off I could better see how they were holding up. One had a rotten spot on it, but the rest were still surprisingly firm. I trimmed off the ends, peeled them, and we ate the carrots fresh right then:
A couple of weeks later I fished out a few more carrots for dinner. Most were still good, but a few had rotten spots as before.
5 months later (in November)…
It has now been about five months since I initially stored the carrots in the crawl space. Yesterday, I went under the house to dig up what remained of the harvest.
I dug. And dug. And shifted sand all around. But I found no carrots.
It seems the carrots have rotted and decomposed, leaving nothing but orange stains in the still-moist sand. Very interesting.
The thermometer was reading 58*.
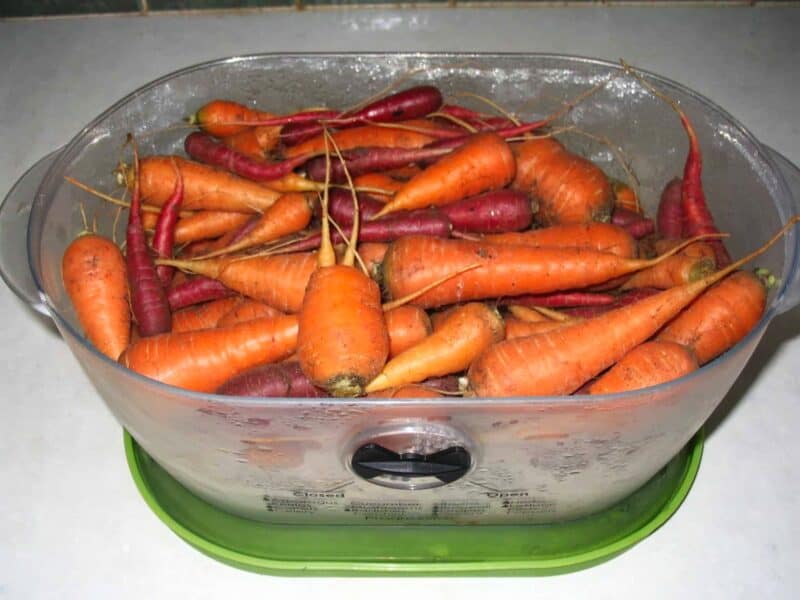
Storing Carrots in a Lettuce Keeper
Disclosure: if you visit an external link in this post and make a purchase, I may earn a commission. Read my full earnings disclosure here.
I put the smaller carrots in the fridge in a vegetable crisper, since we don’t have a crisper drawer. The one I’m using is a Prepworks Lettuce Keeper:
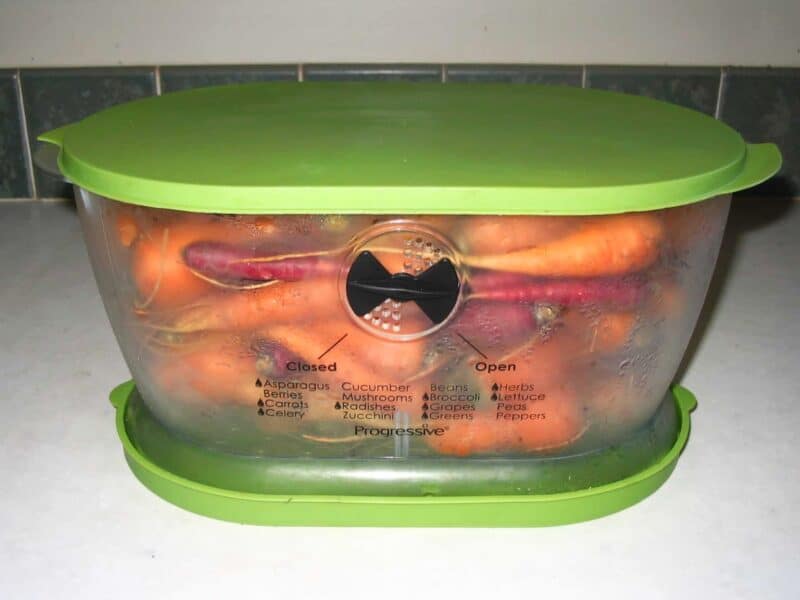
Again, these are unwashed and the greens have been trimmed. So far they’re still super crisp and fresh a week after harvesting. I’m curious to see how long they last like this.
I’ll keep you updated on how the carrots are doing after several weeks of being stored in the crawl space. I hope it works, ’cause we much prefer fresh carrots over cooked or canned ones.
I’m so, so pleased with how many big carrots we got from the garden this year. Out of sheer nostalgia, I looked through my archives and got a good laugh at my first few attempts at growing carrots. I particularly enjoyed a flashback to 2011 when I had my first significant harvest.
No matter how small the harvest, I was always excited that at least something grew. It’s such an encouragement to see how far we’ve come through trial and error.
Gardening takes persistence, but if you keep trying eventually you’ll figure out what works and what doesn’t. Don’t give up!
I’d love to know how you keep your fresh carrots crisp! What steps do you take to store them long term?

A city girl learning to homestead on an acre of land in the country. Wife and homeschooling mother of four. Enjoying life, and everything that has to do with self sufficient living.
explains ways of storing carrot for its natural freshness.
How well did your carrots store? I didn’t see a follow up post.
Here you go! https://www.newlifeonahomestead.com/root-cellaring-carrots-crawl-space/
I like to lacto-ferment carrot sticks, or discs cut on an angle, with a little onion and garlic thrown in. My kids love them, they stay crisp, and taste great!
Your carrots look gorgeous! We’ve had some good harvests in the past, but last year, not so much. We’re still not sure why, but of course we’re trying again this year. Fingers crossed!
Thanks for the tips! Your carrots look lovely. We tried them again this year, from seed, along with onions. I ran them along the edge of my 2 tomato beds, but I am afraid that my soil is not going to be right. We will see. Just before they started to sprout, one of my hens flew the coop, into the garden! I didn’t know what all she had gotten to before we caught her. Apparently she managed to get to a good chunk of my carrot, onion, shallot and cucumber seeds. So, small harvest this year. 🙂 Thanks for the tips! I will look at a different bed for next year, with sandier soil for bot carrots and onions. (still haven’t harvested a good onion)
Thanks for sharing your ideas! Your carrots look lovely, and I hope the storage method works great. It makes sense!
We planted carrots for the first time ever, and I’m hoping will get a nice harvest. I’m a little concerned that our soil is too dense, so we’ll see how it goes. We’ll keep trying until we get it right!
I hope you have a great first harvest, Tracy!
Hi, being 71 yrs old i have been gardening all my life. The way i always kkep my carrots for the winter is cutting the tail in the carrot after they have been quickly wash in a stainer we make with rabbit fencing. Just to take the soil off. After we wash and dry them on the verand for the rest of the afternoon. Then i put them in plastic bag in the cold room and just leave the top a crack for air to escape from the bag. I put may bags half full and keep checking them during the winter.when I see one start to rot I empty the bag rinse all the rest and dry them on the cement floor in the basement. Then repack them.I do that with all of them. I am still eating my carrots for we have them all winter long and now on my last bag. God bless dede
Thank you for sharing your method, dede!