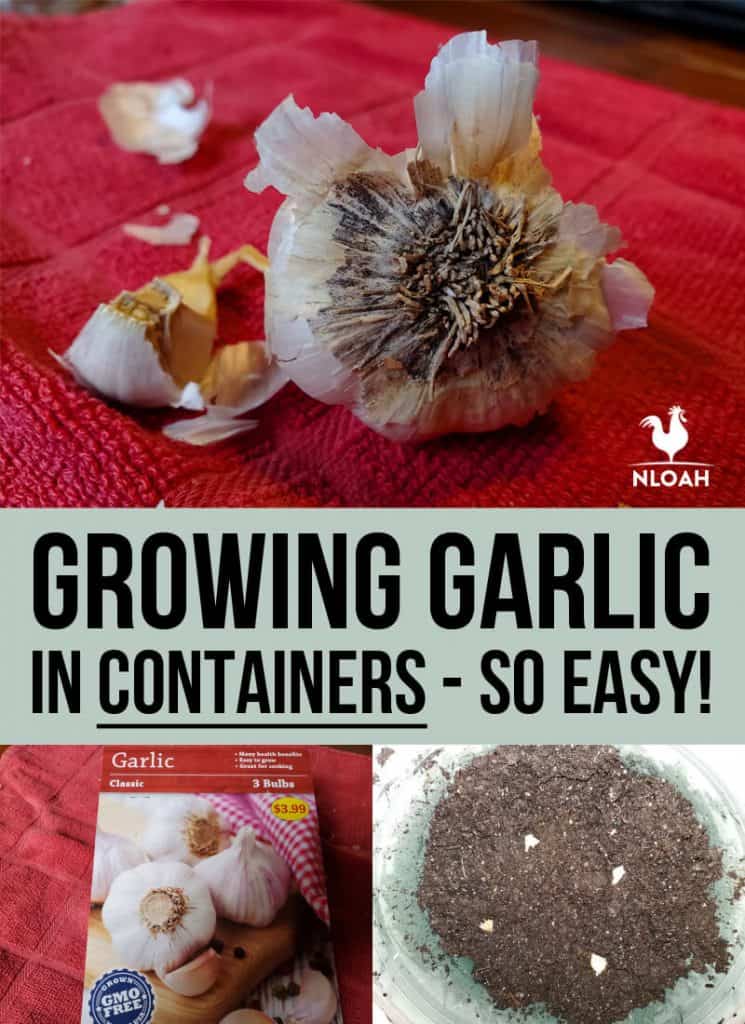
Garlic, a healthy and tasty vegetable that is simple to grow, is more often used for flavor enhancement than for consuming in whole. The garlic plant is more of a bulbous plant that is generally classified as a spice.
Garlic is generally grown outdoors in a garden bed, but it can be grown inside in a container. It is a perennial but is generally started in the fall and harvested the next summer. It can also be grown in “containers” outdoors, such as tire planters.
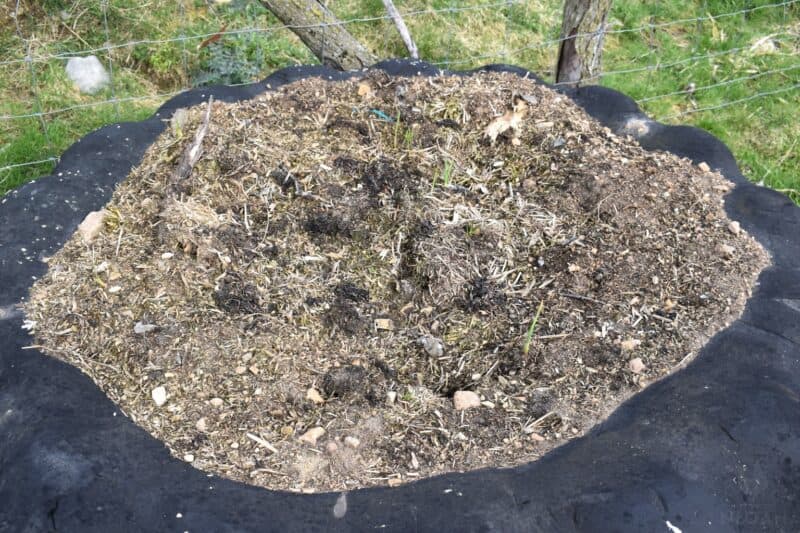
Garlic requires very little space to grow, that is why you can do it in containers. When planting in containers you can do it year-round to keep a supply of fresh garlic on hand.
Pick out bulbs that are large and intact. You want the bulb to be tight and have a dry paper-like wrapper over it. If you start with large intact bulbs then you should harvest larger bulbs of garlic.
It is NOT recommended to use bulbs purchased from a grocery store because they may not be suited for your area, or they can carry diseases.
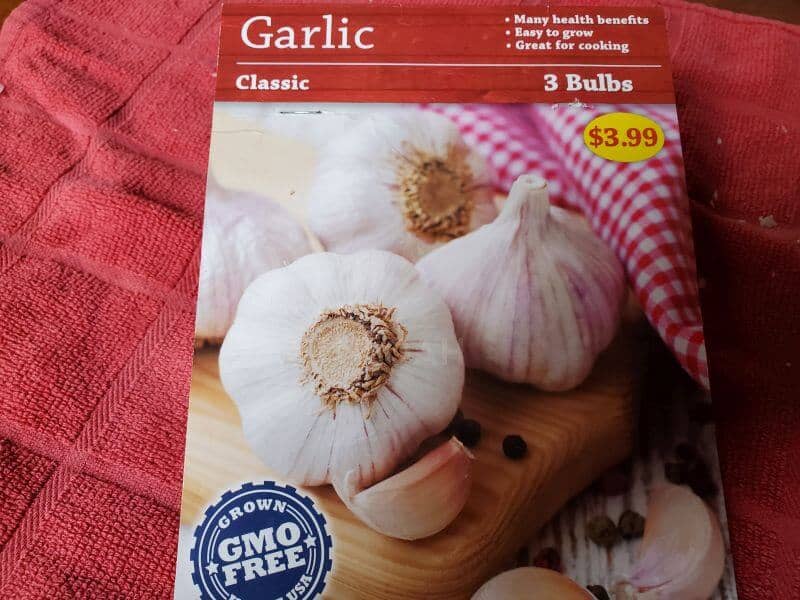
Table of Contents:
Garlic Varieties
There are hardneck, softneck and Great headed varieties of garlic that you can choose to grow. Each variety offers their own taste. They are also different in the type of climate that they thrive in.
Hardneck garlic is better if you live in harsh winter environments. The hardneck variety produces flower stems called scapes. To get your bulb to grow to its full potential you need to remove the scapes.
This variety of garlic produces tiny bulblets at the top of the flowering stalk.. The scapes make for a great treat for cutting up in your salad or stir fry. The bigger the scape, the less edible they become.
The hardneck varieties have a milder flavor than softneck variety. They also do not store as well as the other types of garlic.
There are several types of hardneck garlic that you can grow:
- Duganski
- Music
- Korean Red
- Chesnok Red
- German Red
- Siberian
- Spanish Roja
Softneck garlic is just as it sounds, the neck of the plant is softer after harvest, and usually stored in a braid. This variety has an intense bold flavor and they store well.
The bulbs are large because they do not have to spend so much energy on the tops of the plant. The softneck variety is better for warmer climates as they do not do well in colder climates.
The softneck varieties that you can grow are:
- California Early
- California Late
- Silverskin
- Inchelium Red
Great Headed garlic is also known as Elephant garlic. This variety isn’t considered a true garlic by some as it does not have a garlic flavor. It is more like an onion, and is less hardy than the other garlic varieties.
However, it does produce large bulbs that contain about four large cloves per bulb.
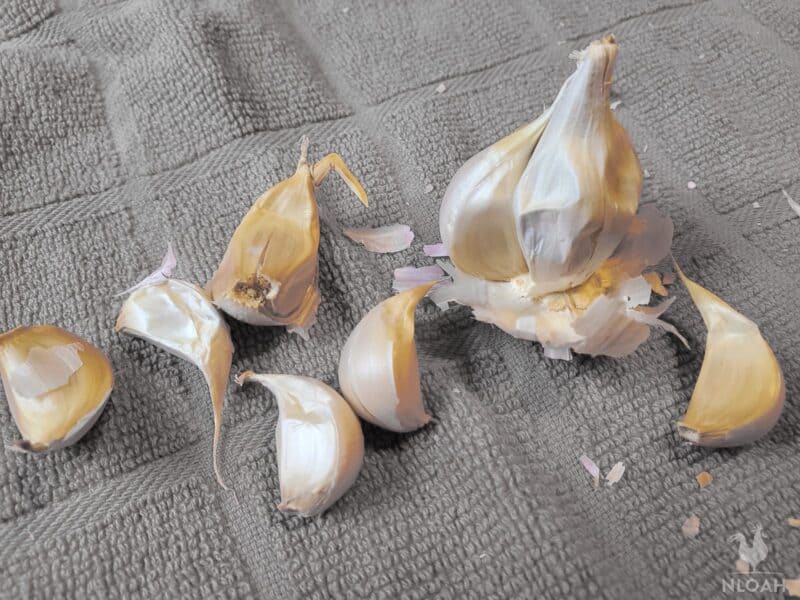
Separate Bulbs to Cloves
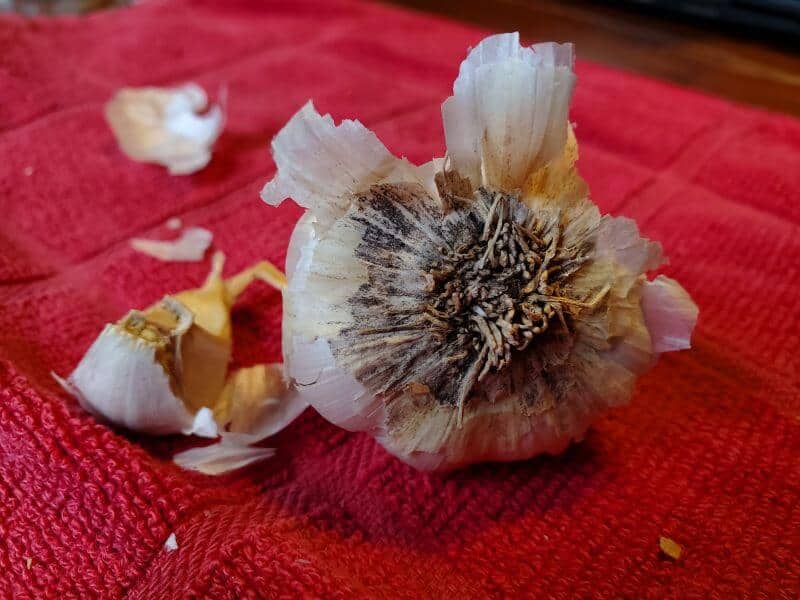
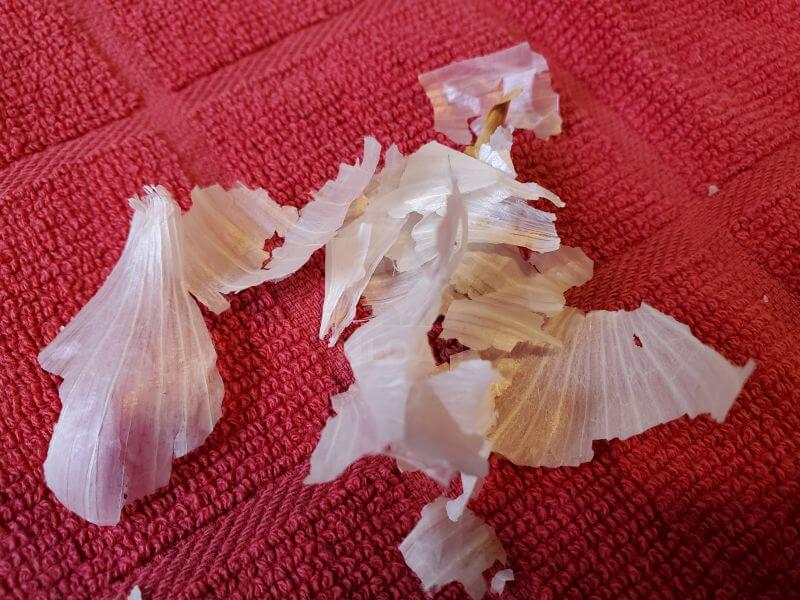
The garlic comes in bulbs whether you purchased it or you grew it. Once you start to peel off the papery covering around the bulb you will see the individual cloves. Seperate the cloves being careful to leave the covering over them.
The cloves are what you will plant. Most garlic bulbs are made up of 6 to 10 cloves. Each individual clove will produce a bulb at harvest.
Plant garlic in well drained soil. If the soil holds water it can cause the bulbs to rot or harbor other diseases. Garlic also prefers a rich soil. Using compost or fertilizer will help the plant to produce large bulbs. Garlic grows best in full sun.
Planting Garlic Step by Step
Step 1. Separate the garlic into cloves.
Step 2. Choose a deep wide container, such as this one:
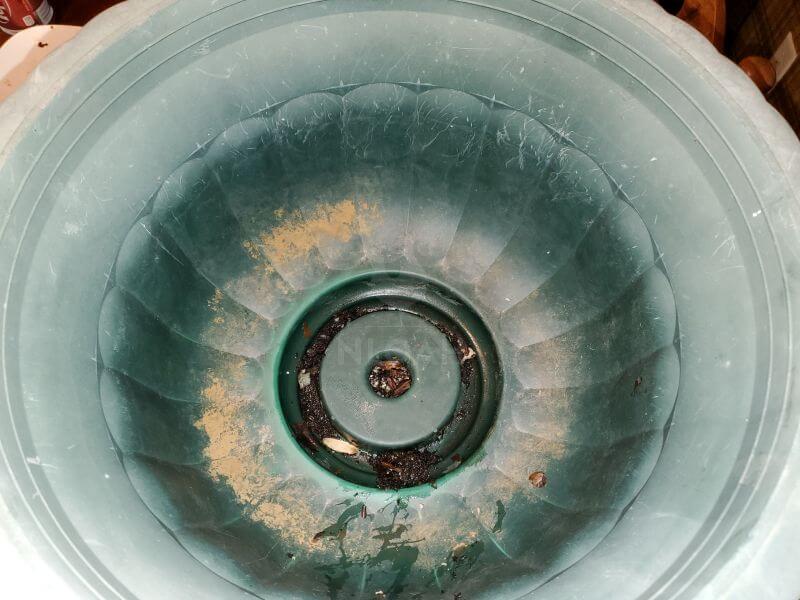
Step 3. Make sure there is plenty of drainage.
Step 4. Fill the container with a good rich potting soil to a little over halfway.
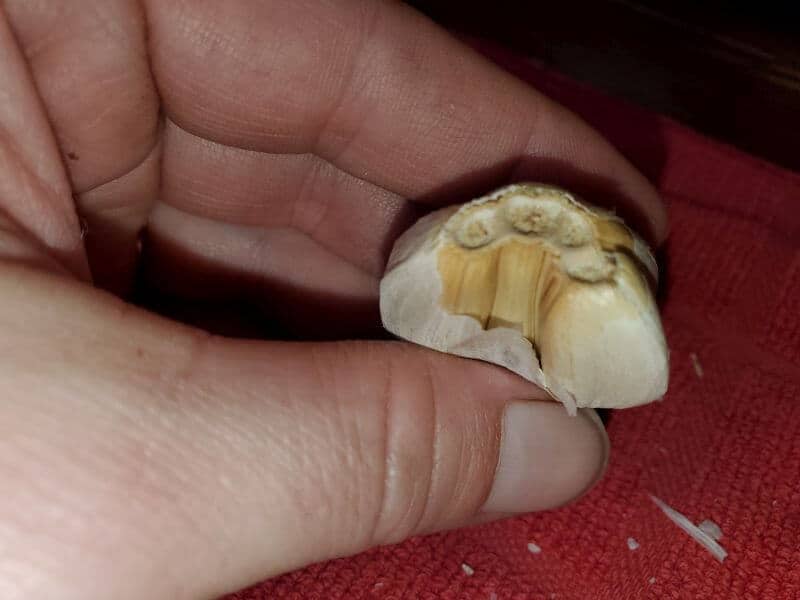
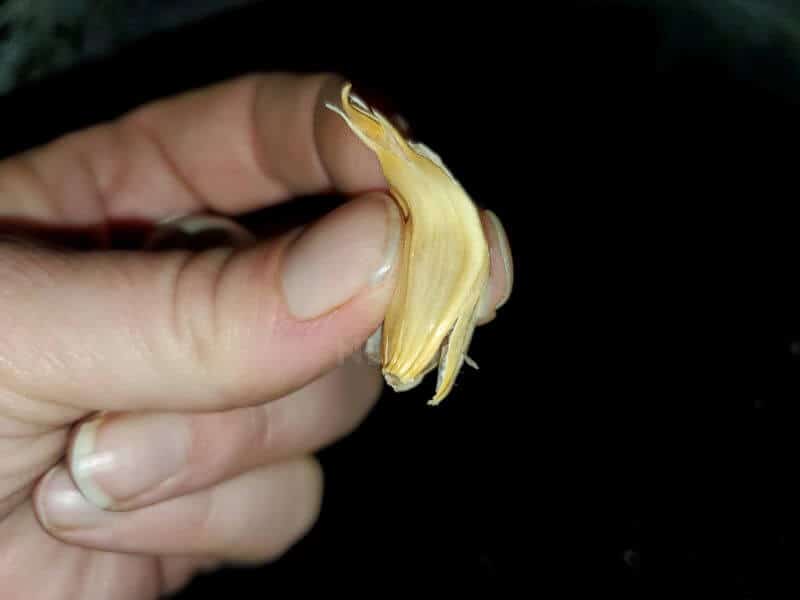
Step 5. Plant the clove with the root side down and the pointy side up, like so:
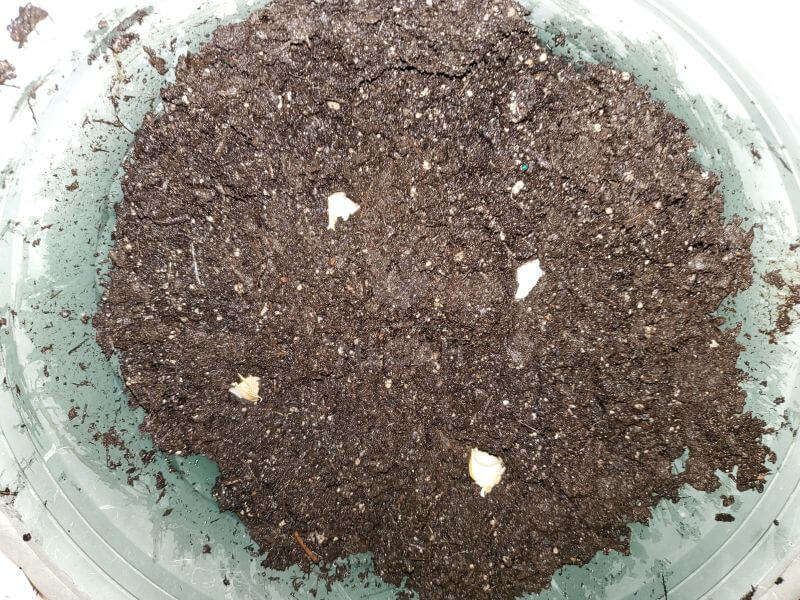
Step 6. Space the cloves about four to six inches apart:
Step 7. Cover with about one inch of potting soil.
Step 8. Water the newly planted cloves.
Step 9. Place the container in a sunny spot.
Water every three to five days and use fertilizer as the garlic bulb is a heavy feeder and requires lots of nutrients to grow.
Pests and Diseases
Garlic is a natural pest repellent. Therefore, there are really no pests that mess with the plant. The same with diseases. The biggest disease that may plague your crop is white rot, a fungus that affects the leaves and roots of the plant.
White rot spores can survive in the soil for many years. There is no treatment for white rot, but it is recommended that you rotate your crops every year.
It is also recommended that you clean up the area after harvest, being sure to remove any plants or leaves that have been left behind.
Harvest
It is time to harvest your garlic about mid to the end of summer if you planted in the fall. Most garlic varieties take about 90 days to reach maturity.
You will know it is time to harvest once the tops are starting to turn yellow and fall over. Do NOT wait for the tops to completely turn yellow or dry up.
Pull a bulb to check for readiness before you harvest it all. The garlic should be large and you will see that the paper covering is thick and dry. You should be able to see the individual cloves at the head of the bulb.
If the garlic is harvested too soon, the paper covering will be thin and disintegrate. If harvest is too late, the bulbs may split and allow for disease and a decrease in longevity.
To harvest the garlic you need to dig the bulbs out of the ground. Do Not Pull. Carefully wipe away the dirt and allow them to lay in a dry, airy space for about two weeks to cure.
Be sure that the garlic gets good air circulation on all sides, and be careful to not bruise that bulb because it will not store well for any amount of time.
The garlic is ready to be stored once the roots are dry and the root crown is hard. The bulb covering should be white, dry and papery.
Storage
Before storing the garlic remove any leftover dirt and the roots and the leaves. If the outer wrapper is dirty, you may remove it but be sure to not remove all of the covering.
Garlic needs to be stored in a cool, dry location. Do not store the bulbs in the refrigerator or in a basement or cellar if it holds moisture. Garlic should keep in these conditions until the next harvest. The drier the bulb the better the flavor.
If you plan to plant garlic again for the next season you can use some of your harvest. Pick the biggest and the best shaped bulbs to put up to plant the next season. You will not regret planting garlic in your containers, as you will be able to have a plentiful supply that is also easily accessible.
Sarah Rodriguez is a homesteading wife and mother of five living in Appalachia. She grew up in a homesteading and logging family.
She and her husband Arnie work their 10-acre homestead together alongside their growing family. Sarah honed her self-reliance skills through 4-H and FFA at an early age and is now teaching her children to live off the land, raise livestock, and the importance of both sustainability and frugality.