
When you think of preserving eggs, how do you think about it? Popping them in the refrigerator, sure… maybe even freezing the whites, yolks, or scrambled eggs. But how about room temperature preservation? And I mean long-term preservation! Impossible? Not hardly. Room temperature preservation of whole eggs is possible using just beeswax and oats. It’s true!
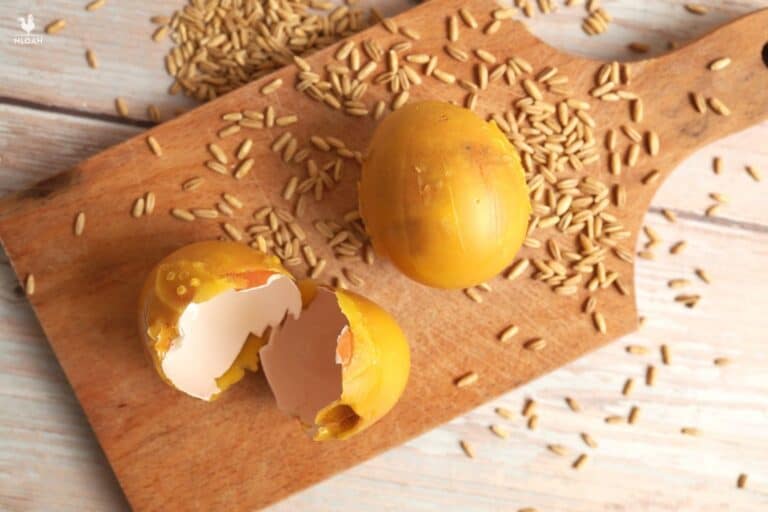
This is an old-school method that’s been around for at least 130 years, and likely a lot longer. What we’re doing is basically coating the eggs in melted food-grade beeswax, then storing them in a container filled with oats (for cushioning). So the oats are not part of the coating and wonÄt protect the eggs from spoilage, only the beeswax do that.
Best of all, this method is really straightforward and easy to execute, and it’s become one of my go-tos for storing a bumper harvest of farm-fresh eggs. Keep reading and I’ll tell you what to do.
Does This Thing Work, Anyway?
Interestingly enough, there are some studies looking at coating eggs with beeswax (either alone or in conjunction with a variety of organic substances), and some of them do show benefits when it comes to loss of moisture, weight loss, or even quality and taste.
- For example, this 2026 study saw much less weight loss on all eggs coated with beeswax, or with beeswax and moringa, ginger, or lemon mix. Plus, the beeswax mixes were amazing, they showed notable reductions in microbial contaminants such as Salmonella and Staph Aureus. I should probably try these mixes in future recipes 🙂
- This 2022 study tested a beeswax against uncoated eggs and eggs coated with coconut oil, and concluded that coating them with beeswax is superior to leaving them uncoated or coating them with coconut oil. Of course, refrigeration also helped…
Now, these experiments tested the eggs for only about 4 to 5 weeks, which is a bummer because it’s a pretty short timeframe for someone thinking about the long-term benefits. But, some of them kept the eggs at temperatures of over 65 ºF (20 ºC) – so it’s nice to see some of the coatings performing well at room temperatures.
Keep in mind that the current, modern, guidelines for egg preservation suggest prompt refrigeration, so ideally, you want to coat them with wax and then refrigerate to maximize shelf life.
The History Behind Egg Coating
While modern studies can’t tell us anything about the efficacy of preserving eggs for more than 5 or 6 weeks, history definitely can.
A commercial household manual from 1887, The New Practical Housekeeping, suggested preserving the eggs by dipping them in wax, then packing them in oats or bran. Notice it doesn’t say beeswax, though. But that’s okay, because a Publication of the Georgia State Department of Agriculture from 1897 advises a mixture of beeswax and olive oil.
Now what about oats? … I hear you ask. They were documented too, like over here in Woman’s Institute of Library of Cookery, Volume 2 which says some of the best ways to preserve eggs are to bury them in oats or dip them in melted paraffin.
All in all, there is lots of historical evidence for beeswax in relation to keeping eggs fresh for longer. But until someone properly tests the shelf life for at least a couple of months, I’d be curious to know what’s the longest YOU kept eggs in a beeswax coating that were still edible – you can let everyone know in the comments section below!
Shelf Life
If you read everything up to this point, you probably know where this is going: there is no reliable shelf life I can give you for eggs coated in beeswax. But if you refrigerate the coated eggs, then you can hope for to improve it.
This method has been around for a long time specifically as a technique for keeping fresh eggs fresh and ready to use through the winter months when some chicken breeds stop laying. I can attest that it definitely works… Alright, now let’s get to it!
What You’ll Need
Eggs: of course! You can use eggs of any size you want as long as they are very fresh with the bloom intact. You don’t want to try to preserve washed eggs because washing removes some of the natural coating, or older ones that are on the verge of going bad since they might just go bad anyway.
Just keep in mind eggs that look perfectly fine can still have pathogens inside them including Salmonella. So if you crack open one that was previously coated, it might not be the fault of the preservation method we talk about today.
Regarding quantity, choose based on the size of your container or the number of containers you’re using.
Beeswax: pure, unadulterated beeswax. Make sure it’s 100% food-grade beeswax without any additives, which might not work as well. Avoid using candle wax as it likely has other additives which may or may not help with our goal.
A little bit of wax can go a long way in this process, but you’ll have a much easier time if you have enough melted wax to fully immerse the egg in it. With a small pot, plan on at least half a pound.
Oats: just oats, nothing to it. They can be whole, steel-cut, rolled, or any other variety as long as they are plain, fresh, and absolutely dry. I hope it’s obvious you shouldn’t use packets of instant oatmeal with all those sugars and flavorings!
How much you’ll need depends on how big your container is and how many eggs you are storing. For a medium-sized crock suitable for storing a dozen eggs, you’ll need at least six cups.
Double-Boiler or Wax Melter: for melting the wax. A wax melting pot is ideal, but if you don’t want to mess with it, a purpose-made or improvised double boiler setup on the stove works just fine. Beeswax is combustible so you need to heat it carefully.
Egg Holder: get or improvise an egg holder that will allow you to safely immerse your eggs in the melted beeswax without getting burned or dropping the egg. That would be disastrous!
Cooling Rack: a purpose-made or improvised rack that will allow your eggs to rest while the wax cools and hardens on their shells. You can use paper egg cartons, wooden egg racks or wire Easter egg holders.
Crock or Other Container: for storage. The traditional and best way to store waxed eggs is in an earthenware crock, but you can use any sturdy food storage container.
Pretty simple, all in all. Once you gather your gear and supplies, head to the next section and I’ll walk you through the process step by step.
Step by Step Instructions
Read over all of these steps and understand them before you begin. The process isn’t exactly time-sensitive, but you’ll save yourself a lot of trouble with a streamlined workflow.
Step 1: Clear workspace. You’ll be working with hot wax and handling eggs, which are incredibly delicate. A cluttered, awkward workspace is not amenable to this process. Clear some space on your kitchen counter or workbench so you have room for all of your supplies and tools before you get started.
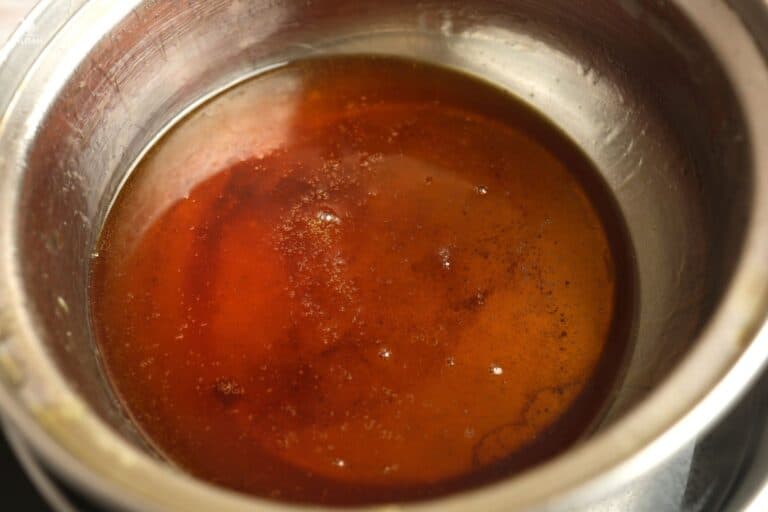
Step 2: Melt beeswax. Place your beeswax in the melting pot or in the smaller double boiler pot and get it on the heat. Heat the wax gently, stirring regularly and breaking up any clumps until it has reached a smooth, syrupy, completely liquid consistency. Do not bring it to a boil! Adjust the heat so it stays just right.
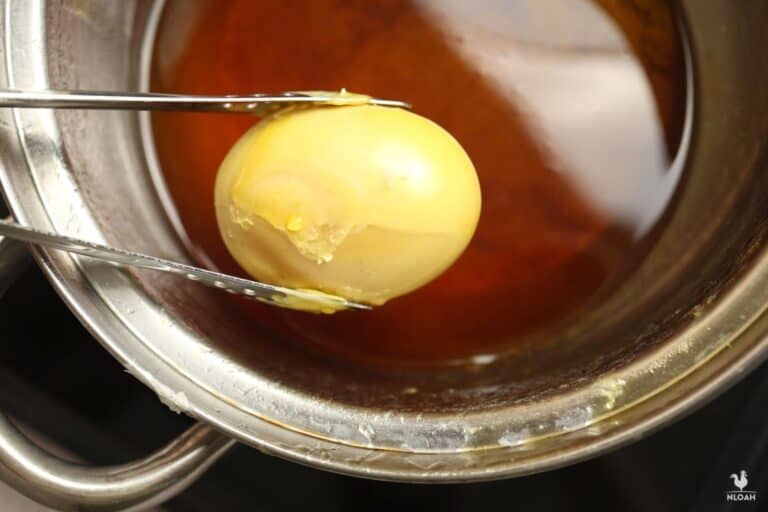
Step 3: Dip eggs into melted wax, coating fully. Working cautiously, load an egg into your egg holder then slowly dunk it into the beeswax, making sure it is fully submerged and covered.
Step 4: Catch drips, let firm, and transfer to rack. Gently lift the egg back out of the wax and let the excess run off for a few seconds. Once most of the drips have stopped, carefully transfer it to your nearby rack so it can cool down fully. Repeat steps 3 and 4 for every egg.
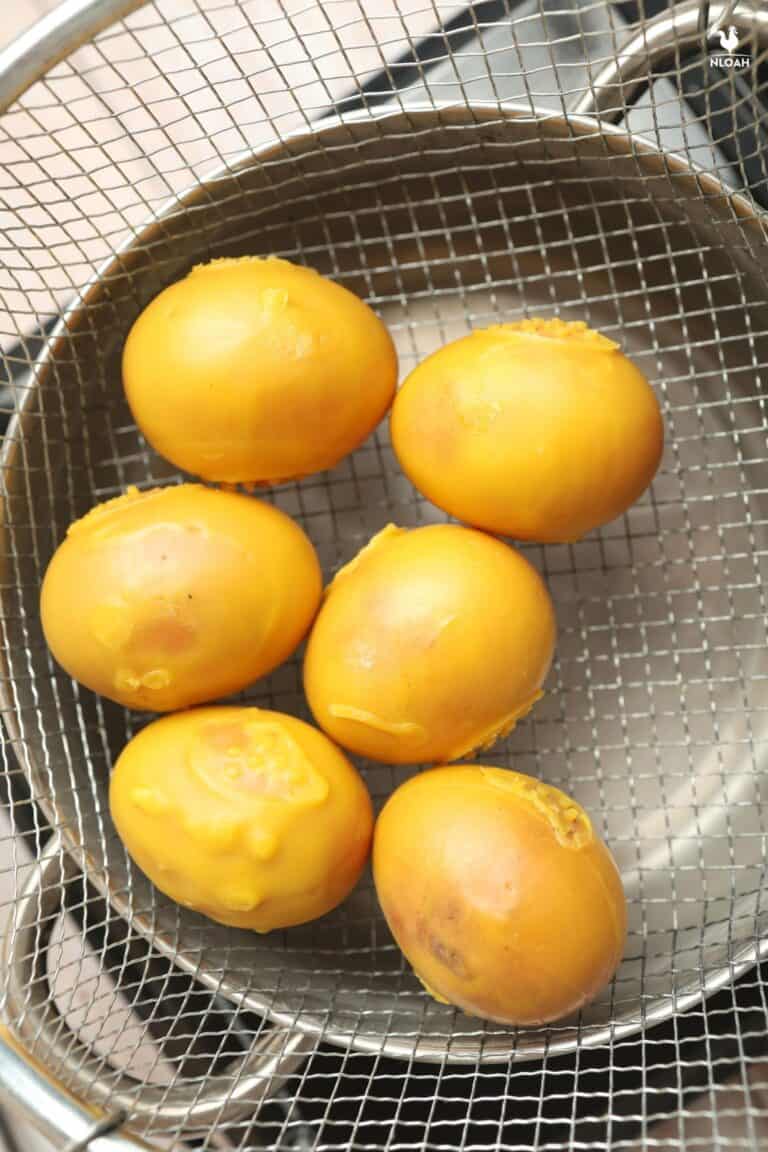
Step 5: Allow eggs to cool at least 1 hour. Give your eggs around 1 hour, maybe a little longer if your house is warm, for the wax to fully harden. Be sure that you keep the eggs away from all heat sources during this time.
Step 6: Layer oats in container. While your eggs are cooling down, start layering your oats in the crock. You’ll want a solid, gently packed layer that’s at least one inch thick on the bottom.
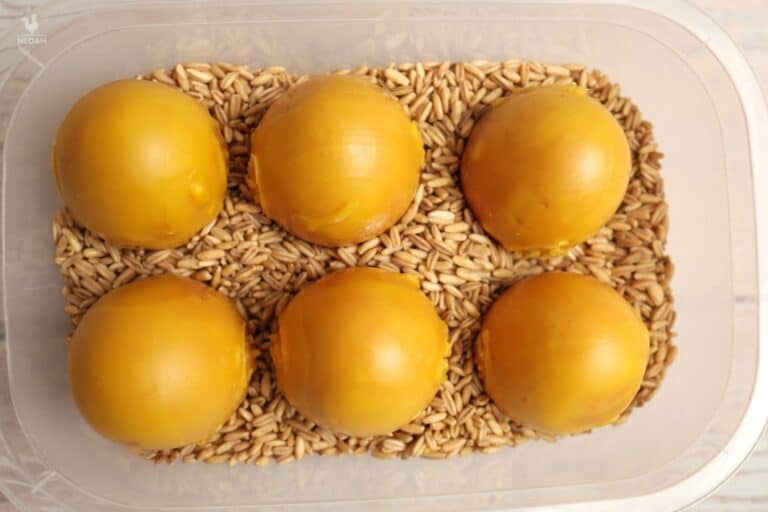
Step 7: Place eggs in container. Check the eggs and make sure that the wax coating on each is fully hardened. Once they are good to go, place each egg gently in the oats, pressing down a little bit to hollow out a depression that will help them remain upright.
Whether to set them with the wide or the narrow end down is a contentious issue, in the historical egg preservation literature, so I can’t really give a reliable answer at this point.
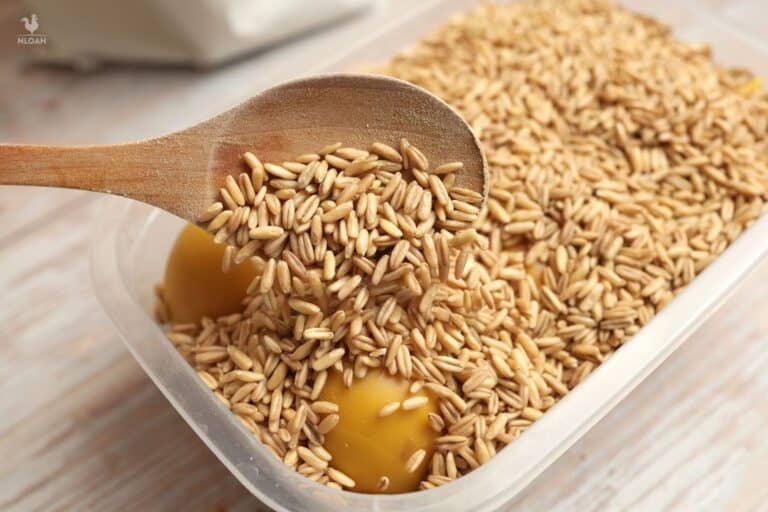
Step 8: Cover with more oats. Once all of the eggs are in place, take the rest of your oats and spread them evenly around and between the eggs until they are covered. This will give them cushioning and extra protection.
Step 9: Store in cool place. Place the loaded crock in a cool, dry place that is out of direct sunlight and protected from pests. Better yet, store them in the fridge.
Step 10: To use, crack eggs as normal. Whenever you want to use one of your eggs, simply retrieve it from the crock and crack it open. Make sure none of the beeswax flakes off and gets in when you do. Even if it does, though, you don’t have to worry because food-grade beeswax is safe to eat.
Also make sure you inspect each egg thoroughly to notice any signs of visual spoilage. And you are done!
Tips and Tricks
Stick with a crock that has a heavy lid for pest protection.
If there’s any chance whatsoever you can have mice or bugs getting into your storage location, you’ll definitely want to use an earthenware crock with a heavy, tight-fitting lid. This is something that mice won’t chew through and most insects can’t get into; oats are really tasty and can attract pests so take care.
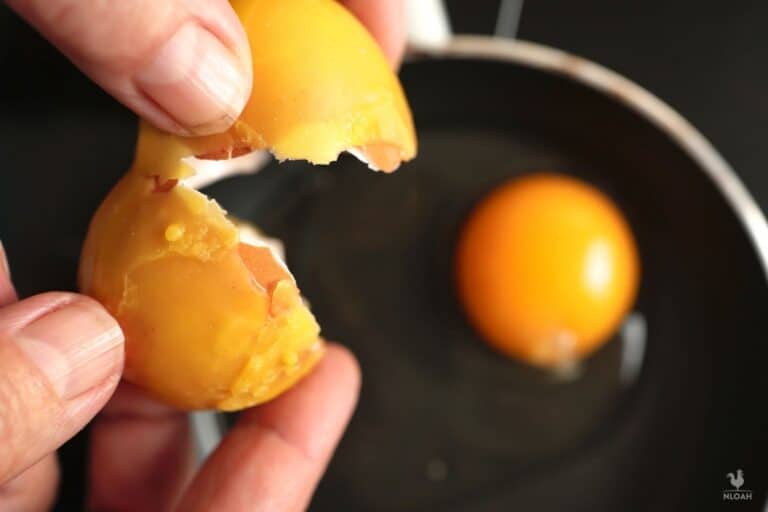
These eggs are best when used in recipes or scrambled.
Although your eggs should still taste great when preserved this way, some textural changes do take place. Notably, they won’t fry right if you like your eggs over easy or sunny side up. They work out much better when added to recipes or when scrambled.
Do not create multiple layers of eggs in one container!
As tempting as it might be to store even more eggs in one container by creating a second layer of oats, don’t do it. The weight of the eggs above the first layer on the bottom can press down on them or they can start to shift and tumble around and crush each-other. If you need more storage, use smaller, stackable containers so each has a hard floor.

Get your gift and learn things like:
- how to make this really quick pest spray
- how to prevent egg waste
- two cheap automation devices that will make your life easier
Tom has lived and worked on farms and homesteads from the Carolinas to Kentucky and beyond. He is passionate about helping people prepare for tough times by embracing lifestyles of self-sufficiency.