
Nothing beats a tangy, spicy, delicious bowl of salsa with crispy, salty chips. If you’ve only ever tried the store-bought stuff, you don’t know what you’re missing. Homemade salsa is incredibly good, and easy to make. But what’s not so easy is canning it yourself.
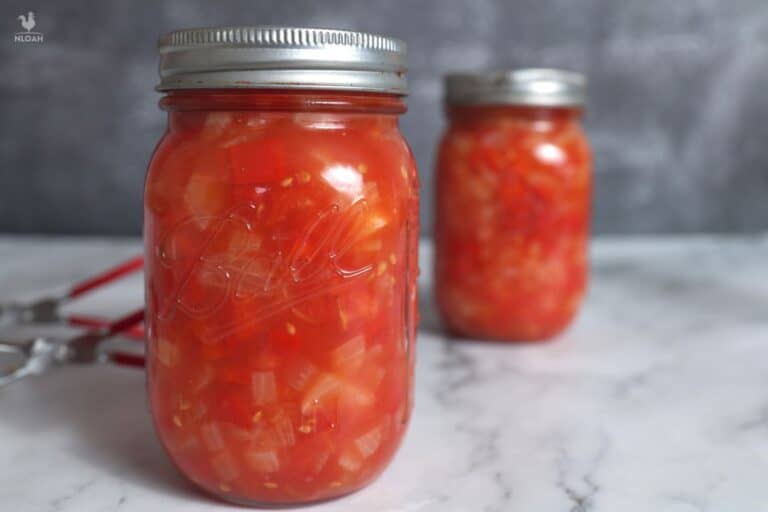
It turns out that getting the proportions of ingredients just right so it tastes good while remaining acidic enough to reliably, and safely, can at home is quite tricky. Luckily you don’t have to gamble here, because the National Center for Home Food Preservation has already cracked the code on a super easy and delicious salsa.
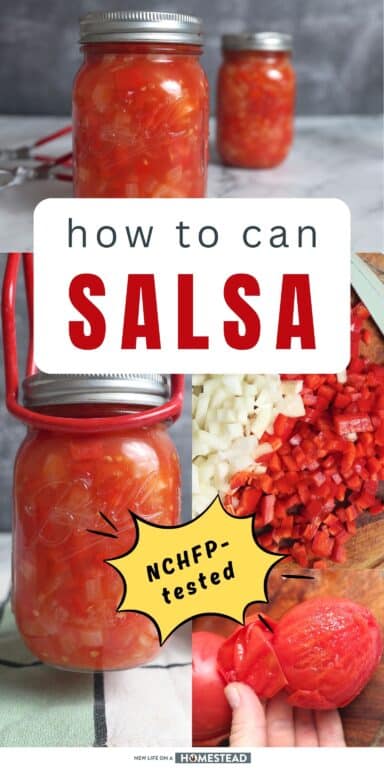
I’ll be walking you through this tested recipe and process below. Grab your gear, clear the kitchen and let’s get a move on.
What You’ll Need
Note: the ingredients and ratios specified below are crucial for success and safety. Do not innovate with quantities or with add-ins! You can, however, use most kinds of tomatoes, onions and peppers that you like.
The canning authority is somewhat vague here, saying that the recipe was “tested with a wide variety of tomatoes, peppers and onions”. It doesn’t give any specific varieties, so assume the common ones you can buy at the grocery store or grow yourself are fine.
Ingredients
Tomatoes, ripe: fresh tomatoes are the way to go here. Just make sure they are firm and ripe, and that you discard any that look bruised or diseased. You’ll need six level dry cups once they are diced, so plan accordingly if you are using larger or smaller cultivars.
Onions: again, any onions, be they white, red, yellow or sweet, are just fine. Combined with the peppers, you’ll need a total of nine level cups. That means if you like more onions and fewer peppers, you’ll be okay as long as you have nine cups with both combined. See the next ingredient.
Peppers, hot or bell: spicy peppers like jalapeños or even habaneros are ideal for this recipe if you like a little punch, but if it’s not your thing, feel free to reach for bell peppers or sweet peppers.
Again, combined with the onions you’ll need a total of nine cups with both included. Adjust the number of peppers based on your taste, so long as you end up with 9 cups in total.
Bottled lemon or lime juice: this is a very specific thing for this recipe. Use only commercially bottled lemon or lime juice, and you’ll specifically want to avoid key lime juice because it isn’t quite as acidic. You’ll need 1 ½ cups.
Canning or pickling salt: You need 3 level teaspoons.
Tools
Water bath canner: any type or style of water bath canner works fine, be it a stovetop model or a fancy standalone electric type. Just make sure it works, it’s clean and you know how it operates before you begin.
Large stockpot: necessary for boiling and simmering the salsa, and preparing our tomatoes.
Jars, ½ pint or pint: this recipe has been specially tested to work with single pint or half-pint jars. Do not use larger jars! The larger internal volume could result in poor heat penetration throughout, which would lead to food safety issues.
Lids with bands: brand new, unused lids are a must. Never reuse any lids that aren’t explicitly designed and intended to be reused with special jars. Note that you can reuse bands as long as they aren’t rusty, dented or splitting.
Cooking spoon: a long-handled, slotted cooking spoon works best and will help you throughout the process.
Ladle: very handy for filling your jars with a minimum of mess. Also works well for transferring your boiled tomatoes to the ice bath.
Jar tongs: use these to quickly and safely load your jars into the canner and take them out.
Bubble tool: this special stick helps remove air bubbles trapped in your jars of salsa prior to processing. If you don’t have one of these, you can use a plastic knife, flat plastic spatula, or similar tool to the same effect. Avoid kitchen knives because they might chip the jar.
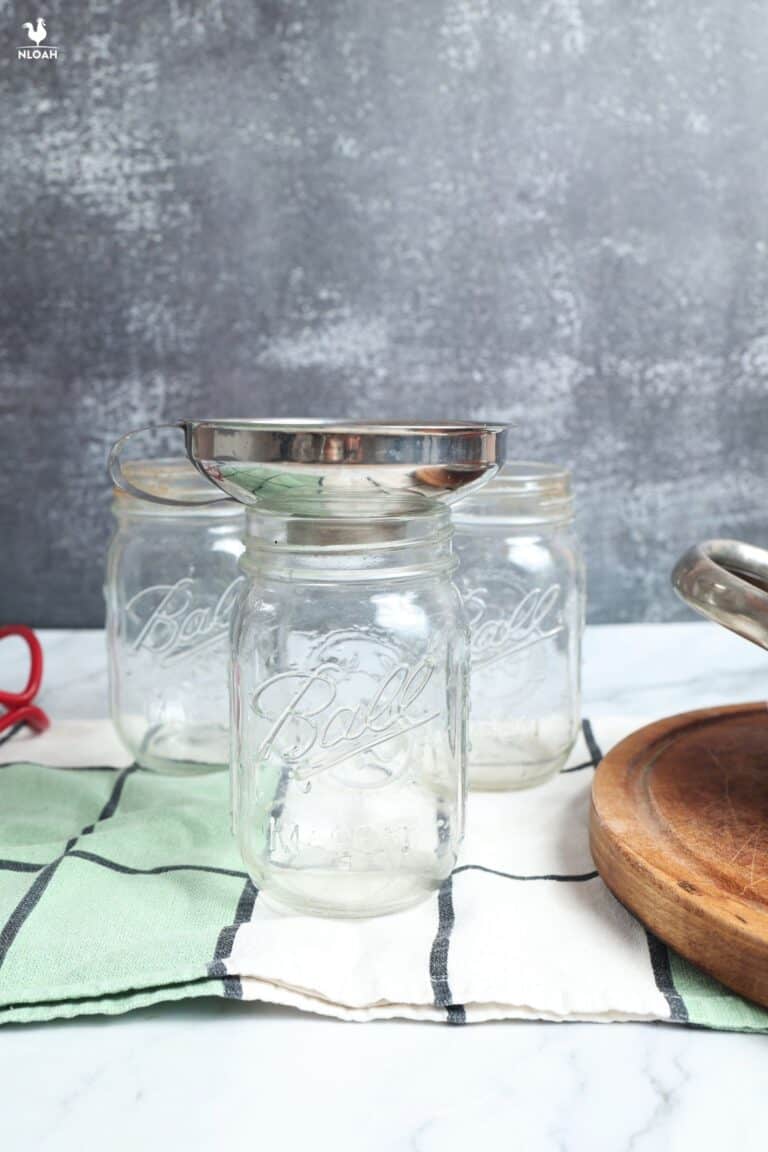
Canning funnel: vital for filling jars without making a mess on your counter and, more importantly, getting food on the rim or threads of the jars.
Colander: helpful for washing your produce.
Cutting board: self-explanatory.
Knife: a kitchen knife or good, sharp paring knife is all you’ll need.
Food-prep gloves (optional): not strictly necessary, but you’ll want to have these if you’re working with any kind of spicy peppers.
Paper towels: for cleaning up messes that invariably occur.
Cleaning the Jars, Lids, and Rims
Whether you have new or old jars, after a thorough inspection for chips and cracks, you need to give them a good clean. There are two ways to do this: you can either wash them in hot, soapy water by hand, or you can run them through the dishwasher.
As for the lids and rims, these should NOT go into the dishwasher, but should be cleaned by hand.
Note 1: you do NOT need to sterilize the jars because you’ll be processing them for at least 15 minutes (you may have seen this extra step in other canning recipes).
Note 2: you need to keep the jars hot until you are ready to ladle in the salsa. This is trivial if you ran them through the dishwasher: simply keep the dishwasher door closed. If, however, you washed them by hand, you’ll need to
Step by Step Instructions
Step 1: Prep canner, canning tools and jars. Before you start prepping the ingredients, get out your canner, all your canning tools and your jars.
Inspect them for any defects, clean them and then get your jars preheating and keep them hot. Do this according to the manufacturer’s instructions for your jars. Likewise, fill your canner with water so that it’s at least 1 inch above the top of the jars as they sit on the rack inside – and get it preheating also.
Step 2: Wash, core and chop onions. Peel the papery skin from your onions and the thick, outermost layer of the flesh underneath. Give them a good wash, core them and dice into pieces no larger than a quarter inch.
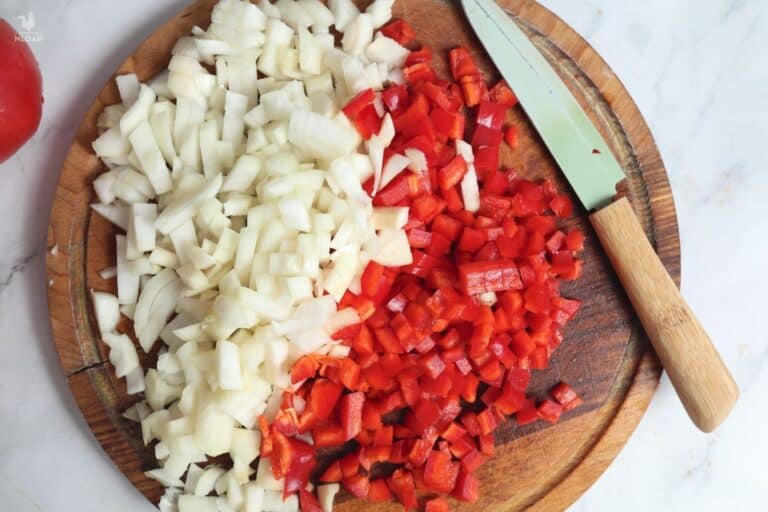
Step 3: Wash, de-stem and chop peppers. Wash your peppers, remove the stems and dice into quarter-inch pieces. If you’re using spicy peppers, removing seeds and membranes will reduce the spice. Leaving them in will increase it. If you’re using bell peppers or sweet peppers, remove the membranes and the seeds. IMG_8339
Step 4: Wash and boil tomatoes. Give your tomatoes a thorough wash and remove any stems, calyx or vines that remain. Prepare a cold ice water bath in a large bowl. Bring water to a boil in your stockpot, then carefully submerge the tomatoes for around 30 to 60 seconds, until you see the skins start to split.
Step 5: Carefully dip tomatoes in cold water bath. Using your spoon, quickly but carefully dip the tomatoes into the cold water bath. Give them a short time to chill, then remove them.
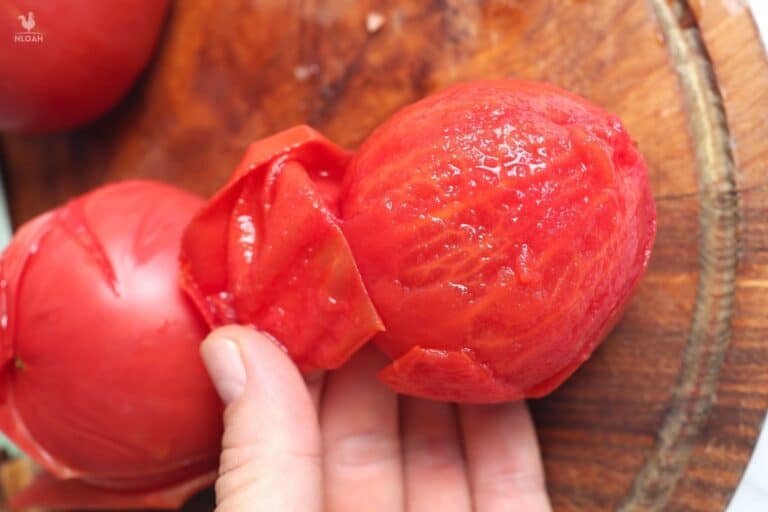
Step 6: Peel, seed and chop tomatoes. The skins of your tomatoes should just slide off. Discard these, then seed and chop the tomatoes into pieces, anywhere from a quarter to half inch. IMG_8356
Step 7: Combine ingredients in stockpot, boil. Carefully dump the hot water from your stockpot. Add all of your vegetables, then the lemon or lime juice and the salt. Bring this to a boil gently over medium heat, stirring continuously.
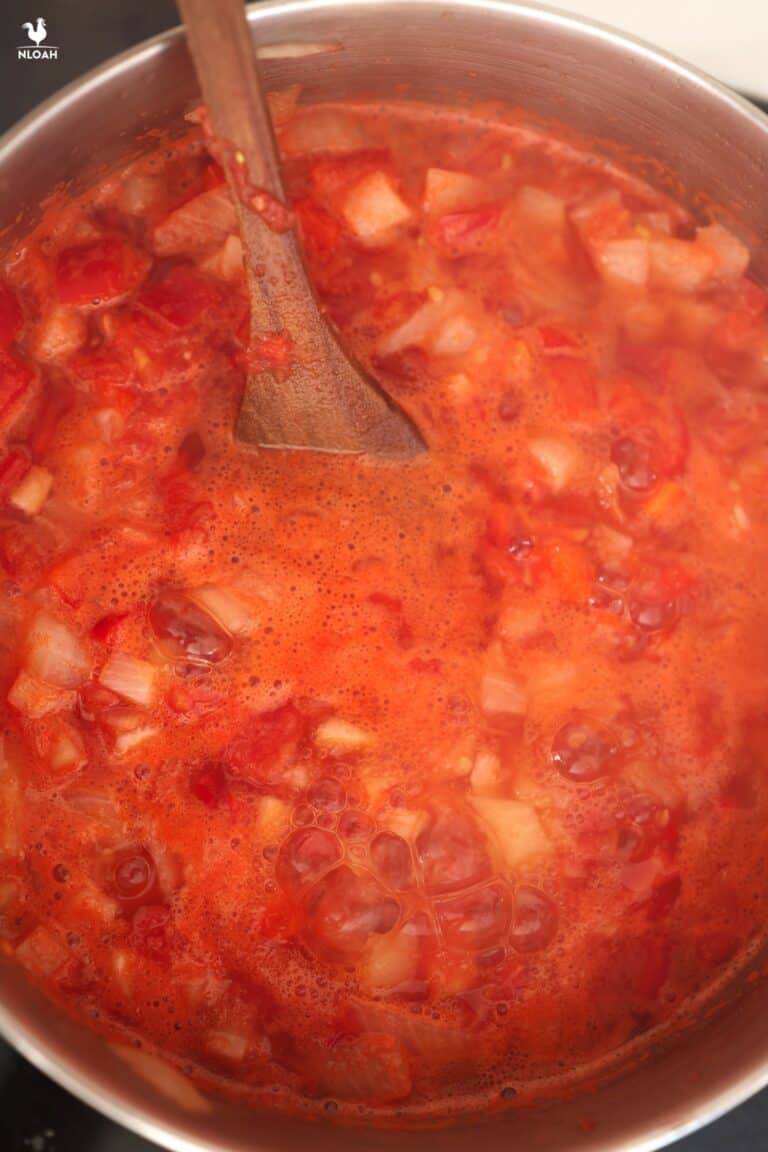
Step 8: Reduce heat, simmer. As soon as your salsa comes to a boil, reduce the heat and simmer it for 3 minutes. Stir regularly to prevent scorching.
Step 9: Ready jars. While the salsa is simmering, get your hot jars ready for filling on the counter nearby. Remember to protect your countertop if needed, because the jars need to be kept hot from the moment you clean them to the moment you fill them with produce.
Step 10: Carefully fill jars with hot salsa. Place your funnel on the first jar, then use your canning ladle to fill each of the jars in turn, leaving a half-inch headspace. Remove bubbles from each filled jar.
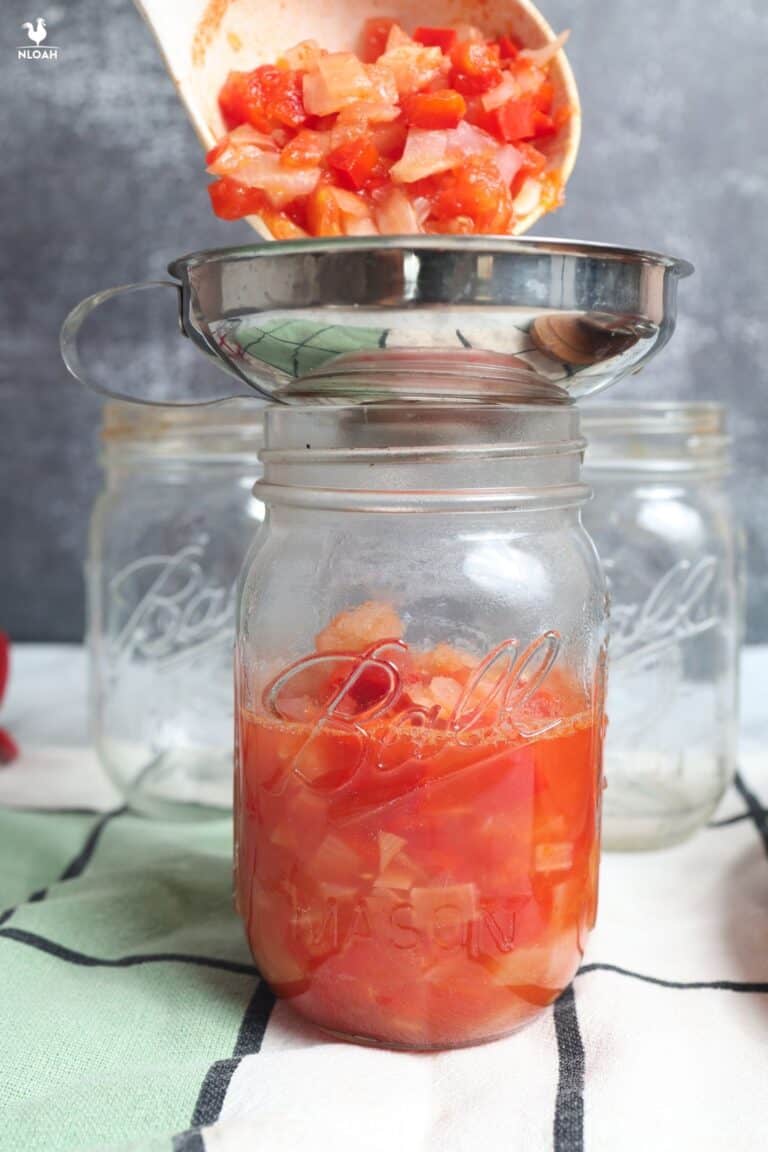
Step 11: Adjust headspace, wipe off jar rims. If needed, quickly remove a little salsa from any jar that is overfilled, then wipe off the rims with a damp, clean paper towel.
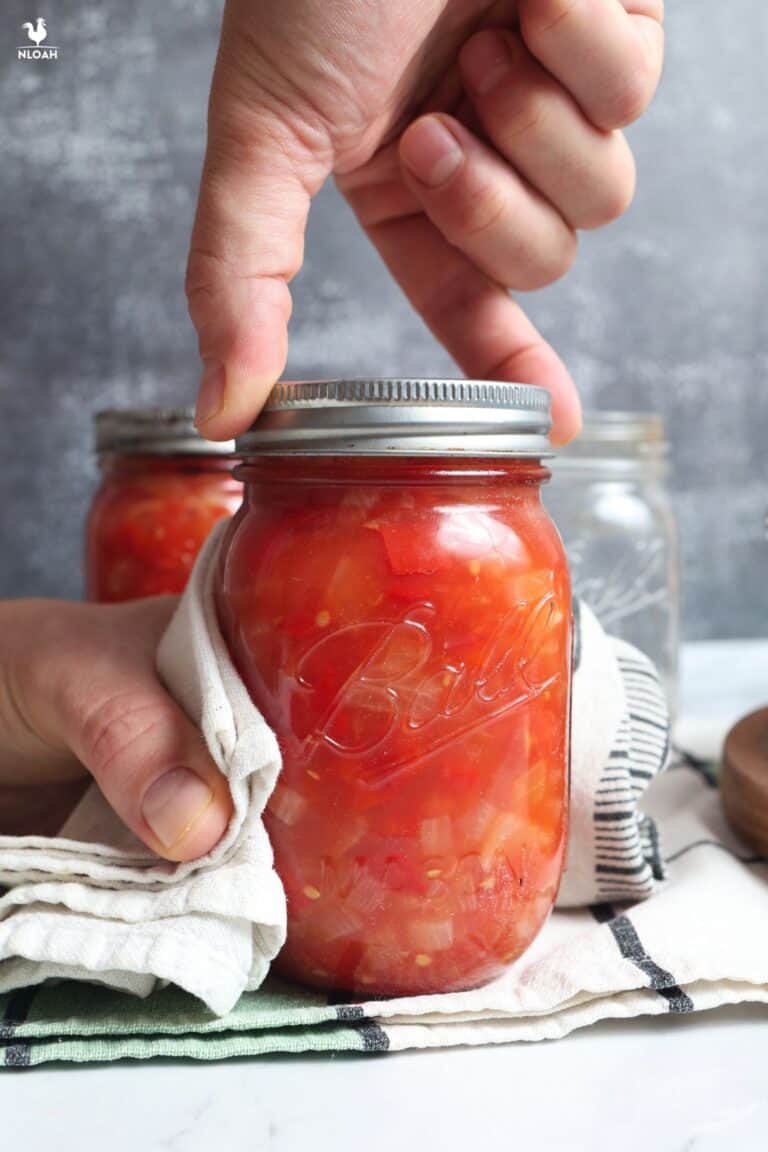
Step 12: Cap jars finger-tight, secure with bands. Place a lid on each jar and secure it with a band, tightening it just finger-tight.
Step 13: Load jars into canner. Using your jar tongs, load the jars into your prepared canner. Again, make sure the water covers them by at least 1 inch. If it doesn’t, you need to add more (boiling!) water to the canner.
Step 14: Process jars. Secure the lid on the canner, bring the water to a boil, and then start your timer. Process according to the following guidelines:
- If between sea level and 1,000 ft in elevation, process for 15 minutes.
- If between 1,001 and 6,000 ft in elevation, process for 20 minutes.
- If above 6,000 ft in elevation, process for 25 minutes.
Step 15: Rest jars in canner. Once processing is complete, turn off the heat to the canner but do not remove the jars. You SHOULD remove the lid, though. Let them rest, in place, for 5 minutes.
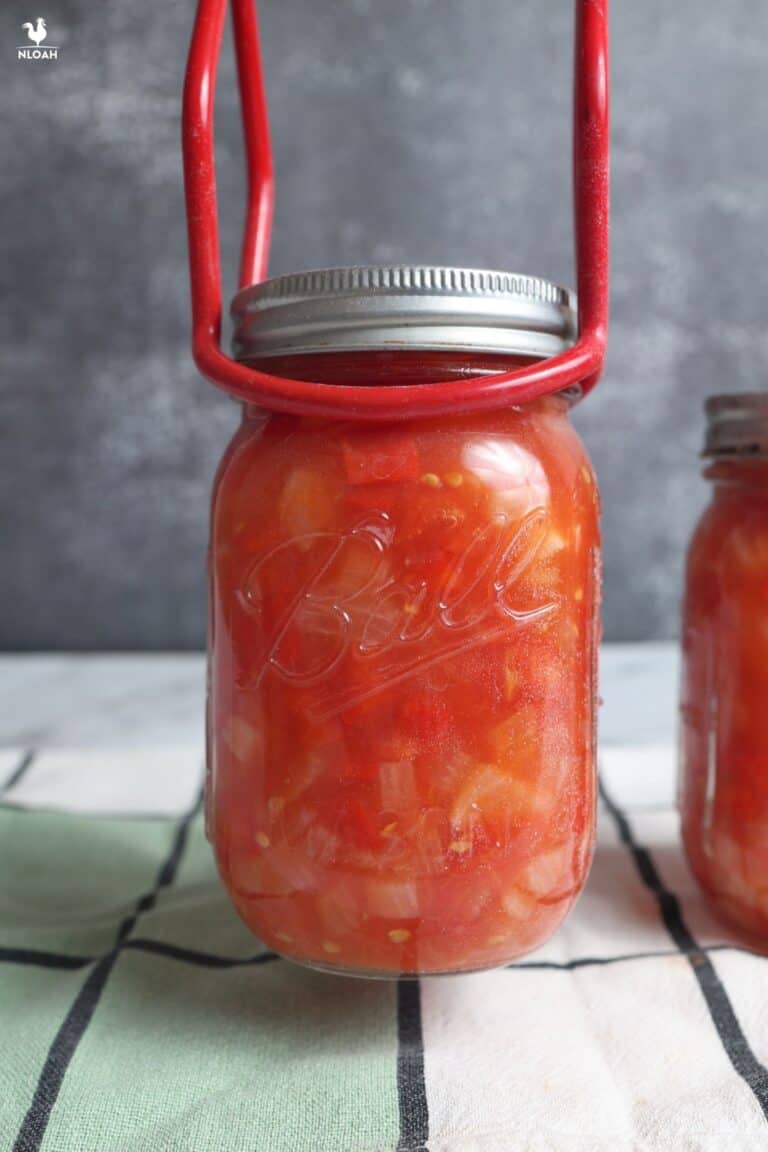
Step 16: Remove jars, let cool fully. After the jars have rested, carefully remove them using your jar tongs and set them on a protected surface away from drafts. Let the jars cool for at least 12 hours, possibly up to 24 hours.
Step 17: Check all lids for good seal. Once the jars are completely cool, first remove the bands, then check every lid for a good seal. Unscrew the bands and press on each lid. They should not move or pop.
Then tap on the lid with the bottom of a spoon; it should sound high-pitched, not dull. Lastly, pick up each jar and look across the lid, holding it at eye level; the lid should look concave (depressed), not flat or bulging. Jars that pass these tests are good to go.
Step 18: Store, and you’re all done! Keep your canned salsa in a cool, dark place that is protected from direct sunlight or any temperature swings. Great job! IMG_8406
Dealing with Bad Lids and Excess Salsa
If any of your jars fail the lid test above in Step 17, treat it as a shelf-stable food, not as canned food. You can open the jars and enjoy the salsa right now, or put it in the refrigerator, where it will keep for a few days.
Likewise, if you don’t have quite enough jars or just have a little leftover salsa after canning, you can put it in any food storage container and stick it in the fridge, where it will also last for a few days. It will still be quite good!

Get your gift and learn things like:
- how to make this really quick pest spray
- how to prevent egg waste
- two cheap automation devices that will make your life easier
Tom has lived and worked on farms and homesteads from the Carolinas to Kentucky and beyond. He is passionate about helping people prepare for tough times by embracing lifestyles of self-sufficiency.
I wanted to print this recipe, but it would be to many pages (limited income) without all the advertisements. I don’t mind them if I’m only reading, but not printing. Any way to get it only to print recipe? Thank you, stay safe.
Hi Carolyn,
Yes, you can use the blue print button at the bottom of the article (next to the social butons). It should generate a print version that is ad-free.
Dan