No matter what you do around your homestead, I’m willing to bet you work with your hands. And work with them a lot! Naturally, constant use, exposure to the elements, and wear and tear will result in sore, cracked, and rough skin. There’s nothing wrong with working hands, especially if you aren’t worried about being judged socially. But if you don’t take care of them, they can crack, bleed, and even get infected. No one wants that!
Most modern hand creams and other treatments are full of questionable ingredients that offer dubious benefits. I got sick of it, and so I made my own. Below, you’ll find my super-simple hand butter recipe that uses just a few easily sourced ingredients. Roll up your sleeves, and we’ll get right to it.
What You’ll Need
You should easily be able to nab these ingredients from your local cosmetics store or grocery store, or get them online. You can make a small batch for occasional use or a big batch for constant use, depending on what quantities you want to buy.
Aloe Vera Gel, 3 parts: This is the most important ingredient in the recipe when it comes to performance, and it’s a shame you don’t see it in other products more often. Aloe vera is packed with healing vitamins and polysaccharides that will heal cracks by stimulating collagen production. This also helps the other ingredients spread easily and absorb quickly.
Beeswax, 1 part: Beeswax is what will give our hand butter that velvety but clinging structure. It feels good, and more importantly, it forms a coating that will lock the other ingredients onto our skin where they can do the most good. If you live in a dry environment, you’ll really appreciate it because it promotes moisture retention, too. Make sure you get beeswax, not paraffin wax!
Shea Butter, 1 part: Most folks are familiar with this stuff. Shea butter is legendary for its deeply moisturizing capability. Most don’t know, though, that it’s also a potent anti-inflammatory. It will help the hand butter spread easily without feeling greasy, too.
Vitamin E Oil, 1 part: This is another highly potent antioxidant that will help both heal and protect your skin from oxidative damage. Constant exposure to sunlight or various pollutants found around the homestead are both major sources of wear and tear on your poor skin. Vitamin E oil is also, in this case, a preservative that will prevent our other ingredients from going rancid in storage.
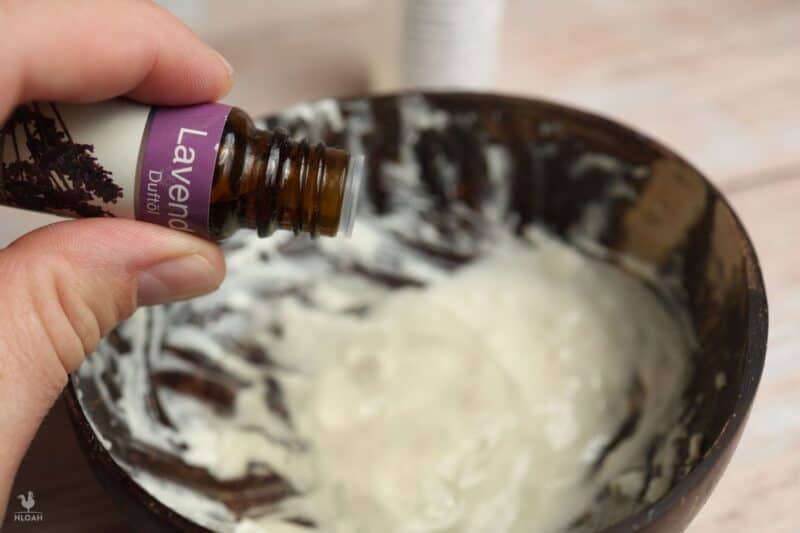
Lavender Essential Oil, a few drops: We aren’t including it just because it smells good, although it definitely does! Lavender is a noted all-natural anti-inflammatory and antiseptic. It will help to relieve pain, soothe irritated skin, and reduce redness. Use one or two drops for a small batch, up to 10 if you’re making a few cups of the stuff. Don’t overdo it, as concentrated essential oils can cause irritation in some folks.
Vanilla Essential Oil, a few drops (optional): Vanilla is included here primarily for the fragrance, and it is a knockout alongside lavender. If you don’t like it or just don’t want to use it, you don’t have to. Leave it out.
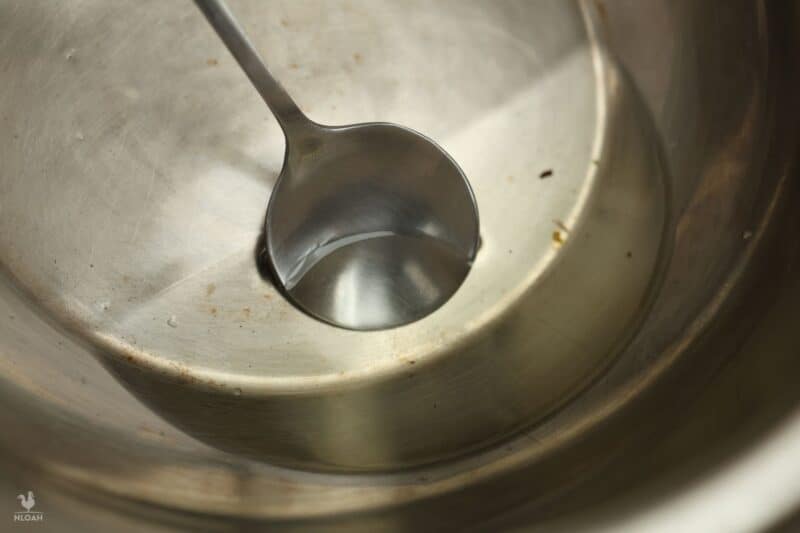
Double Boiler or Pots: Used for melting the beeswax. If you don’t have a double boiler, you can use a smaller pot set in a larger one of boiling water.
Electric Mixer or Sturdy Whisk: You’ll need this to whip the shea butter. If you’re going to use a hand whisk, a sturdy metal one is your best bet, and you’ll need to supply plenty of elbow grease.
Mixing Bowl: A metal or glass mixing bowl works best, but you can use any kind you’ve got handy as long as it’s clean.
Measuring Cups or Spoons: Self-explanatory. If you’re making a small pocket or purse-sized batch, use measuring spoons. Measuring cups for making a big one.
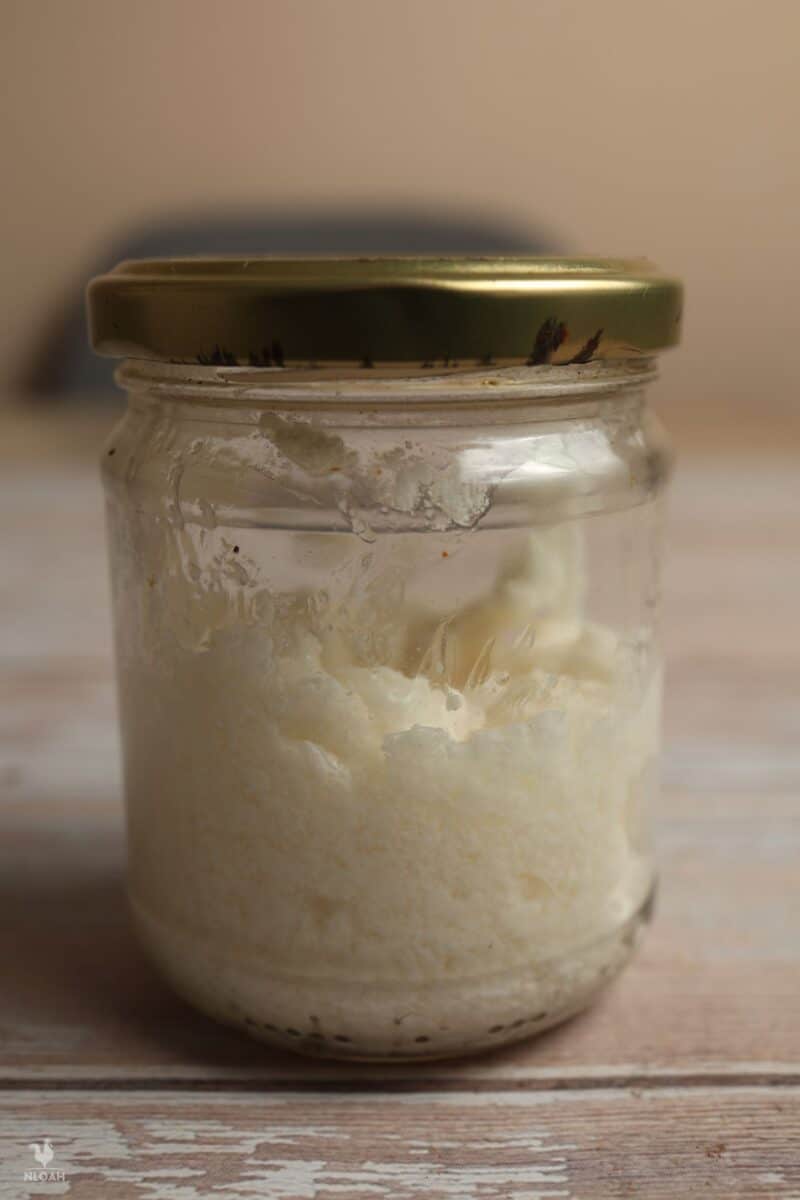
Glass Jar with Lid: An airtight seal will preserve your DIY hand butter. Avoid plastic, which may leach questionable stuff into the finished product.
That’s all you’ll need. I’ll tell you how to put it all together in the next section.
Instructions
Step 1: Gently melt beeswax in a double boiler. Place the beeswax in the double boiler or the pot and simmer the water so that it melts slowly and evenly, stirring it as needed to break up any clumps. Move on to the next steps while this is happening.
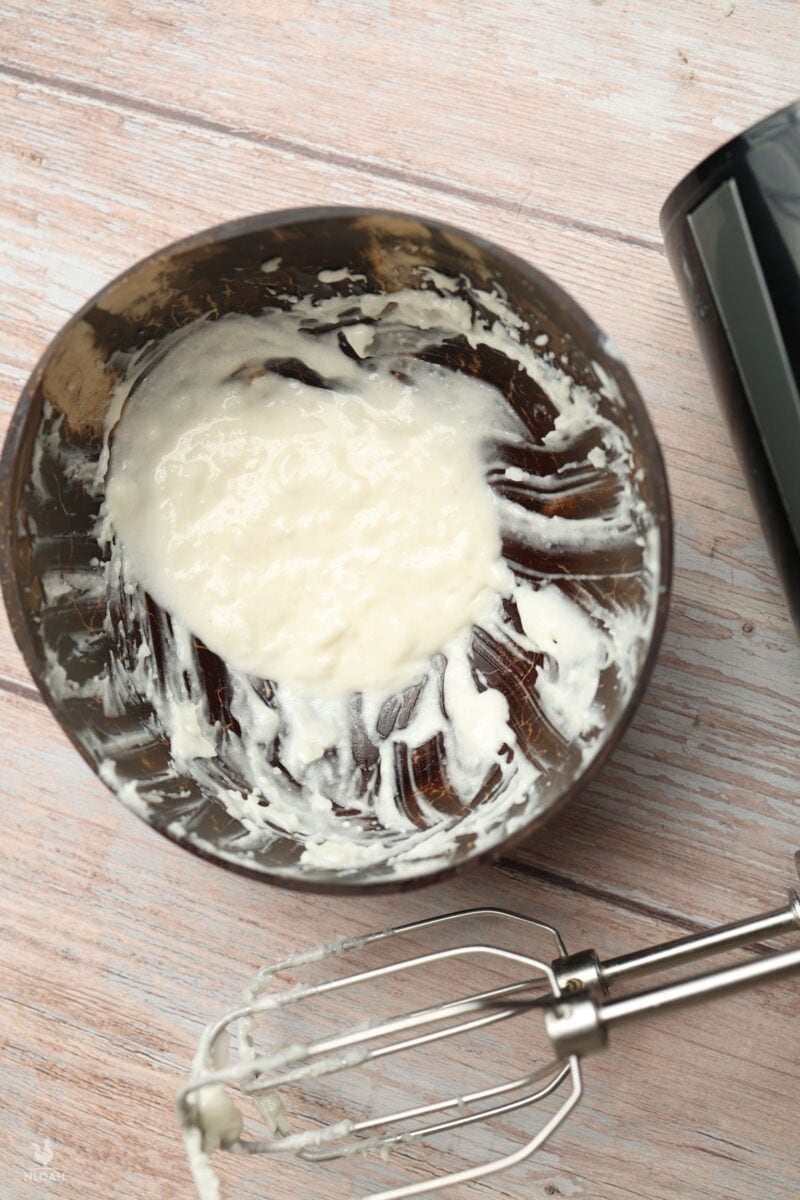
Step 2: Add shea butter to a bowl, mix until fluffy. Place the shea butter in your mixing bowl and then mix it thoroughly with your electric mixer or whisk. Keep going until it takes on a light, fluffy texture that’s a little bit like meringue or lithium grease.
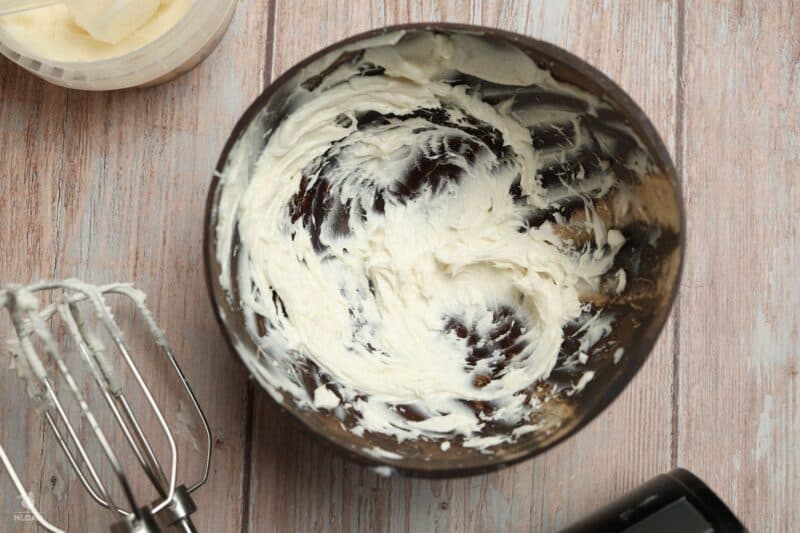
Step 3: Add melted beeswax to shea butter, mix thoroughly. Once the shea butter is nice and fluffy, pour the melted beeswax into it and stir or hit it with the mixer to combine.
Step 4: Add all other ingredients, mixing until combined. Now add in all of the other ingredients in the same mixing bowl, stirring or mixing as before until completely smooth and fully combined.
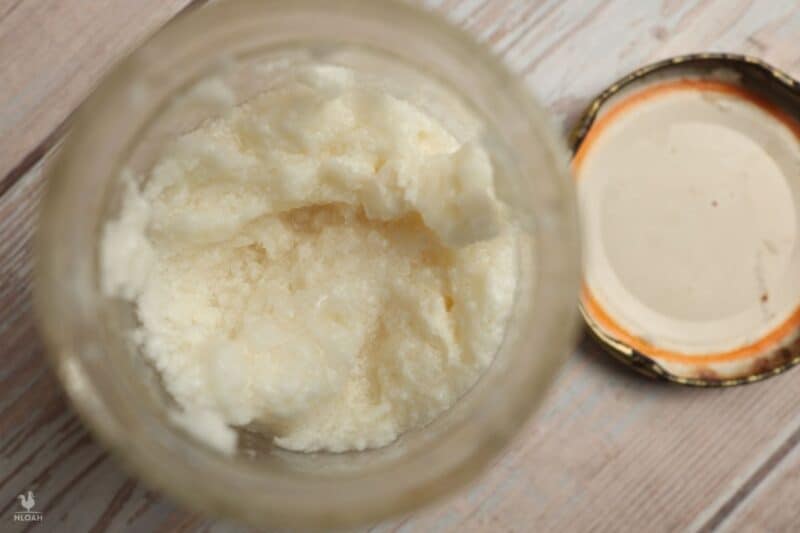
Step 5: Pour or scoop mixture into a jar. Allow to cool. Use a spatula, spoon, scoop, or anything else to transfer the mixture into your storage jar or other container. Let the mix cool all the way down, and it should firm up into a dense but spreadable butter consistency.
Step 6: Use as needed! You’re all done. Grab a little bit on your fingertips, work it into your palms to help it melt, and then spread it all over your hard-working hands to help soothe and heal them.
Storage
Keep your finished batch of hand butter out of direct sunlight and preferably in a cool place. Sunlight and higher temperatures can promote spoilage or rancidity.
Unlike some other recipes out there on the net, you don’t have to worry much about this spoiling and getting moldy since it doesn’t contain water, which is an easy way to promote the growth of bacteria!
Tips and Tricks
Use different essential oils to customize. The base recipe above is amenable to many kinds of essential oils, most of which have their own benefits. Cedar is popular, as is myrrh. If you want something a little more floral, try rose. If you want to use a combination, remember that you’ll add fewer drops of each.
Wash your hands before you apply. The butter will work better on clean, dry hands. Just as importantly, touching the butter with dirty hands might lead to an outbreak of mold or other gribblies on the surface. You don’t want that!
Apply at night for maximum benefit. Your body does a lot of repair and regeneration at night, and applying this butter to your hands right before you go to bed is a great way to keep it in place and give your skin a major boost at the same time.

Tom has lived and worked on farms and homesteads from the Carolinas to Kentucky and beyond. He is passionate about helping people prepare for tough times by embracing lifestyles of self-sufficiency.