
If you’re anything like me when tidying up in the kitchen and around the house, you go through paper towels fast and furiously. Cleaning up a mess? Paper towels. Wiping windows, the oven door, and the microwave door? Paper towels. Drying my hands? You got it, paper towels.
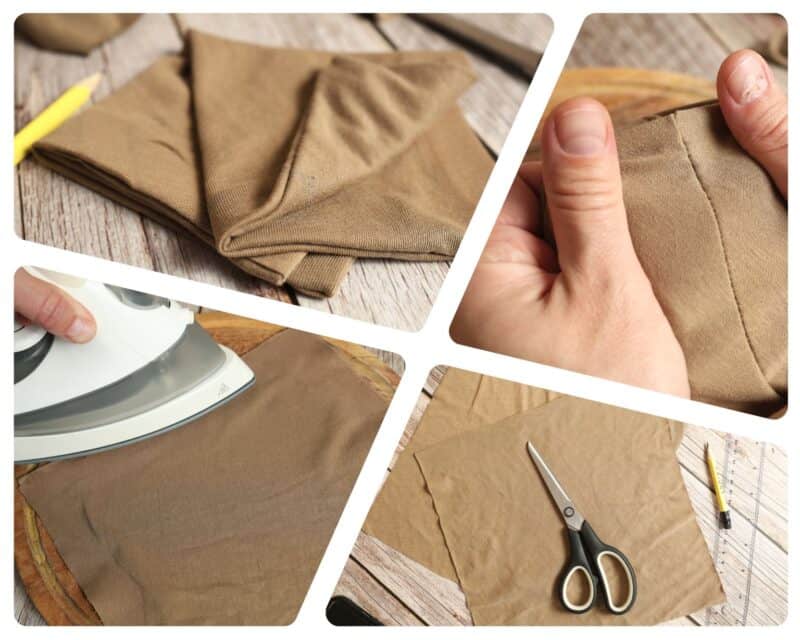
It’s easy to get addicted to the convenience, but if you haven’t taken the time to tally how much you spend on them every year, get ready for a shock: the average American, buying any of the major brands, can easily spend over $350! And that doesn’t even touch on the waste you generate that’s headed straight for the landfill.
Save some money and break the cycle by making your own cheap, easy, reusable cleaning towels. And no sewing required, I promise! I’ll walk you through it with this handy guide, which is based on these really cute towels they made here – they look really cute!
Do These Clean As Well As Paper Towels?
Yes, they sure do. Trust me, I get it. Grabbing a disposable paper towel to do some cleaning and then throwing it right in the garbage feels like the ultimate high if you’re committed to winning the war against germs.
But guess what? Common cloth can do just as well! The trick is not to ask too much of it. If you have a bunch of these handy reusable towels on hand, you can use one to do a little scrubbing and then drop it in the laundry basket before grabbing a fresh one. Once they go through the wash, they will be clean, sanitary, and as good as new. And you won’t be filling up your trash can!
Tools and Supplies
You don’t need much for this project, and if you already have a few supplies, you’ve probably got everything you need.
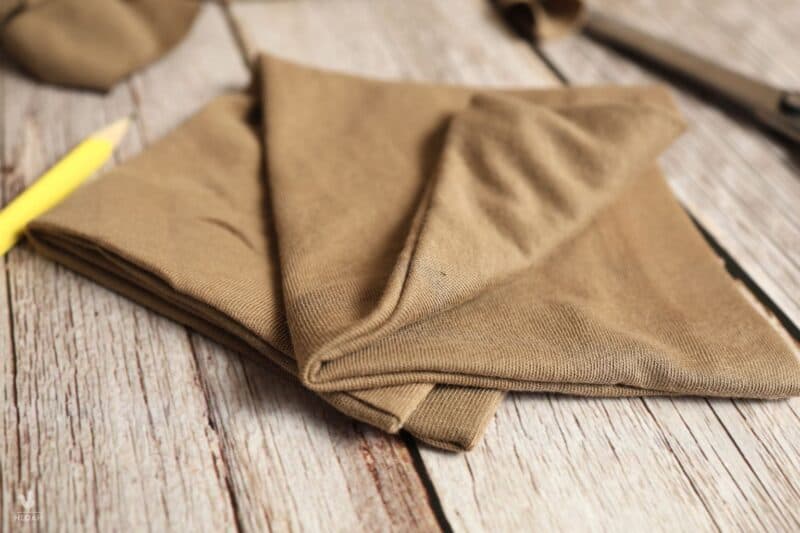
Fabric: You can use almost any kind of fabric to make your towels, but the very best is linen or cotton. It is absorbent, easy to launder, and easy to work with. You can even use two different kinds or thicknesses if you want to.
Fabric scraps work just fine, too, as long as they are big enough. Essentially, you’ll need two 12-inch x 12-inch squares for each towel that you want to make. Gather or buy accordingly, and you’ll be set.
Hemming Tape: Hemming tape is a heat- or pressure-activated fabric tape that creates a strong bond. This is what we will use instead of needle and thread to join our two pieces of cloth together and make our towels. You can get it at any fabric store, many hobby shops, and in the sewing section of most major department stores.
One thing to note is that different brands have different processes for application, so make sure you read the instructions carefully and modify the directions below accordingly if required.
Clothes Iron: Most hemming tape is heat-activated, so we’ll use a clothes iron to quickly and easily reach the needed temperature and produce a strong bond in the fabric. Any common clothes iron will do the job.
Ironing Board (or other safe surface): Obviously, we’ll need a safe surface to iron on for this project! A sturdy ironing board is just the thing, but if you don’t have one or prefer to work somewhere else for this project, you can use an old, clean wooden cutting board for the same purpose.
Ruler: Self-explanatory.
Scissors: Sharp scissors suitable for cutting fabric are a must-have here. You don’t have to be extremely precise with your measurements and cuts, but it will make things so much easier and produce a superior finished product.
Tailor’s Chalk or Fabric Pencil: Handy for making easily removable marks on all kinds of fabric. Grab one when you go to get the hemming tape, but if you don’t have one, you can get by with a common graphite pencil.
And that’s absolutely everything you’ll need. Time to get down to business.
Step-by-Step Instructions
Step 1: Lay out fabric. Clear your workspace and lay out your chosen fabric so that you can measure and cut easily.
Step 2: Measure and mark fabric pieces. You want to measure out and mark your fabric to form sets of identical squares. I think a 12×12-inch towel is perfect for general cleaning, but you can go 10×10 if you want something smaller or even something like 15×15 if you want something a bit bigger for big messes or shop use.
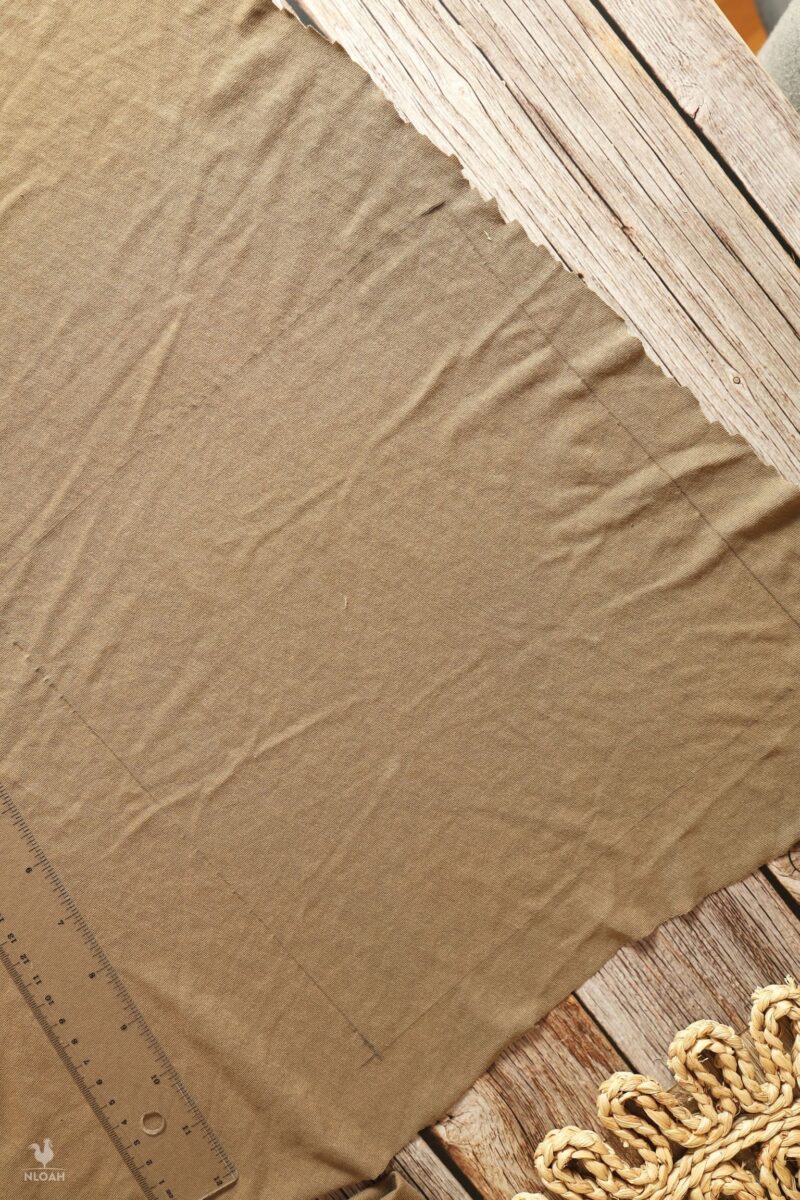
You’ll need two pieces of fabric, each of identical size, to make one reusable towel. Take your time, use your ruler, and do a good job.
Step 3: Cut out pieces with scissors. Proceed carefully; the more symmetrical each piece is, the nicer your finished towels will be. It will also make the following steps easier!
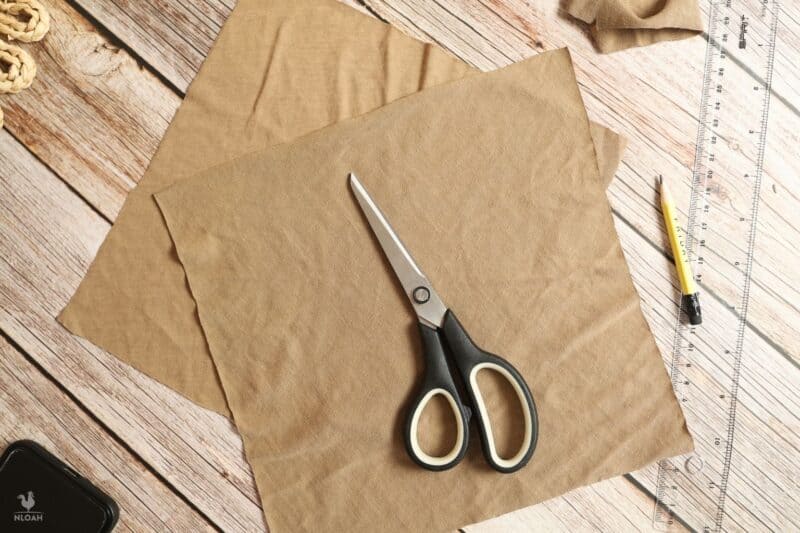
Step 4: Pair fabric pieces. Again, you’ll need two pieces of fabric, of identical size, for each towel. Pair them off however you want.
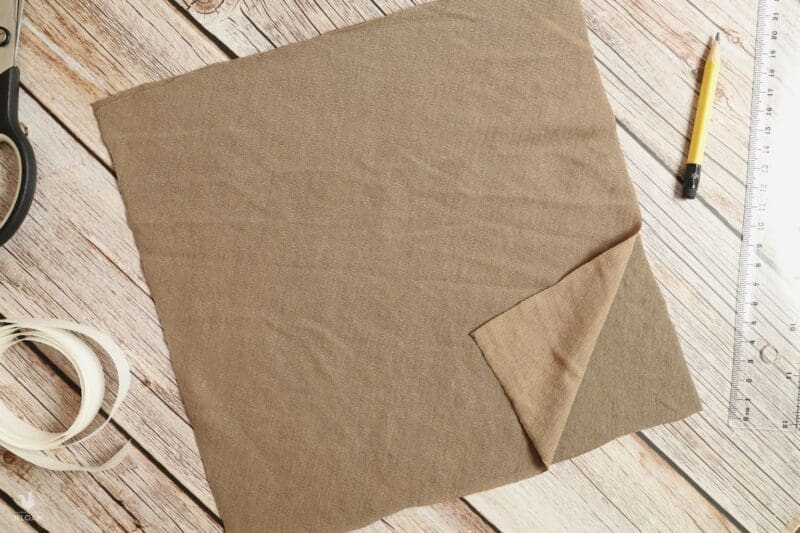
Step 5: Measure and cut hemming tape. You’ll need to cut four strips of hemming tape for each towel. These strips should be the length of one side.
Step 6: Place hemming tape on three sides of one half of each towel. Take one piece of cloth from each towel pair and lay it flat on your work surface. Then lay out a piece of hemming tape on three edges of each piece. Follow the instructions that came with your product regarding preparation of the tape and overlapping it.
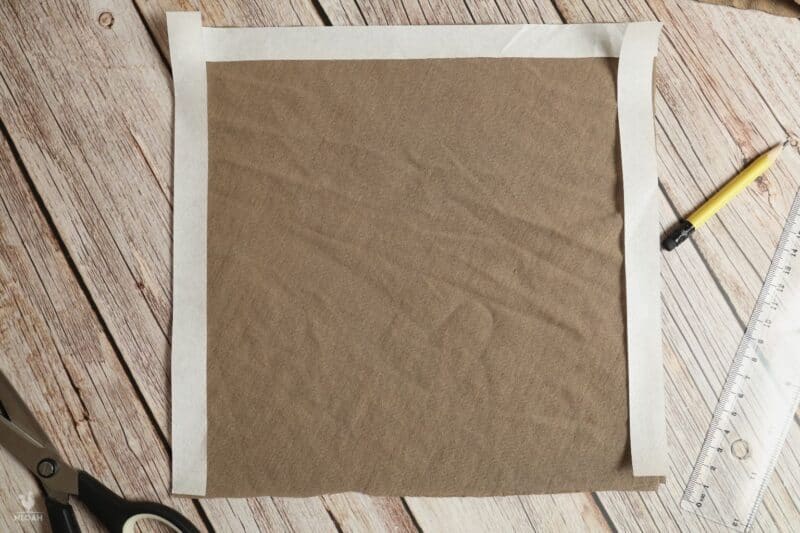
Important: Only lay the tape for three sides right now. You need to leave one side open at the moment.
(only if you have paper protection on one side of the hem tape) Step 7: Smooth fabric and iron to bond on one side.
Depending on which kind of tape you have, it may have this thin layer of paper on one side. If this is the case, you should iron one side first over the first piece of fbric, then remove the protection, then iron the second piece.
Preheat your iron to the temperature indicated by your hemming tape instructions. While it’s preheating, take the time to get rid of any wrinkles and bunching.
Once the iron is hot enough, iron every edge of every towel where the hemming tape is present. Just be sure NOT to slide the iron across the hem tape. Press it, lift it, place it on the next section, press again, and so on.
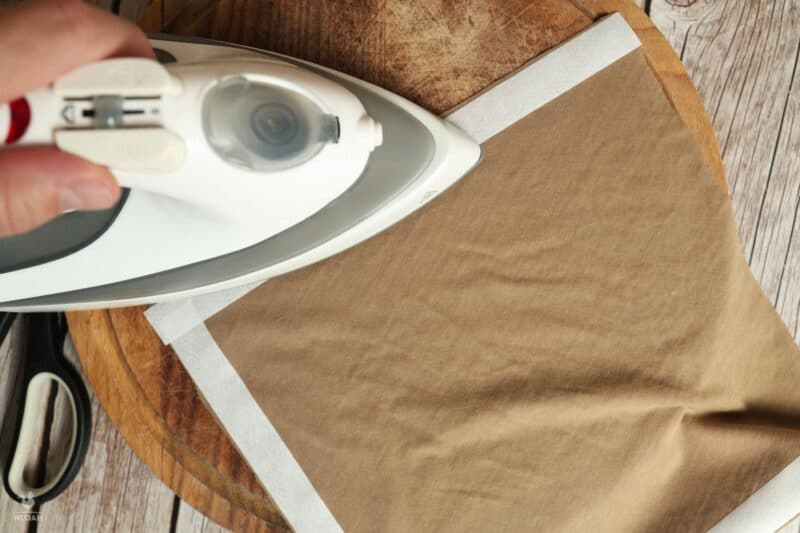
Caveat: do NOT iron the overlapping corners of the hem pieces if they have the paper backing on. This will only make it hard to remove the paper afterwards.
Step 8 (again, only if you have the paper protection on your tape): Remove paper protection.
If you don’t have the paper backing, you need to glue everything with one pass. Set the second fabric on top of the hem tape which is on top of the first, then iron all three sides.
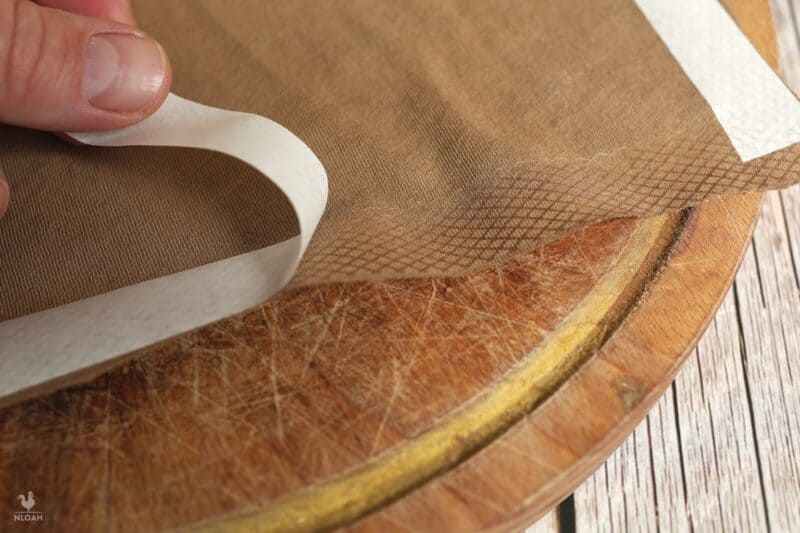
Step 9: Lay 2nd piece of fabric over the first. Without disturbing the tape, lay the other half of the towel on top of the first, making sure it is centered and covering the tape.
Step 9: Iron again. This second pass will allow the second piece of fabric to glue itself to the first:
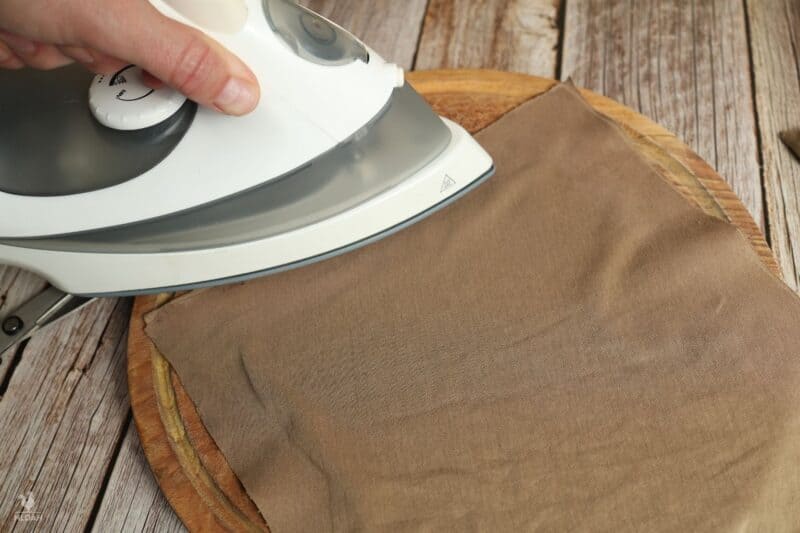
Step 9: Allow to cool, check bond. Set your iron aside and let the towels cool down to room temperature. Once they have, inspect your work to make sure the fabric is bonded by the tape on both sides. If it isn’t, try going back over them with the iron again.
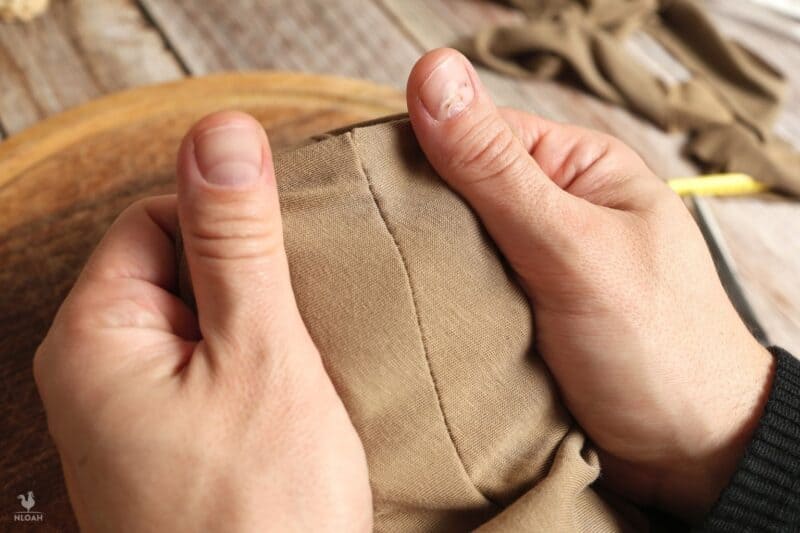
Step 10: Trim corners and flip towels inside out. Trim the corners of each towel where the hemming tape meets using your scissors. This will allow you to flip them inside out and lay them flat.
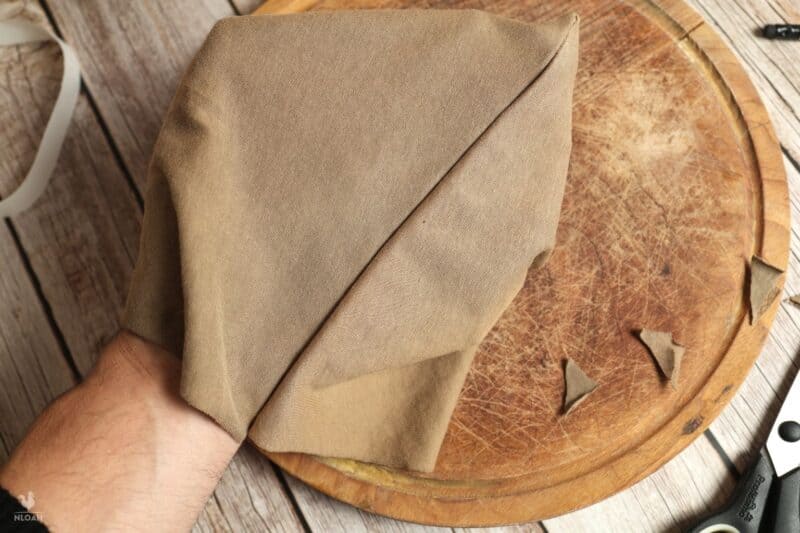
Step 11: Fold open side in, place one more piece of hemming tape. Tuck the open side of each towel in, place the last piece of hemming tape between the two sides. Position it carefully so it is right on the edge and not sticking out.
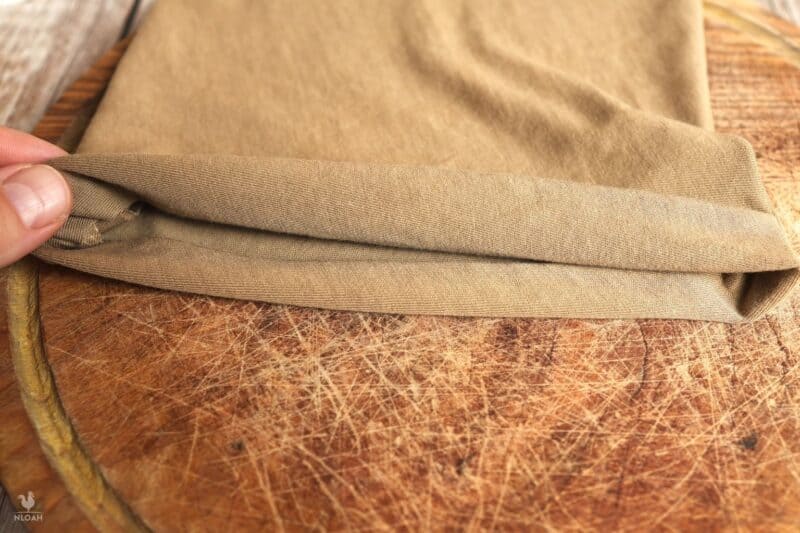
Step 12: Iron hemming tape to complete towel. Iron the last piece of hemming tape as before to bond the fabric and complete the towel.
Do it i n either one or two passes, like you did the other three sides. If you have the paper backing, iron one side, remove the protection, iron both sides. If you don\t have the paper backing, set the tape over the bottom piece of fabric, cover with the second piece, then iron to glue everything together.
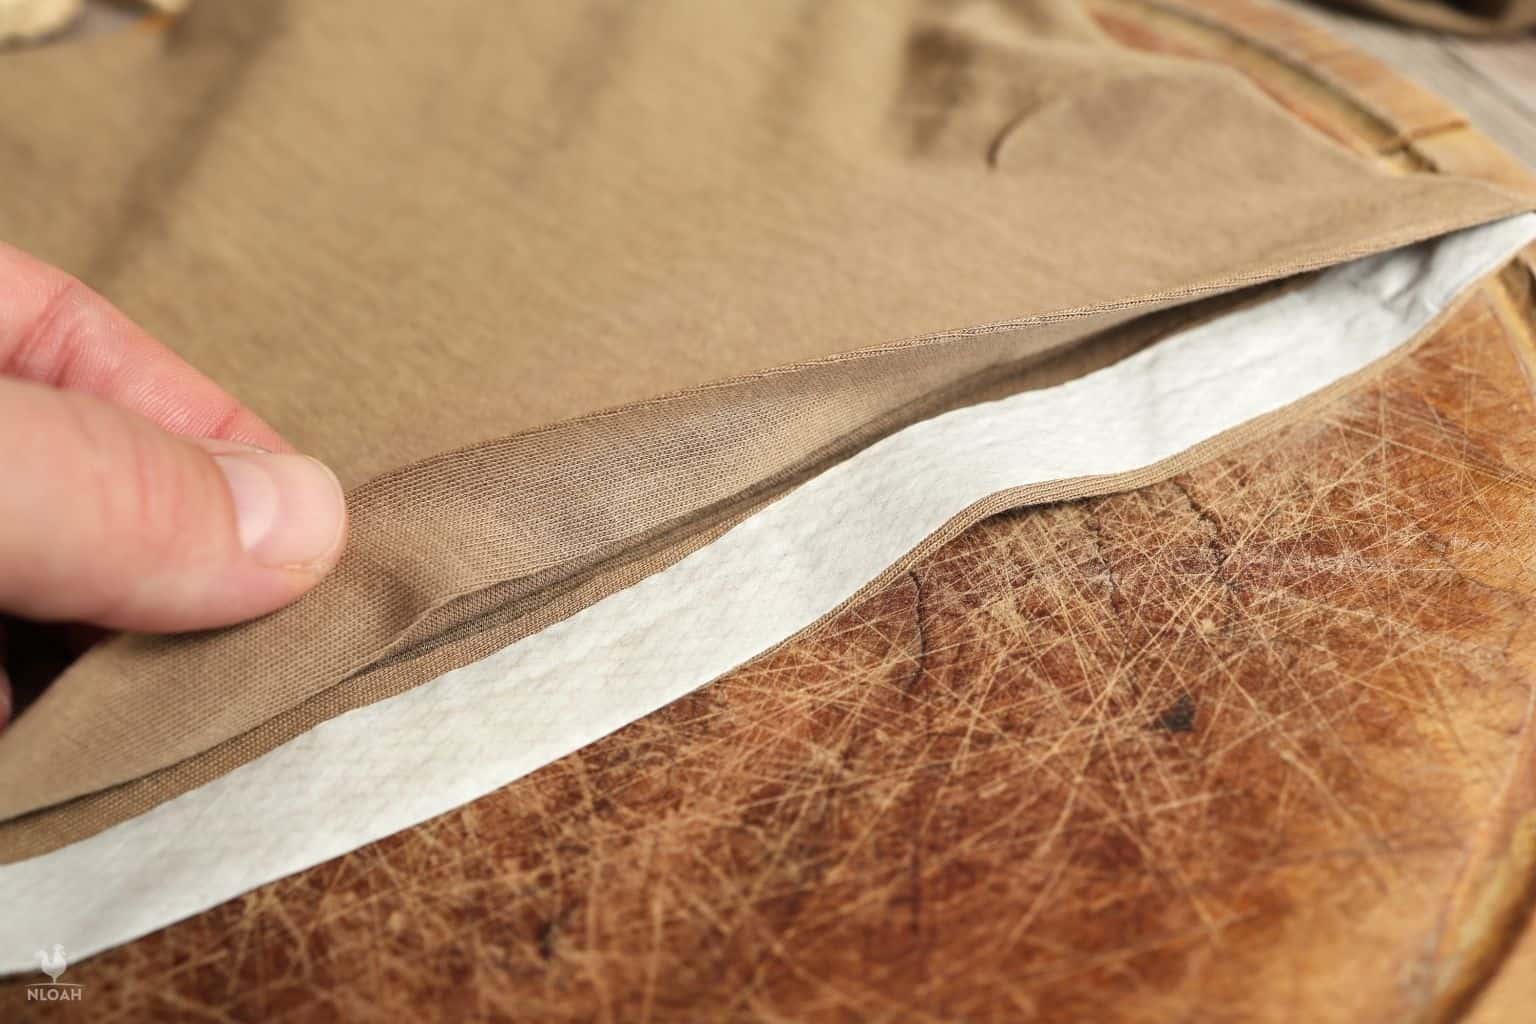
Step 13: Check for loose sides. Give your towels one more look-over, checking for errors or bad bonds.
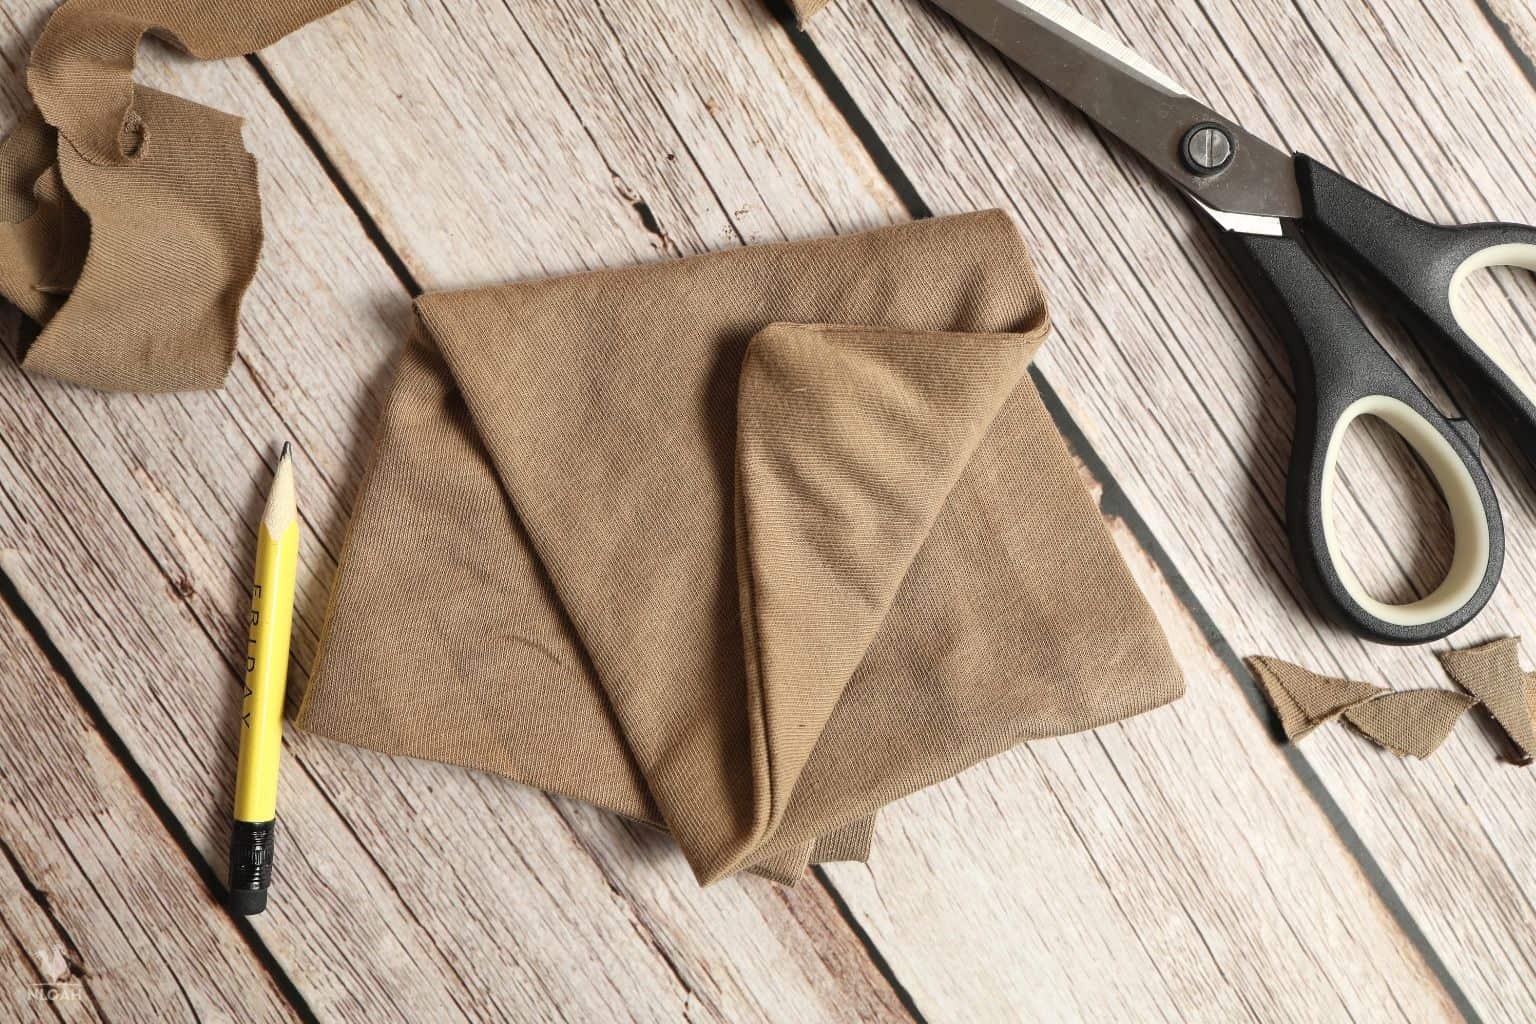
Step 14: Done! If everything looks good, your towels are finished and ready to go to work!
Frequently Asked Questions
How well do these no-sew towels hold up?
Really well, in my experience! Assuming you use a good brand of hemming tape and use it according to the instructions, these towels will be rock solid through many washes. They don’t hold up quite as well as a sewn towel, but you’ll get your money’s worth out of them, I promise.
Are these towels machine washable?
Yes, they sure are! I wash them the same way as all my other towels: cold water, normal cycle. I would reconsider washing them in hot water, as some brands of hemming tape hold up better than others.
Will cleaner or soap affect the bond of the hemming tape?
No. I use all kinds of cleaners with these towels, including the usual brand-name products like Mrs. Meyer’s and LA’s Totally Awesome, and also homemade orange oil vinegar cleaner.
What should I do if the tape starts to separate over time?
If the cloth is still in good shape, you can repair it with a new piece or multiple new pieces of the tape. If the cloth is fraying or falling apart, I say just ditch it and make a new one.

Get your gift and learn things like:
- how to make this really quick pest spray
- how to prevent egg waste
- two cheap automation devices that will make your life easier
Tom has lived and worked on farms and homesteads from the Carolinas to Kentucky and beyond. He is passionate about helping people prepare for tough times by embracing lifestyles of self-sufficiency.