
Sauerkraut, either you love it or you hate it. I love it, but my household has mixed emotions about it. It takes several weeks to ferment your cabbage, and to make it you need lots of cabbage and pickling salt.
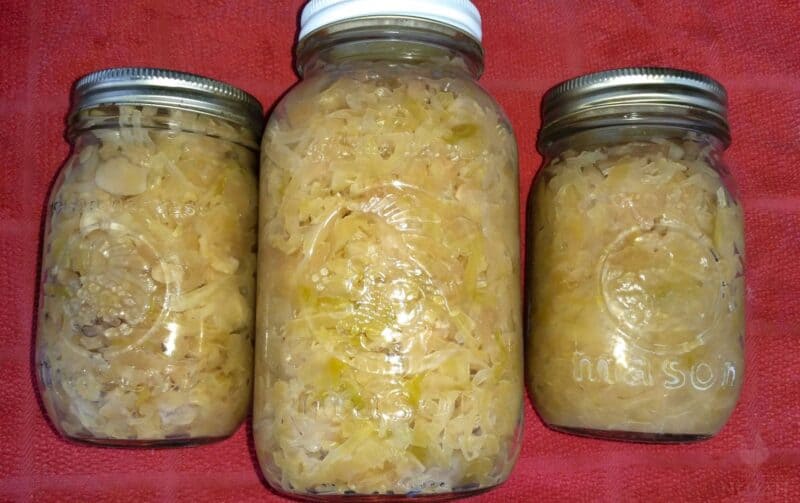
Table of Contents:
What is Sauerkraut, Anyway?
Sauerkraut is much simpler than it sounds, it is just finely chopped cabbage and salt that you ferment and, optionally, you can afterwards in a water bath.
Why Does It Need to Ferment?
Let’s go over the importance and reason for allowing your cabbage to ferment. To ferment means to allow the food to set and go through changes. In the way of sauerkraut, lactic acid is produced. The environment that is needed in a fermentation process for sauerkraut is salinity (salt), temperature, and time.
- Salinity. Salt pulls water from the cabbage to make a sort of brine. The cabbage sits in the saline solution as it is being made. This is where the good bacteria grow and live and the bad bacteria dies.
- Temperature. You need a consistent temperature of 70 to 75 degrees Fahrenheit (21 to 24 Celsius) to achieve a good environment for fermentation.
- Time. The process of fermenting takes time, usually three to four weeks. You need to be patient and check on your product every few days.
The Salty Truth
The amount of salt you use determines the amount of time it takes to ferment. If you use too much salt the fermentation process is slow. Too little salt and the fermentation process goes too quickly, and the sauerkraut turns out mushy. You can use any salt for fermenting so long as it doesn’t contain iodine or any other additives.
You need 1 ¾ pounds of cabbage to 1 tablespoon of salt. This is called the dry salt method (not to be confused with a brine solution). This is what it takes to fill a quart jar to ferment in, if you are a beginner or if prefer this method. I like the way it turns out so I do this method on a much larger scale, in several layers in a crock.
Just keep in mind that the instructions below are for a larger batch of about 17 quarts or 34 pint jars (if you were to can all of it after the fermentation is finished).
As you might expect, you need to scale the salt that you use for the amount of cabbage you have. So for a one gallon crock, since its 4x larger than a quart jar, you need to multiply everything by 4. This means you’ll need around 7 pounds of cabbage and 4 tablespoons of salt.
No Need For a Brine Solution
Do you need brine? Probably not. The salt I just mentioned gets tossed on top of the cabbage, without you needing it to dissolve it into water first. You only need to make a separate brine solution if, at the end of the process, the cabbage is not fully submerged in its own liquid…
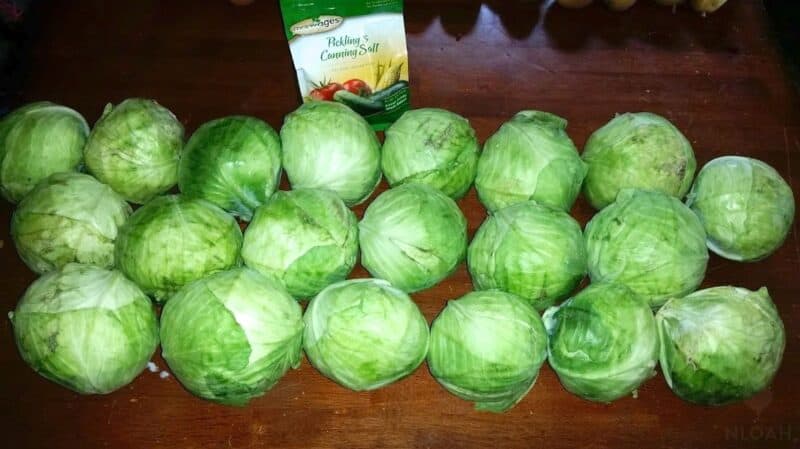
I grew cabbage this year in my garden, but it was too wet and didn’t do very well. To the Farmer’s Market I went, and I purchased two heads for from an Amish family set up there. I bought 20 heads of cabbage, and that made me almost 30 pounds when I was finished cutting it up.
Weigh Your Cabbage After You Chop It
This makes perfect sense. Cabbage will lose at least 10% of its weight after you remove the outer layers and the core.
Fermentation Vessels
You have lots of options here, such as glass, metal, stainless steel or plastic – with some notable restrictions: copper, aluminum, and iron. These last ones are likely to react with your produce and leeh unwanted chemicals.
Extra Brine to Can
If your sauerkraut doesn’t have enough liquid from the cabbage’s own juices, you may need to add extra liquid to your jars. This is where a brine solution will help To do this you simply need water and pickling salt. One quart of water to every 1 ½ tablespoons of salt is the right ratio to have.
- In a large pan measure your water and your salt
- Stir mixture until dissolved
- Turn heat to low to keep brine hot for hot packing with the heated sauerkraut
Sauerkraut Ingredients
- Cabbage
- Pickling Salt
- Kitchen Scale
- A crock of some sort
Needed Tools
- Heavy cotton towel (like a clean bath towel)
- Bowls
- A means to chop (I used a mandolin)
- 1 tablespoon measuring spoon
- Muscles
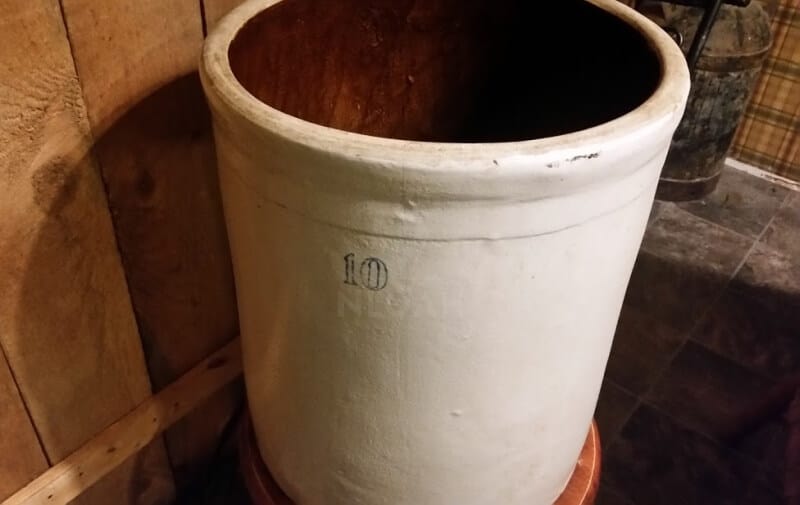
A partner will make the process so much quicker and easier. I recruited my oldest daughter and my husband. We all split tasks of shredding, to weighing, and measuring and smashing. They also made it more fun as we talked and joked the whole time.
Preparing the Cabbage to Ferment
- Clean the cabbage by removing the outer leaves and anything that doesn’t look good, and discard that to the compost pile.
- Cut your cabbage in half and remove the core.
- Start chopping or shredding the cabbage.
- Once you have shredded all of it or enough to get some of the next step done then zero out the kitchen scale with a bowl on it.
- Measure the cabbage in the bowl to weigh 1 ¾ pounds.
- Put this into your crock.
- Sprinkle one tablespoon of salt over the layer, and smash down with your hand or fist.
- Continue layering in the crock until you are done with the cabbage.
- Be extra sure that you smash and press each layer well. The end of a coffee cup works well at this point.
- Add a large plate on top of the cabbage. This is to always keep it submerged by at least an inch. Then, cover the container with a heavy bath towel. Some people like to use plastic wrap with a weight on top, but this won’t allow it to breathe as much, and is prone to mold growth.
It is VERY important to be sure that you smash down each layer of cabbage and salt. Use your fists or a dish or a weight of some sort. The smashing removes any air that can be between the cabbage. There must be no air for the cabbage to ferment.
I covered my crock with a stone pizza pan to prevent anything from being able to get into it, and to help conceal it when it starts to smell. Covering it also helps to keep the air out. Be sure to check on the cabbage every few days.
When you check on it, you must replace the plastic wrap, do not reuse the old. Be certain that the cabbage is always covered by the saline solution as it is fermenting.
It Is Time
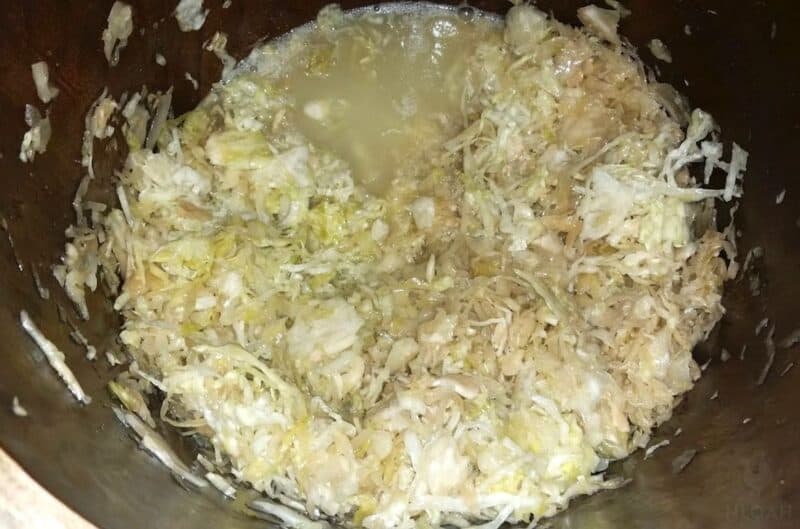
The wait is over, it has been about 3 to four weeks in the fermentation process. The cabbage looks like sauerkraut and tastes amazing. My husband also taste tested and approved. The kraut is now ready to be enjoyed.
You can leave it in the crock and just use as needed, but it needs to be placed in a cool room. The temperature needs to be between 32 to 40 degrees Fahrenheit (0 to 4 degrees Celsius). If you do not have a cold room that maintains this temperature, you will need to can it.
This is the fermented sauerkraut that’s in the crock. It can be stored this way if I had a cold room; it would just need to be covered:
How to Can Homemade Sauerkraut
Sauerkraut is a high acid food so you only need to water bath can it. This is a very simple and easy process to be able to better store your amazing sauerkraut.. You can also preserve into the serving sizes that your family can use, such as pints or quarts.
Canning Tools
- Water bath canner
- Jars of desired size
- Lids and bands
- Pot to heat the kraut in
- Water for canner and keeping jars hot to pack
- Jar lifter
- Air bubble remover
- Jar funnel
- A sturdy spoon for stirring and packing the kraut
- A towel to wipe rims with
- A dry towel to place finished sauerkraut to cool
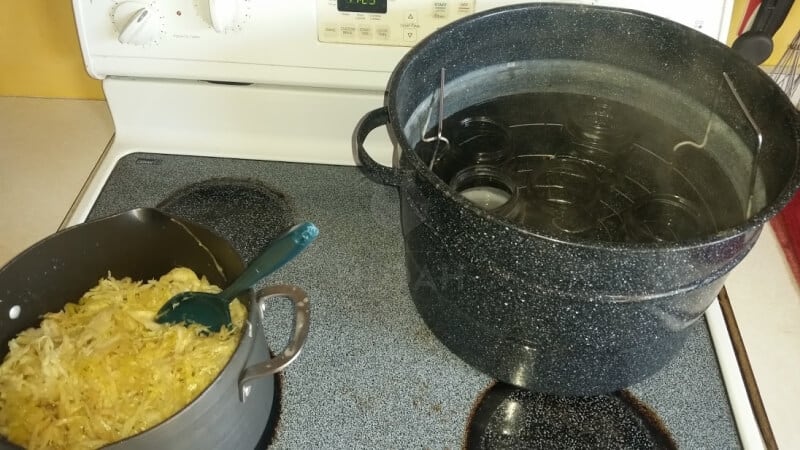
Now that you have everything gathered it is time to get busy canning.
Step By Step Instructions
- Inspect jars for knicks or cracks.
- Wash jars and lids as directed.
- Fill the canner with water and turn the heat to high.
- Place jars in the water canner to keep hot for packing.
- Place the fermented kraut in a pot on the stove. Just do amounts you can handle.
- Heat the kraut on medium heat until it starts to boil. Stir it constantly
- Add extra brine, if needed, from your brine mixture. My fermented cabbage is very juicy so I probably won’t need much.
- Pack hot jars with heated kraut up to ½ an inch of headspace.
- Add extra brine if needed to jars still leaving ½ an inch headspace at the top of the jar.
- Use air bubble remover to remove all of the bubbles from inside the jar.
- Wipe the rims clean.
- Apply lids and bands to the jar.
- Place hot jars of kraut into the heated boiling canner. Make sure the water covers the jars by at least an inch.
- Once the canner water is boiling cover with a lid and set the timer. Pints process for 10 minutes. Quarts process for 15 minutes if you live at an altitude below 1,000 feet. Add an extra 5 minutes for every 1,000 feet of elevation.
- Once the time is up, remove the jars with the jar lifter and set them on the dry towel to cool. Do not stack them.
- Allow 24 hours to cool.
- Remove bands and check for a good seal.
- Store the sauerkraut in your pantry.
Note that you only need to sanitize your jars before canning. You don’t need to sterilize them because you need to boil them in a water bath for at least 10 minutes.
And that’s it! Now you can enjoy your own sauerkraut year-round. Really, the hardest part about fermenting and canning sauerkraut is the wait.
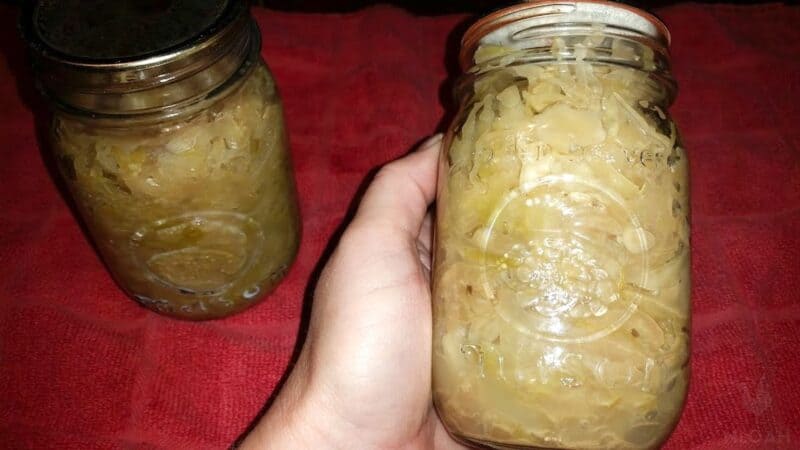
Now that the wait is over, enjoy your work in various meals. You will prefer the taste of home fermented sauerkraut over store-bought after you have had your own.
FAQ
This is likely a yeast called kahm yeast, but it could also be mold. The first is harmless, and should be just removed, but if you see mold, you’ll have to throw away your sauerkraut. YOu can distinguish the yeast because it’s cream in color.
It’s not ok. The cabbage needs to stay submerged at all times, which is why I advise you use a wide plate to keep it sunk.
Lots of folks use one, but I’m trying to give you the best and safest advice possible – which is why I recommend the cloth.
Only if it’s non-iodized. The iodine in salt will inhibit the fermentation. It’s best to stick with canning salt.


Get your gift and learn things like:
- how to make this really quick pest spray
- how to prevent egg waste
- two cheap automation devices that will make your life easier

Sarah Rodriguez is a homesteading wife and mother of five living in Appalachia. She grew up in a homesteading and logging family.
She and her husband Arnie work their 10-acre homestead together alongside their growing family. Sarah honed her self-reliance skills through 4-H and FFA at an early age and is now teaching her children to live off the land, raise livestock, and the importance of both sustainability and frugality.
Doesn’t the canning process negate the benefits of fermentation?
Hi Linda,
Apologies for the late reply. Yes, yo practically lose all of its pro-biotic benefits when you can it. Bacteria such as Lactobacillus get wiped out the moment the cooking temperature surpasses 115°F / 46ºC. It does retain most macro- and micronutrients such as vitamin C and K, and fiber…
As soon as I saw sauerkraut in the title I had to run to the kitchen and eat a few forksfull…
Awesome, I know just how you feel!