
As a little girl, I used to visit my grandma and grandpa’s farm on the weekends. The place was very picturesque complete with cows grazing in the pasture and an old tire hanging from a tree limb that served as a joyous swing for my siblings and I.
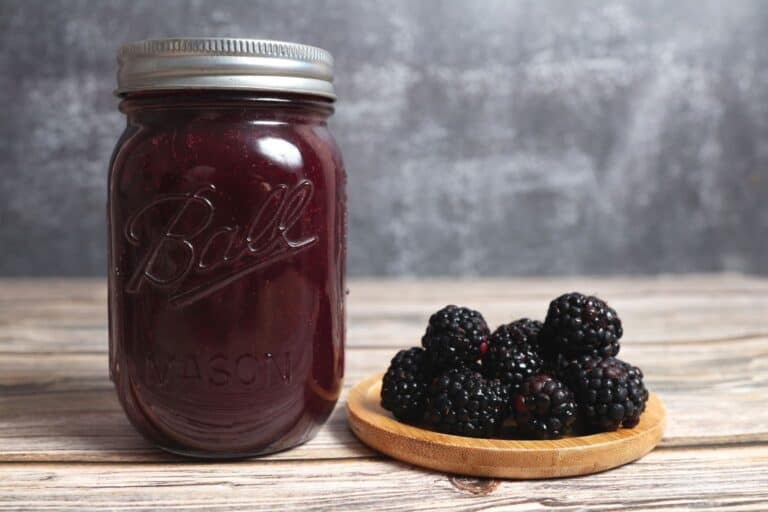
Grandma was always cooking yummy things up in her kitchen. I distinctly remember her making a variety of foods to place into Mason jars and preserve. These jars would end up in the root cellar to be enjoyed during the harsh months of winter.
One item that grandma made every summer was blackberry jelly. Oh, the yummy memories of grandma’s jelly! My grandma has since passed away, but I was the lucky one to inherit her recipe goodness. Her blackberry jelly recipe is actually the same one the NCHFP recommends as being safe, and I’ll be sharing it with you all, today.
The recipe is super easy to follow and is just 3 ingredients. I would have never guessed that grandma’s recipe contains so few because of how good it is. I’ll also share how to properly can the blackberry jelly, so you and your family can enjoy it for months to come.
Jar Size Matters
As with other jams and jellies, the size of the jar is important for safety reasons: only pint and half-pint jars are typically used, with larger ones such as quarts being too big for the heat to penetrate all the way to their center. You can’t just scale the ingredients to can larger jars. As NCHFP says:
If the largest jar size recommended is a pint jar, then there is not a formula to be able to say how to increase the process time for a larger jar.
Jar Size Choices Have You Frustrated?
So if you want to can more of this delicious jam, stick with more pints and half-pints…
Blackberry Jelly Recipe AND Canning Method
This post contains affiliate links. If you click them and buy, I may earn a commission. Read my disclosure policy.
Ingredients
- 10 cups blackberries
- 1 package of dry pectin (a standard 1.75 oz will do, that’s about 50 grams)
- 4.5 cups sugar
Equipment
- Water bath canning pot
- 8 qt non-reactive pan
- Half pint or pint Mason jars
- Lids/rings
- Jar grabber
- Funnel
- Spoon and ladle
- Cheesecloth-lined strainer or jelly bag
Phase 1: Sanitizing Everything
Before you do anything in terms of jelly making, you need to sanitize and sterilize and your equipment. This won”t take long, I promise!
Sanitization is just running them through a hot dishwater cycle or washing them by hand in hot, soapy water.
Sterilization is boiling them empty for 10+ minutes. You only need to do this for the water bath recipes that call for a processing time of under 10 minutes at sea level – which is our case! How many minutes to boil them? This again depends on your elevation, so use this table to figure out the exact amount of time:
| Altitude | Jar Sterilization Boil Time |
|---|---|
| 0 – 1,000 ft | 10 minutes |
| 1,001 – 2,000 ft | 11 minutes |
| 2,001 – 3,000 ft | 12 minutes |
| 3,001 – 4,000 ft | 13 minutes |
| 4,001 – 5,000 ft | 14 minutes |
| 5,001 – 6,000 ft | 15 minutes |
| 6,001 – 7,000 ft | 16 minutes |
| 7,001 – 8,000 ft | 17 minutes |
| 8,001 – 9,000 ft | 18 minutes |
| 9,001 – 10,000 ft | 19 minutes |
As you are waiting for the jars to boil, you can go ahead and sanitize the rings and the lids on hot, soapy water. DO NOT boil them, bands and lids do NOT need to be sterilized – this type of advice is outdated. Boiling can soften the sealant on the lids, which will cause some jars to fail at some point.
As a side note, you can probably run the rims and lids through the dishwasher cycle along with the jars to save time, but Ball actually recommends you hand wash the two. So to sum up:
- Run jars through dishwasher, then:
- Boil jars for 10 minutes (altitude-adjusted), and in the meantime:
- Wash bands and lids by hand with hot, soapy water
Keep the jars in the dishwasher until they are ready to be used.
Phase 2: Prepping the Berries
Now, it is time to prep your blackberries. I like to place mine in a large colander and run cold water over them. As I do this, I gently remove the stems, leaves, and any debris that may be clinging to them.
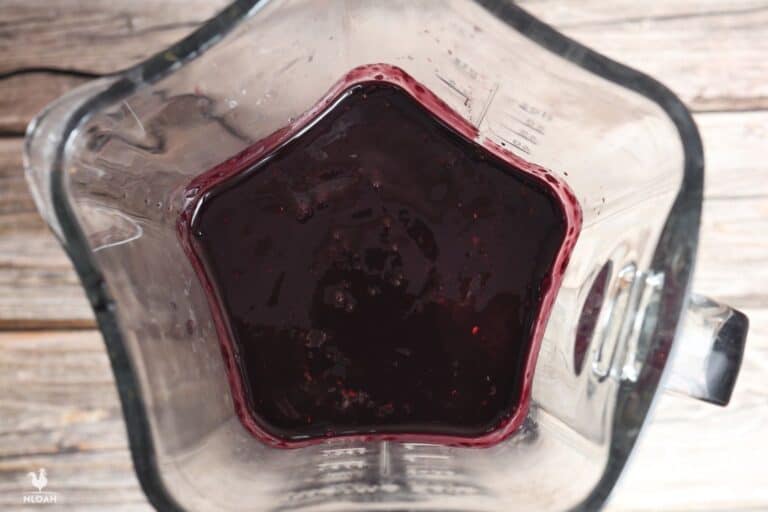
Once I’m done cleaning the berries, I place 1 cup at a time into the food processor and pulse until they are finely chopped:
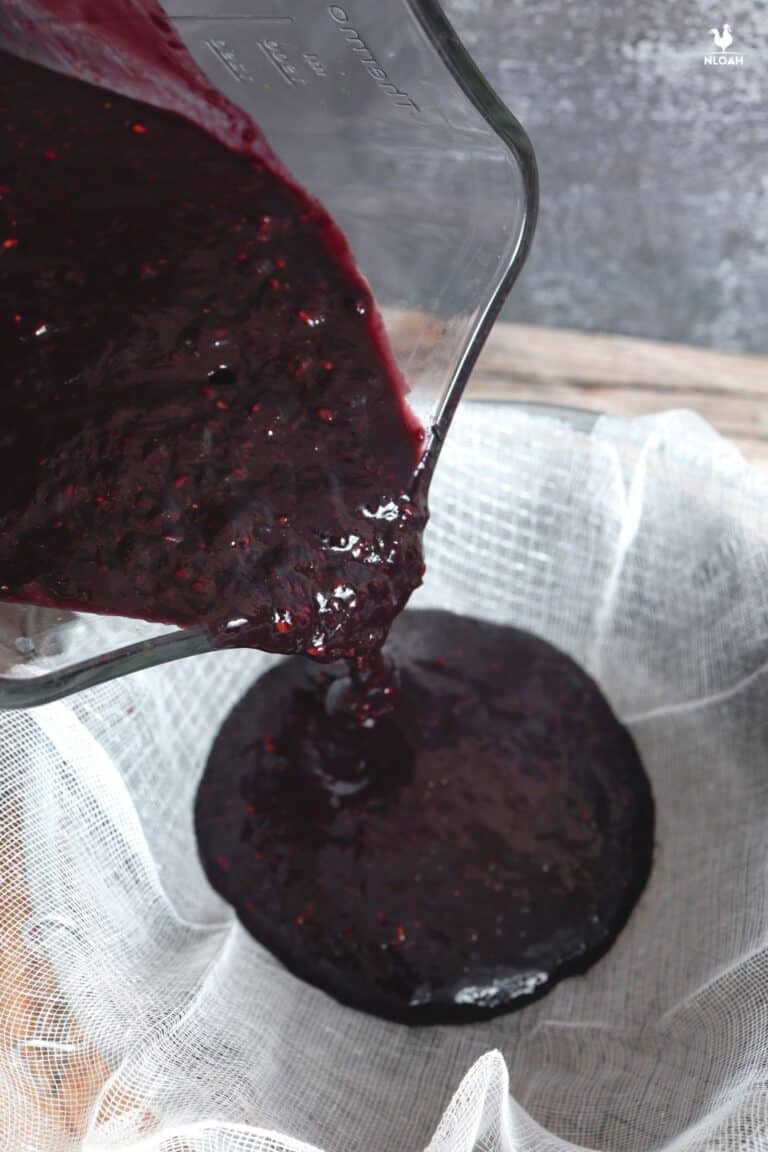
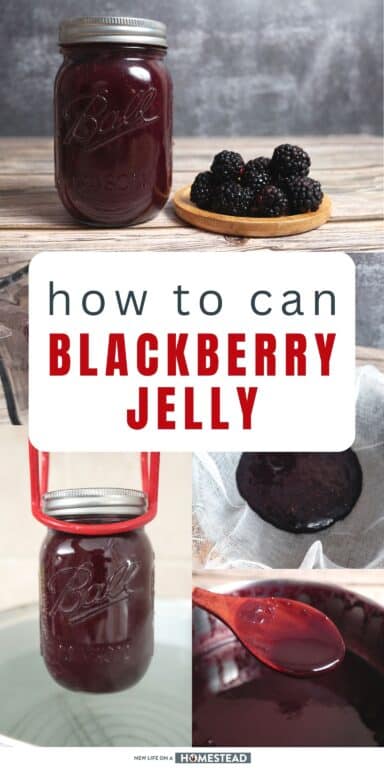
I then pour the berries into a cheesecloth lined strainer or into a jelly bag and let the juice drip into another bowl. Do not squeeze the jelly out because you’ll end up with solids in it. By the end, you should have about 3.5 cups’ worth of juice:
Next, place the juice (not the berries!) into the pan and add the pectin:
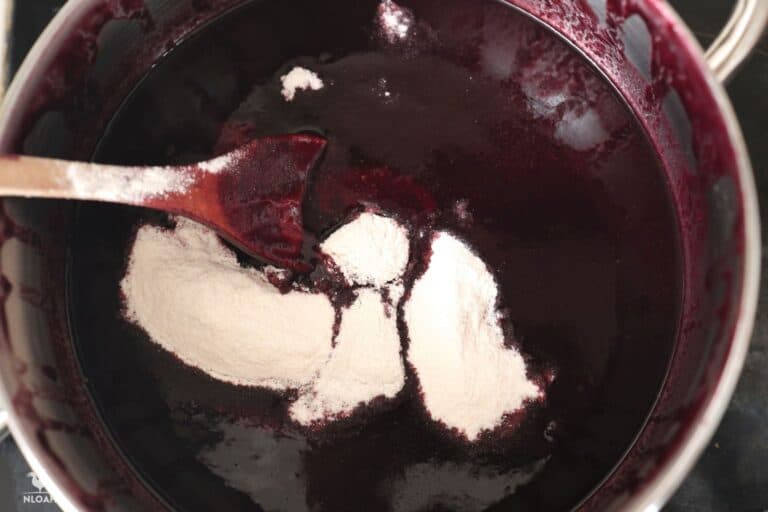
Stirring constantly, bring the jelly to a full rolling boil:
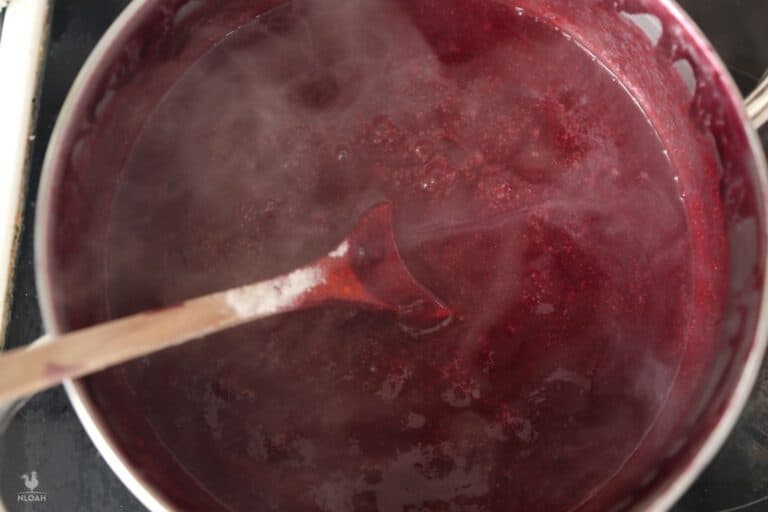
Next, after the pectin is dissolved add the sugar. Cook the mixture on a rolling boil for 1 minute while stirring constantly. Then, remove the pan from the heat and skim off any foam or bubbles that have formed.
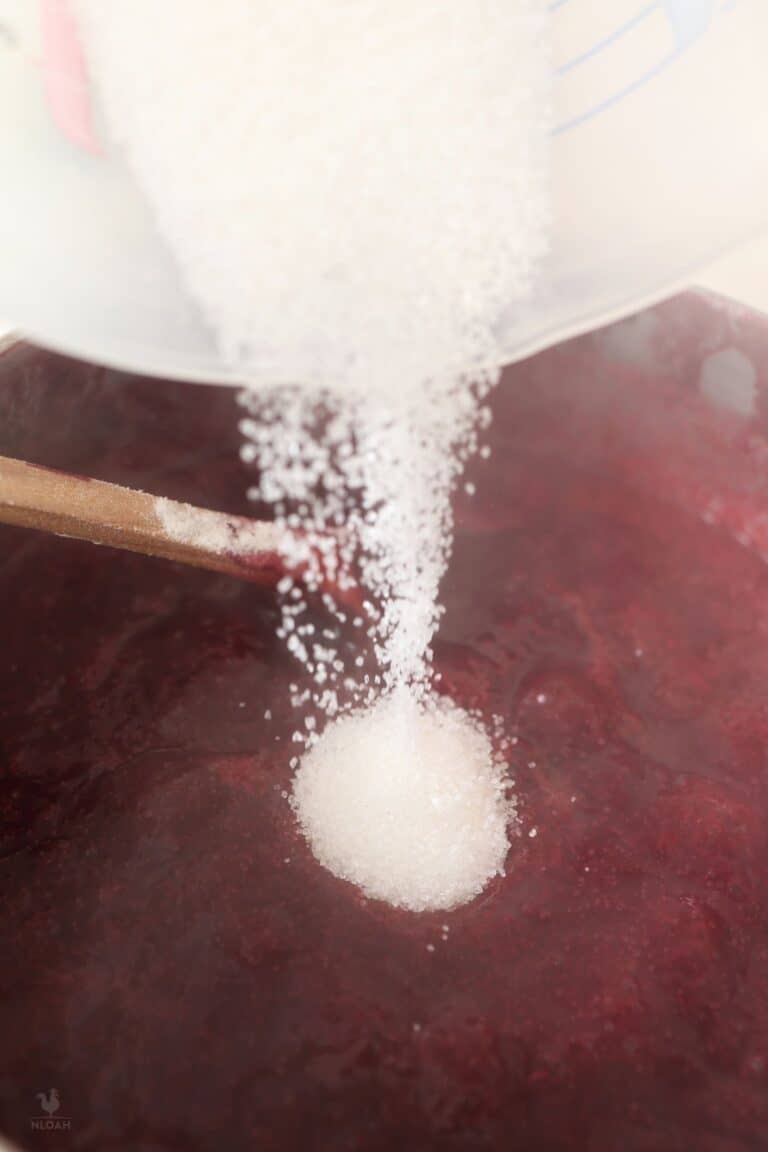
Note: the order is important: first the pectin, then the sugar. Do not add the sugar and pectin together at the same time because the pectin might clump together with the sugar. Definitely not what you want!
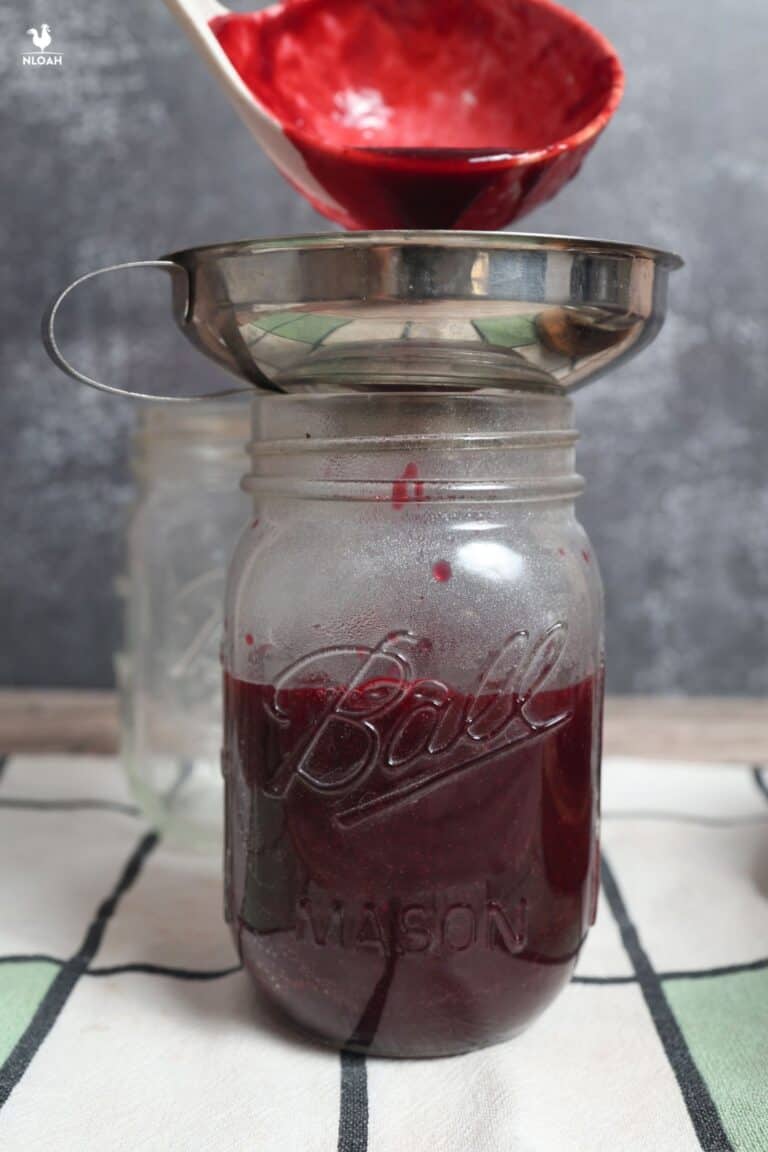
Using the jar grabber, pluck your sanitized jars from the hot water and bring the pot to a boil again. Ladle the hot jelly into the jars and leave exactly 1/4 inch of head space. Wipe the rim of the jar with a clean, slightly damp cloth. Place a hot lid and rim on top of the jar and tightly screw them on.
Phase 3: Canning the Jelly
Place the jars into the hot water bath canner when water is boiling and process for 5 minutes, depending on your elevation. Make sure the jars are covered with 1 or 2 inches of water. Also make sure you make the proper altitude adjusts per your hot water bath canner instruction manual. Use the table below to figure out how long to process the jars:
| Altitude | Add to Sea-Level Processing Time |
|---|---|
| 0 – 1,000 ft | No adjustment |
| 1,001 – 3,000 ft | +5 minutes |
| 3,001 – 6,000 ft | +10 minutes |
| 6,001 – 8,000 ft | +15 minutes |
| 8,001 – 10,000 ft | +20 minutes |
Once the jars are done, let them sit in the canner for 5 minutes. After 5 minutes, it’s safe to remove them with your jar grabber and place them upright onto a towel or cooling rack. You need to let them fully cool before storing them. Plus, you want to be sure that they have fully sealed.
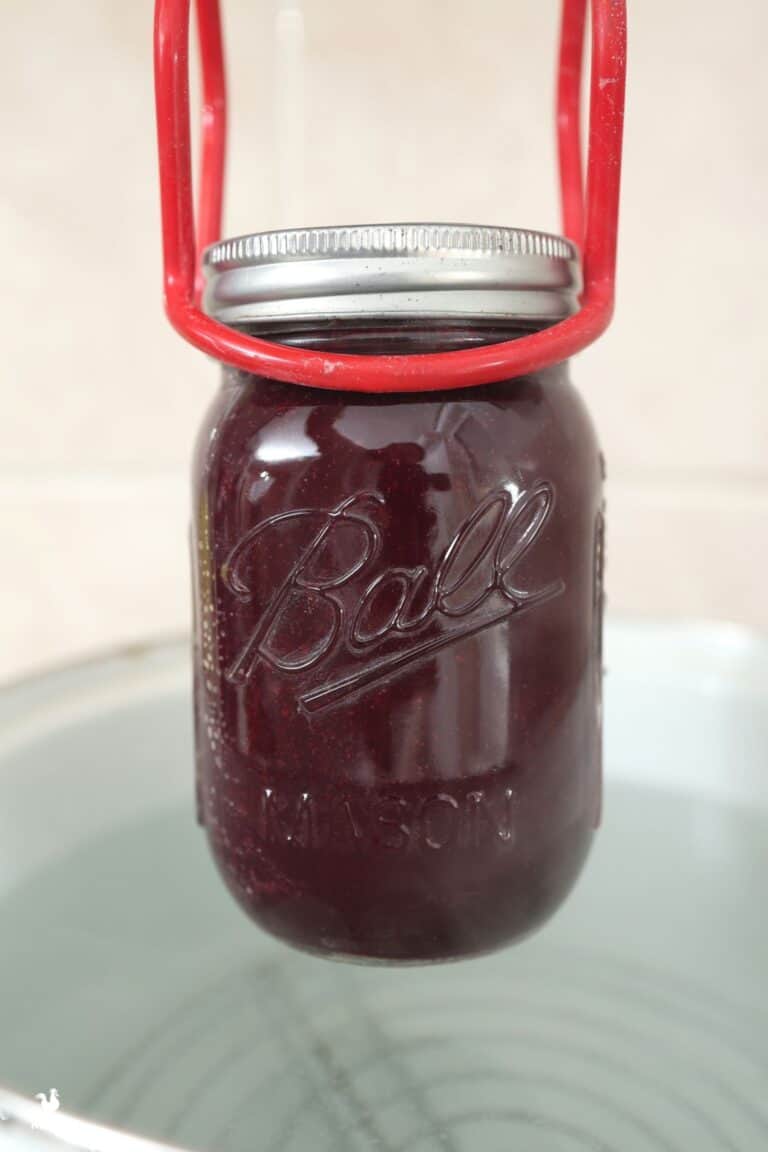
Note: do NOT retighten the bands or lids after you removed the jars from the water bath.
You can tell when you hear the lids begin to “pop”. Another way to tell if the lids have sealed is by pushing down on them with your finger. If the lid doesn’t pop up and down, then the jar has been sealed.
If after 24-hours the lids haven’t sealed, then you can store the jelly in the refrigerator and consume within a few days.
Remove the rims from your successful jars, label them and store them in a cool, dark place for up to one year of shelf life.
Pro Tips
- Do not mix liquid and powdered pectin as these substances are not interchangeable
- NEVER double a jelly recipe. We aren’t sure why but for some odd reason a doubled recipe doesn’t set up as it should
- If you find your jelly to be watery and not setting up properly, chances are you didn’t use enough pectin
- Add a little bit of bottled lemon juice to the jelly before canning if you want it to taste less sweet. This is safe to experiment with! Note that you should never cut the 4.5 cups of sugar in the recipe – it’s mandatory that you use this exact amount.
- If you are experiencing weather that is of high humidity, consider making your jelly on another day
- Do not overcook your jelly or your pectin won’t work
Happy jelly making and canning!

Get your gift and learn things like:
- how to make this really quick pest spray
- how to prevent egg waste
- two cheap automation devices that will make your life easier
Jessica Faidley is a stay-at-home, work-from-home, homeschooling mom who loves to teach her children how to live off the land.
Herbalism is another topic that Jessica has studied. Keeping herself and her family healthy through a natural approach is her way of doing things.
Could I make sugar free jelly using this recipe ( of course no sugar). Maybe use stevia or swerve? I have those on hand. And I gave a KitchenAid mixer attachment that can take the seeds out of the blackberries, would this work to get juice too? Thank you for your time!
I know I am responding to old comments, but in case anyone reading is still wondering…this is jelly, not jam, so you ONLY use the juice, NOT the fruit pulp. (Jam has fruit solids in it, but jelly is generally made from the juice alone.) Letting the juice drip through the cloth will take several hours. For the clearest jelly, do not squeeze the cloth, just let it drip. Also usually, with powdered pectin, you add the juice and the pectin first, bring it to a boil until the pectin dissolves, and then add the sugar later. And you usually cook jelly around 20-30 minutes, not just one minute, for a proper set. You can test the set by putting a few small plates in the freezer. When your jelly has cooked for awhile, pour a small spoonful on a frozen plate and see if it holds its shape. Drag a toothpick through the drop on the frozen plate and see if the line stays…if the jelly runs into the gap, it’s not ready. Cook it longer, then try the test again.
I read your recipe with some smiles along the way. We have been canning all sorts of berry jam and jelly for many years. First, a food processor will turn the seeds into an emulsion that is very gritty. The best way to prepare the fruit is to use a horizontal colander and remove the seeds and stems. Your have already washed them I suppose. The difference between jam and jelly is the pulp. All of the sanitizing is not necessary. The cooking of the jelly will do that. But they do need to be clean. A dishwasher does a good job on that. A 1/8th inch header is not enough. The best gauge of how much space to leave is just fill the jar up to the neck top. This is about 1/2 inch. After the bottles are processed, if the jar is not sealed, by touching the lid will give a false indication that it is sealed. Any processed sugar will do. You can also use brown sugar and honey which will produce much different results, both in taste and runny texture. You must have much more time to do many batches than we do. We almost always triple the recipe and sometimes more. It just may take another package or two of pectin and a much larger pan for the cooking and a speedier processing time to get it bottled.
Have fun and after some practice you will know what works for you.
How do we removed the seeds in making canned jelly? The cheesecloth just removes the liquid but not the seeds. Also, do we throw the juice away that we strain off or do we heat it and put it in with the sugar and pectin? I am new to this so need help!!
Hi Novice here, 2 questions. Is the sugar supposed to be cane sugar,can sugar,unknown to me or just refined sugar? What becomes of the drained 3.5 cups of juice? Thanks Al