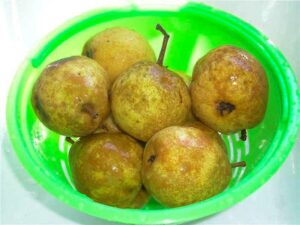
First, wash your pears.
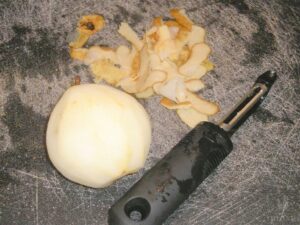
Then peel the pears.
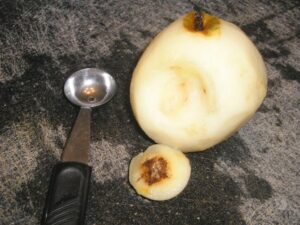
Remove any bad spots from the fruit.
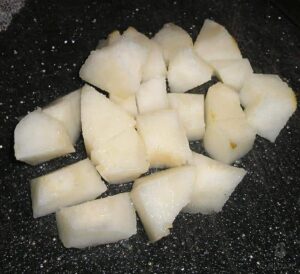
Slice, cut out the hard pit section, then chop into small-ish pieces.
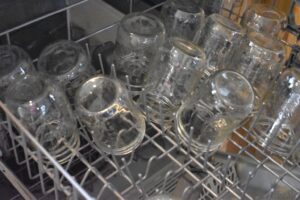
In the meantime, make sure you have some mason jars cleaned, sanitized and HOT. The easiest way to do this is to run them through the dishwasher.
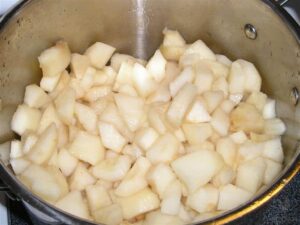
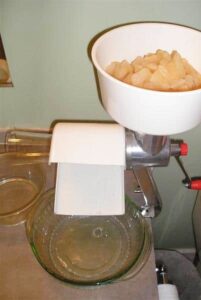
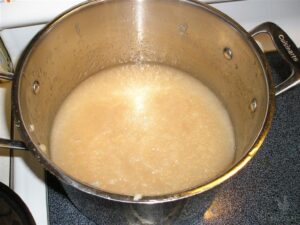
Once you have all of your pears peeled and cut up, put them in a large pot.Fill it with just enough water to keep the pears from scorching (an inch or so in the bottom of the pot), then cover and cook over medium or medium/low heat, or a simmer, stirring occasionally, until the pears are thoroughly soft. The next step is to puree the pears. I use a food strainer but you could also use an immersion blender.
Return the pureed pears to the pot. Taste to see if you need to add any sugar, though like I said I never have to sweeten it at all. Bring the pear sauce to 185 ºF –210 °F (85 ºC to 98 ºC).
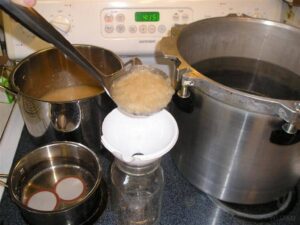
Once the pear sauce reaches a light boil, continue boiling as you fill the hot jars one at a time. Stir the sauce every now and then to prevent burning. If you notice the sauce is still a little grainy, cook it just a little longer.
Start filling the jars with a ladle, and leave 1/2 inch headspace (fill the jars to within 1/2″ from the rim).
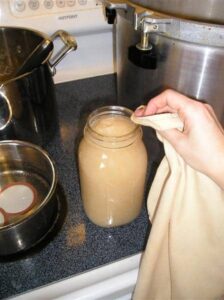
Use a wet rag to wipe the rim of the jar clean. It’s important to wipe rims to make sure the pear mixture didn’t get all over the outside of the jar, which can affect canning safety.I usually run a clean paper towel over the rim after wiping, just to make sure there isn’t anything sticky still there.
Remove any air bubbles.
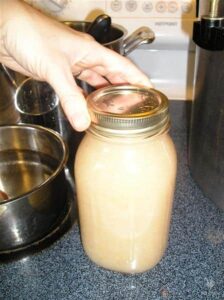
Next, place the lid on the jar...
Now screw on a clean ring to tighten down the lid...
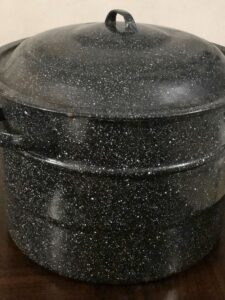
Once all of your jars are filled and sealed, place them in a water canner . Fill the canner with enough water to cover the jars with 1-2″ of water. Put the lid on the canner, and bring to a steady rolling boil.
Continue to process pints or quarts at a steady boil for a processing time of 15 minutes for pints and 20 minutes for quarts. Add 5 extra minutes if you live above 1,000 feet, add an extra 10 minutes if you live above 3,000 feet, and add an extra 15 minutes if above 6,000 feet. Check the table below if this is not clear.
Once the time is up, turn off the heat, remove the lid, but leave the canner untouched for 5 minutes. After 5 minutes, use a jar lifter to remove the jars from the water bath canner.
Allow the jars to cool overnight, preferably on a rack, for anywhere between 12 and 24 hours.
After about 24 hours, remove the rings from the jars and inspect the lids. If the lid is concave, press it with your thumb. If it doesn't flex, the jar is good to go.