Remove milk from the fridge, and let it warm to room temperature.
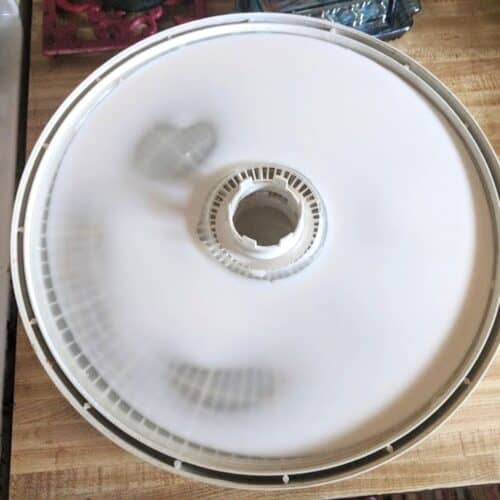
Put dehydrator inserts into each tray being used to powder milk.
Pour one cup of milk into each tray.
Turn your dehydrator to130 °F to 135 °F (55 °C to 57 °C).
Leave the milk in the dehydrator for 10 to 12 hours.
Check the milk from time to time. if it's turning brown, reduce temperature by a few degrees. if it's turning into a thick white paste, you're doing well.
Check the milk. If it is mushy, pour and scoop out the mixture, and place it into a bowl. The dried milk should have the same peanut brittle consistency as other dehydrated dairy products.
Clean the tray and start the process over again until the desired flaky powder texture is achieved. The dried milk should be thoroughly dry and crumble when you pick it up.
Pour the dehydrated milk flakes into a food processor or blender, and condense it down to a small powder.
Pour the powdered milk into a Mason jar, and vacuum seal it.