Sourdough Starter Recipe
Equipment
- glass canning jar
Ingredients
- 1 cup flour
- ½ cup lukewarm water
Instructions
Step 1
- Combine your flour and water in a crock or glass container. You can also use stainless steel or plastic just make sure that your container is at least a quart capacity… your starter needs room to grow.
- Stir well and ensure that the flour is all incorporated into the water.
- Cover your container and allow it to sit at room temperature (approximately 70 degrees Fahrenheit or 21 Celsius) for one day.
Step 2
- Good morning. Today, you’re going to look at your starter (which may or may not have grown) and you’re going to remove half of it and throw it out (we’ll mention some ways to use this in our Important Tips below).
- After you throw out half of the starter you’re going to add another scant cup of flour and another ½ cup of warm water (not too hot, not too cold). Again, mix well and allow it to sit, loosely covered at room temperature for another day.
Step 3
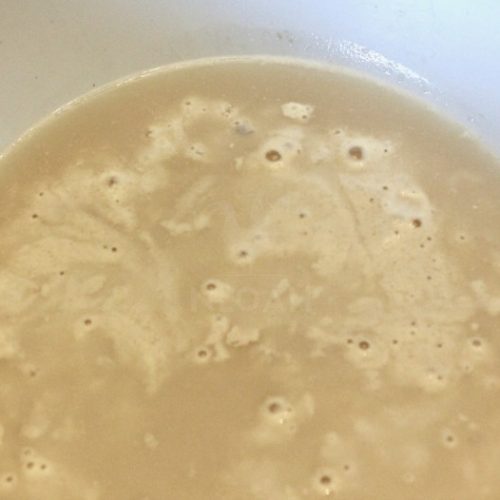
- Today is day 3. You should see some bubbles and it may smell slightly fruity. This means that it’s working. Don’t worry if this isn’t happening yet, it will. Today you’re going to start feeding your starter twice a day. Try to do this at approximately the same time every day.
- You’re going to remove about ½ cup of the starter after you’ve stirred it and toss out any of the rest of the starter (see tips below for what you can do with removed starter if you don’t want to be wasteful and throw it out).
- Add another 1 scant cup of flour to your remaining ½ cup of starter and again, ½ cup of warm water.
- Mix well and allow it to sit for about 12 hours and repeat the same thing. Remove all but half the starter, add 1 scant cup of flour and ½ cup of warm water.
Steps 4
- Repeat yesterday’s steps.
Step 5
- Repeat yesterday’s steps.
- By now your starter should be at least twice its size. It should smell tangy but not too strong. There may be some bubbles. Keep feeding it as described above until it’s twice its size. This may take 7 to 10 days. When you’re satisfied that your starter is twice its size and you’re ready to use it, proceed to the last step.
Step 6
- By now your starter is 7 to 10 days old. It’s twice its size. You’re ready to bake with it. Give it one last nourishing feeding. Remove all but ½ cup of starter and feed it as you’ve been doing. Allow your starter to sit at room temperature for six to eight hours. You should see a lot of bubbles.
- Remove the amount of starter you’ll need for your recipe. This will typically be about 1 cup. Don’t forget to leave ½ cup of starter so that you will always have some starter.
- Feed the ½ cup and set it aside or store it in the refrigerator feeding it about once per week.