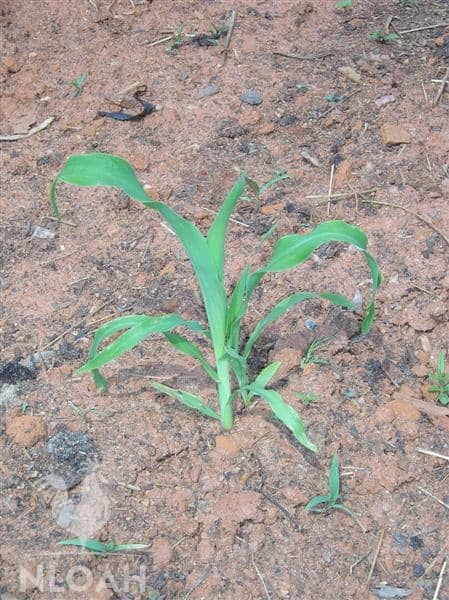
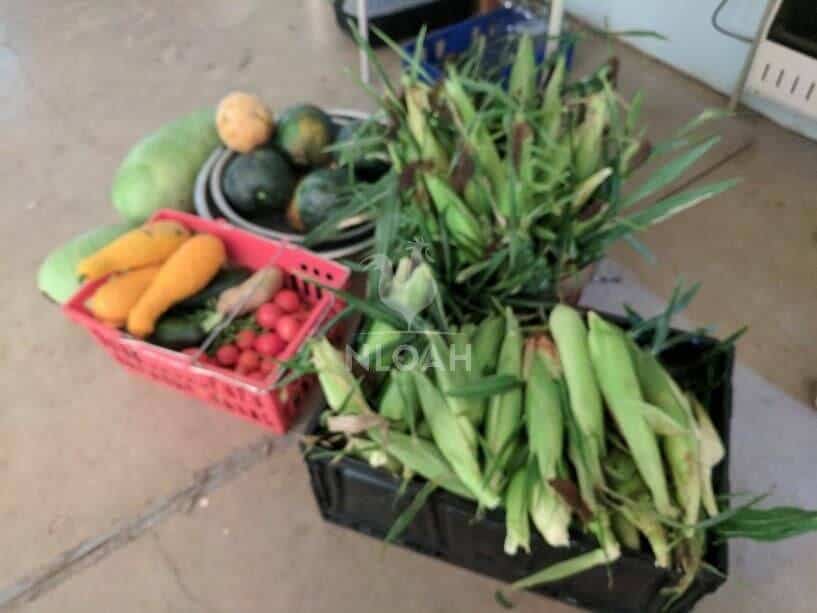
Growing corn (even in containers) is not difficult, it merely requires timing, proper soil, and due diligence throughout the summer months. Sweet corn has been a staple of the American garden since the formation of the union.
There are multiple types of corn to grow in addition to the many varieties of sweet corn, including popcorn, ornamental corn, and field corn.
Corn Planting Tips
• Corn is exceptionally susceptible to chilly frosts.
• Corn does not transplant well. It is one of the few types of seeds that are not recommended to start indoors from seed, but instead be sown directly in the soil.
• If your growing season is particularly short, and you must start corn seeds indoors, use biodegradable pots that can be placed directly in the ground, to prevent disturbing the emerging starts any further.
• Corn can be grown in containers, but must be planted in a container that is large enough to house a single mature plant.
• In the Midwest, corn should not be planted until the final threat of the last killing frost has passed, around Memorial Day weekend. Do not plant corn seeds anywhere until the threat of a killing frost has passed, and the garden soil is at 60 degrees F.
• Corn sucks the nitrogen out of the soil, and requires it in great abundance. Always plant corn in areas that are both sunny, and protected from wind.
• Sow the corn seeds about one inch deep, unless planting in the mid-summer or a fall crop; then plant the seeds two inches deep.
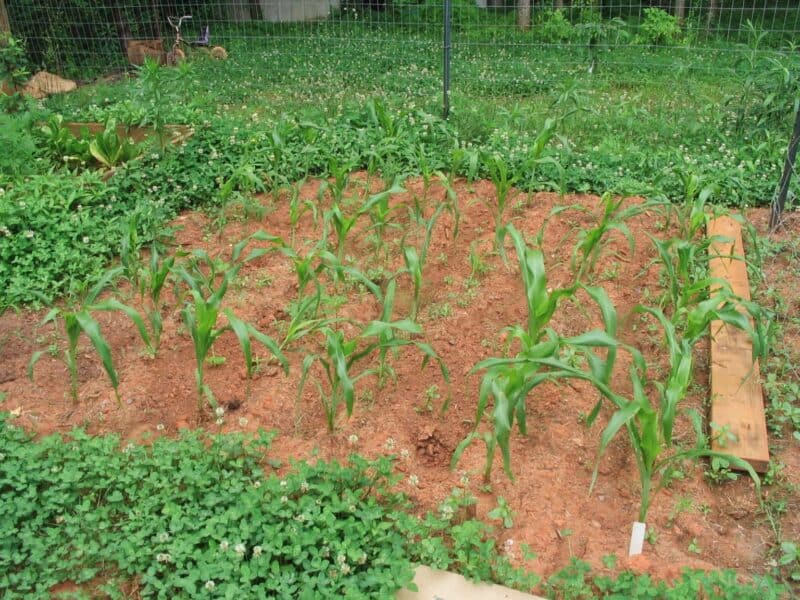
• Plant corn seeds about one foot apart.
• You can grow different varieties of sweet corn in the same row or in adjacent rows, and not have to worry about the starchy taste that comes from the cross pollination between sweet corn and other varieties.
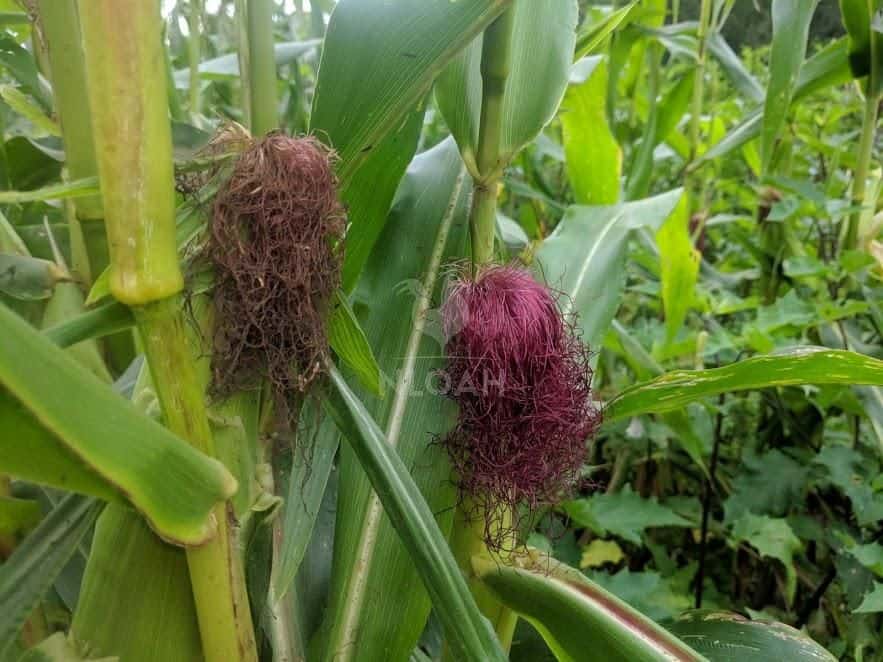
• Corn plants must have approximately one inch of week to thrive. This becomes significantly more important as the plants mature and corn silks tassels become visible.
When enough water is not present during the all-important pollination process, ears typically have far fewer kernels. Do not spray the corn plants with water, that will risk washing away the pollen from the top of the plants, instead water them at soil level.
• The roots of corn plants are rather shallow. Be extra careful not to disturb them while walking the garden rows to pull weeds and check on the plants. When the corn plant is approximately 30 days old, the roots will likely extend about 12 inches away from the growing stalk.
• Side shoots generally appear when corn plants are about six inches tall. This is a superb time to feed or fertilize the plants, if this is a part of your cultivation plan. Don’t ever remove or trim the side shoots; doing so will likely damage the plant’s roots.
• If you do not have the space, skills, or tools to plant enough corn to both eat and preserve for winter consumption, approximately 10 to 15 plants should suffice to feed a family of five.
• To grow corn as late into the season as possible, and to space out the harvest for fresh eating purposes, plant several corn seeds every two to five weeks – starting as early in the season as possible.
• Do not plant different varieties of corn close to each other, cross-pollination will occur – especially in varying varieties of sweet corn. Corn of different types should be grown at the very least, two rows apart.
• To increase natural pollination, plant corn in a block style that is three rows wide instead of traditional single rows. If you plant only one or two rows of corn together, hand pollination might be necessary to increase proper kernel growth and formation.
• Every corn stalk should produce at a minimum one ear of corn, but usually produces at least two or three.
• Some corn stalks will produce an extra ear or two after the initial harvest, if there is time before the first killing frost. So, be careful when harvesting from your stalks just in case more corn could be coming.
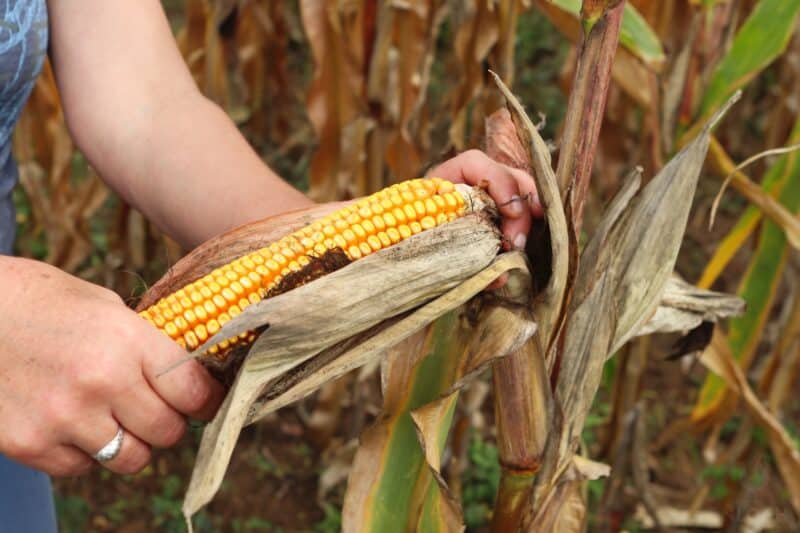
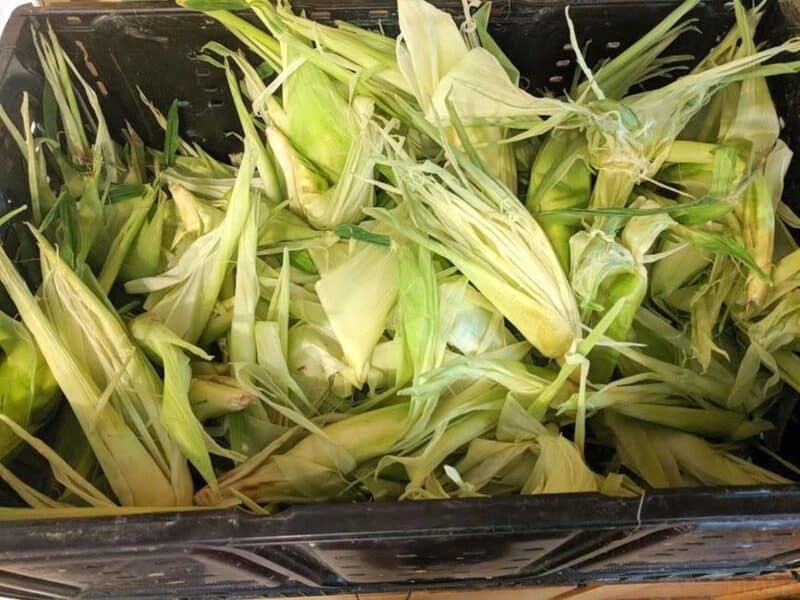
• To harvest an ear of corn, grib the ear and twist while pulling in a downward motion with one hand while holding the stalk firmly in place with the other while snapping off the corn ear.
How To Tell When Corn Is Ready To Harvest
Next to getting seeds into the ground at the proper time, harvesting at the prime moment is the most essential part of the corn cultivation process. The window for perfect corn is narrow, typically no more than three days, at least for sweet corn varieties.
Approximately three weeks after you first see corn silks appear on the growing ears, start checking frequently for vegetable ripeness. There are two traditional ways of telling if corn is ready to harvest. One way is to carefully peel back a very small portion of the husk and prick a corn kernel with a fingernail. If a milk-like liquid squirts out, it is most likely time to harvest the corn crop.
The second and perhaps least detrimental to the plant manner in which to tell if corn is ready for picking is detailed in the video below.
If a sweet corn silk is completely dry or the shuck housing the ear has faded to a light green, the corn is past harvest time and will be tough.
Usually, ears of corn growing on the same stalk will either mature at the same time, or within just a few days of each other.
When cultivating popcorn or ornamental corn, allow the stalks of the plant to dry completely; this usually takes until the first hard frost of fall. Then, cut the corn stalks from the ground and place them in a cool and dry place until the corn on stalk have dried completely.
Corn Companion Planting Tips
Companion planting of not just corn, but everything you are growing in your garden, can help create higher yields by deterring pests and predators, and staving off disease.
Crop shielding via companion planting can protect plants from too much sun or wind, as well. If you put plants into the ground that routinely attract pollinators in a great abundance or use them as a border, this too should help increase the expected annual yield.
Best Corn Companion Plants
Do not plant corn next to:
Three Basic Types of Sweet Corn
- Standard – This variety of corn is deemed moderately sweet. Popular types of standard sweet corn include Butter and Sugar and Silver Queen.
- Sugar-Enhanced – This variety of sweet corn tends to retain its delicious flavor at least three days after it has been harvested. It’s generally more tender and sweet than standard sweet corn varieties. Popular breeds of this type of sweet corn include, Champ, Moore’s Early Concord, Bodacious, Kandy Korn, and Maple Sweet.
- Xtra-Sweet – This is an incredibly sweet type of corn, and often considered more difficult to raise than the types of sweet corn noted above. Xtra-sweet corn may taste better than other types of corn when it’s fresh, but many it is not often consider to maintain its yummy tastes after pressure canning or freezing. Popular varieties of this type of corn include: Early Xtra Sweet, Butterfruit Original Early, and Illini Xtra Sweet.
How To Grow Sweet Corn in Containers
Growing corn in containers successfully depends substantially on the type of container chosen for seed planting. Garbage cans, wood crates, plastic barrels, and even laundry baskets will work just fine.
The corn plant containers must provide adequate water drainage, and be at least one foot deep and one foot wide. Sweet corn plants that boast shorter stalks are the best option when container gardening using such tall plants.
If you are short on space, it can be possible to cultivate up to four corn plants in a single container. The seeds must be planted at least four inches apart.
Container corn seeds should be planted two inches deep and be placed in a location that offers a minimum of six hours of sun each day.
Best Sweet Corn Varieties for Container Gardening
1. Sweet Painted
2. Sweet Spring Treat
3. Trinity
4. Sweet Painted Mountain
5. Casino
6. Chires Baby Sweet
7. Sugar Pearl
8. Vision
9. Bodacious
10. Xtra Tender
Popcorn Growing Tips
• Popcorn typically is ready to harvest about 100 days after the seeds were planted.
• Typically, each popcorn plant will yield two ears of corn.
• Each ear or corn on a plant should yield what is commonly considered one serving of popcorn.
• Popcorn does not transplant well, and should be sown directly into the ground or in a biodegradable pot that can be placed right into the garden soil.
• Plant seeds one and a half to two inches deep.
• Space seeds 8 to 10 inches apart.
• This type of corn requires a well-drained and nitrogen rich soil to thrive – as well as full sun.
• Stress on the plants from drought-like conditions will vastly and negatively impact the yield.
• Popcorn grows best when the seed hole is first filled with composting material, and the soil is thoroughly fertilized.
• Once the popcorn plants have produced approximately nine leaves, add a layer of nitrogen-rich fertilizer around each one. Water the matter after it is placed down the sides of each corn row. Be extra careful not to step onto the fragile roots, while shoveling out the matter between rows.
• Popcorn is ready to harvest when the kernels of the plant are dry and hard – the husks should be dry to the touch as well.
Field Corn Growing Tips
• Do not plant field corn (or dent corn, as it is sometimes called) until the soil is at least 65 degrees F.
• Plant the seeds 4 to 6 inches deep in the ground.
• Field corn rows should be spaced about 3 feet apart.
• The field corn seedlings must be thinned to 8 – 12 inches apart once they are about 3 to 4 inches tall.
• Because the husks on field corn are unusually tight, the growing ears are typically extremely hardy against insect pests and worms.
• Harvest when the husks are both fully yellow in color and both they and the ears of corn are thoroughly dry.
Preventing Earworms
Earworms (or corn worms) are the top killer of corn plants. Flea beetles do munch holes through the leaves of young plants, but are usually less of a problem than earworms, which can wipe out an entire corn crop in a matter of just days.
The worm larvae crawl inside the corn husks after the earworm moths lay their eggs on the silks. The worms are approximately two inches long, and have yellow heads and either green, yellow, or brown stripes on their body.
The best DIY way to get rid of earworms is to apply mineral oil directly to the shucked ears of corn as gently as possible. The rubbing or spraying of mineral on the shucked ears may need to be repeated for 7 days to completely convince earworms to move on… or kill them all.
Combining a mixture of either mineral or vegetable oil with a nearly equal part water and a few drops of Blue Dawn, and gently rubbing it onto the husks just a couple of days after they develop silks can also deter earworms.
Some old-time gardeners attach a clothespin to the tip of the husk once the silks barely begin to turn brown to block access to the worms at the most sensitive time before the harvest.

Tara lives on a 56 acres farm in the Appalachian Mountains, where she faces homesteading and farming challenges every single day, raising chickens, goats, horses, and tons of vegetables. She’s an expert in all sorts of homesteading skills such as hide tanning, doll making, tree tapping, and many more.
Tara, you give some pretty good corn growing advice here (I loved the how to prevent earworms section) but I’d like to add a few tips. First of all you CAN start corn indoors and transplant it successfully–just use jiffy pots and gently split them open when transplanting. Second, I raise sweet corn in raised beds and each year the new corn crop goes into a bed I grew peas or beans in the year before, since those two veggies are nitrogen fixers. Third, I mix composted steer manure into the corn bed before planting then side dress the stalks with it while they are growing. Fourth, take care when applying mineral or neem oil to corn silks as too much can choke off kernel formation–a drop or two, or a light spray, is usually adequate. Also, growing tight-eared varieties like Country Gentleman helps prevent earworms. I enjoy your posts.