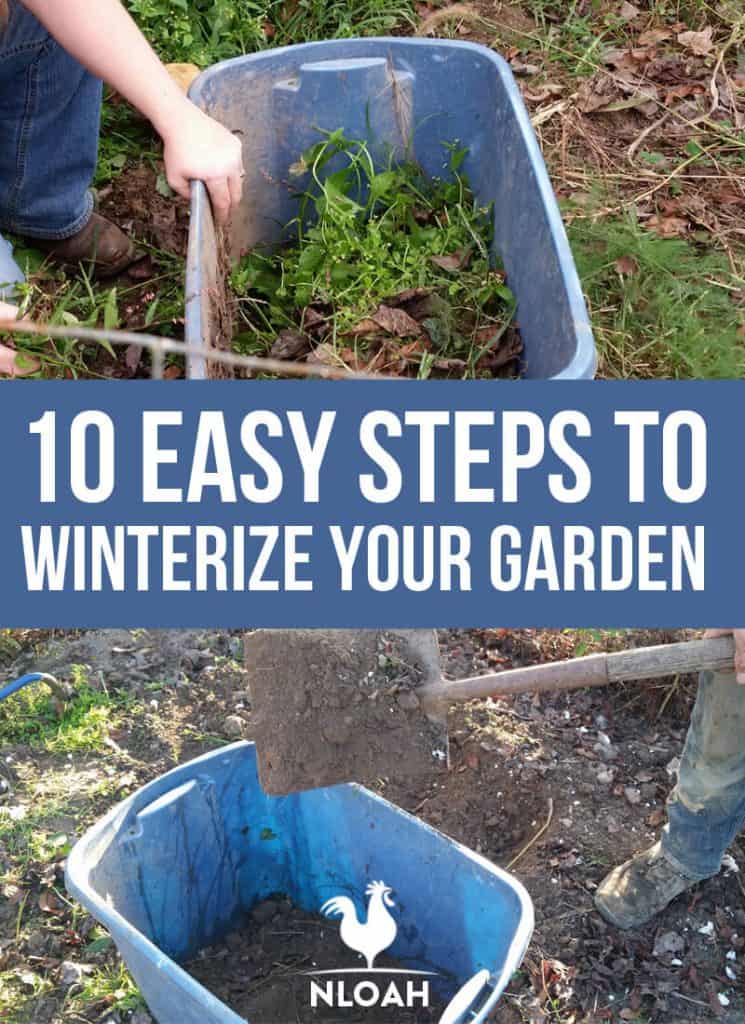
The gardening season is over, and it is time to put your vegetable garden to bed. Fall is the time to get your garden ready for the next springs planting cycle. The list of work can be long but it all doesn’t have to be done in one day. Do the work as it comes up, and it will make it seem much easier.
Let’s lay it out here: my garden is fenced in because I have goats that are smarter than me, and can get out of their pen. Inside my garden fence is a well planned out garden plot.
I have planned the placement of my veggies during the winter based on the companion list. Due to this my garden becomes cleaned out in parts based on what was planted there.
This gives me a chance to clean that spot up early and get it ready for the fall garden. For instance, potatoes. When my multiple rows of potatoes were harvested I was able to work the soil, and plant some lettuce and spinach for cool weather growing and harvest:
Table of Contents:
Step 1: Pull the Plants
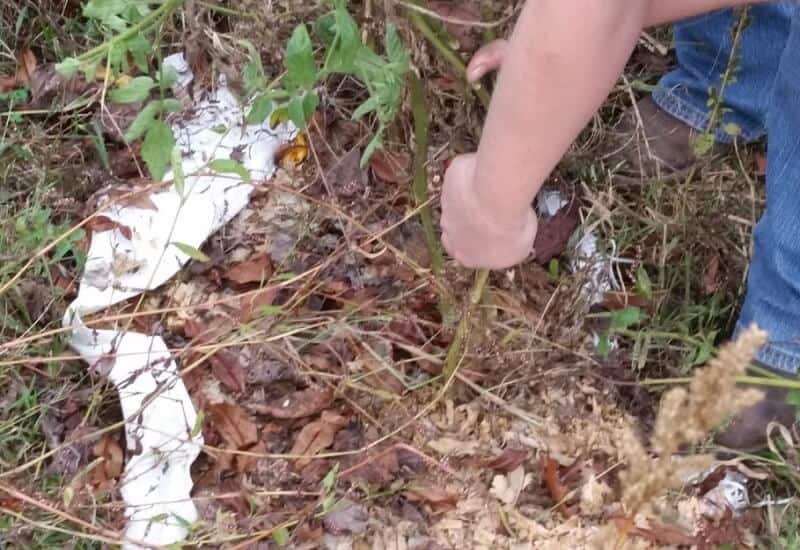
The first frost in the fall is always a sad time for me, I know it is getting cold and my plants are done. Once the plants are dead it is time to pull them up and get them out of the garden spot. Go ahead and pick any remaining, if any, good produce from the plants as you pull them.
The healthy plants can go to the compost pile. The diseased plants will need to be taken from the garden, and either burned or discarded in the garbage. Do not compost sick plants as it will bring the disease right back into your garden with the compost.
Step 2: Weed
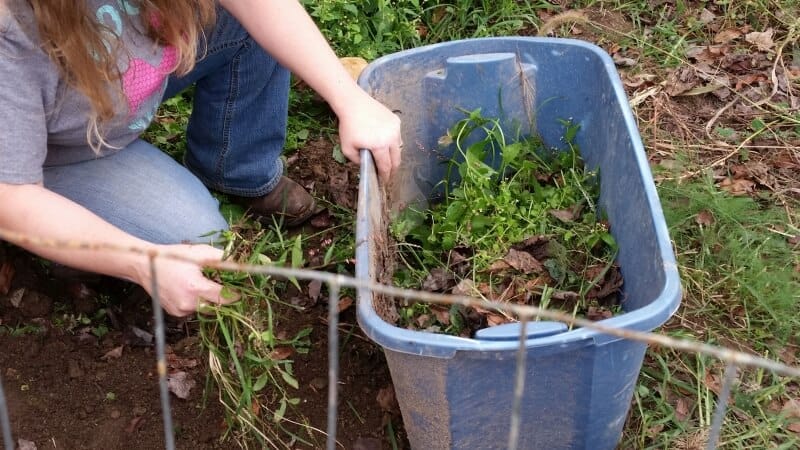
As you are pulling the plants, go ahead and start pulling the weeds too. Even a well groomed and cared for vegetable garden will have a few weeds. Mine has plenty, so my kids will be busy helping me with garden chores.
A tip for making weed pulling is easier is to water the ground and wait a few hours to allow it to soften the dirt. The weeds can go into the compost as green material. I don’t like to compost the weeds that have seed heads on them because I battle weeds enough without putting them back into the garden.
Step 3: Clean Up Your Tools
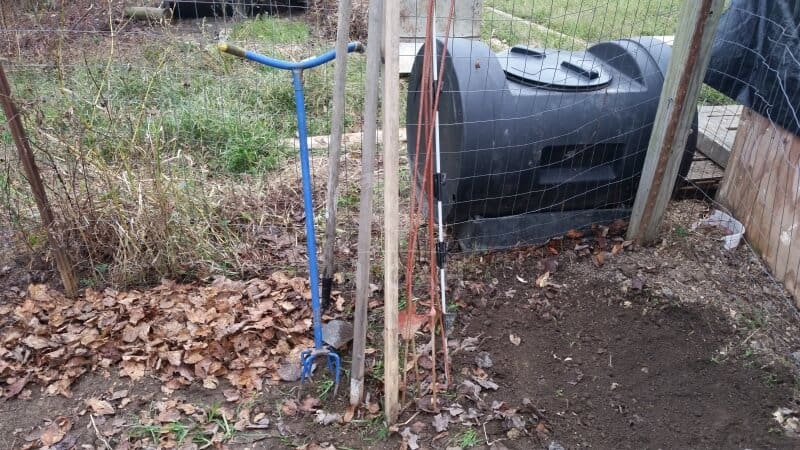
As you are pulling the tomato plants go ahead and pull the stakes or cages from the ground. Inspect the shape that they are in. I had a few stakes that broke in a storm so I will need to replace them.
Clean and repair the cages and trellises. Store them away where you keep your garden tools. Now is the time to also gather and put away your rakes, hoes, and shovels. Don’t forget to drain your water hoses, and to put them away for the winter.
Step 4. Make a List
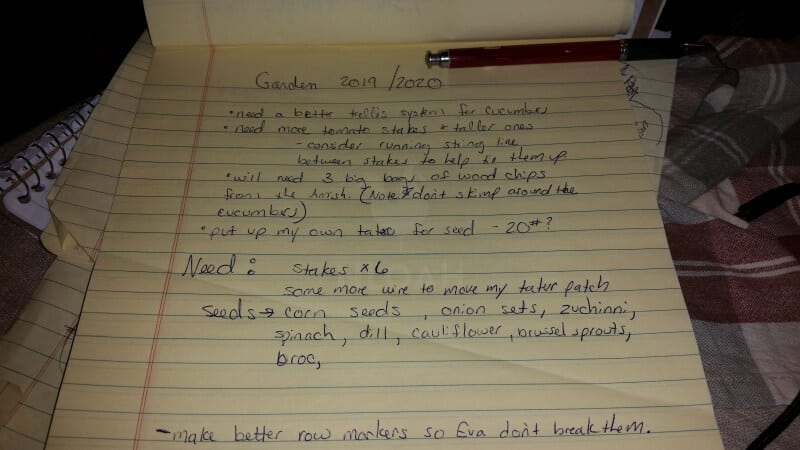
Now that you are taking care of the garden it is a good time to start a list. In mine I include the seeds that I need to purchase, as well as whether I need any new stakes or cages or hoes.
The fall is a good time to look for any items that I can find on sale that I will need next year. I also take note of how much mulch I used that year so I know what to expect to buy the following spring.
Step 5: Take Care of Perennials
If you grow any perennials in your garden right now is a good time to get them ready for winter. I grow asparagus, this is the first year with this crop. After the frost go ahead and trim it back to about two inches above the soil and mulch it good.
Feel free to use the free mulch provided for you by the trees. Pile the leaves up around the plants, and give it a little water so the leaves stay in place. Now sit back and relax as your perennial crop will appreciate the mulch and will be ready to take off in the spring for you.
Step 6: Plant Fall Crops
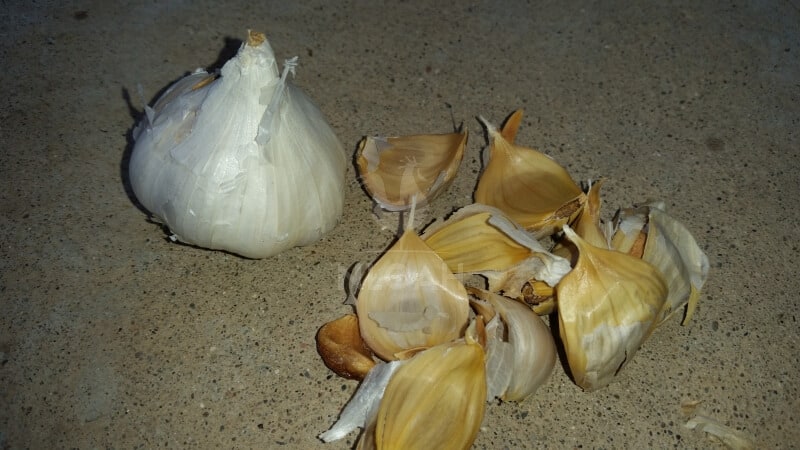
Now is the time to plant garlic and other cool weather crops. The cold winter months do not harm them as they do better in the cool than the summer heat. Be sure to treat the soil where your crop is going, and put thick layers of mulch over it, at least four inches deep.
Step 7: Treat the Soil
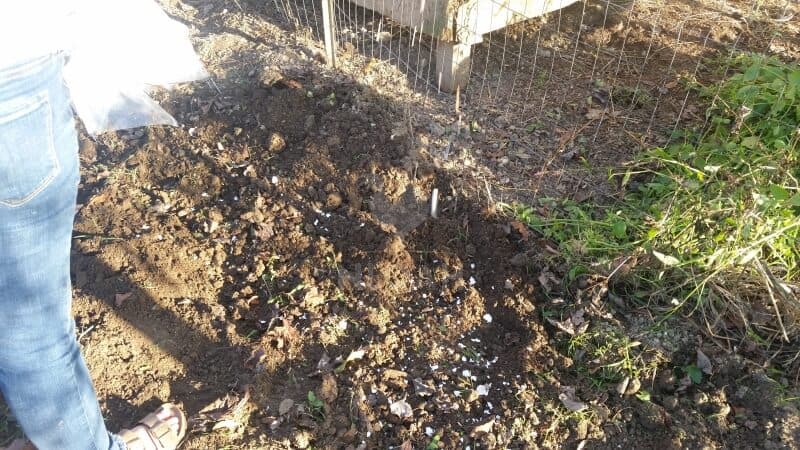
You can go ahead and collect a soil sample to be tested. It is a good idea to know what you are working with as far as the needed nutrients your ground needs. I also like to go ahead and sprinkle some crushed eggshells around my garden to add calcium.
Wood ash is another great amenity to add to your soil as it provides lime and potassium. Lightly sprinkle the ground with your added nutrients or go ahead and throw in the compost. You can also use your compost in the garden spot, and start a new batch for brewing during the winter.
Step 8: Till the Soil
After you have cleaned the ground all up and added whatever fertilizer you are needing then go ahead and till. This will give the ground time absorb the nutrients, and give you a head start for being even closer to planting in the spring.
Step 9: Gather Soil
Fill some buckets or pails with some of your own soil. I have learned that it is cheaper and a good winter chore to warm the house to treat your own soil. Gather soil from wherever you like and store it until you are ready to treat.
Fill a baking pan and bake it in your oven at 350 degrees F (175 C) for 30 minutes. This heat will sterilize your soil and kill any weeds that would have grown in it. Once you start treating the soil you can use that to start your seeds in.

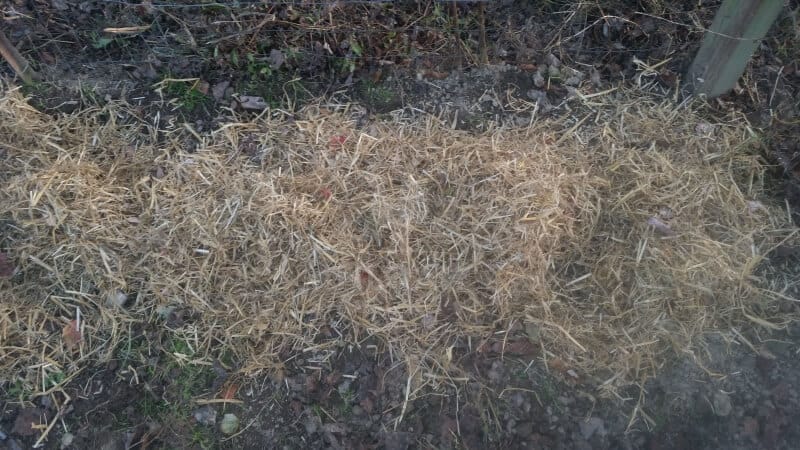
Step 10: Winter Mulch
After all of the garden is cleaned and ready, it is time to add some winter mulch over it. You can use whatever you have on hand. Keep in mind that leaves and pine needles make for a great free mulch.
By mulching you are helping to protect your soil and hopefully keeping weeds at bay for the spring when everything is starting to grow. Come spring garden time, you will turn the mulch cover into the soil and get to planting.
You can just walk away and wait to deal with the mess next spring but, that would be a lot of work to add to your spring workload. It is also important to clean the garden up so you’re sure that you have removed any diseased plants so that disease isn’t an issue right from the get go.
The list seems like a lot of work, but truthfully it will be able to be done simultaneously or one row at a time that you won’t even consider the list to be long.
After the garden is prepped and ready to sleep in the winter you can begin your planning for the spring. A gardener’s work is never done, but it sure is rewarding.

Sarah Rodriguez is a homesteading wife and mother of five living in Appalachia. She grew up in a homesteading and logging family.
She and her husband Arnie work their 10-acre homestead together alongside their growing family. Sarah honed her self-reliance skills through 4-H and FFA at an early age and is now teaching her children to live off the land, raise livestock, and the importance of both sustainability and frugality.
Very good article.
I’m getting too old to be doing all that plowing so in the fall, I put cardboard down and layer with leaves and kitchen scraps then another layer of cardboard.
When spring arrives, its all pulled down to the ground and all I have to do is poke a hole and drop a seed in and sprinkle a little dirt over it.
When the garden is done producing I just cover it back over with cardboard.